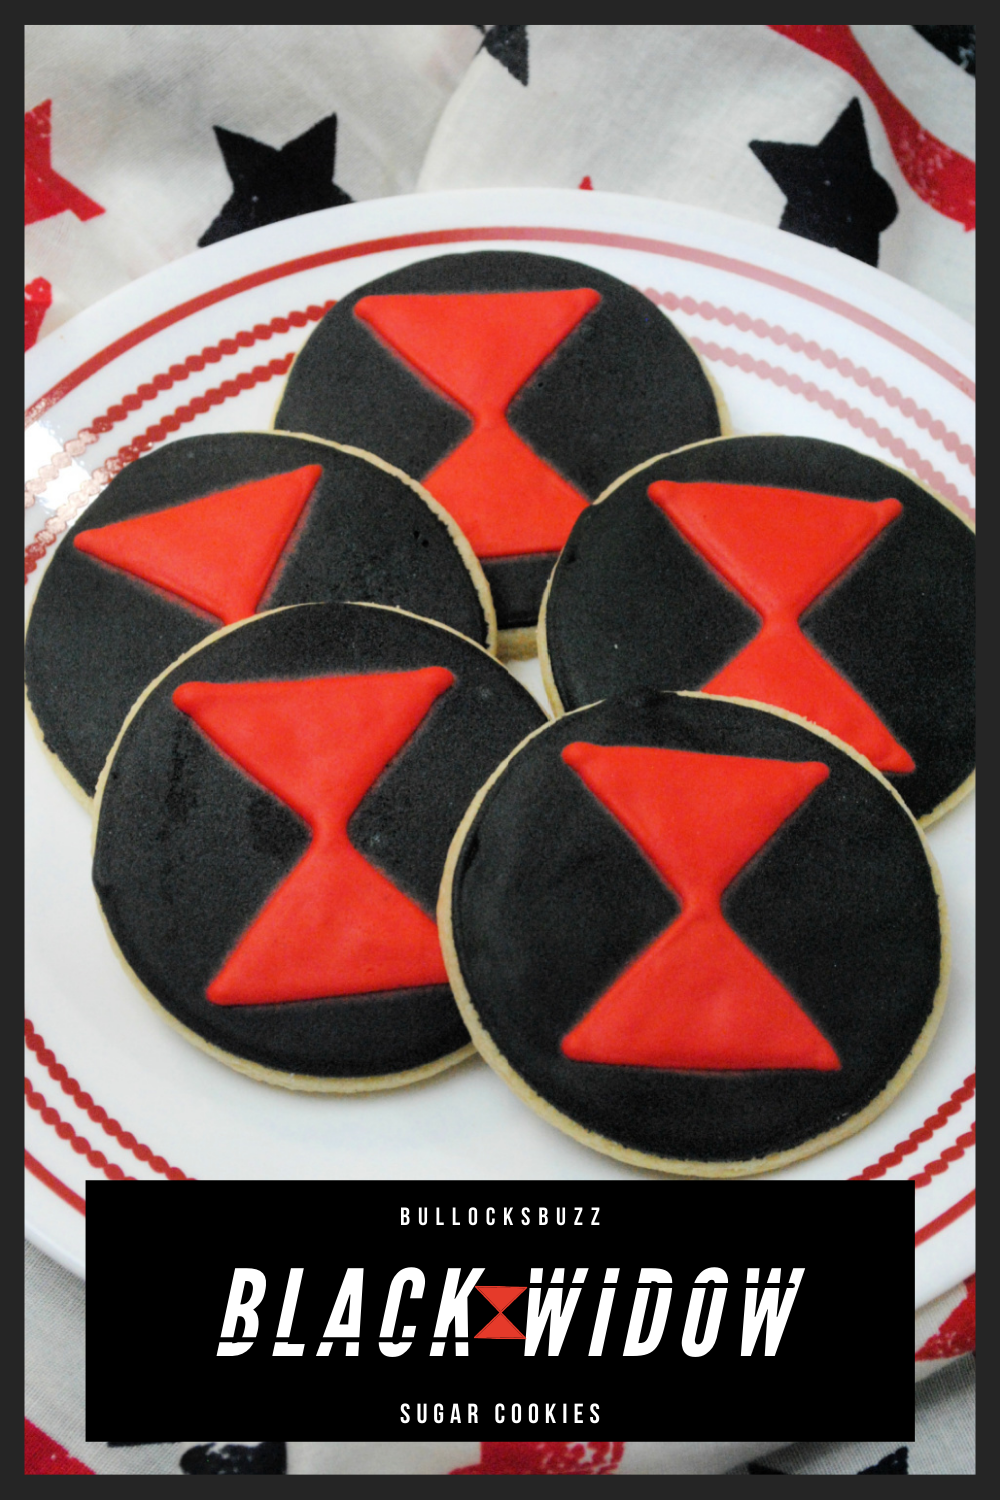
These deadly delicious Avengers Black Widow Cookies are made from homemade sugar cookies that are then decorated in honor of one of the most badass Avengers around: the Black Widow!
How cool are these Avengers Black Widow cookies?! These tasty treats would be a huge hit with any Avengers fan! They look as though you spent half the day making them, when in reality they’re surprisingly easy to make. And the best part is, they’re incredibly delicious!
With the Black Widow movie hitting theaters this July there’s no better opportunity to make these deadly delicious Avengers Black Widow Cookies! It’s a great way to kick off the premiere of this must-see movie. Plus, they pair perfectly with the mocktail version of my Avengers Time Stone Cocktail!
If you’re ready to level up your superhero themed event or party, then you won’t want to miss learning how to make these Black Widow cookies!

How to Make Avenger Black Widow Cookies
These Marvel’s Avengers Black Widow Cookies are really fun to make, and they look very impressive. Plus, they taste really great!
The cookies are made up of two parts: the sugar cookies and the royal icing, each of which I will describe in detail below. While it looks like they are hard to make, I promise they are not!
So are you ready to see how to make these Avengers Black Widow cookies? You will find the complete recipe in a free printable recipe card at the end of this post. However, first I am going to share some tips and step-by-step detailed instructions so your cookies will turn out perfectly!
Kitchen Tools You Will Need
Disclosure: This blog post contains affiliate links for products or services I think you’ll like. This means if you make a purchase from one of these links, Bullock’s Buzz may make a small commission at no additional cost to you. I only recommend items that I use and love.
As far as the tools go, you’ll want to use:
- circle cookie cutter
- baking sheet
- silicone mat or parchment paper so the cookies don’t stick
- piping bags for the royal icing
- #2 icing tip
- Needle Tool for smoothing icing
Ingredients Needed to Make Black Widow Cookies
For The Sugar Cookies
To make the sugar cookies you’ll need:
- flour
- baking soda
- salt
- unsalted butter
- granulated sugar
- eggs
For the Royal Icing you’ll need:
- egg whites
- powder sugar
- cream of tartar
- vanilla
- black and red gel food coloring – I always choose gel food coloring over liquid for icing as the colors tend to be more vibrant.
Avengers Black Widow Cookies Instructions
When making homemade cut-out cookies, the most important thing you need to keep in mind is to chill the dough before rolling and cutting. This is a huge part of making sure that the cookies don’t spread while baking. It also ensures that the finished cookies turn out with a nice, crisp and clean edge; as opposed to an uneven, misshaped mess.
So once you have the dough made, you are going to want to stick it in the fridge from as little as a few hours to as long as overnight. However, don’t just stick the mixing bowl with the dough in the fridge. Instead, shape the dough into a disc shape. Then wrap the disc in plastic wrap, and place it in the refrigerator for 6 hours to overnight.
Preparing the Dough
Making the cookie dough for these Avenger’s Black Widow Cookies is just like making any other cut-out cookie dough.
- Cream Butter and Sugar – mix until you get a smooth, not grainy, consistency.
- Add in wet ingredients – add in eggs followed by the vanilla, stirring the whole time.
- Mix the dry ingredients – in a separate bowl, sift together the sugar, baking soda and salt.
- Combine the wet with the dry – slowly add in the dry ingredients to the wet and mix to form the dough.
- Shape and chill dough – form the dough into a disc, wrap it up, and put it in the fridge to chill.
Rolling the Dough
- Prepare Your Surface – LIGHTLY dust the cutting board and rolling pin with flour so the dough doesn’t stick. Use as little flour as possible as too much can flour can toughen the dough and affect the texture of the finished cookies. You could also use confectioners’ sugar instead, as it doesn’t toughen the dough like flour can.
- Soften Dough – remove the black widow dough from the refrigerator and sit it out to soften up just a bit.
- Roll the dough – carefully roll dough to 1/4-inch thickness
- Cut Cookies – use the round cookie cutter to cut out 24 cookies.
Cutting and Baking the Cookie Dough
- Preheat Oven – to 325 degrees F.
- Prepare Baking Sheet – line a baking sheet with parchment paper or a Silpat mat.
- Place Cut Out Cookies on Sheet – using a metal spatula move the cut cookies to the prepared cookie sheet.
- Bake – for 8 minutes.
- Cool – remove from oven and carefully remove the cookies from the sheet and put them on a wire rack to cool completely (about 10 minutes).

Royal Icing Tips and Directions
Royal icing can be a bit intimidating if you’ve never or used it, but it’s actually quite easy. And it really makes these Avengers Black Widow Cookies look great! If after you’ve made the icing and you still aren’t feeling very confident about decorating with it, practice a few times on a piece of parchment paper.
You’ll want to follow this royal icing recipe because there are 2 consistencies you will need to work with. The first is a thicker consistency, aka stiff royal icing, that’s similar to toothpaste. You will use this thicker icing along the outside edge of the cookie and for the red hourglass. This will help the icing hold its shape so the black icing doesn’t flow over the edge of the cookie and so the hourglass will hold its shape.
The second consistency is called a “flood” consistency. It’s like honey, and you will use it for the rest of the black part. This icing consistency will flood the base of the cookie for a smooth, flat surface. Flood consistency royal icing is made by adding small amounts of room temperature water to the stiff icing at a time.
Pro Tip: I prefer to use a spray bottle versus adding drops of water. It works much better as you have more control over the amount of water added. So you’ll spray, whisk well, check the consistency, and repeat if needed. Remember, a little water goes a long way.
To Make the Icing for Avengers Black Widow Cookies
- Combine Ingredients – in a mixing bowl, combine all ingredients except for the food coloring. Mix on medium speed for 4 minutes. If icing is not stiff enough add up to 1/4 C powder sugar.
- Divide – icing into 2 equal bowls.
- Color Black Icing – in the first bowl of icing, add several drops of black food coloring, then stir to mix
- Color Red Icing – in the second bowl of icing, add several drops of red gel food coloring. Stir to mix.
- Add Icing to Piping Bags – use a spoon to add a little bit of each color icing to individual frosting bags fitted with #2 tips. Then twist the open end of the bag to push the icing to the tip.
- Thin Remaining Icing – in the same black icing bowl, add a spray of or a few drops of water stirring as you go to thin the remaining icing out. Then spoon this thinner black icing into a third icing bag, again twisting the end of the bag closed to force the thinner icing to the tip.

How to Decorate Avengers Black Widow Cookies
Pro Tip: when decorating the Avengers Black Widow cookies, be sure to pipe the icing out of the bag slowly while holding it about an inch over the cookie – any closer and you actually have less control, despite feeling like you have more of it!
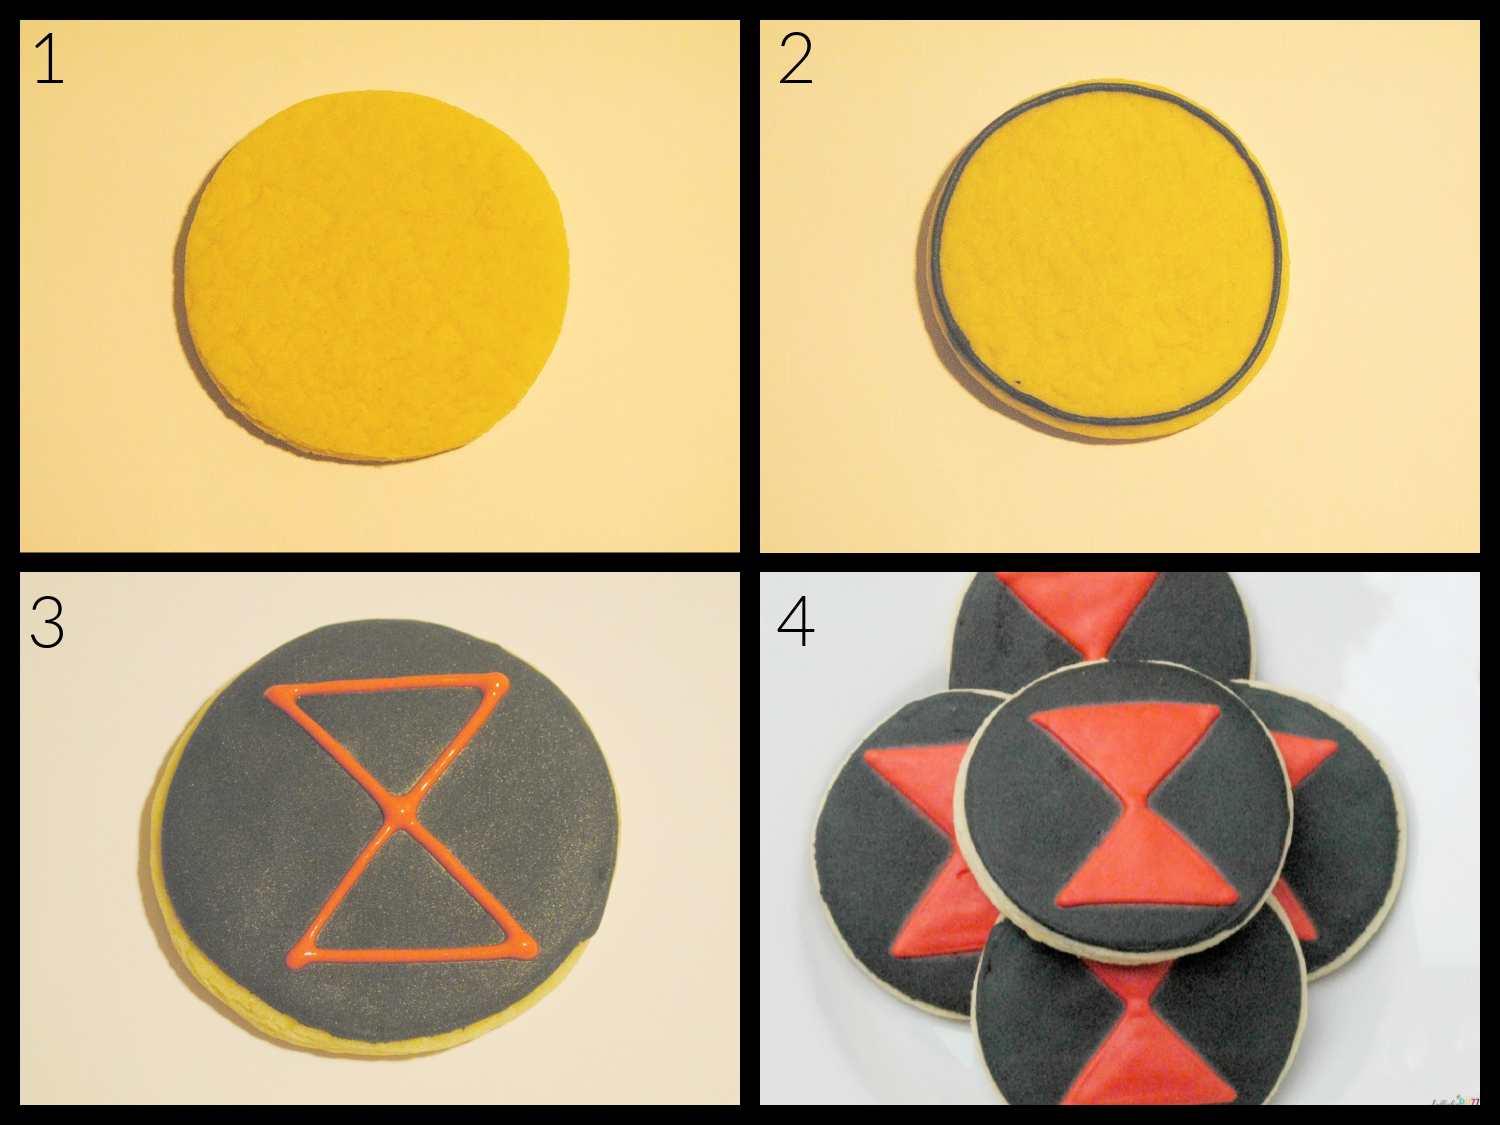
- Outline Cookies in Black – using the thicker black icing, pipe a black line around the outside edge of the round cookie.
- Fill In Black Color – fill in the entire cookie with the thinner black icing.
- Dry – allow black icing to dry for about 1 hour.
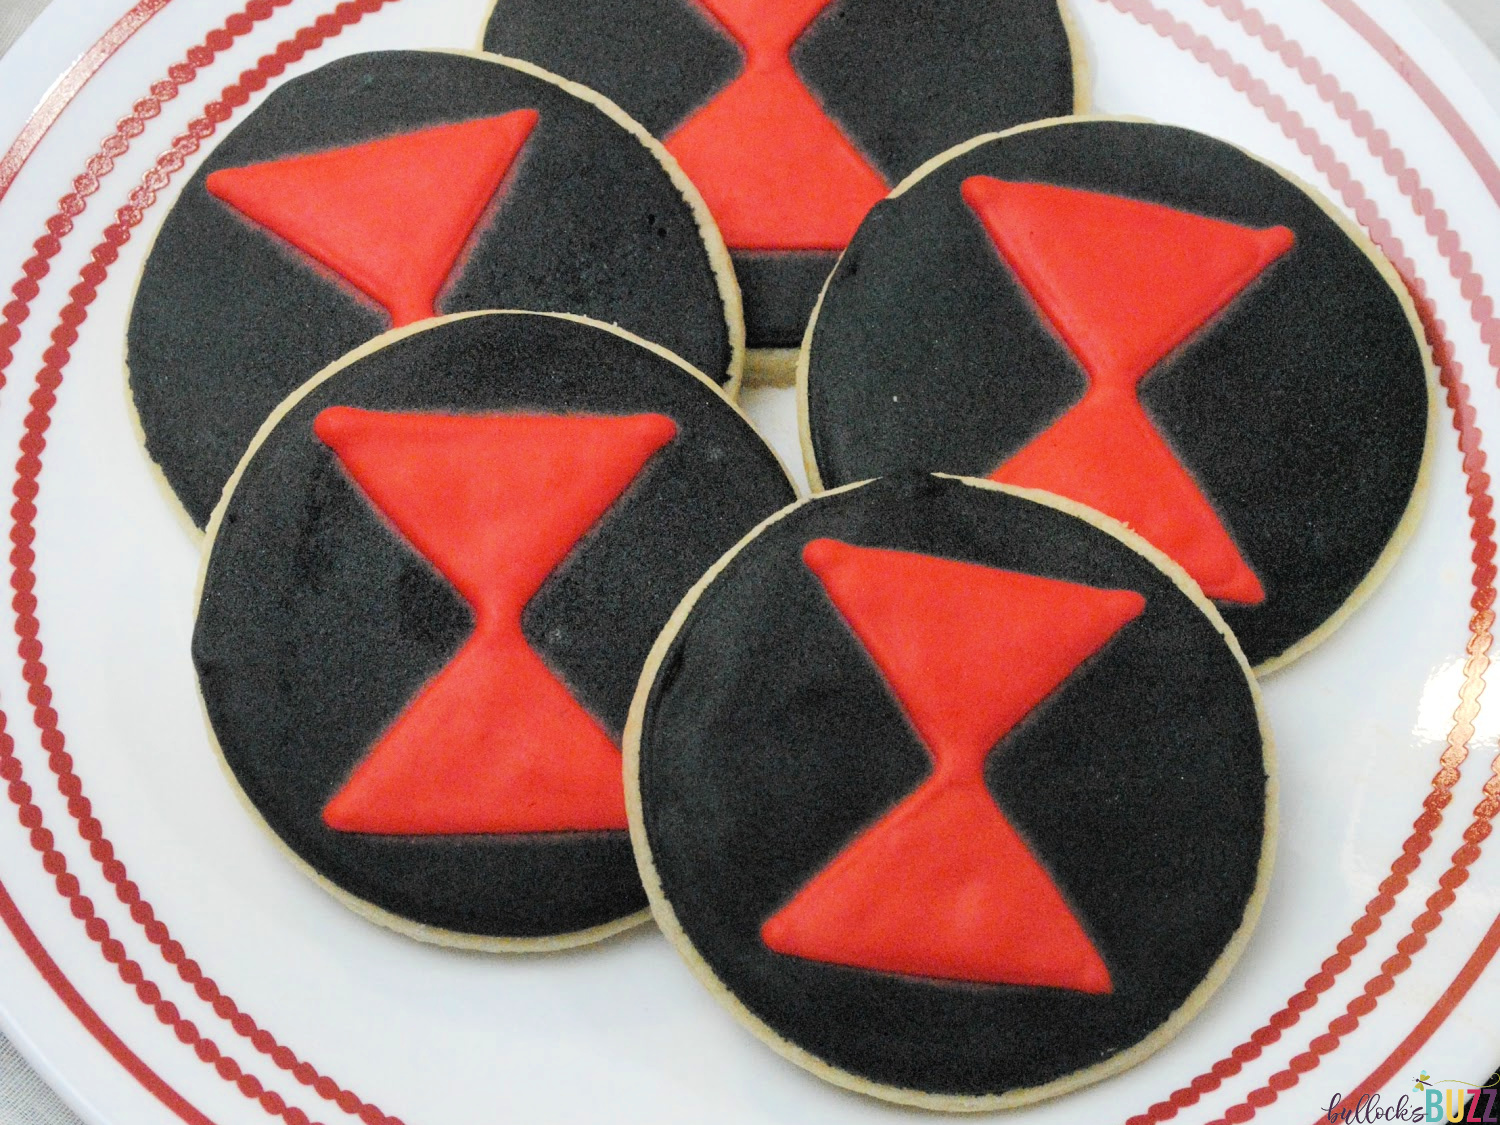
- Pipe Hourglass – use the red icing to pipe on a hourglass shape in the middle of each cookie and fill it in.
- Dry – allow the cookies to dry for at least 4 hours before enjoying!
More Movie-Inspired Recipes
Looking for more fun movie-themed treats? Check these out!
- Angry Birds Inspired Kid’s Fruit Punch – Hal’s Crazy Juice
- Finding Dory Chocolate Covered Waffle Bowls


Show Me What You’ve Got!
I hope you love this Avengers Black Widow Cookies Recipe! If you decide to give it a try, I’d love to know! Nothing makes me happier than seeing your own take on my recipes!
If you make some cookies, please tag me at @bullocksbuzz (Instagram and Facebook) or @alainabullock (on Twitter) and use #BullocksBuzz so I can see your creation and share it!
And, if you really liked this Avenger’s Black Widow Cookies recipe, please rate and review it on the recipe card.
Printable Avenger’s Black Widow Cookies Recipe
Avenger's Black Widow Cookies


A deadly delicious homemade sugar cookie designed after one of the most badass Avengers around: Black Widow! These Avenger's Black Widow Cookies may look as though you spent all day making them, but in reality, they are actually quite easy!
Ingredients
For the Cookies
- 3 cups flour
- 1 tsp baking soda
- ½ tsp salt
- ¾ cup unsalted butter, softened to room temp.
- 1 cup granulated sugar
For the Icing
- 2 egg whites, room temp.
- 1½ cup powdered sugar
- ½ tsp cream of tartar
- 1 tsp vanilla extract
- gel food coloring, black
- gel food coloring, red
Instructions
Make the Dough
- In a large mixing bowl, cream together the room-temp. butter with the sugar until the combination is smooth, not grainy, to the touch.
- Add in both eggs, continuing to mix, followed by the vanilla.
- In a separate bowl, sift together the four, baking soda, and salt.
- Slowly add the dry mixture to the wet mixture, continuing to mix until all ingredients are thoroughly mixed. .
- Form the dough into 1 or 2 discs, and then wrap them in cling wrap making sure the dough is entirely covered. Then place in the fridge for 6 hours to overnight.
Rolling and Cutting the Cookie Dough
- Preheat oven to 325 degrees. Line a baking sheet with parchment paper or a Silpat mat. Remove the cookie dough from the refrigerator and let it sit out to soften up a bit.
- Meanwhile, lightly dust the cutting board and rolling pin with flour or powdered sugar.
- Roll the dough out on the cutting board until it is about ¼-inch thick, and then use the round cookie cutter to begin cutting out the cookies.
- Using a metal spatula carefully move the cut out cookies to the prepared cookie sheet.
Bake the Cookies
- Place cookie dough into the oven and bake at 325°F for around 8 minutes, then check to see if the cookies are thoroughly baked.
- Remove the cookies from the oven, and immediately transfer them to a cooling rack to cool completely. Make sure the cookies are completely cooled before attempting to decorate.
For the Icing
- In a mixing bowl, combine all ingredients except the food coloring. Mix on medium speed for 4 minutes until stiff peaks form. If icing is not stiff enough, add in up to ¼ cup of additional powdered sugar.
- Divide the icing into 2 equal bowls.
- In the first bowl of icing, add several drops of the black gel food coloring. Mix until icing has turned black and is uniform in color.
- In the second bowl of icing, add several drops of the red food coloring. Again, mix until the icing is red and uniform in color.
- Spoon a little bit of each color icing into individual frosting bags with #2 tips. Twist the open end of the bag to push the icing to the tip.
- In the black icing bowl, add a small amount of room temperature water at a time in order to bring the remaining icing to flood consistency.
- Add the thinner icing to another icing bag with a #2 tip, again twisting the open end to push the icing to the tip.
Decorating the Cookies
- Using the stiff/thicker black icing, pipe a black line around the outside edge of the cookie.
- Fill in with the black thinner icing. Use needle tool to smooth icing if needed.
- Let dry for 1 hour.
- Using the red icing, pipe on a hourglass shape, then fill it in. Use needle tool to carefully smooth icing, if needed.
- Let cookies dry before enjoying. I usually let them sit for about 4 hours.
Notes
- Cookie dough will need to chill in the refrigerator for a minimum of an hour. However, I get best results when dough chills for 6 hours to overnight.
- Be sure to let sit after decorating for at least 3 hours
Nutrition Information:
Yield:
24Serving Size:
1 cookieAmount Per Serving: Calories: 169Total Fat: 6gSaturated Fat: 4gTrans Fat: 0gUnsaturated Fat: 2gCholesterol: 15mgSodium: 107mgCarbohydrates: 27gFiber: 0gSugar: 15gProtein: 2g
Nutritional information is automatically calculated with ingredients and serving size and may not be accurate. Please always double check with your own nutritional apps as well.