This post may contain affiliate links. I only recommend products I use and love. Read the full disclosure here
Updated on: February 11, 2022
Originally published on: May 8, 2018
This shop has been compensated by Schwarzkopf. #KeratinKBondPlex #sponsored
When I was in my teens and twenties, I used to color my hair because it was fun and I liked changing my hair color. Now that I am in my 40’s, I do it because I have to. Got to get rid of those pesky gray hairs and that overall dullness that comes with age!


At first, I would go to the salon and have my hair professionally colored every two to three months. But that quickly became quite expensive. So I began coloring my hair myself at home. Now that I’ve learned how to do it, I’ve once again started to enjoy changing my hair up (both to cover those greys and for fun), and I adore coloring it myself in the convenience of my own home!
Unfortunately, however, having naturally curly hair means my hair has a tendency to be dry and brittle, and it can break easily. Frequent hair coloring definitely doesn’t help. So when I heard about Schwarzkopf® Keratin Color, I couldn’t wait to give it a try!

Schwarzkopf® Keratin Color enables you to professionally color your hair at home while caring for your hair. The Keratin Color formula includes K-BOND PLEX™, which is salon-inspired anti-breakage technology. K-BOND PLEX™ repairs the inner hair structure and coats the hair surface after the coloration process for strong and healthy looking hair. The result is beautiful and vibrant color that lasts!
The first time I tried Schwarzkopf® Keratin Color I opted for the Bordeaux Red (4.7). On top of my naturally dark color, it was a gorgeous dark-ish red that absolutely shone in the sunlight! The Keratin Color completely covered my grey, and left my hair vibrant and shiny.

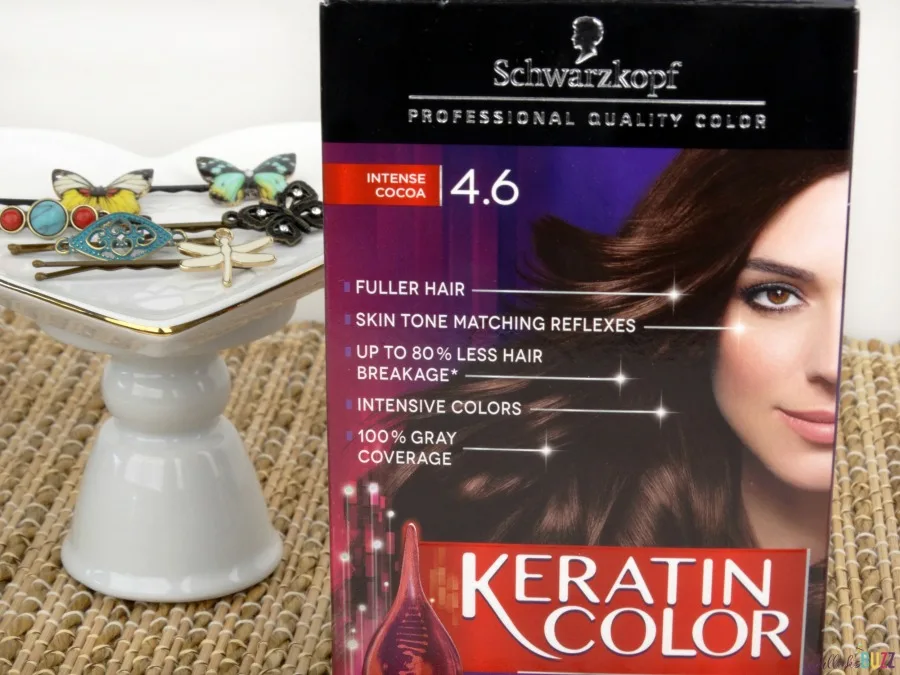
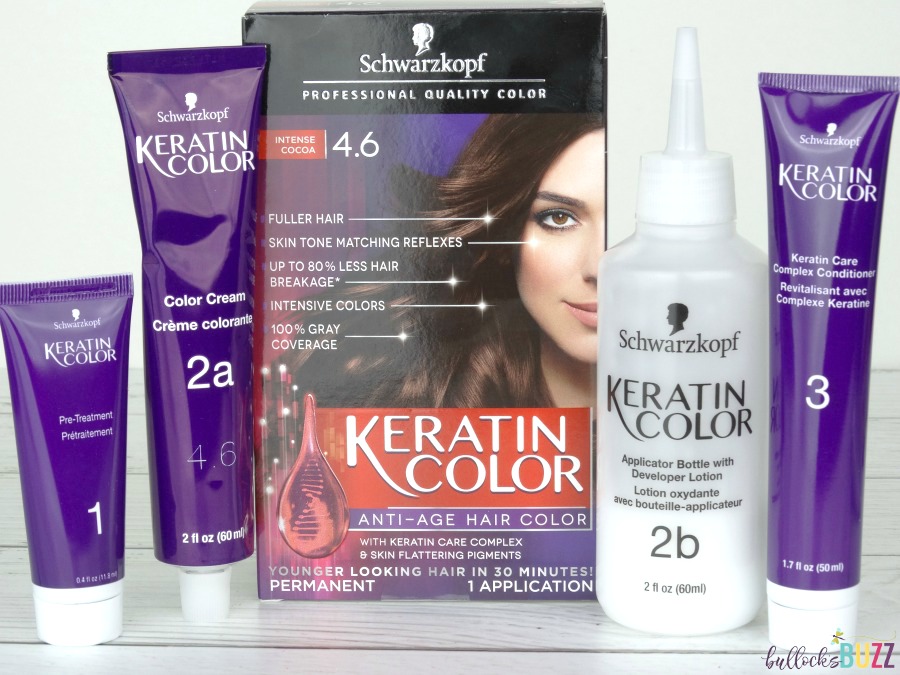
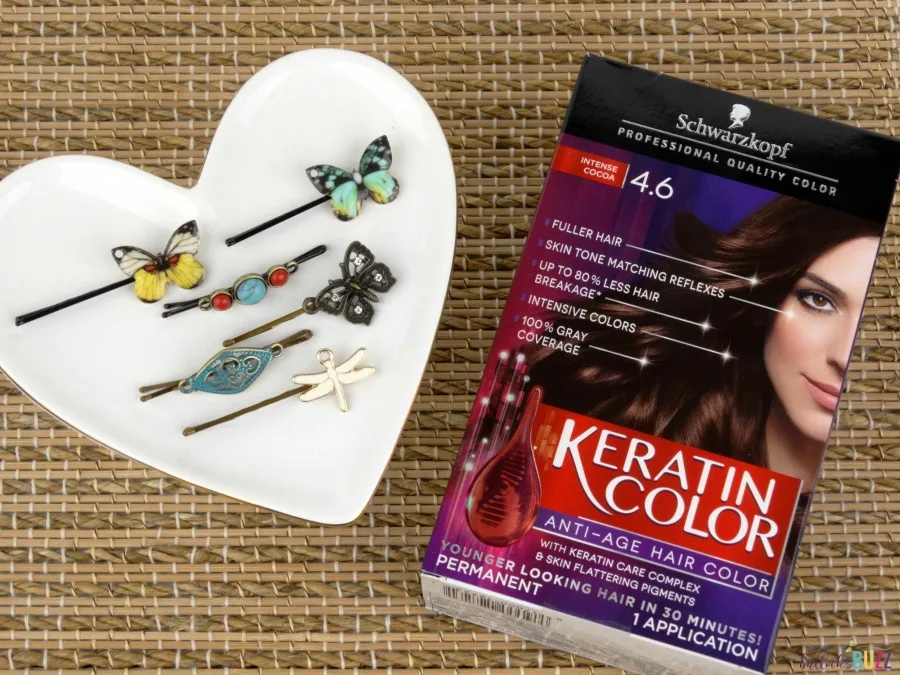
This time around I decided to try Schwarzkopf® Keratin Color Intense Cocoa (4.6). Schwarzkopf® Keratin Color is easy-peasy to use. Everything you need comes inside the box, including detailed instructions.
How to Color Your Hair with Schwarzkopf® Keratin Color

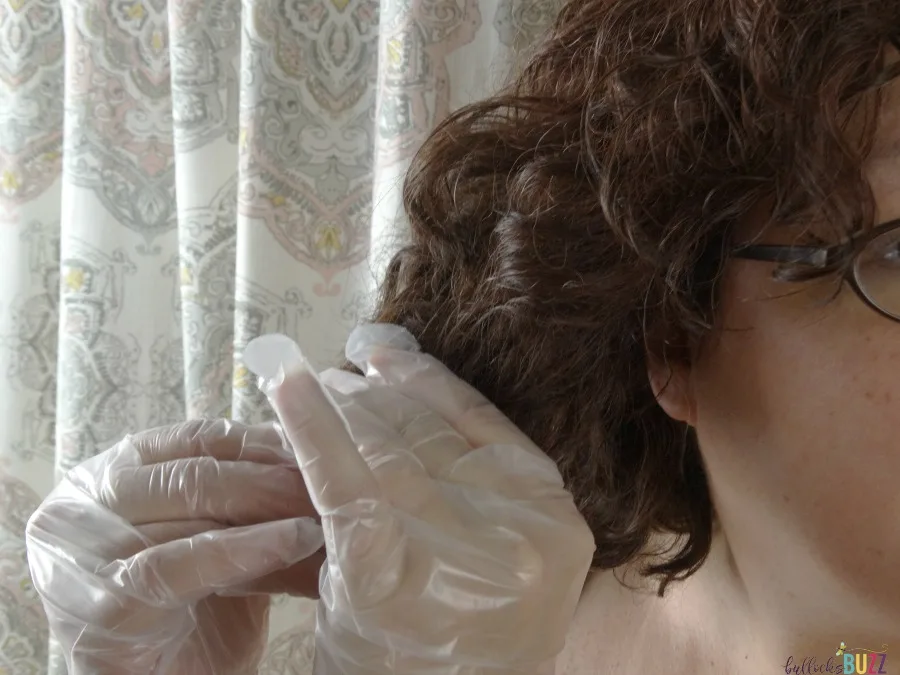
To get started, you first apply the pre-treatment to the very ends of your hair. This Pre-Color Serum conditions the hair before you color for a more even color result from root to tip. I love that they include it!

Next, carefully squeeze the entire contents of the color cream tube into the application bottle and shake it well to make sure everything is completely mixed together.


Apply to your hair immediately, following the included instructions, and let it develop for the recommended amount of time (mine was 30 minutes).

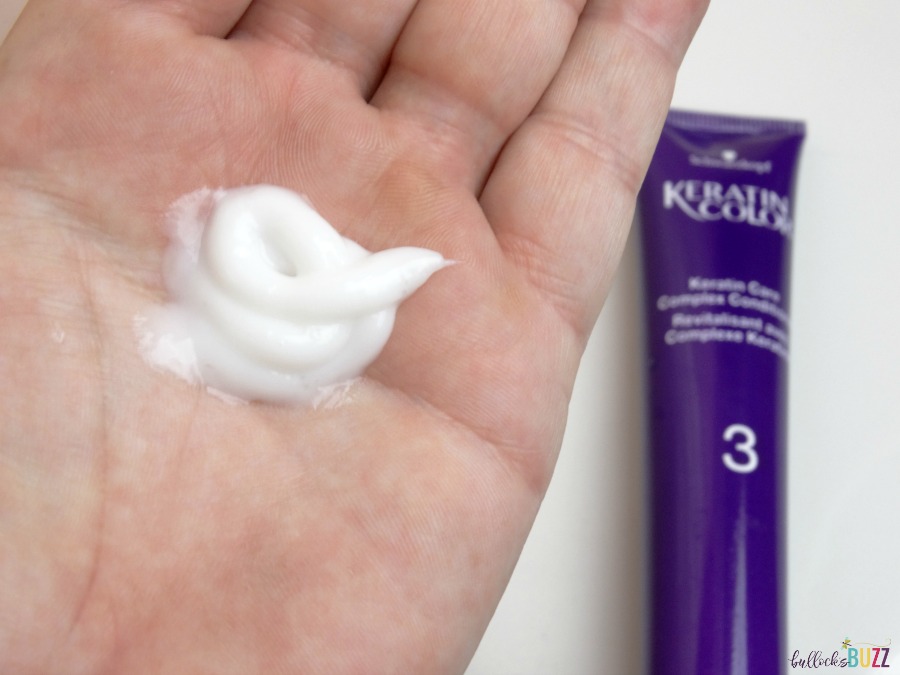
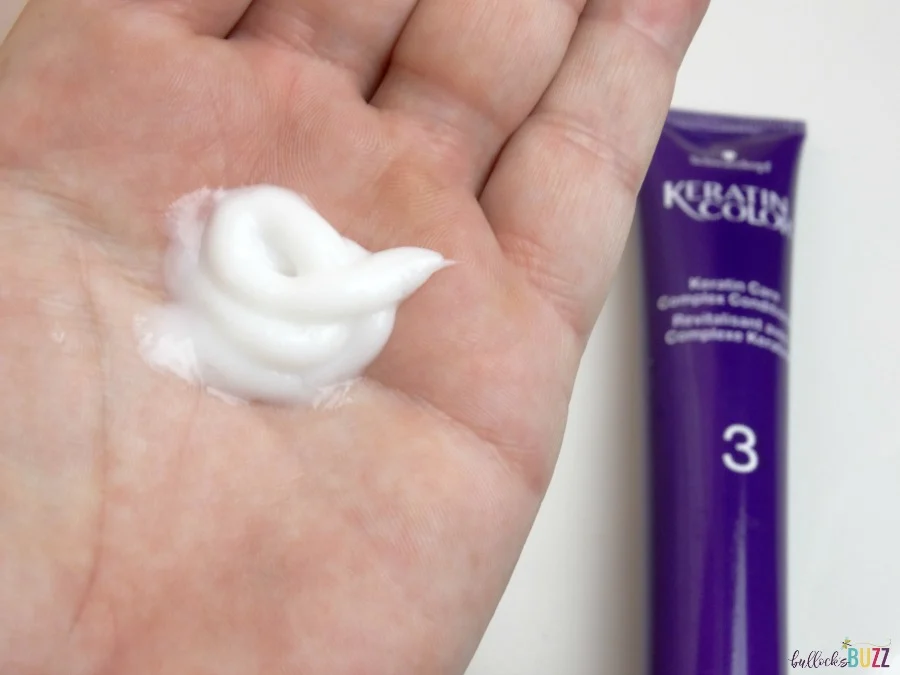
After the hair color has had time to set, rinse out your hair using warm water until the water runs clear. Then add the conditioner as instructed and leave it on for 2 minutes before rinsing once again.
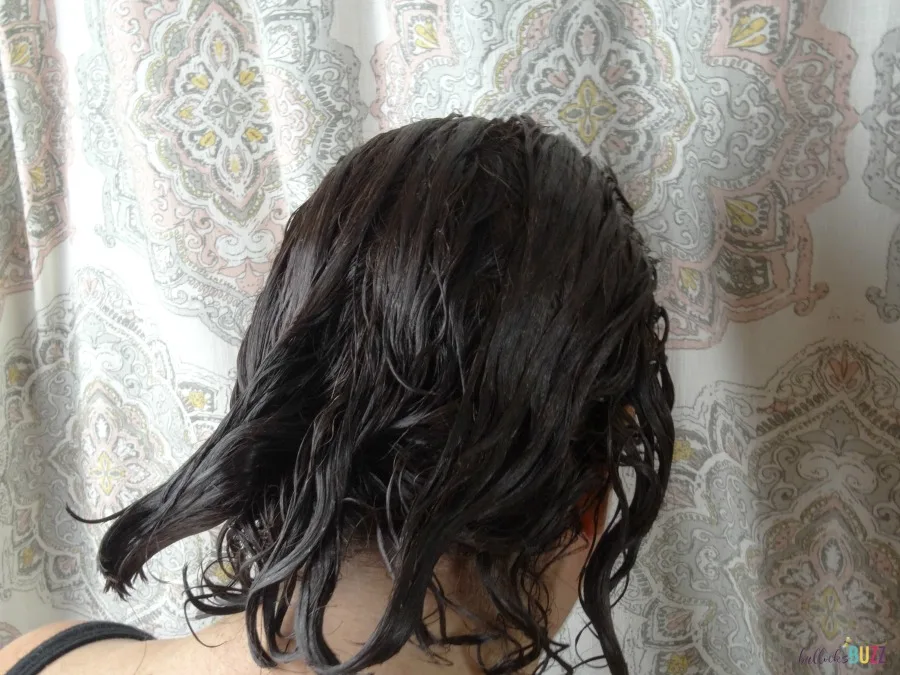
And that’s it! Now you can towel dry it, blow dry it, curl it or style it however you prefer. I absolutely love my new color, and the fact that the process is so easy to do at home makes it even better! This is what it looked like the day I colored it…


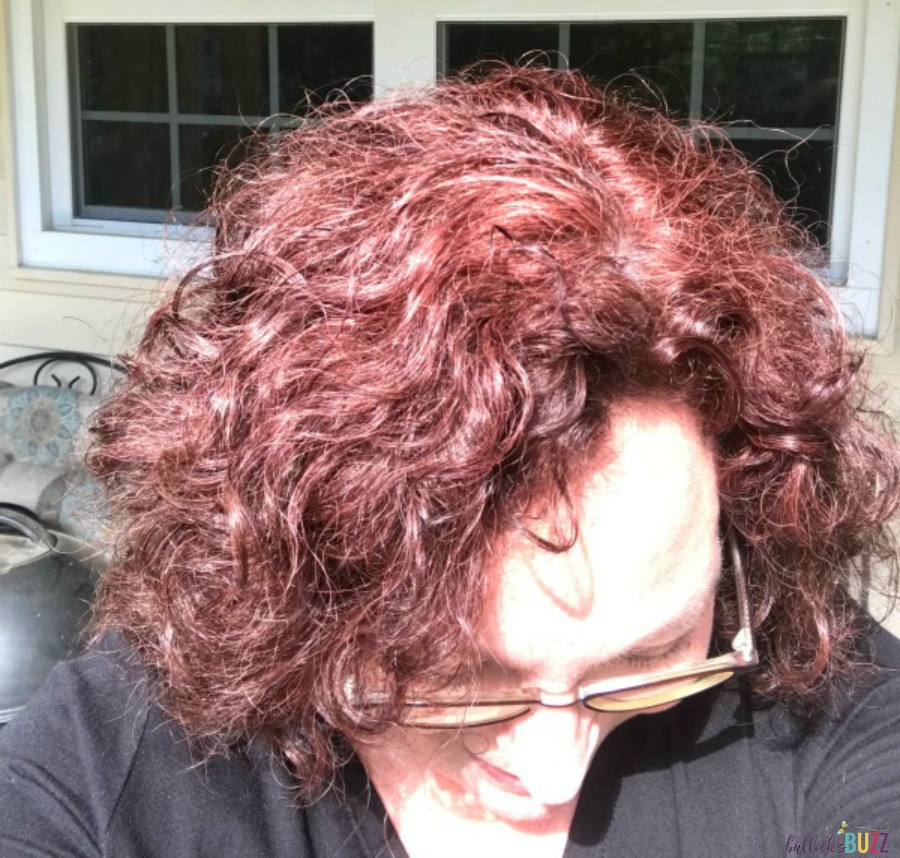
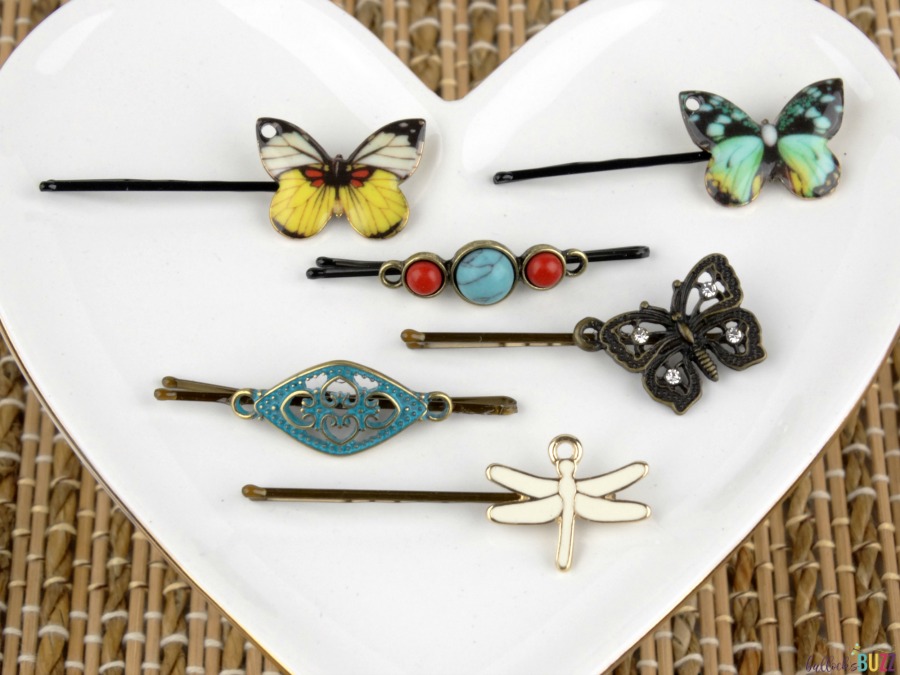
And here it is about a week later, after several washings, pinned back with one of my DIY Bobby Pins…

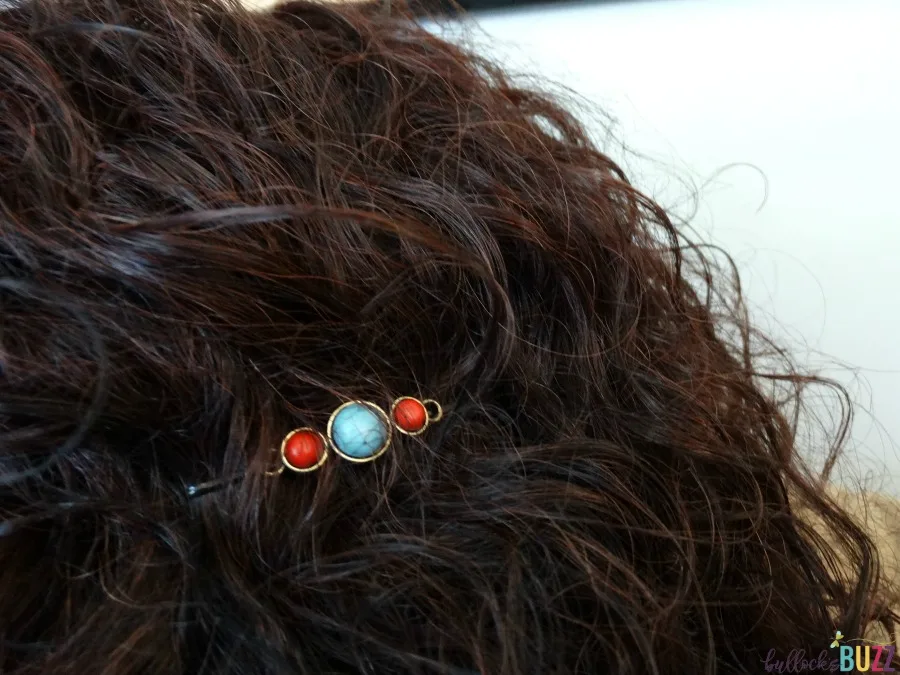
The color is still rich and vibrant, and my hair is shiny, healthy and not dried out at all!


DIY Bobby Pins – How to Make Your Own Hair Accessories
Speaking of pinning hair back, what better way to show off your new color than with some fun and funky do-it-yourself hair accessories?! These DIY Bobby Pins are the perfect complement to new color. Best of all, they are inexpensive and very easy to make!

Ready to see how to make these super cute DIY bobby pins?
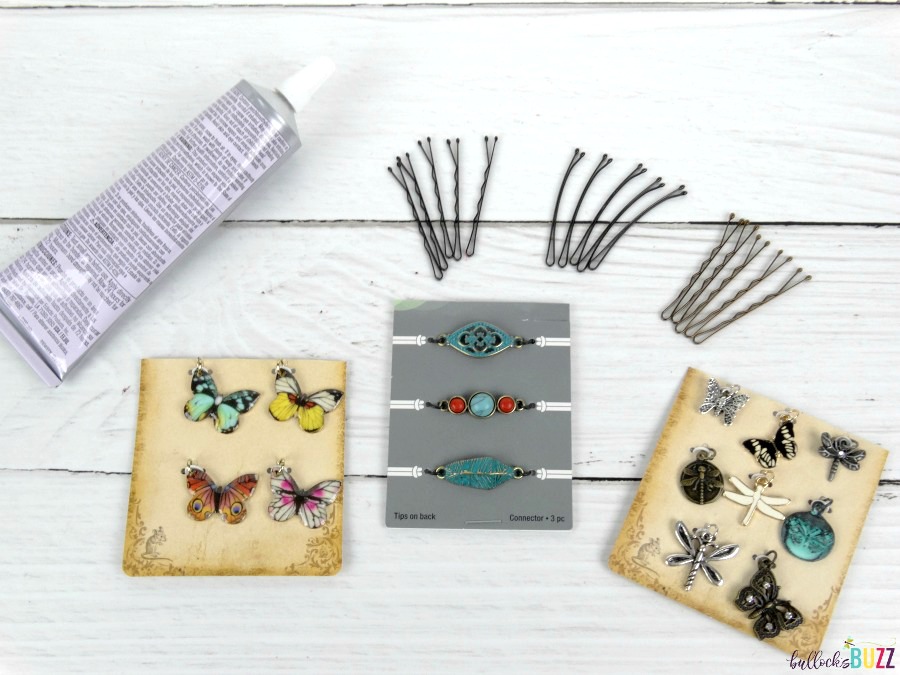
Supplies to Make DIY Bobby Pins
- Bobby pins (regular bobby pins, curved bobby pins or bobby pins with flat head)
- Charms, beads or jewels (or anything you might want to use to decorate)
- Glue (Jewelry Glue, hot glue or E6000 will all work )
- Wire cutters (to remove any unnecessary loops, etc)
- sturdy piece of paper (optional)

Instructions to Make DIY Bobby Pins
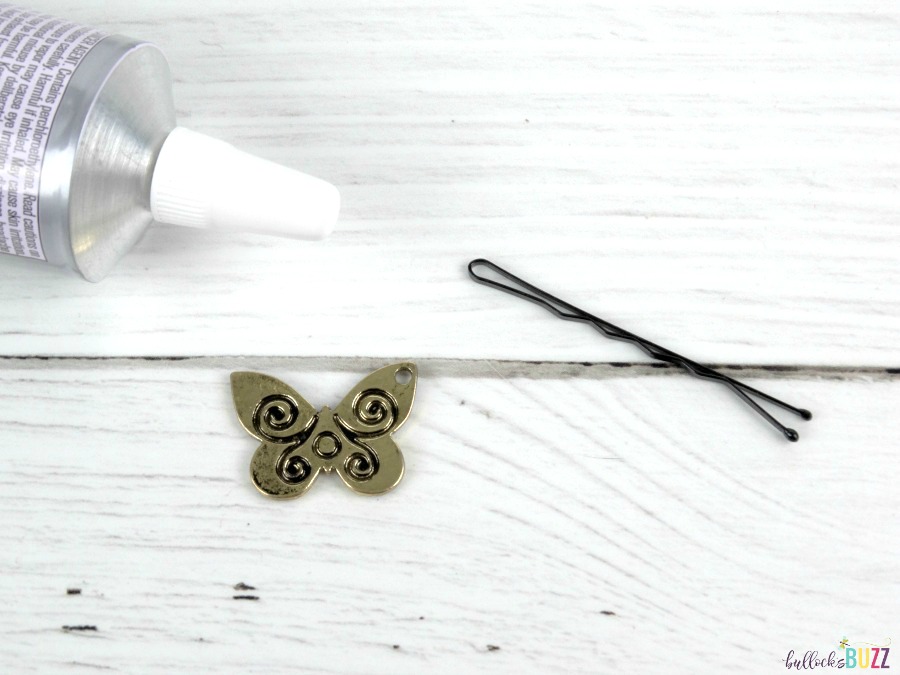
Tip: if you are worried about accidentally gluing the bobby pins prongs together, simply slide the bobby pins onto the edge of a piece of paper. Be sure to leave about 1/2 inch of space between the bobby pins.
First, add a drop of glue to the flat side of the bobby pin (did you know you’re supposed to wear bobby pins with the ridged side down? Yep, mind blown.)

Then, carefully attach the charm, bead or trinket.

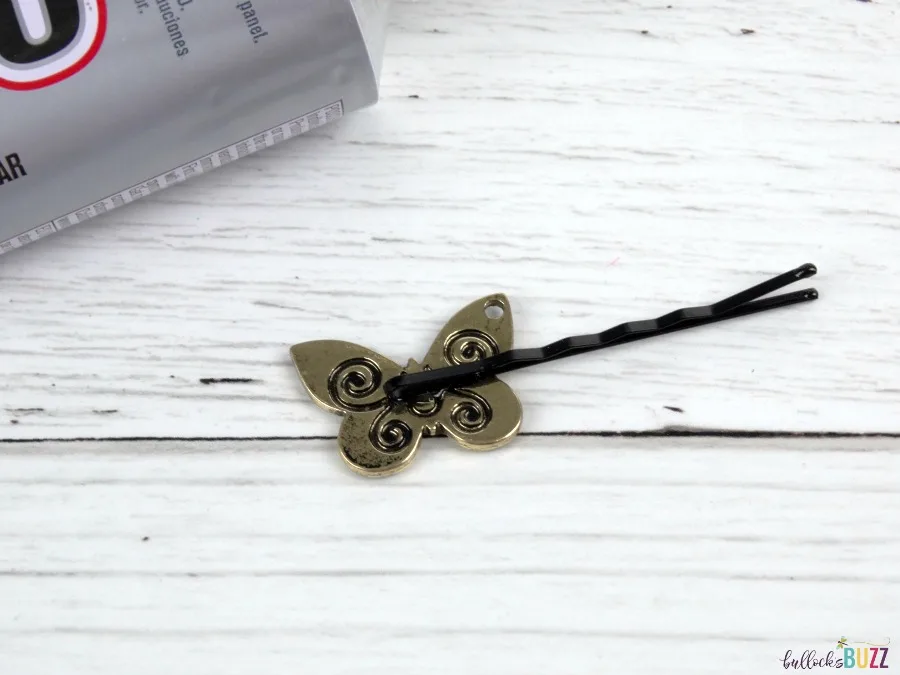
Allow the bobby pins to dry for at least 24 hours. And that’s it – you are done! Here are some of mine all finished. It took me less than 10 minutes to do them. Don’t they look cute?

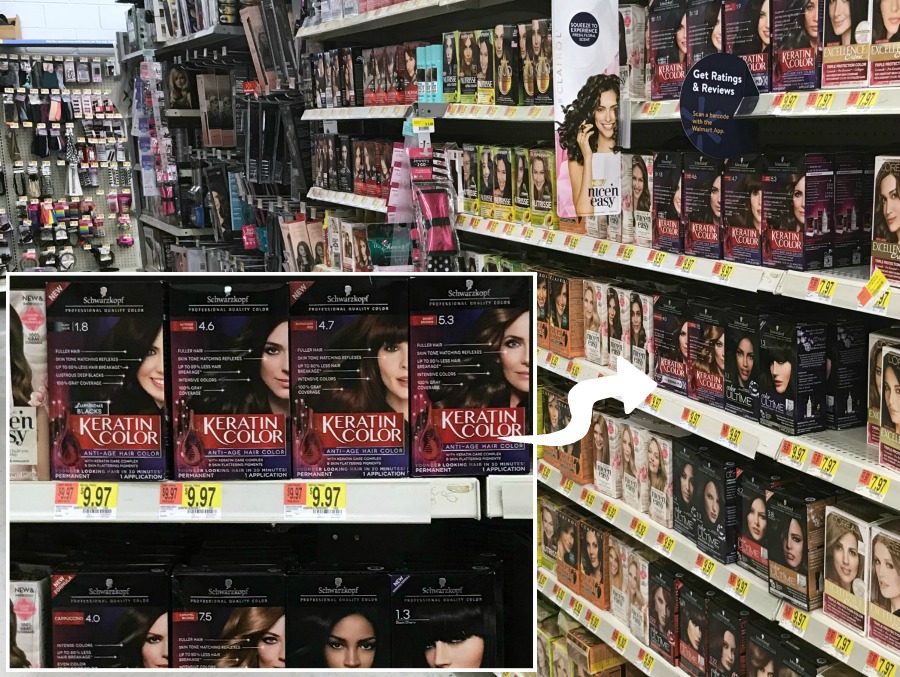
More About Schwarzkopf® Keratin Color
Are you ready to try a new color? Schwarzkopf® Keratin Color can be found in the beauty/health section at your local Walmart. They offer a huge selection of gorgeous colors that really last, and leave your hair looking younger, shinier and healthier.

Which Schwarzkopf® Keratin Color would you like to try?