This post may contain affiliate links. I only recommend products I use and love. Read the full disclosure here
Updated on: March 30, 2023
Originally published on: May 12, 2019
It used to be that giving a gift card as a gift was frowned upon, with reasons ranging from being a lazy gift-giver to the fact that gift cards were considered too impersonal. Now, things have changed! These days, there are so many reasons why gift cards make great gifts! However, if you, like me, still struggle with the idea that giving a gift card is impersonal, I’ve got a great solution: DIY gift card envelopes!


These DIY gift card presentation envelopes are a wonderful way to give your gift cards a bit of personal flair. They are really easy to make and they add a sweet little personal touch. Plus, you can tailor the envelopes to any special occasion by switching out the paper and embellishments!
Have a baby shower coming up? Look for a pack of sweet baby girl scrapbook paper or baby boy paper and add a tiny ribbon, bottle, or pacifier. Someone’s birthday? Get some paper with a birthday party theme and embellishment it with a party favor. Father’s Day? Look for sports-themed paper and matching embellishments.
Use red paper with a candy cane embellishment for Christmas, blue paper with a dreidle for Hanukkah, or woodland animal-themed paper with a small plastic animal model for a kids’ birthday party! You see what I mean!
Too busy to make this cute craft right away? Why not Pin it for later? Pin this easy craft idea to your favorite board on Pinterest and it will be there waiting for when you are ready!
So are you ready to see how to make these fun little DIY gift card envelopes?
How to Make DIY Gift Card Presentation Envelopes
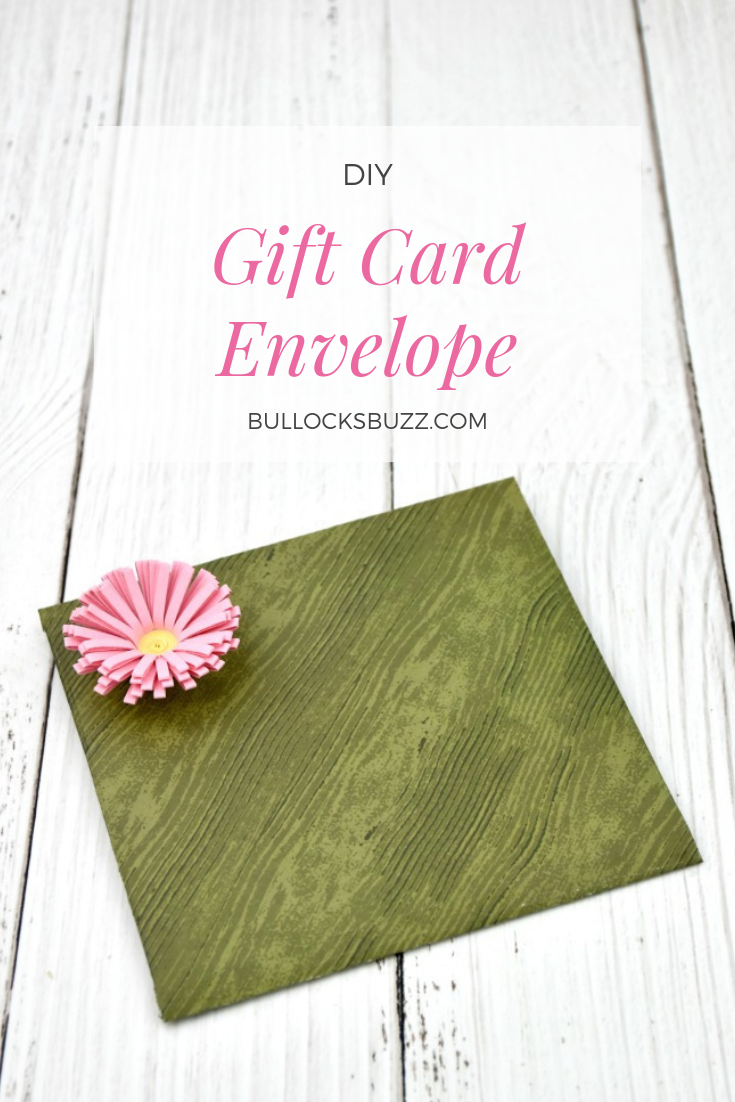
Add a touch of personality to your next gift card with this simple and pretty DIY Gift Card Envelope. These easy DIY envelopes can be used for any occasion and any age. All you need are a few supplies and maybe 15 minutes of your time.
It truly doesn’t get any easier or cuter than this!
Disclosure: This blog post contains links to products or services I think you will like. If you purchase from one of the links, I may make a small commission at no extra cost to you. As always, I only recommend products that I use and love.
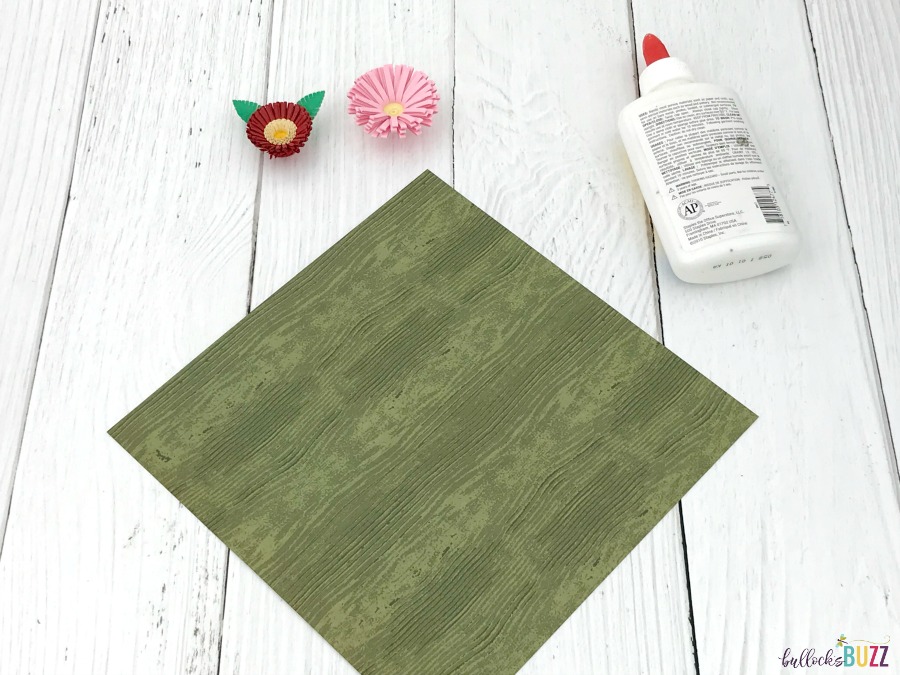
Supplies Needed to Make DIY Gift Card Envelope
- 8 by 8 piece of scrapbook paper
- glue, hot glue, or tape
- double-sided tape (to seal the finished envelope once the gift card is inside)
- embellishments like paper flowers, nylon butterflies, stickers, etc
Tip: You can find all sorts of adorable embellishments in the scrapbook section at Michaels and Hobby Lobby.

Instructions to Make DIY Gift Card Envelopes
These DIY Gift Card Envelopes are so quick and easy to make. In just a few steps you can have a beautiful gift card envelope perfect for any occasion!
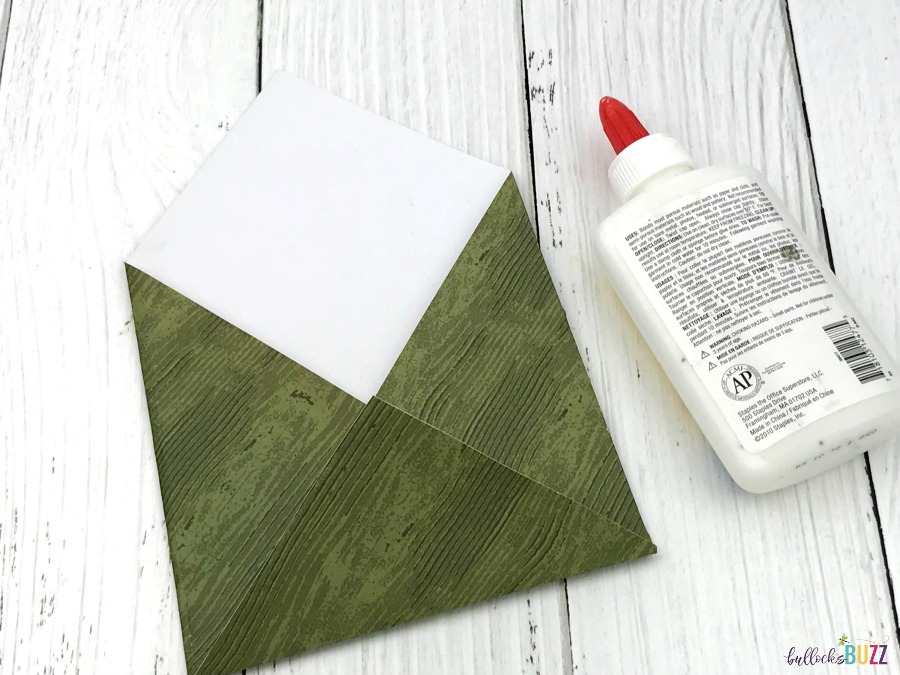
Step One: Cut the Paper
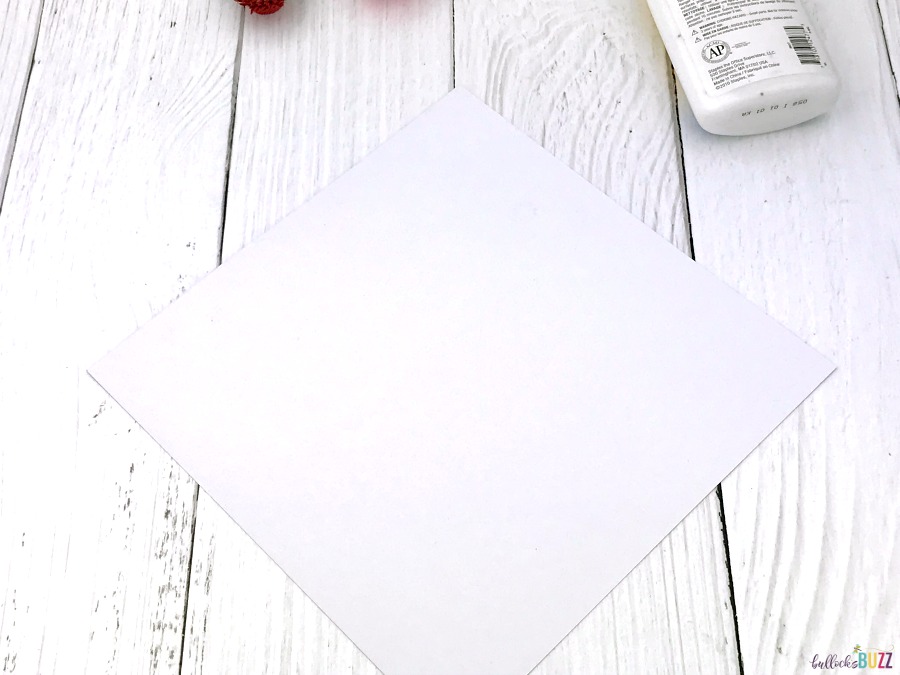
You will need to begin with an 8×8 or a 6×6 piece of scrapbook paper. I used a paper cutter to cut a piece of 12 by 12 down to 8 by 8. Place the paper on a flat surface turned to where it looks like a diamond.

Step Two: Fold
Now, fold the two corners into the center. It’s okay if they overlap a bit.
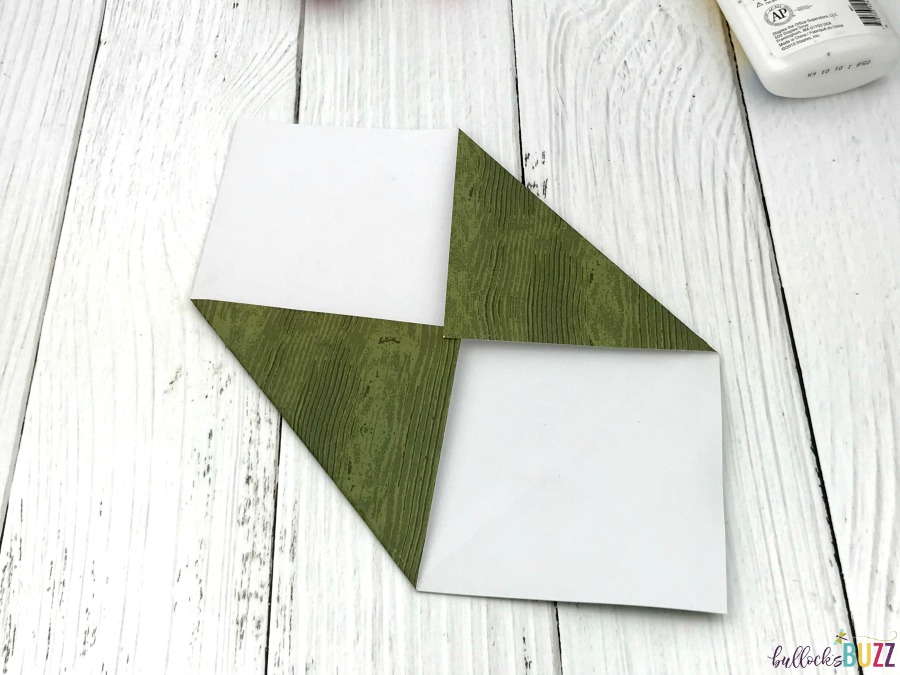

Then, fold the bottom flap up about a quarter inch (1/4 inch) from the bottom. This is so it will have a little bit of overlap with the two middle flaps.
Step Three: Secure
Secure the flaps together with either glue, hot glue, or tape.

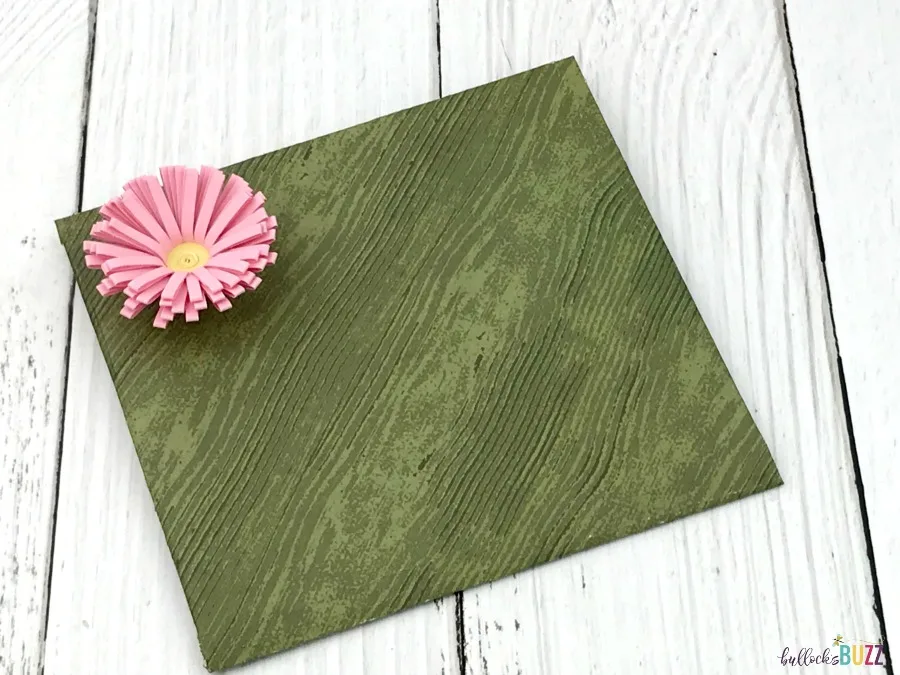
Step Four: Embellish
Once the glue has dried, flip the gift card envelope over, and add your chosen embellishments. I decided to use a small paper flower I made with my Cricut Cuttlebug.

Step Five: Add the Gift Card
Now all that’s left is to tuck the gift card into the envelope and fold over the final flap. I usually use a piece of double-sided tape to seal my gift card envelopes it works perfectly!

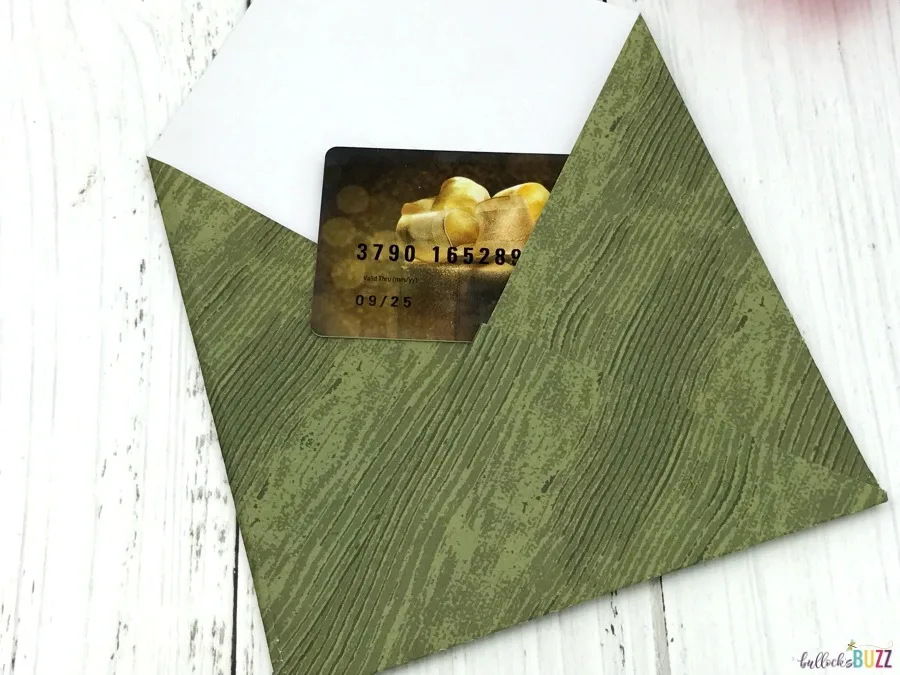
And there you have it, a simple, yet adorable gift card envelope.
In Conclusion
I love these envelopes because they add a cute little personal touch when you give a gift card as a gift. With graduation, end-of-school teacher gifts, Father’s Day, or any other special occasion that calls for a gift, these simple DIY gift card envelopes are just what you need!