Good Cook Halloween Cupcake Stand, Cookie Cutters, Cake Pop Press #goodcookcom

If you read my Good Cook Sweet Creations Haunted House Cookie Cutter Set review then you know all about this amazing Good Cook Sweet Creations Halloween set I was sent that made my annual Haunted Halloween party a hauntingly huge hit! This awesome kit contained several items including a Haunted House Cookie Cutter Set, a Halloween Cupcake Stand, a Halloween Cake Pop Press, a cute 3D Frankenstein Cookie Cutter, cupcake liners, and even some cute treat bags! For those of you who are not familiar with Sweet Creations, it is a Good Cook product line that is designed especially for dessert making, baking and holiday parties. And guess what! TWO Bullock’s Buzz readers will win their very own party kit! But first, I want to share some more tasty Halloween recipes I made using some of the Good Cook items. Be sure to get the kids to help and have fun!
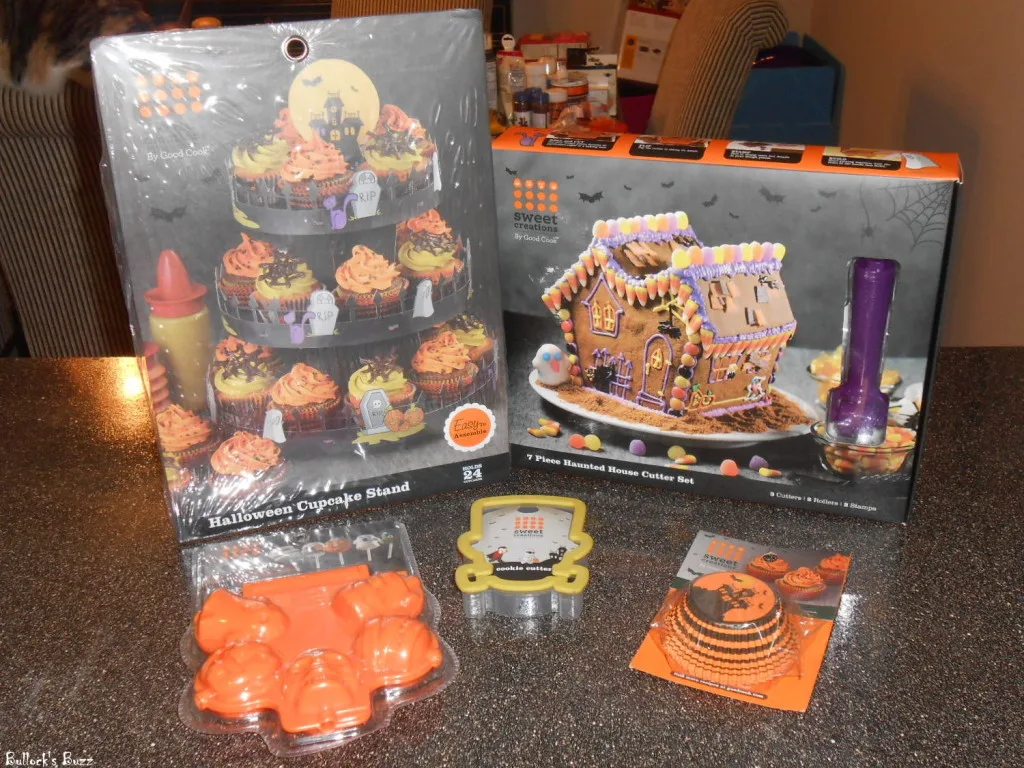
Good Cook Sweet Creations Halloween Cupcake Stand & Cupcake Liners Plus a Creepy Cupcakes Recipe
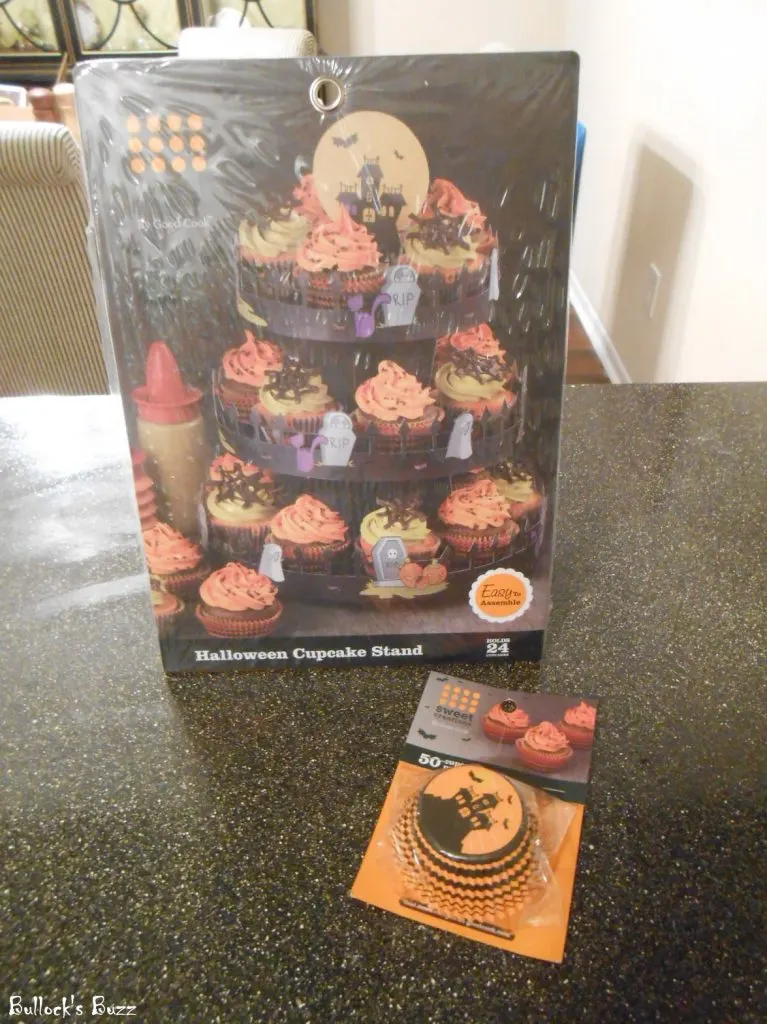
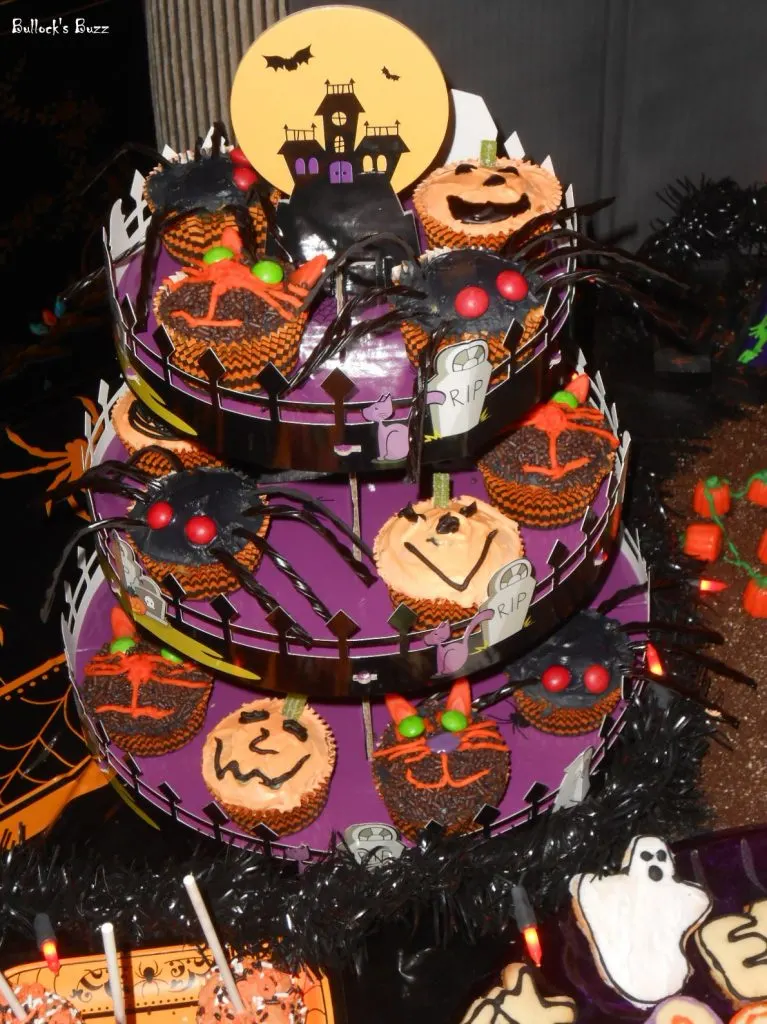
The Sweet Creations Halloween Cupcake Stand is the perfect way to display your creepy cupcakes made in the Sweet Creations Cupcake Liners at your Halloween party! This three-tier stand is made of corrugated cardboard, and is easy to assemble. It can hold up to 24 cupcakes, and is quite sturdy. The Cupcake Liners come 50 to a pack and have a cure Haunted Hose design. The are nice and thick, which I like so they will not tear easily.
To make these Creepy Cupcakes you will need your favorite cupcake recipe, a container of white cake icing, a box of Gel Icing/Food Coloring, a set of cookie decorating icing (or some icing bags to pipe your own), a bottle of chocolate sprinkles, candy corn, Skittles, black licorice and green licorice.
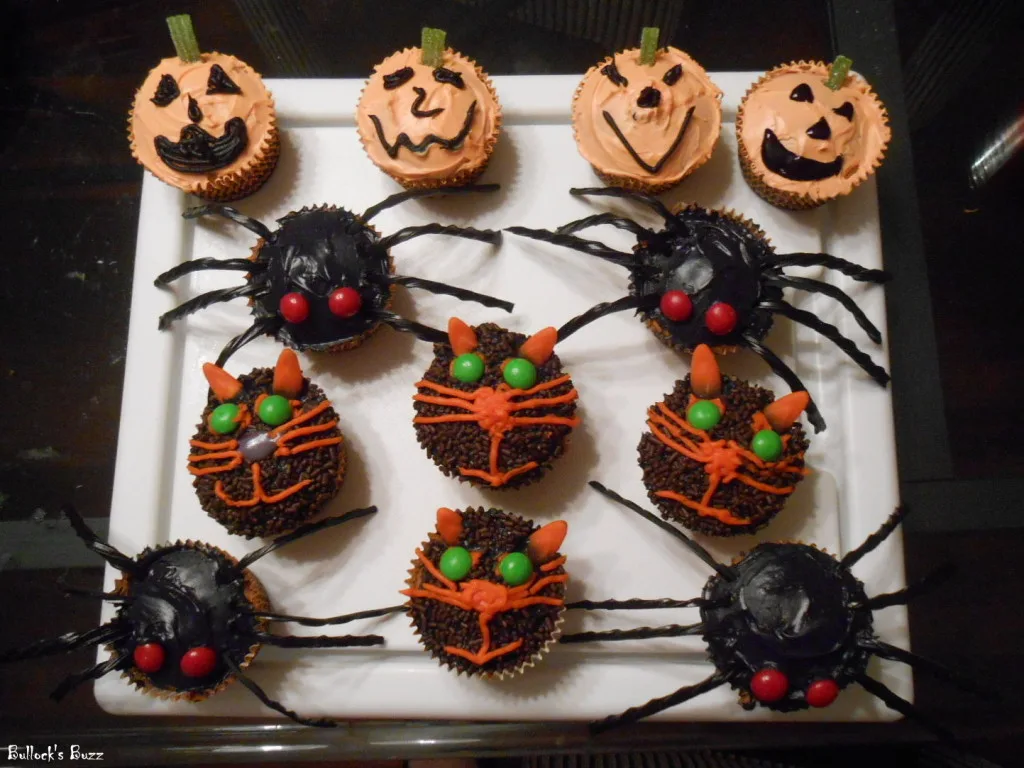
Prepare the cupcake batter, then pour into a cupcake pan lined with the Sweet Creations cupcake liners. Bake. While the cupcakes are baking, gather two bowls and divide up the white icing into each bowl. Add the gel coloring as needed until you get the exact shade of orange and black you want to use. Separate the candy you will be using to decorate into individual bowls or another cupcake pan to make it easier to access. Once the cupcakes are done, set out to cool completely before decorating.
Black Cat: cover the top of the cupcake with black icing, and then dip into a bowl of chocolate sprinkles. Using the orange cookie decorating icing (or your own homemade icing) pipe on the whiskers, nose and mouth. Add two Skittles for the eyes, and inset two candy corn (wide end first) into the cupcake for the cat’s ears.
Pumpkin: cover the top of the cupcake with the orange icing. Decorate using black cookie icing. Insert a piece of green licorice for the stem.
Spider: cover the top of the cupcake with the black icing. Using pre-sliced, thin strips of black licorice, insert four per side for the spiders legs. Add two red Skittles for the eyes.
Set on cupcakes on the cupcake stand and you are done!
Freaky Frankenstein and other Spooky Sugar Cookies
For these cookies, you will need your favorite Halloween cookie cutters – I used the Sweet Creations 3D Frankenstein Cookie Cutter, as well as some cheap ones I found at a dollar store. I love the large size and soft grip of the Frankenstein cookie cutter, it makes it much easier to use. You will also need the ingredients for the sugar cookies, as well as a tub of white cake icing, Gel Icing Coloring and orange, green and black tubes of cookie decorating icing.
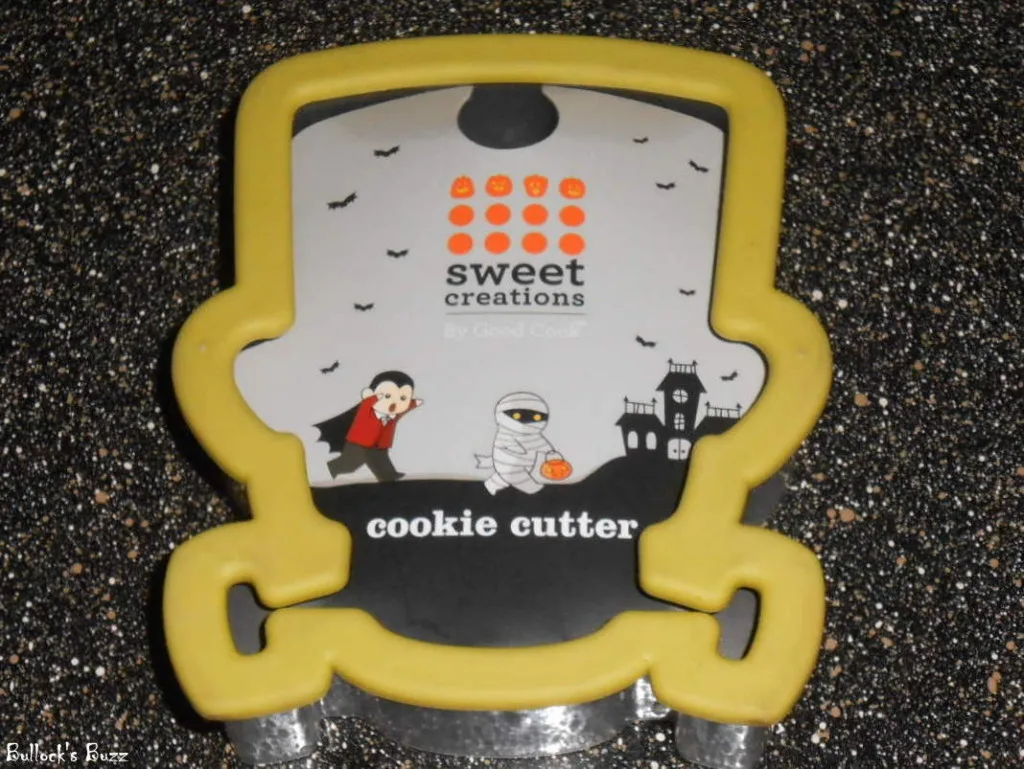
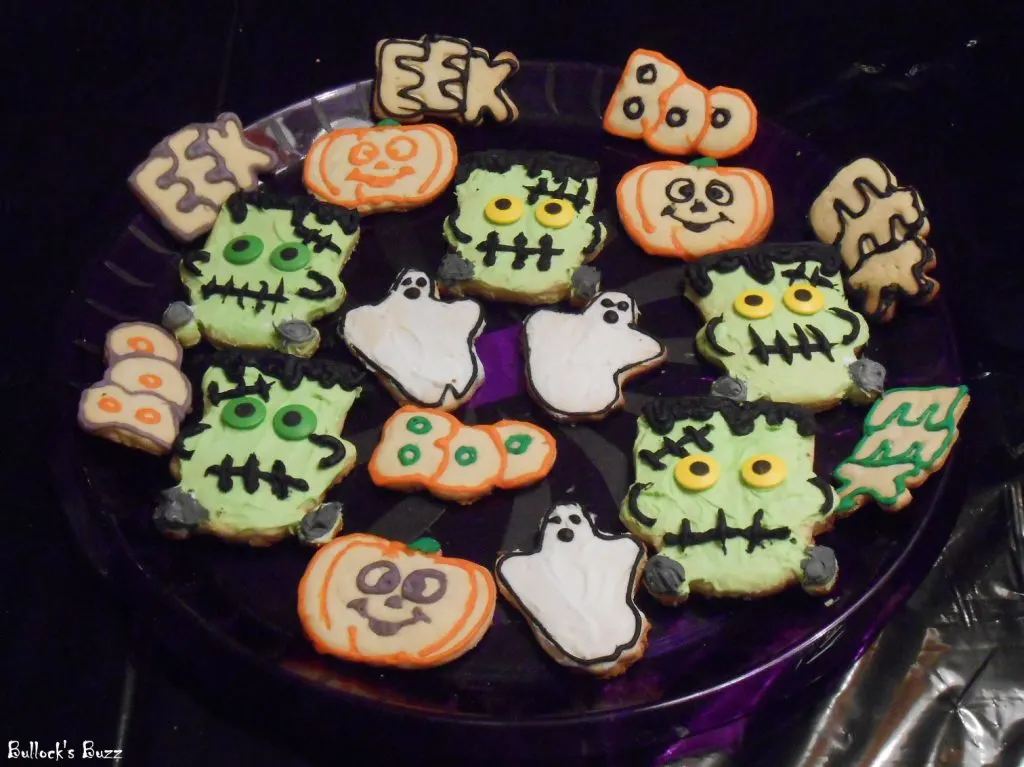
Simply bake the cookies then decorate as desired using a variety of colors. I made the gray bolts on Frankenstein’s neck by mixing black and white icing, the rest were colored using the cookie decorating icing.
Makes 24 cookies
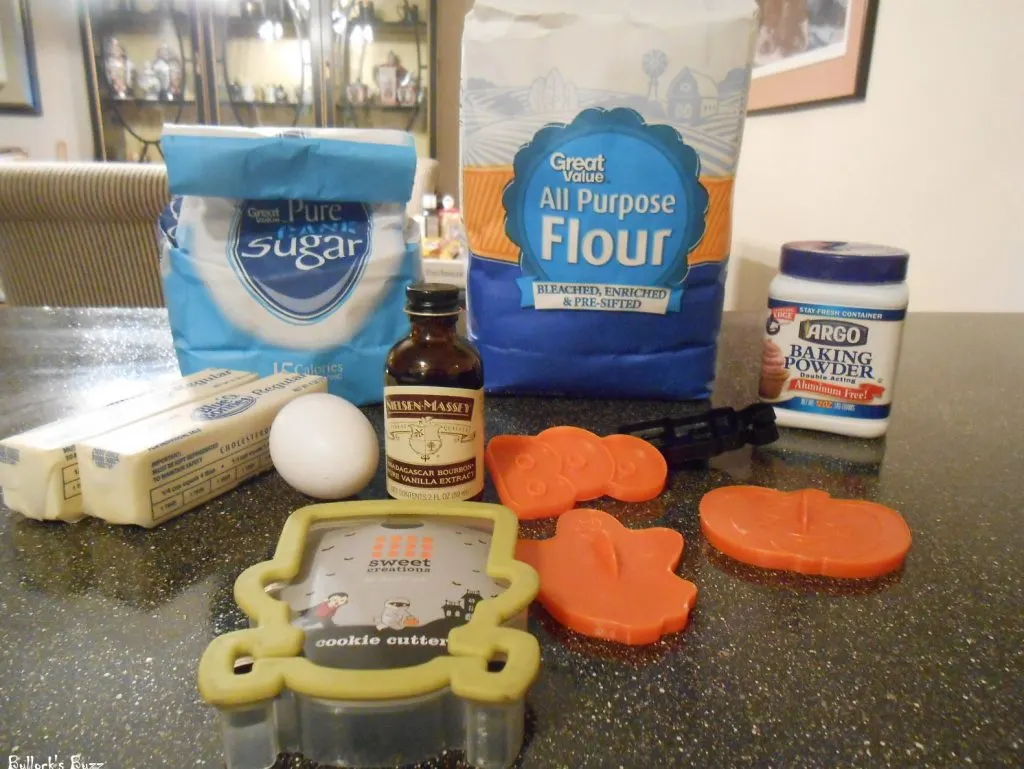
Ingredients
1 cup butter at room temperature
1 cup sugar
1 large egg
1 tsp vanilla extract
2 tsp baking powder
2 3/4 cups all-purpose flour
Instructions
1. Cream the butter and sugar using a hand-held blender
2. Add the egg and vanilla.
3. Mix in all remaining dry ingredients adding slowly to butter/sugar mixture.
4. Roll out on a lightly floured board to the desired thickness.
5. Cut out shapes.
6. Bake at 400° for 7 to 19 minutes or until cookies are lightly browned around the edges.
7. Remove from over and let cool.
8. Decorate.
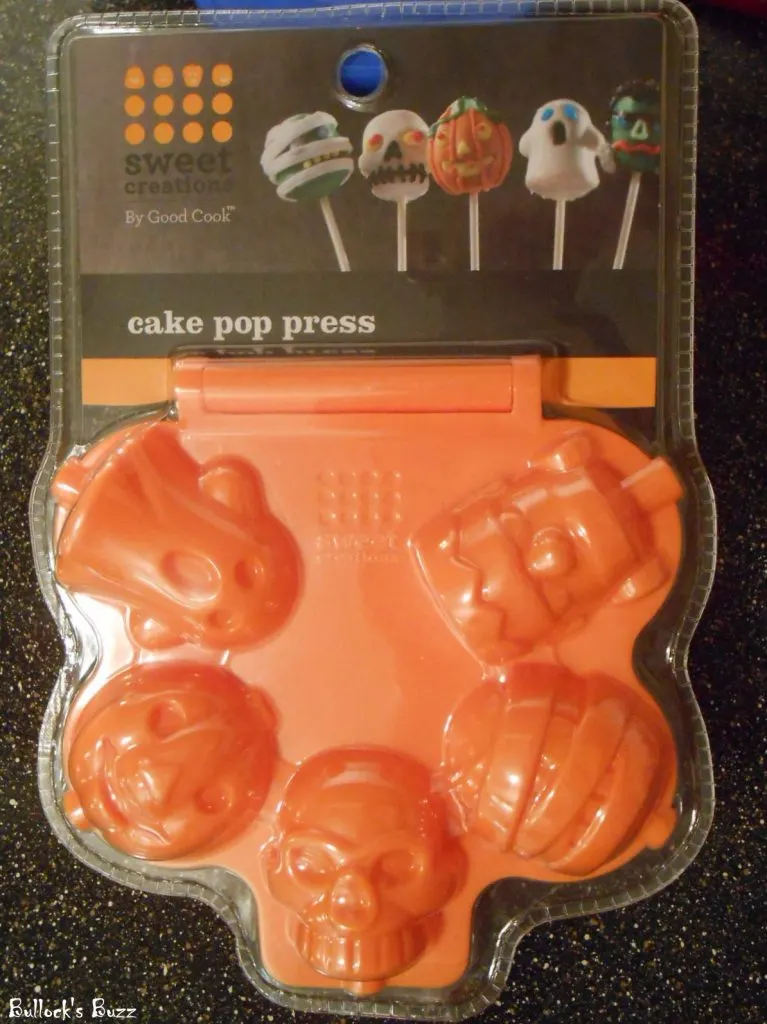
Good Cook Sweet Creations Cake Pop Press
This Sweet Creations Cake Pop Press makes creating cake pops a breeze! Even I was able to make some tasty cake pops that would scare you! The mold has five different designs – ghost, skull, Frankenstein, pumpkin and mummy – all in one easy-to-use piece. It even includes instructions which was real helpful since I had never made cake pops! You will need your favorite cake recipe, a container of icing, either a bag of candy melts or chocolate chips, Halloween sprinkles, cake pop sticks and items with which to decorate.
All you do is make a cake using your favorite recipe, whatever flavor you prefer. Once the cake is completely cooled, crumble it up using a food processor. Then add in 1/2 to 3/4 container of icing – again any flavor and color – and mix well. Then you need to stick it in the refrigerator until completely chilled. I left mine in there for about 36 hours which made it extremely easy to mold and it held together perfectly.
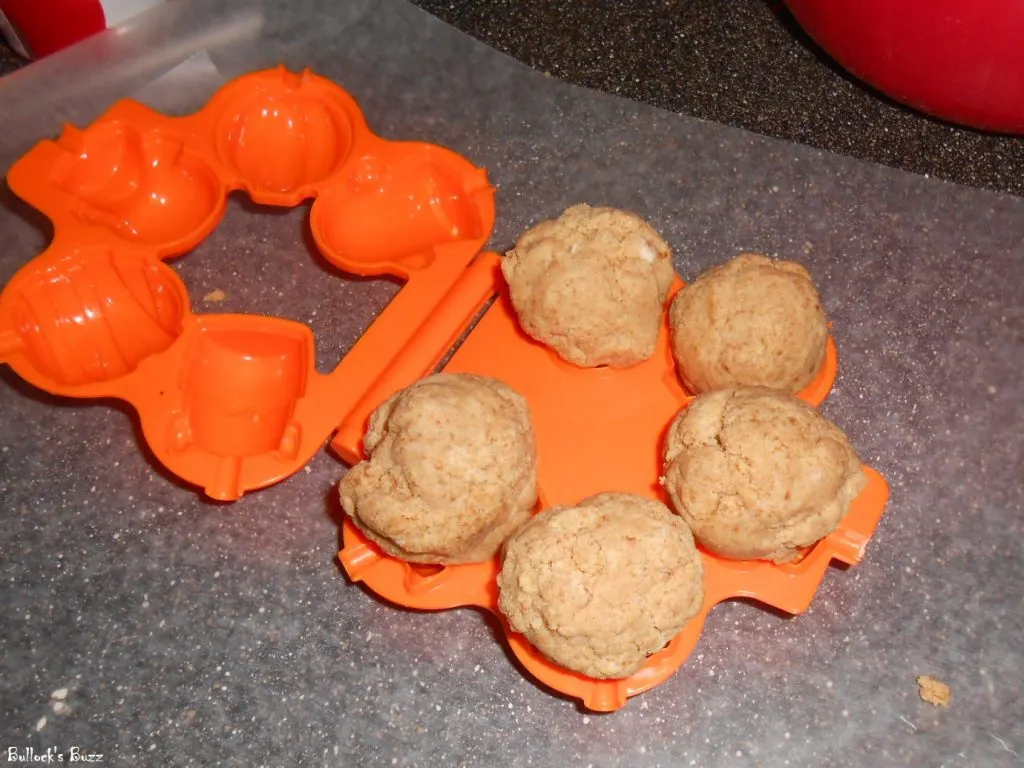
Once the mixture is ready, make a ball slightly larger than the size of each individual mold. Place the balls inside each mold and close the top pressing down firmly. Open the mold and remove all excess cake. Using the melted candy melts (or chocolate chips), dip a cake pop stick into the candy covering about half the size of the cake pop (this acts as an edible glue to hold the cake pop on the stick). Insert the candy-covered stick about halfway into each individual mold. Allow to set for several minutes – I waited for about 5 to 6 minutes.
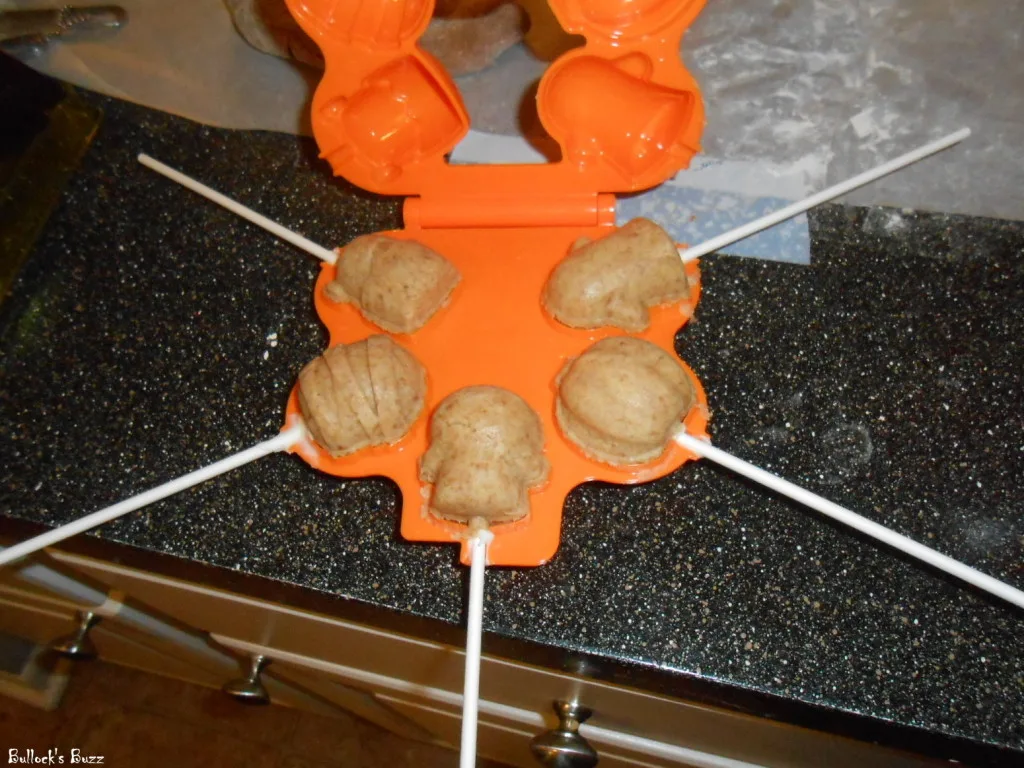
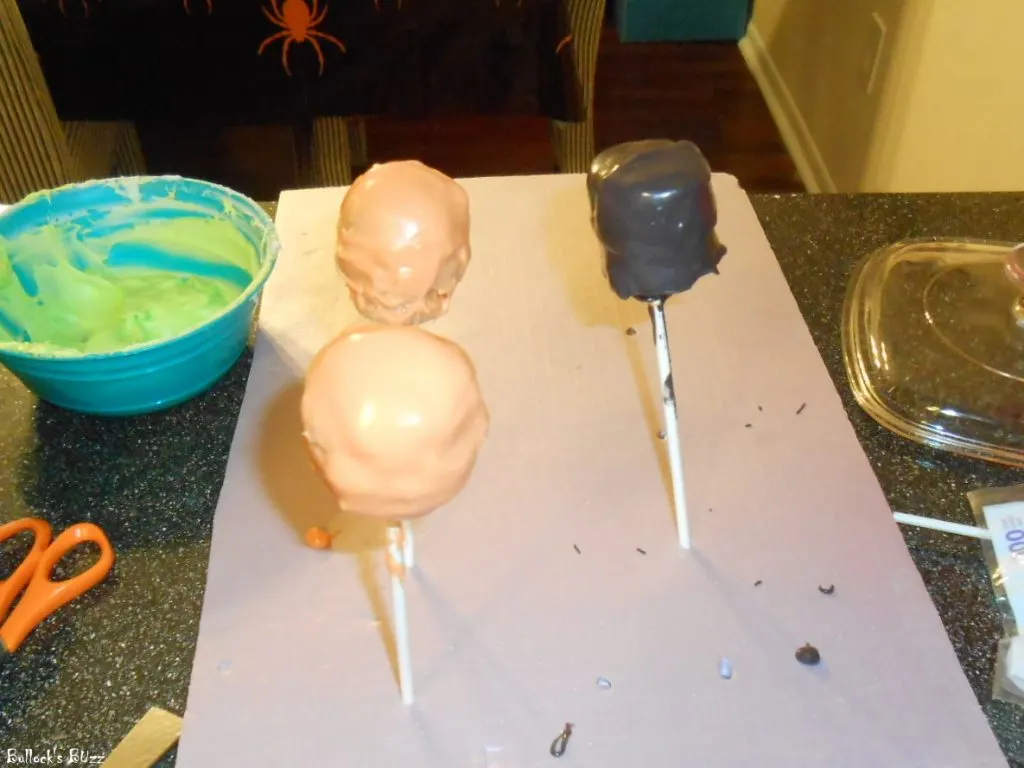
Then, remove one mold at a time and dip into the liquid candy, carefully rolling the cake pop to allow excess to drip off until you can see the designs from the mold. Insert the stick into a piece of styrofoam to secure while the candy hardens. Repeat for each mold, until all five molds are empty. Begin another round while these dry.
If you have problems with the candy being too thick or the cake pop falling off the stick try these tips:
-thin the candy melts using Crisco
-use a paintbrush to paint the candy on, this way you won’t have to dip and risk the pops coming off the sticks due to the weight of the candy melts.
-use frosting instead of candy melts. Heat it in microwave at half power watching carefully until it has a liquid consistency.
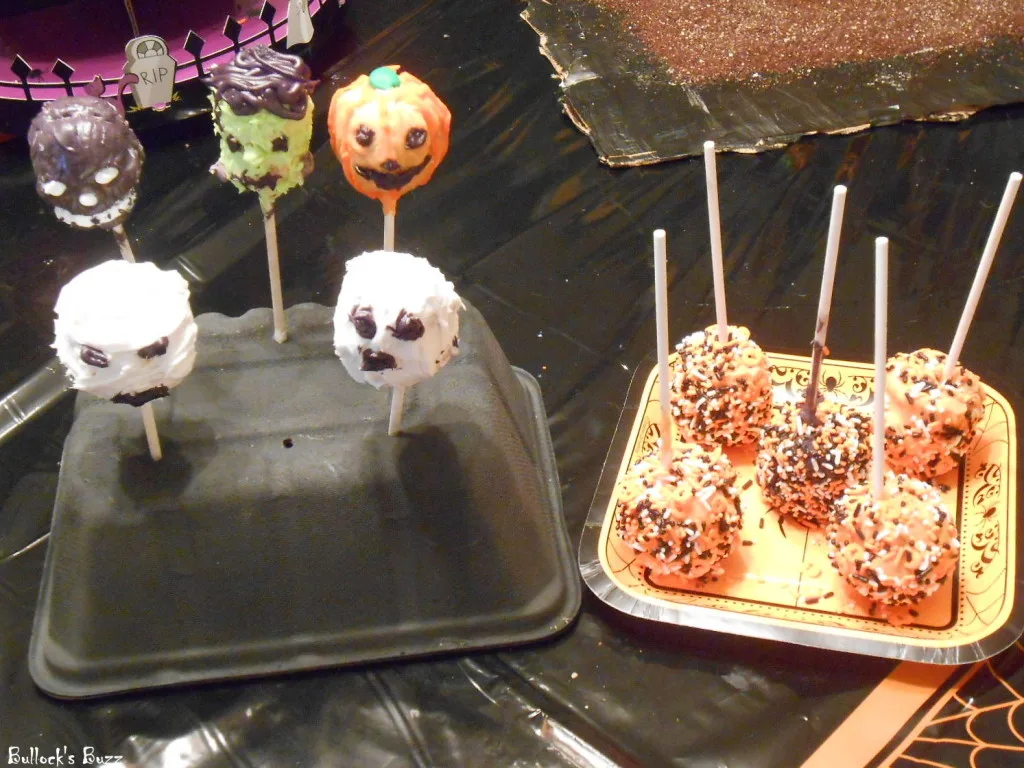
Once all cake pops are made, and have completely dried, all that is left is to decorate them the way you like and then enjoy! I personally used the leftover icing from the cookies and cupcake above to decorate my cake pops. You can use fondant, royal icing, whatever you like! I also dipped a few in Halloween sprinkles and flipped them upside down so the cake pop was resting on a plate. Just have fun and then enjoy!
Want to make your own? Good Cook is offering all of my readers a 25% discount to GoodCook.com for any Sweet Creations Halloween product! All you have to do is use the promo code: HAUNTED23 when you check out. And now, as promised…TWO readers will win the exact same Good Cook Sweet Creations Halloween kit I reviewed!

To enter, use the Giveaway Tool form below! You must be a resident of the US to enter. This giveaway will end at 11:59pm CST October 22. Please be sure to read the terms and conditions before you enter.
Two readers are going to win a Haunting Halloween Party kit that includes:
- Good Cook Sweet Creations Haunted House Kit
- Good Cook Sweet Creations Cupcake Stand
- Good Cook Sweet Creations Halloween Cake Pop Maker
- Good Cook Sweet Creations Cupcake Liners
- Good Cook Sweet Creations Frankenstein Cookie Cutter
- Good Cook Sweet Creations Treat Bags
GOOD LUCK!!

laurie
Tuesday 22nd of October 2013
I love making cookies to give away
autumn eaton
Monday 21st of October 2013
I love having a party and making all sorts of yummy spooky goodies!
Heather!
Sunday 20th of October 2013
My hometown always did a community Halloween party. Costume contests, dunking for apples, games, etc. So much fun!
h4schaffer at gmail dot com
Kristyn
Thursday 17th of October 2013
love all the Halloween treats it all looks fabulous!
Jaana Bauman
Thursday 17th of October 2013
This will be our first year trick or treating with our first child! I have a feeling our favorite Halloweens are to come! :)