This post may contain affiliate links. I only recommend products I use and love. Read the full disclosure here
Last Updated on June 20, 2023 by Alaina
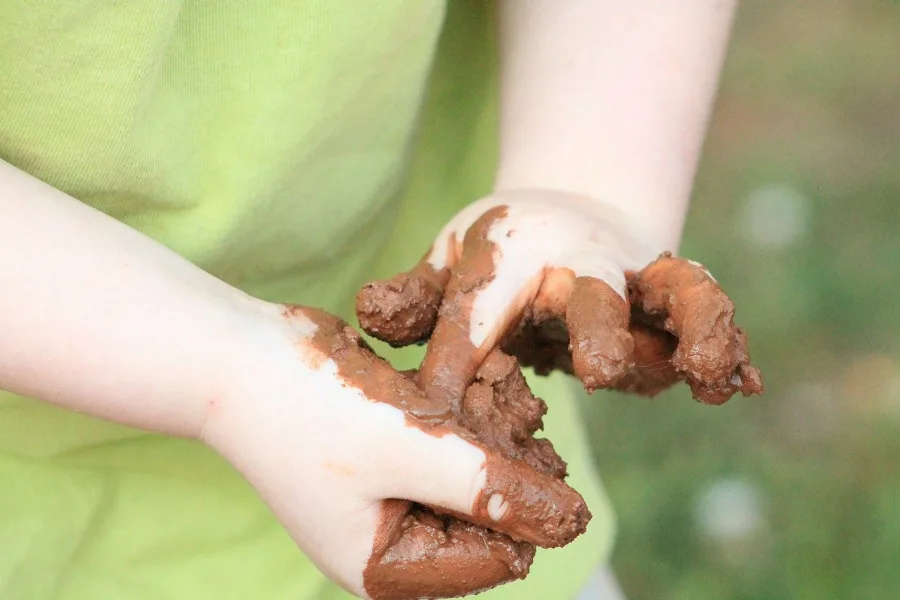
During the summer, kids love spending time outdoors. They also enjoy playing with mud, despite the mess it creates. As a parent, summer is the perfect time for turning your backyard into a child-friendly playground for your little ones.
There are many ways you can turn your backyard into a playground. However, if you are looking for creative activities, why not consider setting up a mud kitchen? This type of constructive play encourages your child’s creativity and imagination. Below is a step-by-step guide on how to convert your backyard into a child-friendly playground by installing an outdoor mud kitchen from pallets:

1) Choose an Ideal Location
The first step in turning your backyard into a child-friendly playground is finding the perfect spot. When choosing your child’s play space, consider an area of the backyard that has minimal interference from grownups. Not only can you distract your child from creative play, they can distract you from your activities, too.
Make sure you select an area where you can monitor your child, while still taking care of your activities. An ideal location, for example, would be an area that is near a window, door, or your work station.
If creating a mud kitchen, make sure there is easy access to water and dirt! After all, it’s hard to create mud food without any mud,. 😉
2) Create Space
In some cases, backyards are used to store the excess and unwanted stuff from the house. If the area you have chosen is cluttered or used for storage, your next step would be to clear that area to create speace for the play kitchen.
Start by sorting out the clutter and getting rid of the unwanted or unrepairable items. Also, sort out and remove any harmful or hazardous items, and keep them away from the play area to avoid accidents. Make sure you avoid storing items that can easily fall or break near the children as well.
3) Build the Outdoor Kitchen
Now that you have the perfect spot picked out and cleared out, it’s time to get started building the mud kitchen! Most outdoor play kitchens are made using old pallets. However, whatever material you opt to use, the play kitchen should be constructed with your child’s safety in mind. Avoid sharp edges and loose materials that can injure children or other people in the backyard.
While you could easily hire professionals to do the construction, it’s much more fun if you do it yourself. You could even get the kids to help which would serve some quality bonding time. If you’re not sure on how to build one, you can find all sorts of ideas online.
4) Stock it Up
Once the play kitchen is constructed, it’s time to stock it up. As the idea is for this to be like a real kitchen, look for or create items that resemble actual kitchen items. Create a sink from a small plastic storage container. Gather together some old plastic dishes and utensils. And don’t forget the pots and pans so your children can cook up some tasty mud pies and cakes!
Just remember that all items should be safe for children to use and easy to clean, too.
5) Decorate
Children love bright and colorful spaces. Add a little color to their mud kitchen or other outdoor play area by painting the pallets. You could also add colored tires or a seat for the kids to sit on while resting. This thrills the children, and they get to love the space even more.
6) Initiate Play
Depending on your child, he or she may be a bit hesitant to use their mud kitchen at first. Spend a little time with them there at first. Play together with them, and help them come up with some tasty mud creations to make. You can also invite their friends over to play with them to ensure that they develop a liking for it.
As your child grows more confident, avoid being present at all times. Just don;t forget to watch from afar and join in when invited to “eat”.
In Conclusion
Turning your backyard into a child-friendly playground is a great way to encourage your child’s imagination and creativity. With a few simple tools, a couple of hours and your own creativity, you can easily create a space that will provide hours of fun for your child right in your own backyard!
