This post may contain affiliate links. I only recommend products I use and love. Read the full disclosure here
Updated on: May 18, 2026
Originally published on: September 2, 2018
When you add text of any kind to a photo, it is important that you’re able to fully control and adjust its appearance. The options that you have to do that can make a world of difference, and it is often what separates stunning inscriptions from amateur-looking text.
That is why although any basic editor or graphics software can add text, you should try using Movavi Photo Editor. Simply put it will provide you with numerous options, so you can add exactly the type of text that you want to your photos.
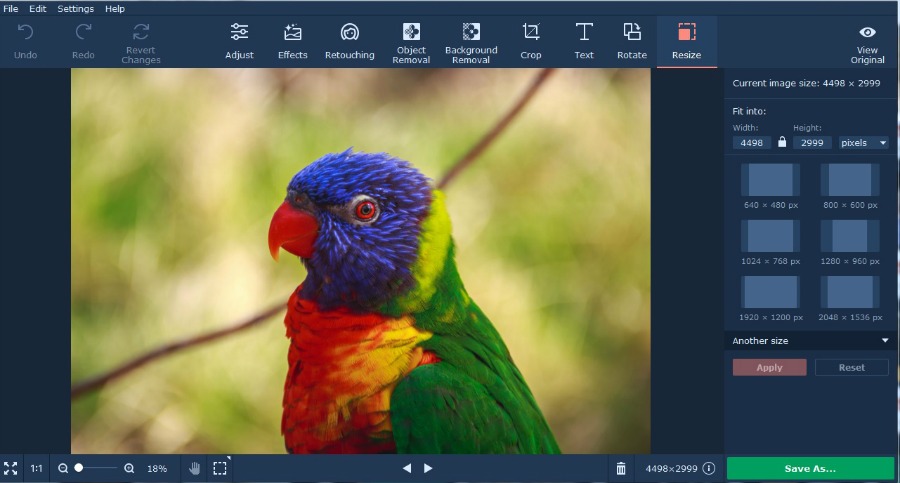

How to Add Text and Edit
If you’d like to try adding text to photos using Movavi, you can launch Movavi Photo Editor and click on the ‘Browse for Images’ button. Once you select the photo, it will open up in the main working area, and you can then click on the ‘Text’ tab in the upper navigation bar of the interface to open the panel that you need.
Within the ‘Text’ panel, you can click on the ‘Add Text’ button to add a text element. It will appear as a frame of broken white lines, and you can type out the text you want to add within that frame. If you want, you can add multiple text elements in this way using Movavi Photo Editor.
The rest of the options in the ‘Text’ panel will let you adjust the appearance of the text element that you added. As you will notice Movavi Photo Editor divides these options into a ‘Text’ subtab, which will let you adjust the appearance of the text itself, and a ‘Background’ subtab, where you can adjust the appearance of the text element’s background.
Adding Stickers and Other Decorations
If you want to add ‘stickers’ to go along with your text, you can click on the ‘Add Decorations’ button near the ‘Add Text’ button and browse the selection that is available. At any point, if you aren’t satisfied, you can click on the ‘Remove All’ button to start over. On the other hand, when you’ve finished editing, you can click ‘Save’ and select a format to use when Movavi Photo Editor saves the photo.
Conclusion
As you can see, adding text to your photos using Movavi Photo Editor is really quite easy, and it won’t take long at all. The same can be said of its other features, and if you want, you can try to use them to enhance the quality of your photos, apply artistic filters, remove unwanted objects, adjust the frame, and more.
Simply put you should have no difficulty adding a text element and making sure that it looks great if you use Movavi Photo Editor. Because of its intuitive approach, you won’t need any prior experience, and can take advantage of all of its other features as well. In fact, if you spend a bit of time trying out each feature, you should be able to come up with much more impressive photos with its help.