This post may contain affiliate links. I only recommend products I use and love. Read the full disclosure here
Updated on: June 29, 2023
Originally published on: June 21, 2023
Family stories are one of the key aspects that shape a person’s identity. That is why it’s important to discuss your family history with all members, including kids. To make the process more engaging, you can try to create a DIY family tree chalkboard as a fun family activity!
Since most people comprehend information visually, children and other family members can remember the stories, names, and faces of other relatives better by crafting or at least seeing a family tree chalkboard. However, there are a few pitfalls that you should avoid. So, we’re going to share a few tips to help you create your own DIY family tree. Let’s get started right now.

Make a Draft of Your Family Tree
Before you get down to cutting pictures and decorating your chalkboard, you need to make a draft. First, do some research to make a list of relatives you want to include and verify the information you know about them by using special services or asking other family members – this is also a good opportunity to give your grandparents a call!
Then you can figure out the branches showing the relations between all of your relatives and draft the family tree layout with their names and other basic information.
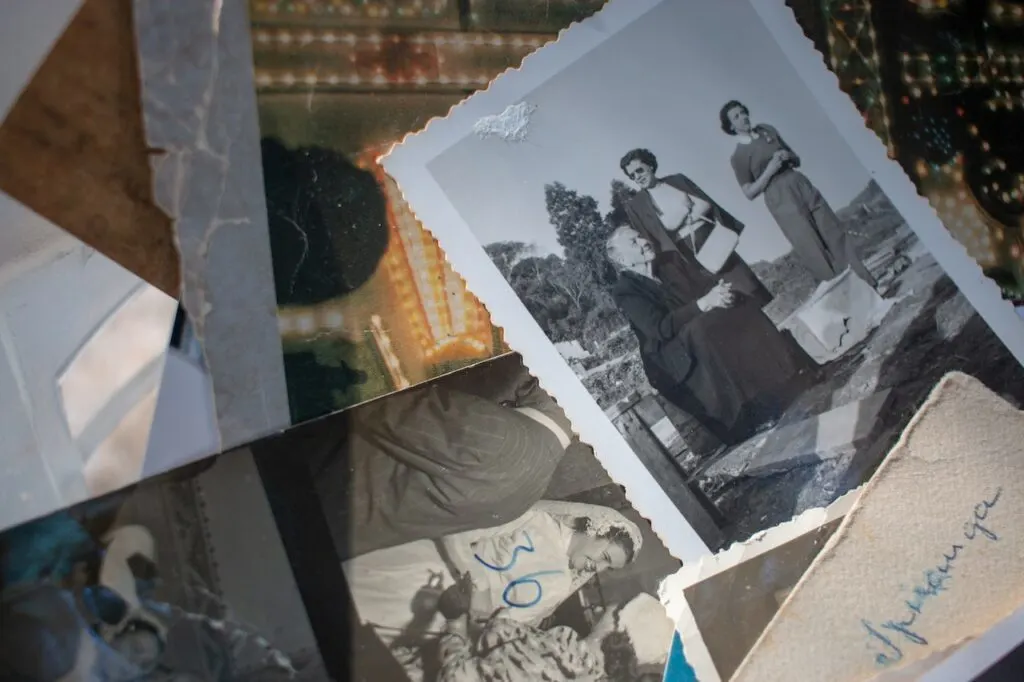
Gather your photos
Once you know how many relatives you’re going to include in the DIY family tree chalkboard, you’ll know for sure how many pictures you need. Here’s where the fun starts – just follow these simple steps to prepare your family photos:
- Search your photo archives. Look for suitable pictures in your own photo albums and ask your relatives for more if necessary. It’s also a good idea to google some of your ancestors – you may even find some pictures of them on the internet if they worked at a big company, studied at a famous university, or visited a big event.
- Digitize your pictures. Old family photos are a heritage that should never be damaged. Therefore, it is best that you make copies of the original pictures using a scanner.
- Restore the photos. Printed pictures tend to fade and get damaged with time. However, you can use a special photo restoration program to fix tears and scratches, colorize black-and-white images, and improve their overall quality.
- Print the enhanced copies of the images. We recommend printing photos in similar sizes to make the family tree more aesthetically pleasing. Plus, it will be easier for you to assemble them on the chalkboard.
Craft Your DIY Family Tree Chalkboard
Now that you have all the necessary materials, it’s time to put everything together. Simply adhere the printed photocopies to the chalkboard according to the placement on the draft you made earlier.
When you’re done assembling the family tree pictures, your next step is to begin labeling them. I find that chalk markers work best as they will let you write on a chalkboard in a beautiful lettering style. If there’s some extra chalk dust and marks around your notes, you can easily remove them with a damp cotton swab.
Apart from the basic information about your relatives such as their name and date of birth and death, you can also write a title for the family tree and even add a couple of memorable quotes. Get creative with it and have fun!
Final Thoughts
Now you know how to create your own family tree chalkboard. But don’t just keep it to yourself – show your project to everyone. This way, nothing will be forgotten, and your family’s stories will pass down through generations.