This post may contain affiliate links. I only recommend products I use and love. Read the full disclosure here
Updated on: April 23, 2019
Originally published on: October 22, 2017
Car repair can be extremely expensive, and many tasks are difficult and complicated if you are not experienced. But guess what? Some of the tasks can be simple and even fun! And when you handle some of the easy car maintenance tasks yourself, you’ll not only save money, you’ll be rewarded with a strong feeling of accomplishment! Even if you have absolutely no experience working on cars, here are four simple DIY car maintenance tasks you can handle with ease.
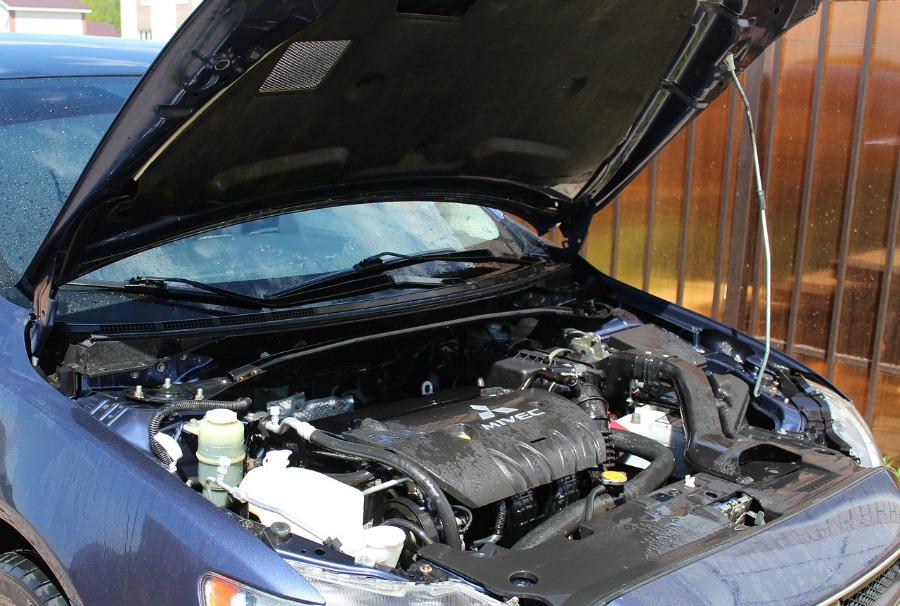
5 Surprisingly Simple DIY Car Maintenance Tasks
Replacing the Battery
Replacing your car battery is safe and easy as long as you follow the necessary steps. It shouldn’t take any longer than a few minutes to do. As with any car maintenance task, consult your owner’s manual first to ensure you buy the proper replacement part.
- Begin by loosening the negative terminal first, then the positive, followed by the tie downs.
- Remove the old battery, and then install the new one in reverse order. Done!
Windshield Wipers
Replacing wipers is one of the easiest DIY basic car maintenance tasks. Start by looking in your owner’s manual to find out the size you need.
- Once you have the new blade, lift the wiper arm away from the windshield and push the small tab on the underside of the wiper where it meets the wiper arm.
- Once the tab is depressed, slide the wiper blade off the arm by pulling downward.
- Now all that’s left is attaching the new wiper blade by sliding it onto the arm. Make sure you pull the blade tight onto the arm. And you are done. See? Easy as pie!
Replacing a Fuse
Another of the simple DIY car maintenance tasks is fuse replacement. A lot of electrical problems in cars can be caused by a blown fuse. Before you take your car into the shop, check the fuses first. You may find that a $10 fuse fixes the problem! To get started, locate your car’s fuse panel and remove the panel’s cover. Many cars have two fuse boxes, and there’s no one standard for where they are located. Save time by referring to your owner’s manual.
- Once you have the panel open, look up the location of the fuse that controls the part of the car that lost power, and check it directly. Most likely there will be a diagram of all fuses either on the back of the fuse panel cover or in your manual. So if you’re headlights aren’t working, locate the headlight fuse on the diagram.
- Make sure the power to the car is completely off before removing the fuse to check if it is blown. You can usually tell if it is blown by looking at it. The fuses most often used in cars are two-pronged chips that have a U-shaped wire running between the prongs, inside the plastic. If the wire is broken, the fuse is blown. If you cannot tell by looking, use a light tester tool.
- Once you’ve determined that the fuse is definitely blown, insert a replacement fuse of the correct amperage—again, make note of the fuse panel and your owner’s manual on this one.
- Replace the cover and see if the problem is fixed. Pro tip: keep a few extra fuses of various amperages in your glove box.
Air Filter Replacement
Just like us humans, your car needs to breath clean air to work. Keeping the air clean is the job of the air filter, but when that filter gets clogged, performance suffers. Luckily replacing it is usually as simple as undoing a few screws. Like fuse panels, there is no one universal spot to find the air filter. Most often it will be near the front of the engine. You can locate yours by using your owner’s manual (most are typically houses within a black case with metal clips on each side).
- Open your hood and locate the air filter in your car (typically housed within a black case with metal clips on either side).
- Open the case and make note of how the old filter sits inside of it. By doing this, you’ll have an easier time putting the new one in.
- Remove the old filter. Make sure nothing falls into the bottom of the filter box.
- Insert the new filter, close the case, and secure with the nuts. Done!
Headlight Bulb Replacement
Replacing a vehicle’s headlights is another of the fairly simple DIY Car Maintenance Tasks, and really only takes about ten to fifteen minutes. Check your manual to see what type of bulb you need. Here is how to change your headlights:
- Pop your hood and look for the bulb holder. In many cases it’s a trapezoid-shaped plug with three wires coming out of it.
- Next, you will need to remove the wire harnessing from the bulb holder. There are three types of holders, each that work their own way. If the holder has a plastic catch, push the lever on the top of the plug and pull firmly on the plug. If the holder has a metal clip, pull up and away from the holder. If the holder has a screw cap, unscrew it.
- Now pull the old bulb out of the holder.
- Using a clean, soft rag, wipe down the new bulb. Hold it by the plug end, stick it into the back of the headlight. Ensure it’s all the way in by checking that there is no rubber gasket showing.
- Now plug the wiring back in and re-secure the bulb.
- Test to make sure the bulb works and you are finished!
If you find yourself lost on any of these DIY Car Maintenance Tasks, you can always check YouTube or Google several different how-to resources.
Sometimes a car has more serious problems that need to be fixed by a professional mechanic. To help save money, check your dealership website. Many dealerships, like Sunset Ford of Sumner, offer service coupons and special deals.