This post may contain affiliate links. I only recommend products I use and love. Read the full disclosure here
Updated on: June 27, 2022
Originally published on: June 27, 2022
Wouldn’t you love it if you could keep your car looking new forever?
But unfortunately, careless driving, automated parking failure, or just plain bad luck take their toll on your car, resulting in unsightly scratches. And the cost to have someone fix scratches on your car can stress you out.
Fortunately, you might be able to fix these scratches by yourself. Below is a step-by-step guide on how to do this.
But first, let’s discuss the paint layers on your car’s body.
Paint Layers on a Car’s Body
Understanding car paint layers is necessary because you will be working with these layers when trying to fix scratches on your car.
Following are the three layers on an average car body:
1. Primer – The primer is the first (bottom most) layer of paint, and it’s applied to the car body after the metal has been smoothed out.
2. Base Layer – The base layer, base coat, or the enamel layer is applied over the primer layer and gives the car its color. The base coat usually has two layers to achieve a uniform color.
3. Clear Coat – The clear coat is the top most transparent layer of paint that protects the basecoat from UV rays and scratches and gives the car a glossy finish.
Now that you know about the paint layers on a car body, let’s get to how you can fix scratches on your car. Keep in mind that the following methods will work for relatively mild scratches. If your car damage is extensive, you might want to compare car repair quotes on this page to find the best professional service for yourself.
Fixing Deep Scratches on Your Car
Many car scratches can easily be removed at home using a scratch repair pen, kit, or glazing putty. Let’s discuss the methods that work best for slightly deeper scratches
Method 1 – Use A Scratch Repair Kit (For Moderate Scratches)
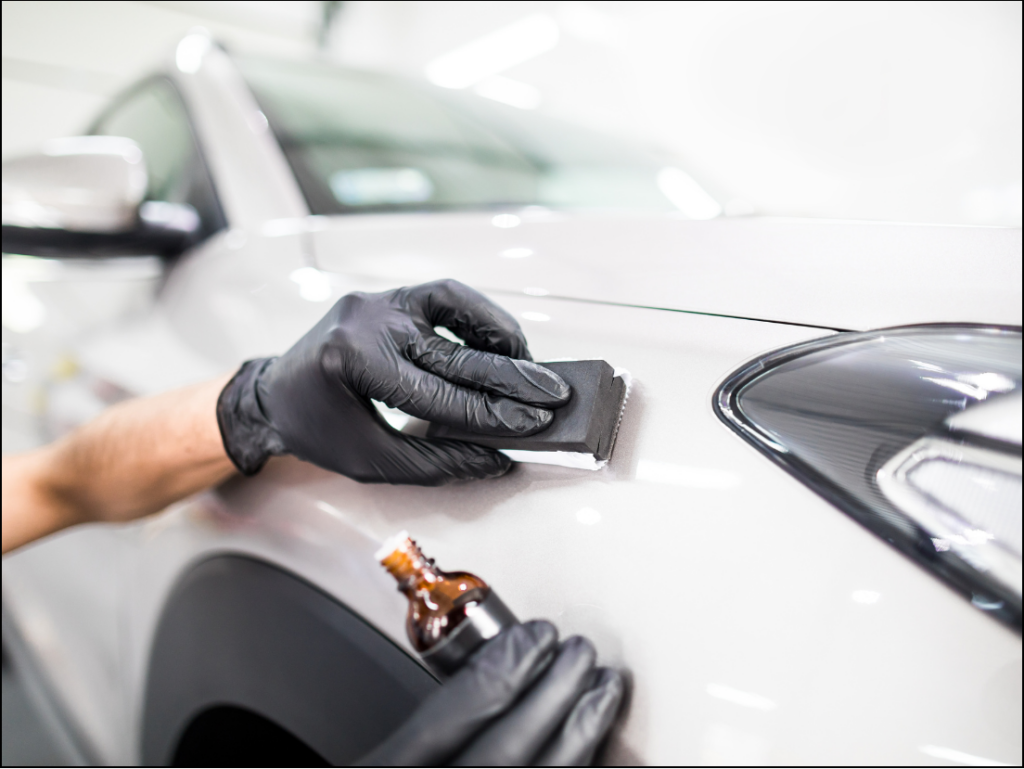
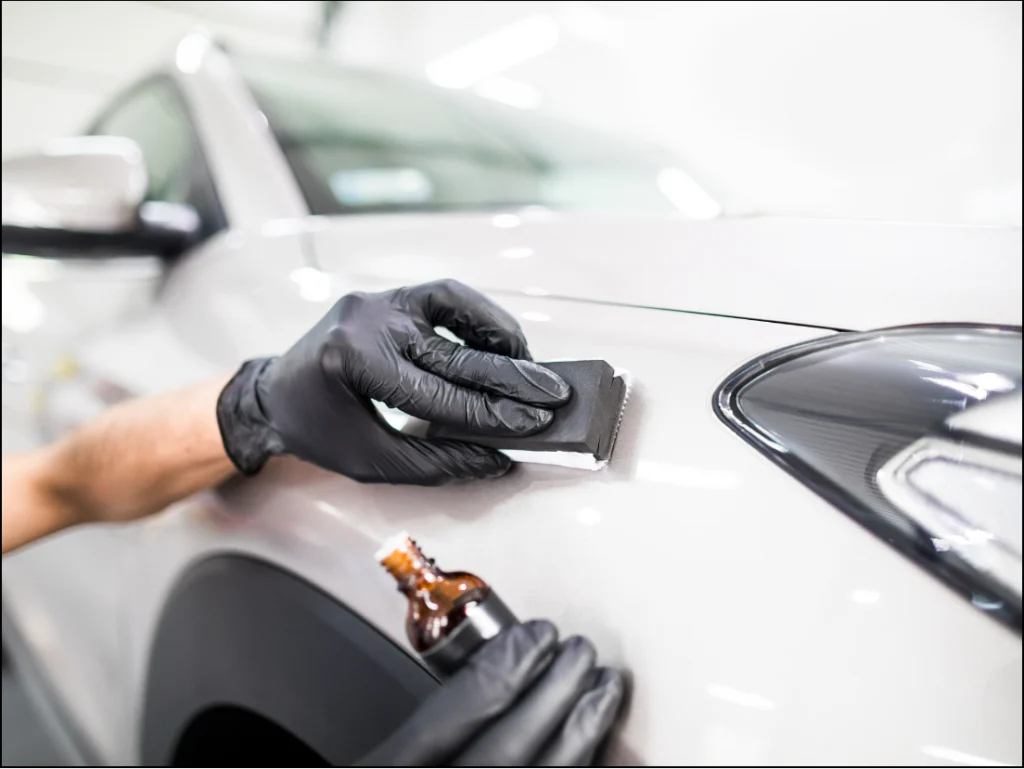
You can use a scratch repair kit to try and fix moderately deep scratches on your car.
These kits are available at most auto stores, and they usually contain everything you need to fix the scratch, including liquid scratch remover polish and a soft buffing pad.
Follow these steps to use a scratch repair kit:
- Clean The Affected Area
First of all, clean the area around the scratch. This will help remove any dirt or debris that could worsen it.
- Apply Scratch Remover
Once the scratch and surrounding area are clean, apply the scratch removal polish that came with your kit. Scratch repair kits come with a bottled liquid scratch remover and feature a microfiber cloth or buffing pad to apply the remover.
- Use The Buffing Pad Or Cloth To Remove The Scratch
After applying the scratch remover, use the microfiber cloth or buffing pad that came with your kit to buff out the scratch.
Work the damaged area by tightly gripping the pad and moving it in circles. This will smoothen the clear coat surface of your car’s body by removing a thin layer of it.
Repeat the process until you have a smooth, even surface.
- Remove Any Extra Polish
Once you have worked the scratch, remove any excess polish with a clean microfiber cloth. This will get you a cleaner surface and a better chance to analyze the area.
Then, inspect it closely and feel the affected area with your hands. If the scratch is gone, congratulations — your hard work paid off!
If not, you can repeat the process a few times to get better results.
Method 2 – Use Glazing Putty (For Deeper Scratches)
If the scratch is too deep and the above method didn’t work for you, there’s still hope. You can try glazing putty, a type of body filler used to fill in deep scratches.
Glazing putty is available at most auto stores in small containers or tubes. It’s also relatively inexpensive, so it’s definitely worth a try.
Follow these steps to use glazing putty
- Clean The Area Around The Scratch
As with the previous method, cleaning the area around the scratch is important because it ensures there is no dirt or debris to ruin your DIY scratch repair routine.
- Apply Glazing Putty To Fill The Scratch
Once the area is clean, it’s time to apply the glazing putty. Glazing putties in tubes make applying putty to the scratch easier than in containers.
After applying the putty, use a spreader tool or squeegee to achieve a fine finish and effectively reach the entire depth of the scratch.
- Let It Cure
Once you’ve applied the putty, let it rest for the amount of time specified by the manufacturer. This is usually around 3 to 5 minutes, but it may vary depending on the brand of putty you’re using.
Curing is important because it allows the putty to harden properly, resulting in a stronger repair. Try not to touch the putty while curing, as it might ruin the finish and form an inconsistent layer.
- Remove Excess Putty with aq Liquid Paint Leveler
Once the putty has cured, remove any excess with a liquid paint leveler. Apply the paint leveler and rub it with a microfiber cloth to remove the excess putty effectively.
When you are done, see if the scratch is gone and the surface is smooth. Then, get it painted by a professional who can also perform an advanced inspection to look for minor scratches or defects in other areas.
So, there you have it — two effective methods on how to fix car scratches yourself!