Halloween may be over, but yesterday and today is one of the largest holidays celebrated throughout Mexico and other parts of the world. A holiday known as the Día de los Muertos or the Day of the Dead. Every year, beginning at midnight on October 31st and running through November 2nd, family and friends gather together to pray for, celebrate and remember those friends and family members who have died.
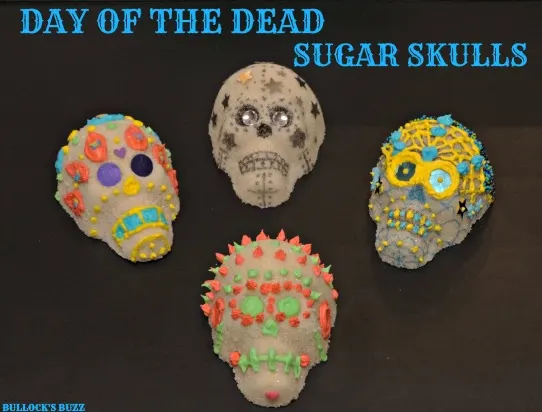
id=”h-the-day-of-the-dead”>The Day of the Dead
Those who celebrate Dia de los Muertos believe that during this time the deceased return to their earthly homes to visit and rejoice with their loved ones. While the specifics of the celebrations vary from region to region, one of the most common customs is the making of elaborate altars to welcome departed spirits home. In addition to candles, flowers, fruit, peanuts, turkey mole, stacks of tortillas and big Day-of-the-Dead breads called pan de muerto, sugar skulls provide the finishing touches.
In keeping with the true spirit of the Day of the Dead, sugar skulls, or calavera, are not morbid or scary. Instead they are happy and vibrant, colorfully decorated with icing, pieces of bright foil, sequins, colored sugars and more. Many bear the name of the deceased loved one being honored on the skull’s forehead written in icing. The sugar skulls are easy to make by children and adults, and if kept dry, they can last up to a year.
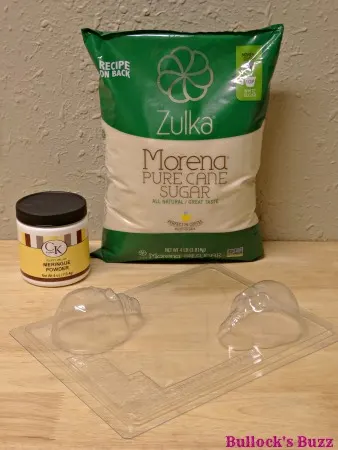
Having never made sugar skulls before, when Zulka sent a bag of their Morena sugar, a can of meringue powder and a sugar skull mold, I couldn’t wait to give it a try!
“Zulka is a family-owned company dedicated to producing more natural sugar through responsible and environmentally friendly cane production. Our products are minimally processed, which helps preserve the fresh, real flavor and natural properties of the sugar cane plant, resulting in a better tasting sugar!”
Zulka Morena Sugar is minimally processed and comes straight from freshly harvested sugar cane. To me it has a better taste than processed sugar, and its color is more of a natural light beige. Other than that, it works the same as regular sugar and can be used in cooking, baking, for sweetening drinks, and for all the other things you would use white sugar.
Making Your Own Sugar Skulls
Ready to make your own sugar skulls? Follow the recipe below! Just remember, these skulls will dry super hard, so make sure the kids know they are not for eating!
Tips:
– you will need to find sugar skull molds before beginning. You can find them online, as well at some craft stores and party supply stores.
– the skulls will need to dry for at least 8 hours before decorating
– this recipe will make two medium-sized skulls
Ingredients
- Sugar skull molds
- 1 cup sugar
- 1 1/2 tsp meringue powder
- 1 1/2 tsp water
Instructions
1. Prepare your supplies including all ingredients plus some heavy cardboard pieces for drying the skulls.
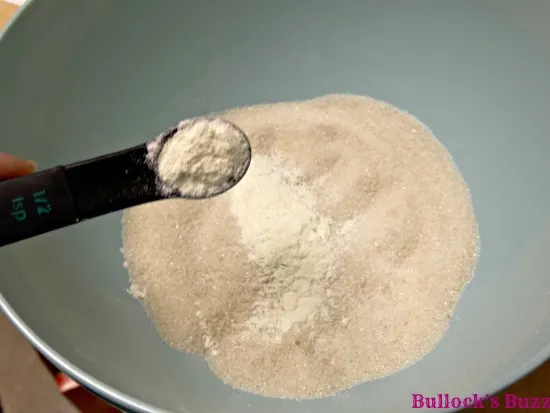
2. Begin by mixing together all of the dry ingredients, and then add the water.
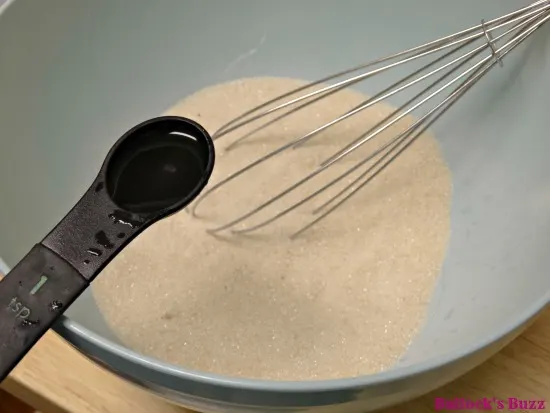
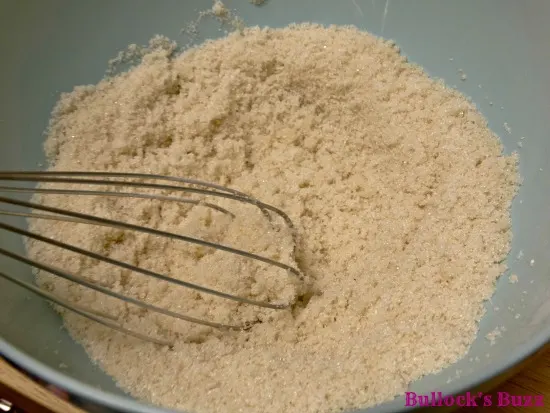
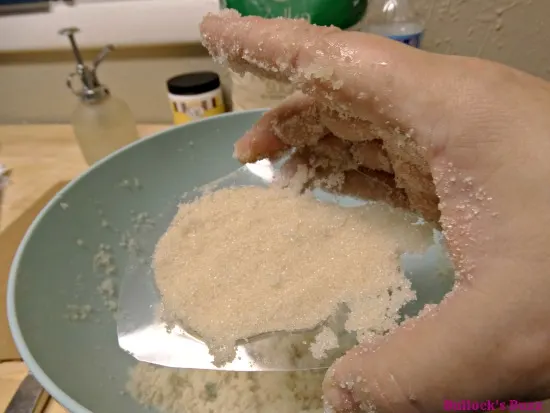
3. Continue mixing until it gets the consistency of wet sand. I used my hands to make sure I got all of the sugar wet. Yes it was sticky, but it worked much faster and much better than using a spoon. One way to test if it is ready is to get a ball of it your hand and squeeze. Open your hand slowly and if your fingerprints remain, you are good to go! The consistency reminded me of the way sand needs to be in order to build a sandcastle. Tip – if it seems too dry, add more water by using mister to get it to the perfect consistency.
4. Once it is ready, start filling a mold with the mixture, packing it in firmly every so often. Once filled, pack it again as firmly as you can. Then using a straight edge like the non-cutting side of a butter knife, scrape the back of the mold until the sugar is completely flat.
5. Place a piece of thick cardboard over the back of the mold and invert.
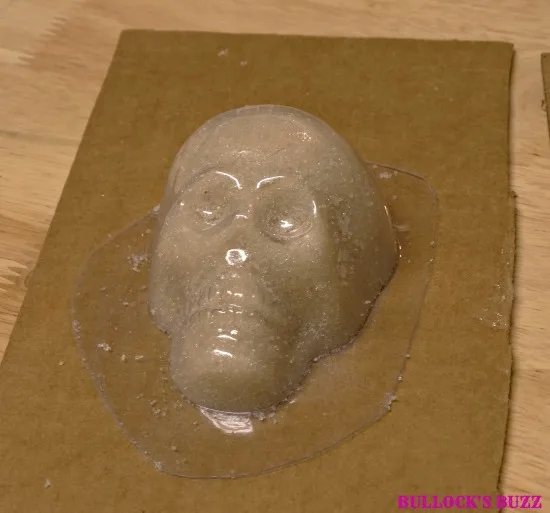
6. Place it on a hard surface and carefully lift off the mold. If all of the sugar does not fall out it is too wet. Place it back in the bowl, and remix with more sugar.
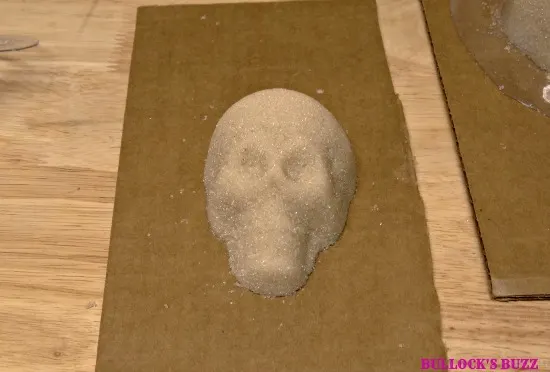
7. Leave the skulls to dry for at least 8 hours to overnight before decorating.
Tip – hand wash and dry the molds after every 4 or 5 skulls to avoid sticking.
Decorating Your Sugar Skulls
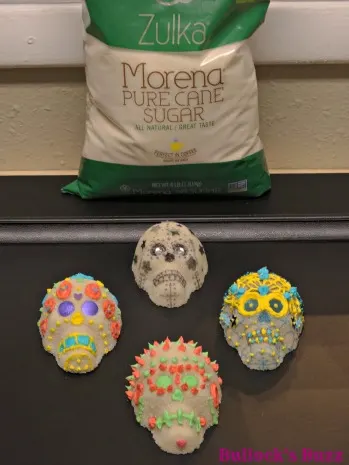
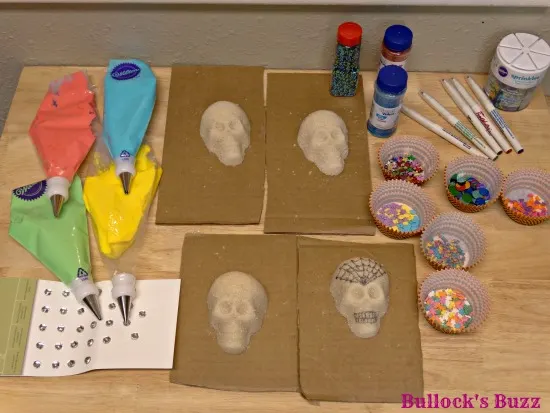
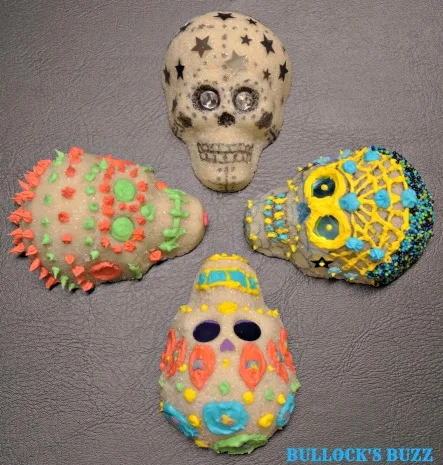
Once your skulls are completely dry, it time for the fun part – decorating! There is no right or wrong way to decorate your skull. Use royal icing (recipe below) for color, but also to act as a glue for sprinkles, sequins, miniature flowers, colored foil, glitter – whatever you want! I found that Food Markers work great as well. The only rule is to be creative and have fun!
Royal Icing Recipe
Tips:
– this recipe makes about 3 cups of icing.
– for stiffer icing use 1 tbsp less water, for thinner use 1 tbsp more water.
Ingredients
6 -7 tablespoons warm water
3 tablespoons meringue powder
4 cups(about 1 lb) powdered sugar
Food coloring – not the liquid kind! Use the gel kind or the coloring made for icing.
Icing bags and tips – I used disposable bags. You can also use plastic snack bags, just snip off a teeny tiny corner to use for piping.
Instructions
1. Combine all ingredients.
2. Mix with either an electric/stand mixer or a hand mixer until the icing forms peaks. This can take anywhere from 9 to 12 minutes depending on the type of mixer.
3. Separate into bowls, then add the food coloring to create whatever colors you’d like to use.
4. Mix well using a spoon or butter knife, then insert icing into the individual icing bags.
5. Begin decorating your skulls.
Tips:
– Royal Icing needs to be stored in an air-tight container.
If you have some leftover in the mixing bowl, cover with a damp paper towel while you work to help prevent it drying out.
– do not refrigerate
Once decorated, let skulls dry for several hours.

Rachel
Friday 20th of February 2015
I love the look of Sugar Skulls. They are so fun. I saw a girl who went as one for Halloween. Her makeup was amazing.