This post may contain affiliate links. I only recommend products I use and love. Read the full disclosure here
Updated on: June 25, 2025
Originally published on: July 18, 2016
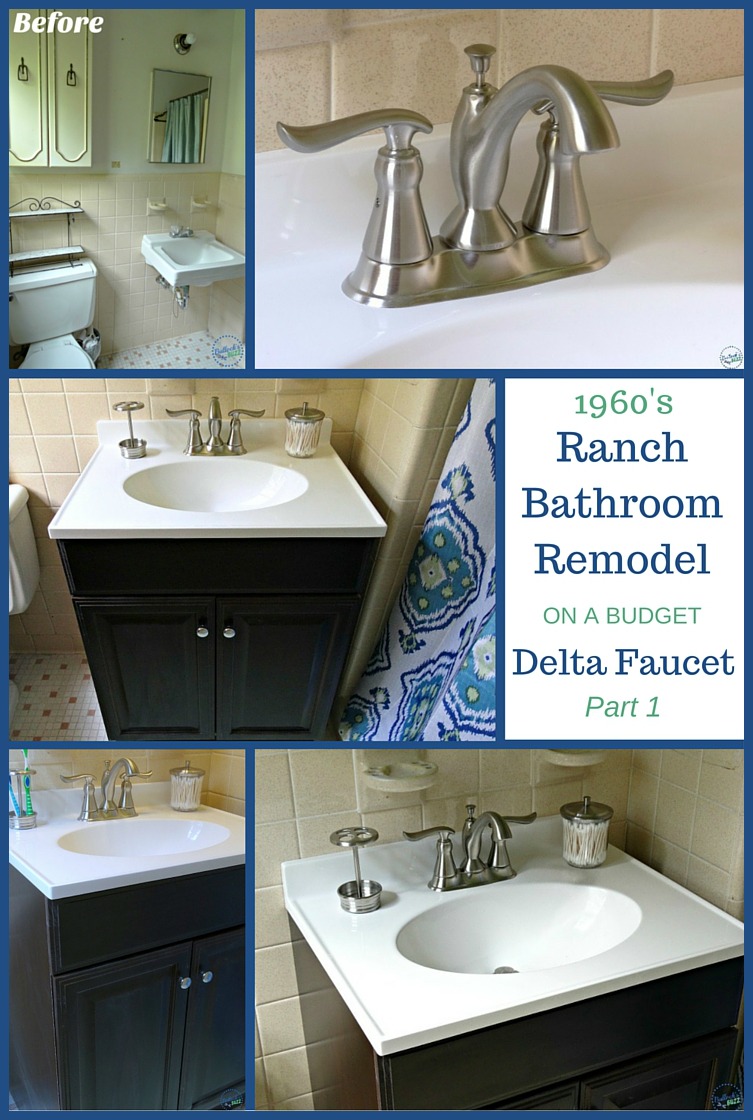
Bathroom Update on a Budget
For the past year, my husband and I have been living in a 1960’s ranch that belongs to my brother-in-law. The plan is to update it a bit and then list it; although we may decide to buy it ourselves. In the meantime, our goal is to make it look as nice and modern as possible without doing any major overhauls or spending lots of money.
So far we’ve ripped out the old carpets and installed hardwoods throughout the entire house, and we’ve begun painting the rooms; but we haven’t done much to the three rooms that need help the most: the master bath, hall bath and kitchen. Today I’m going to share with you the first part of our master bathroom remodel on a budget.

If you’ve ever been in a 1960’s ranch then you know that the bathrooms were far from luxurious. The majority were small, and many were covered in hideous pink or green tile that reaches from the floor halfway up the wall. Add in the matching sink, toilet and tub and you’re looking at the stuff nightmares are made of!
Of course there are some that were done in colors you can actually work with without having to gut the entire room. We have both kinds: a small masterbath with – thank goodness – creamy tan tile (still not my favorite, but workable), and the hall bathroom that we not-so-lovingly refer to as the Pepto Bismal Bathroom. Since the master bath needed the least amount of work, we decided to start there – beginning with installing a new sink and vanity.

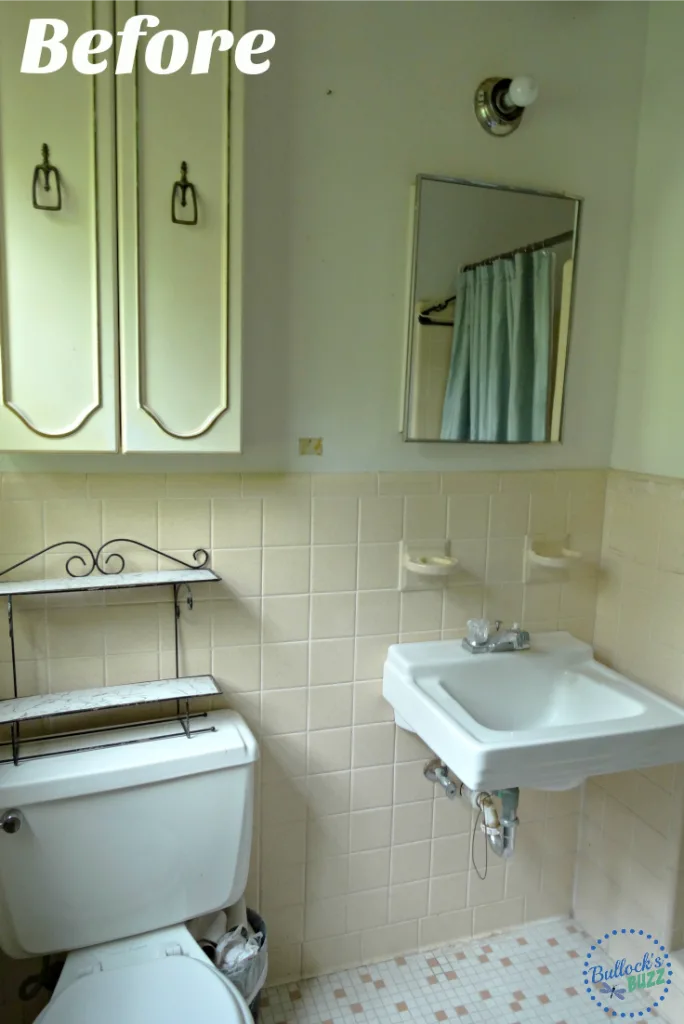
No Sink, No Storage, No Good!
Over the years, previous owners had tried to update the room, adding several layers of paint, hanging a wall cabinet, and installing those 1980’s cut-plastic handles that are supposed to look like crystal on the sink. Nobody bothered adding a vanity though, so the only storage in the room was the ugly, plastic wall cabinet.
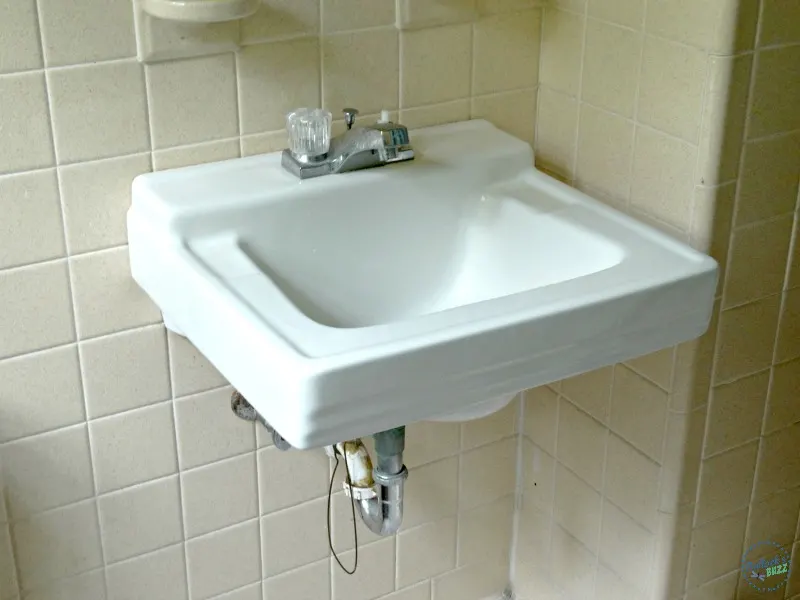
The tiny sink was simply attached to the wall – sort of like a pedestal sink but without the pedestal – and by the time we moved in it was missing the cold faucet and the drain was being held open by a wire coat hanger!

But wait, it gets worse! The only light in the room was a single un-shaded lightbulb above the sink and on its base was the only electrical outlet in the bathroom. So basically, the bathroom was pretty much useless, and was crying out for help!
Wanting/needing to spend as little as possible, we decided to invest in a small vanity, add a nice, modern faucet, swap out the hideous wall cabinet for something a lot nicer, add an electrical outlet, and paint the walls a pretty color.

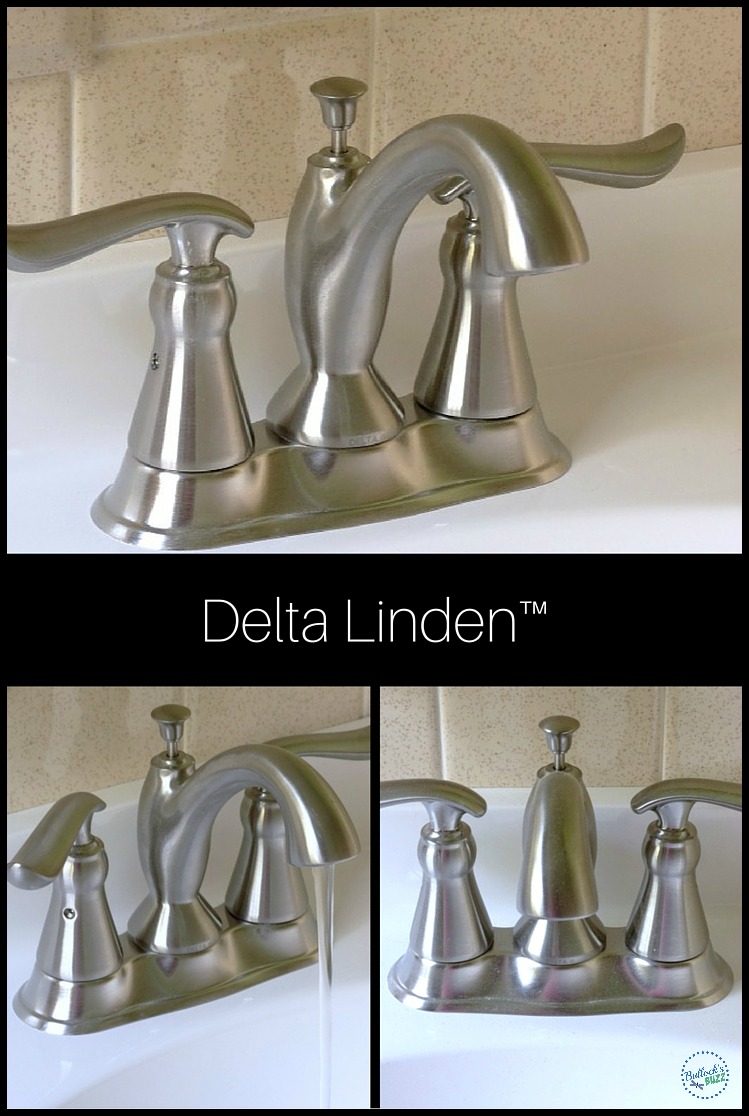
Delta Linden™ Lavatory Faucet
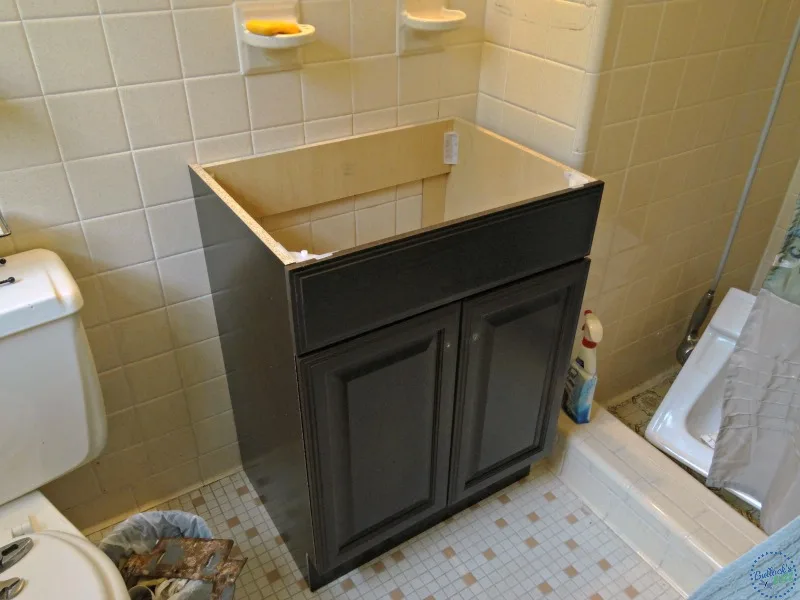
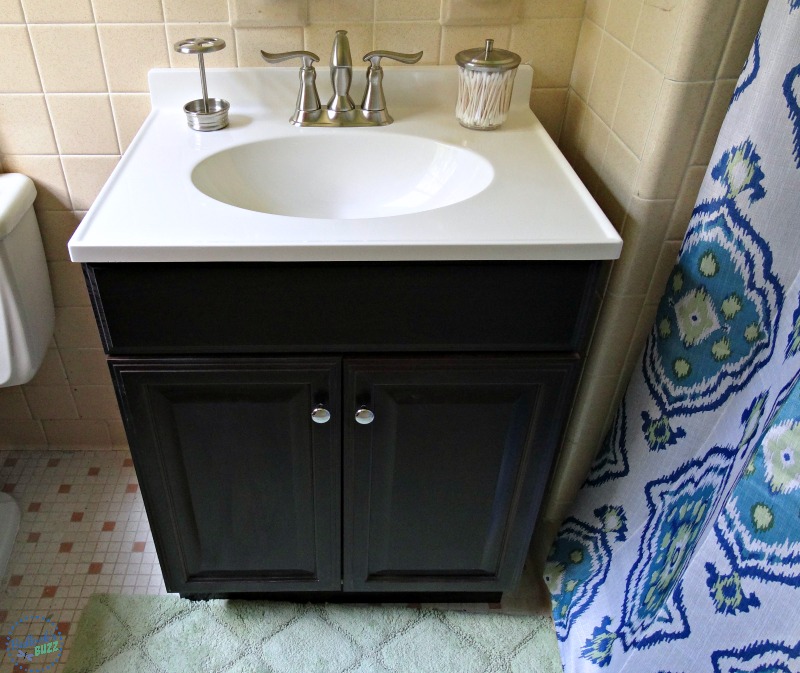
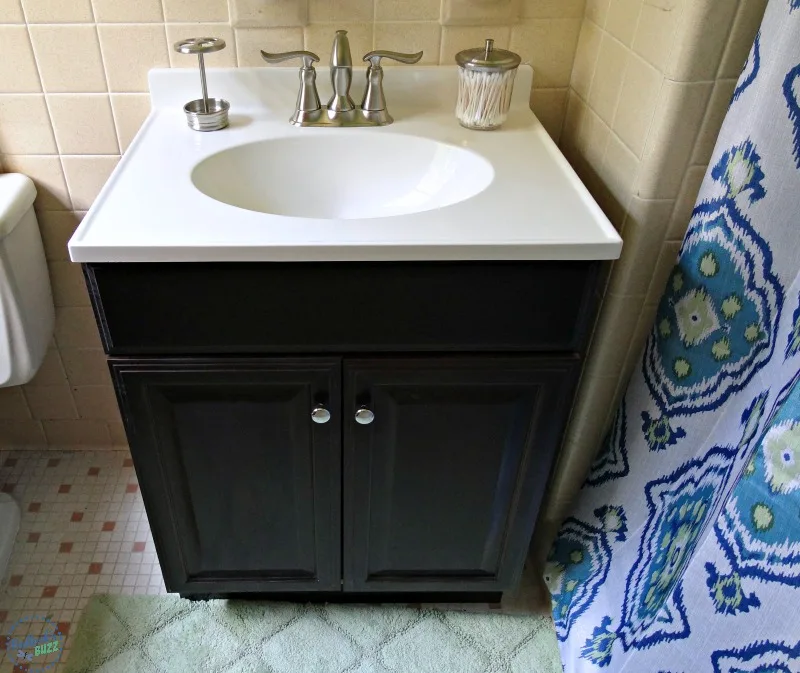
So our first step? Tackling the sink – or rather, the lack of sink. Removing the old sink was not difficult. Loosen a few bolts and remove it from the wall. Done. From there we added a small vanity with sink we found at Lowes, and then installed a gorgeous Delta Linden™ Two Handle Centerset Lavatory Faucet (Metal Pop-Up) in Brilliance® Stainless.
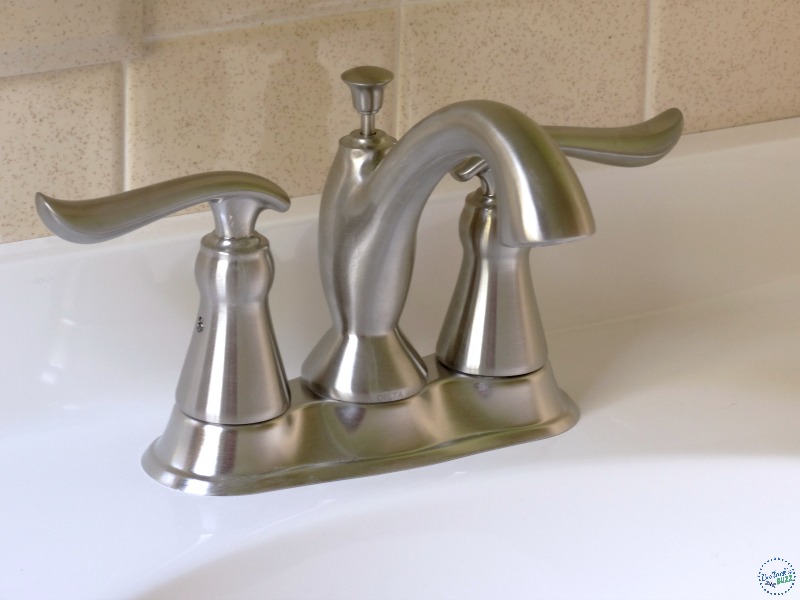

The Delta Linden™ is a two handle, centerset faucet with a sleek, clean design that works well no matter your style.
Stylish flares and unexpected curves of the Linden™ Bath Collection exude friendliness, and even a bit of whimsy.
It features WaterSense certification which means it promotes water conservation, and DIAMOND Seal Technology to ensure like-new operation for the life of the faucet. A matching drain assembly is included as well. Plus, for peace of mind, it comes with a Lifetime Faucet and Finish Warranty.
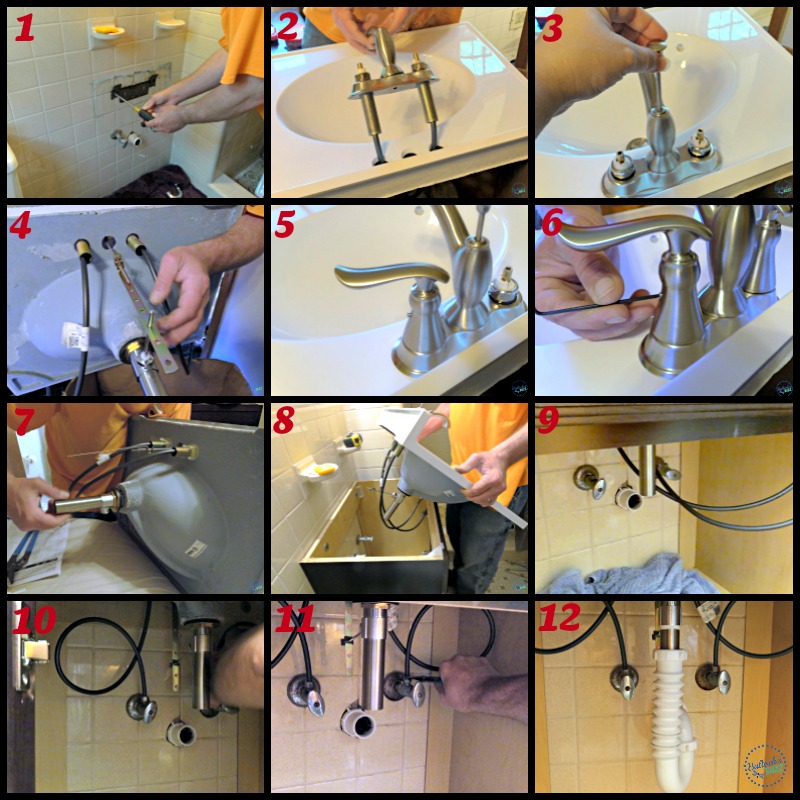
Faucet Installation
Installing the faucet was actually a lot easier than I’d expected. Almost everything we needed came with the faucet except a few basic tools and some waterproof silicone. The entire installation took maybe an hour.

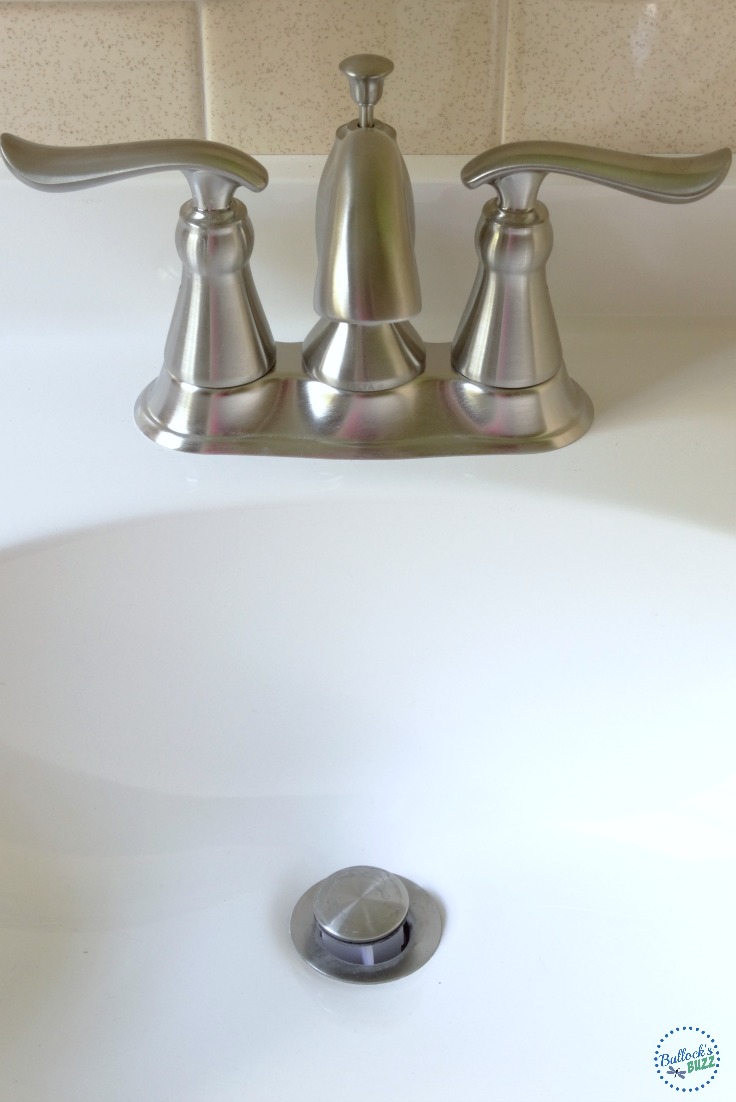
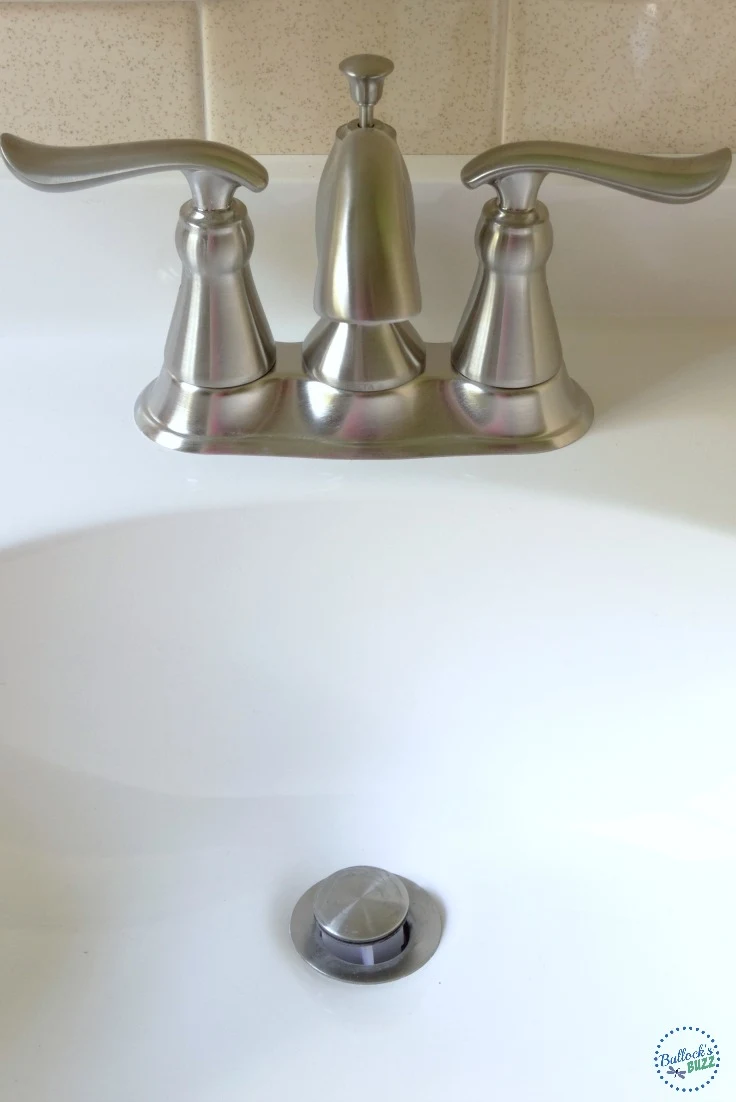
I absolutely love our new sink and vanity, and the faucet pulls it all together perfectly! I smile every time I’m in the room now. It’s nice to finally be able to use our master bath!

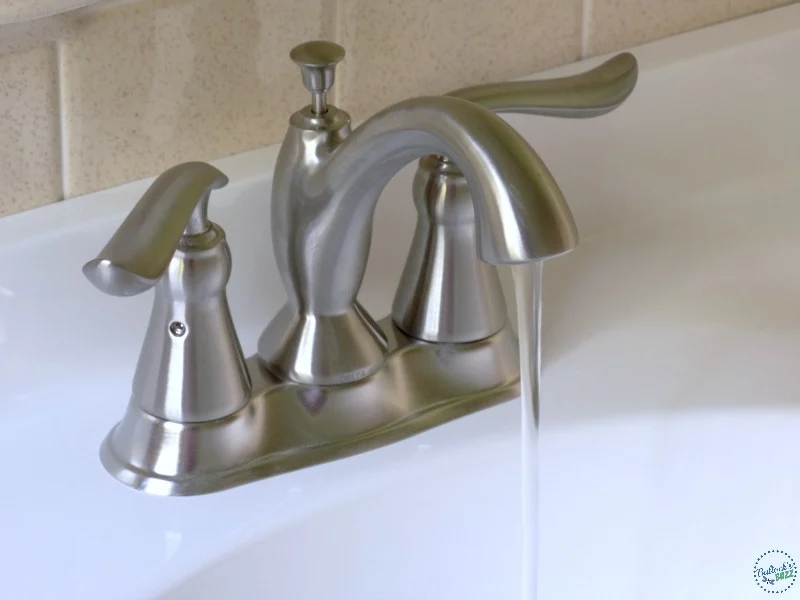
The Delta Linden™ faucet has a great modern look, and I love the finish. Cleaning shiny chrome is a pain, but the Brilliance® Stainless finish is clean and modern. Even better, it doesn’t show every single finger and handprint. The finish also works really well with the pulls on the vanity and the light fixture we’ve selected.
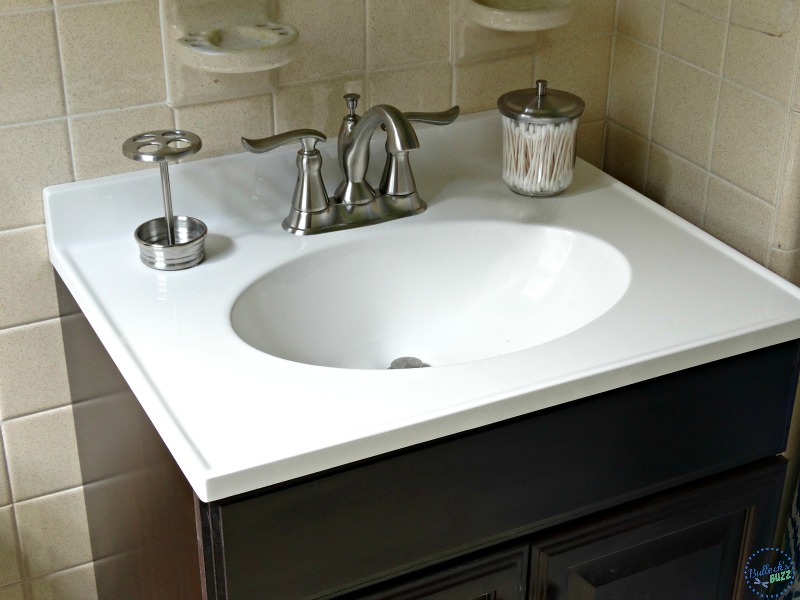
It’s amazing how much difference adding a small vanity and new faucet can make! Not bad for $125 and 2 hours of work! Now, our next step in the master bathroom remodel is to paint, remove the inset soap dish and toothbrush holder, add an electrical outlet and replace the light fixture! Make sure you check back in the coming weeks for the posts!
And of course, if we do decide to buy, I plan on removing the tile from the walls, perhaps adding some beadboard in its place, re-doing the floor, and completely renovating the stuck-in-the-60’s shower stall. But for now, I’m happy with the way our budget bathroom remodel is coming along!
This post was brought to you by the Delta Faucet Company. I received a free product from Delta Faucet to write this post, but all opinions expressed are my own.

Bathroom Remodel Part 1 Supplies
- Delta Linden™ Two Handle Centerset Lavatory Faucet in Brilliance Stainless Model #2594-SSMPU-DST – www.deltafaucet.com. Can also be found wherever Delta Faucet is sold.
- Project Source Java Integral Single Sink Bathroom Vanity with Cultured Marble Top – Lowe’s