This post may contain affiliate links. I only recommend products I use and love. Read the full disclosure here
Last Updated on January 31, 2022 by Alaina
I love a challenge and I love DIY crafts, so when I was challenged by my friends at Good Cook to come up with a creative use for a case of their ProFreshonals Lemon Keepers they had sent, I pulled out my basket of craft supplies and got busy! (Let me say at this point, keep your eyes peeled for a great giveaway (four winners!) coming this week for FOUR entire sets of Good Cook ProFreshonals Keepers!)
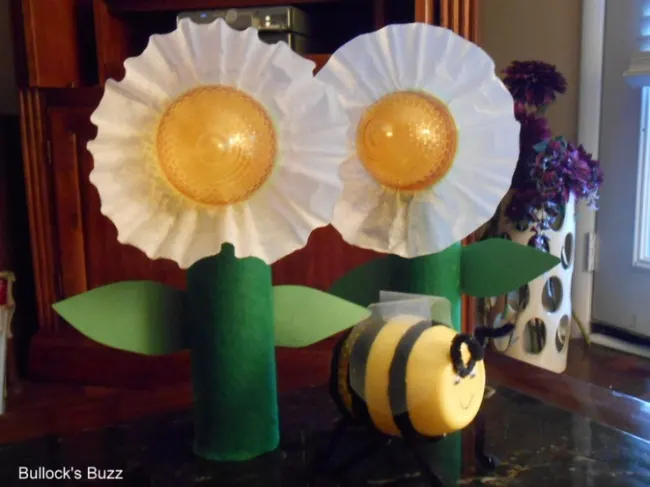
When Life Gives You Lemons – Make A Craft Project Challenge
When I think of Spring or Summer, two things come to mind first: flowers and insects! So, I decided to create a cute bumblebee party favor that can also be used as decor on your outdoor table to go with a set of tabletop lighted flower candles.
These are the perfect accessories to decorate your table for a nighttime barbecue party, and at the end of the night, the kids can take home their candy-filled bumblebees! So, without further ado, here’s how to make your own!
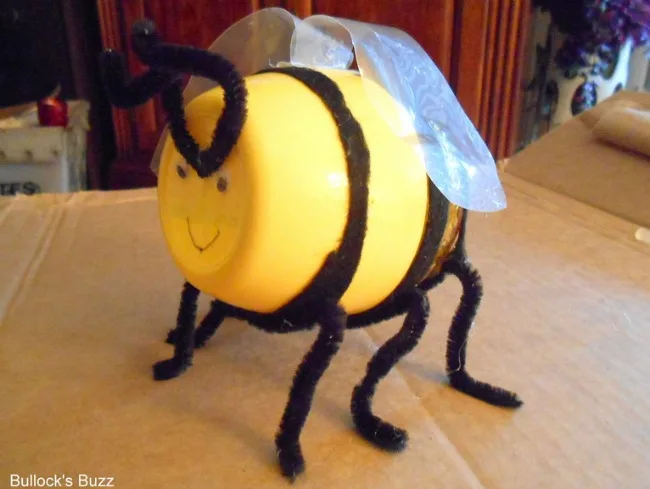
ProFreshonals Lemon Keeper Bumblebee Tabletop Decor/Party Favor
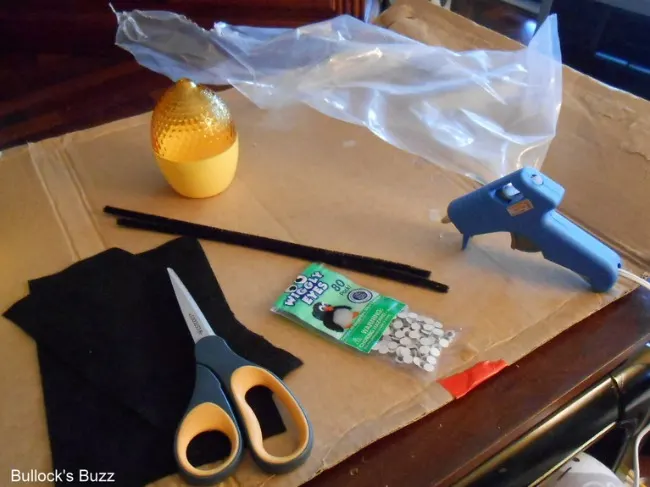
Supplies
- ProFreshonal Lemon Keepers
- piece of clear plastic for the wings (I used the plastic from the bag the Keepers came in),
- black felt
- black pipe cleaner
- wiggly eyes
- hot glue gun
- black permanent marker.
Instructions:
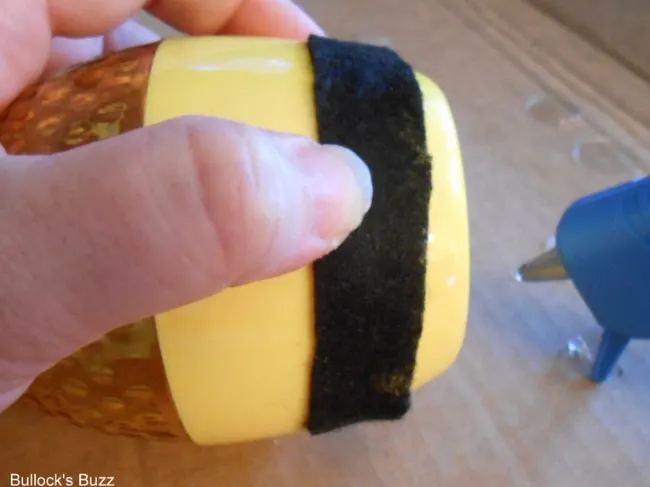
- cut three 1″ to 1 1/2″ strips from black felt for the stripes on the bee’s body
- hot glue each strip on being careful not to glue one over where the Keeper comes apart
- shape 3 pipe cleaners into legs and hot glue to the body. I did this by curving a pipe cleaner around the belly of the “bumblebee” and attaching with hot glue. Once dried, I bent each end into legs that can support the bee. Trim off the extra pipe cleaner.
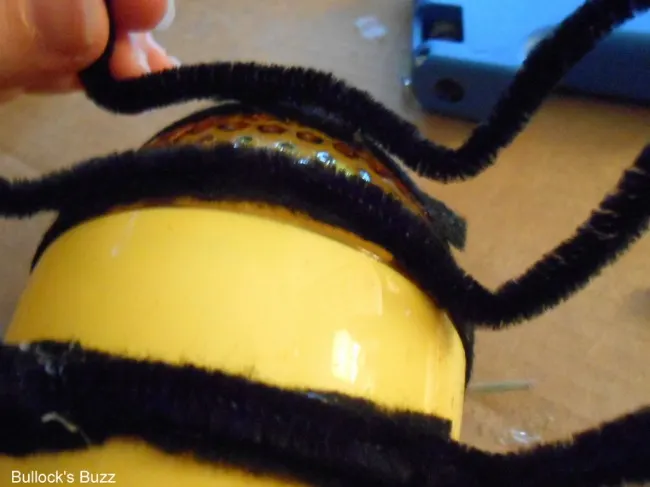
- using a half of a pipe cleaner (or use one of those leftover pieces of pipe cleaner from the legs if it is large enough) fold into a ‘V’ shape, then curl the ends around a pencil and hot glue to the front of the bee (the bottom on the Keeper) right above where you are going to put the eyes for its antennae.
- for the wings, cut out your wing shapes from a folded-over piece of plastic (so you will have two wings). Put a drop of hot glue in the very middle and attach to the middle of the bee’s back – again, being careful not to glue it where the Keeper opens. Once that has dried, create another fold by bending each wing inwards close by where they are attached to the body (not from the outer edge of the wing), then glue the fold. This will allow the wings to stick up.
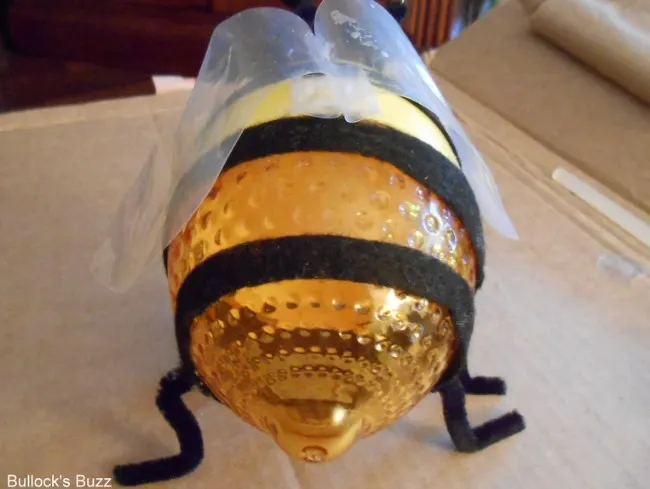
- glue two wiggley eyes on the face of the bee right under the V of the antennae
- use the permanent marker to draw a mouth
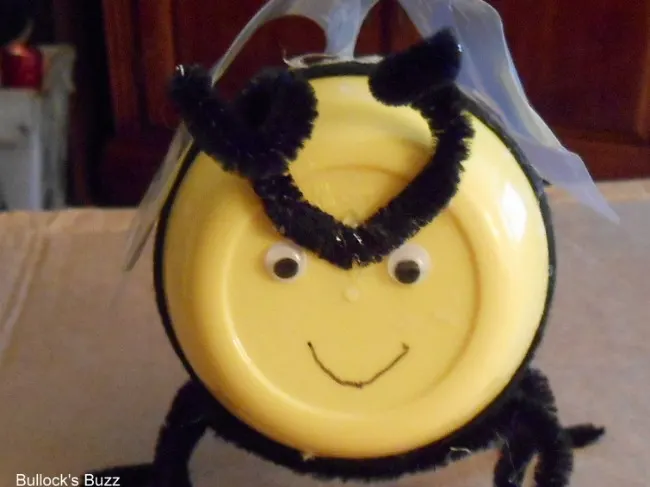
Your bumblebee is finished! Allow to dry overnight. If you have folded the legs correctly, your bee will stand on his own. You can add candy inside to make party favors, or leave it empty and use it as table decor or put it in your child’s room for a fun piece of decoration.
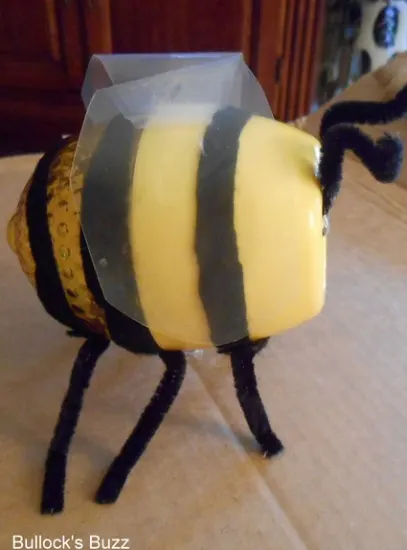
Your bee can also be used as a Bumblebee Bank, or a cute place your child can store their treasures. Make three or four Keeper Bumblebees, tie and the hot glue clear fishing wire securely around each one, attach the wire to two crisscrossed painted wooden slats, and make a mobile! Leave the stripes off, insert a battery-operated LED tea light candle, and you have a Lightening Bug! The options are limitless!
ProFreshonals Lemon Keeper Tabletop Lighted Flower Candles
Supplies
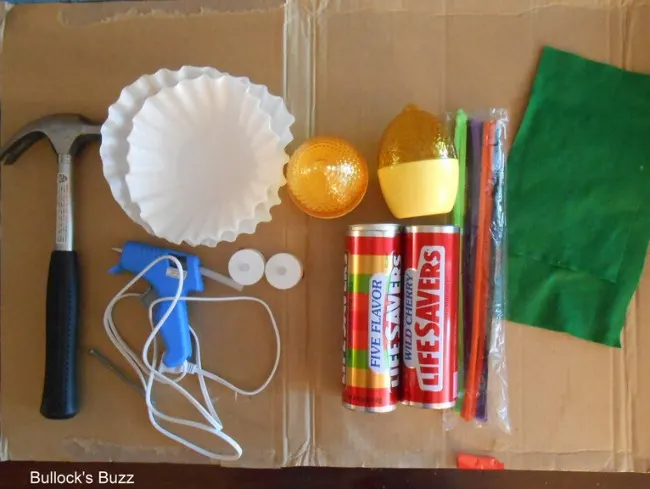
- 2 LifeSavers candy tins (found at Wal-Mart during an after Christmas sale. You can substitute other round tubes as long as they can hold the weight of the Keeper and you can figure out a way to attach the Keepers to the top.)
- 4 sheets of green felt
- cardboard for the leaves (I used a green filing folder)
- green paint (to paint the leaves if needed)
- 2 ProFreshonals Lemon Keepers
- 2 battery operated LED tea light candles (also found at Wal-Mart)
- 2 coffee filters (optional food coloring to color the coffee filters if you want colored petals).
- Hammer and a nail (to punch a hole in the lid on the Left Saver tins)
- Green pipe cleaners
- Hot glue gun.
Instructions
- Cut out your leaves from the cardboard and paint them green. Let dry.
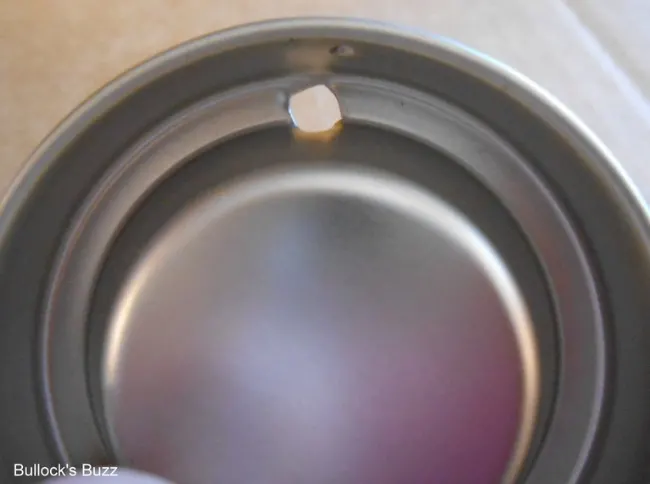
- remove the lids from your tins and using the nail and hammer, carefully punch a hole through the lid as close to the rim as possible without actually being on the rim.
- hot glue your felt to the tin completely covering it.
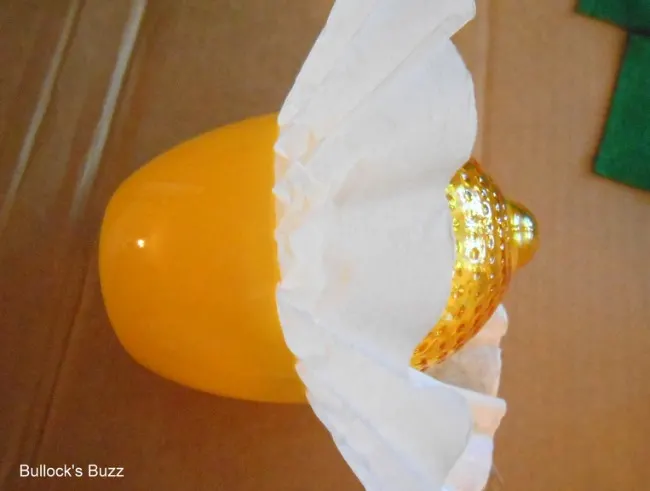
- insert a coffee filter inside the Lemon Keeper between the lid and the base. Go ahead and stick your candle inside at this point. If you want, you can dye your filter by mixing water and food coloring and dipping the filter in the mixture. Allow to completely dry. I choose to keep my white.
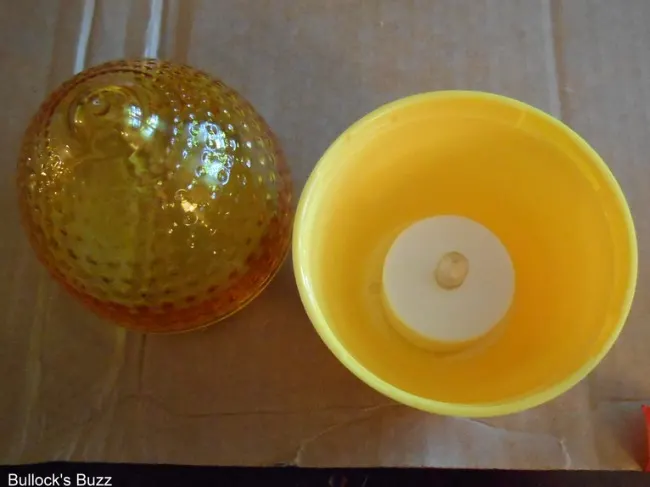
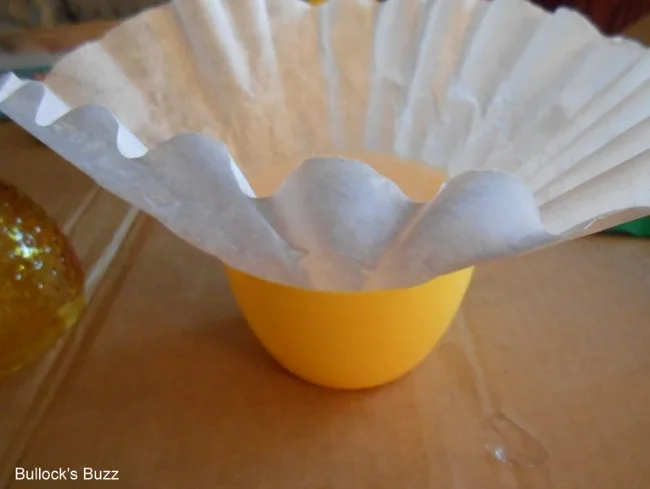
Make sure the filter is centered, then close the lid. You will not have to attach the filter using glue or tape as it will be held in place when you close the Keeper on it. Each time you open it you will have to center it before closing the Keeper again.
- twist a pipe cleaner around the Keeper as close to where the lid and bottom meet, without actually covering the opening up.
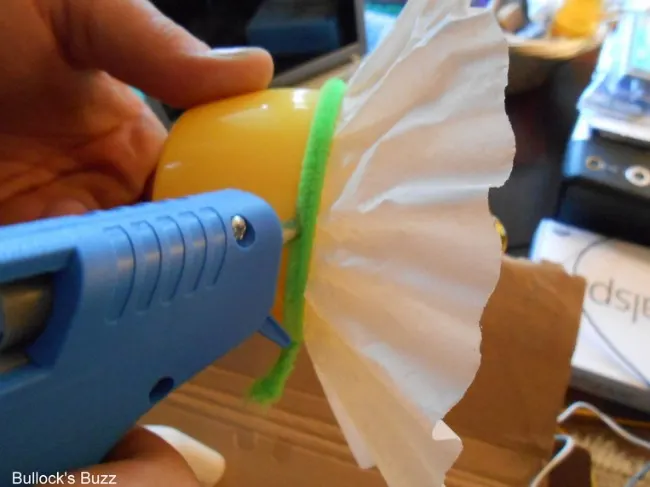
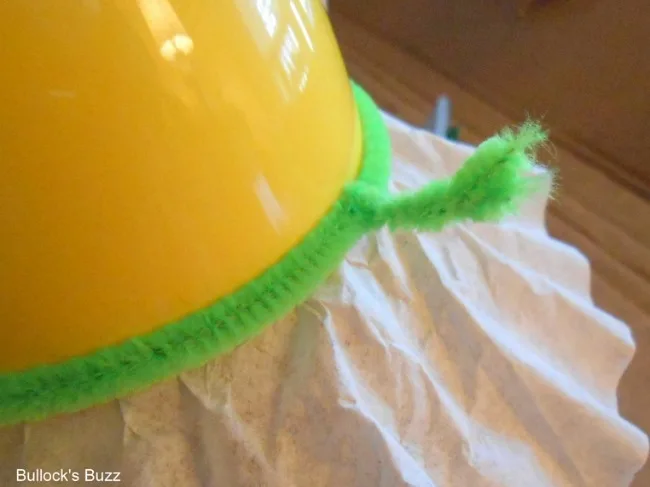
- Make sure you twist it tight, and add a few drops of hot glue around the entire wire to help keep it securely in place. There will be just enough pipe cleaner left at the point where you twist it together to that will form a small “stem”.
- insert the tiny “stem” into the hole you made on the tin’s lid. Bend the wire inwards towards the middle of the lid to secure the Keeper to the lid and add a drop or two of hot glue for extra security.
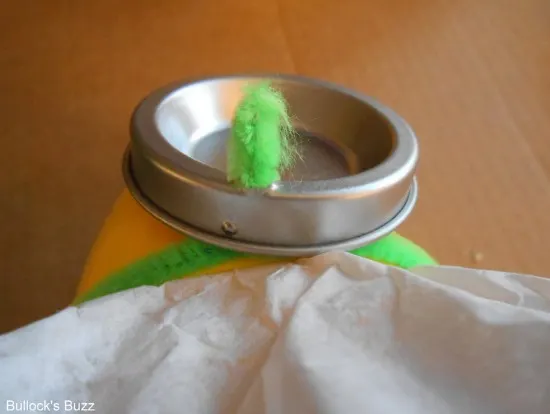
The main weight of the Keeper will be supported by the lid. You want the wire tight enough to secure the Keeper to the lid so it stays in place. I also added a few drops of hot glue to the bottom of the keeper to attach it to the lid, careful to glue away from the opening so I can easily open the Keeper to get to the candles.
- use hot glue to attach your leaves to the stem.
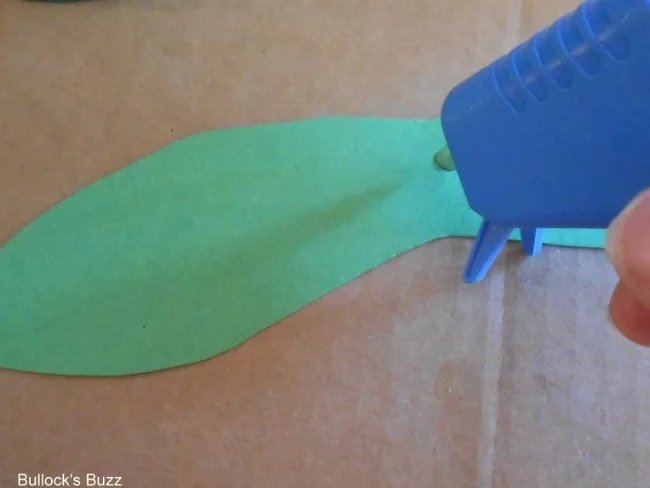
- secure the lid back onto the tin.
- repeat these steps with the second tin.
- allow to dry overnight
Your candles are now finished! If you followed the instructions you should be able to remove the lid and open the Keeper whenever you want to turn the lights off and on. These are perfect for nighttime outside dining, decorations at a party, decor/nightlight in a nursery. Again, the options are limitless!
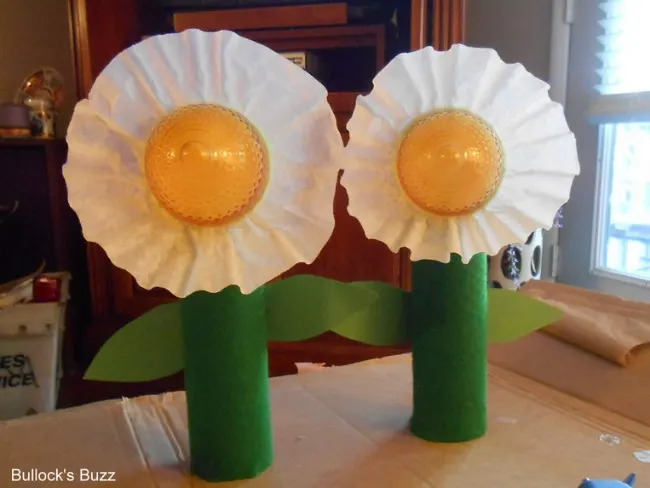
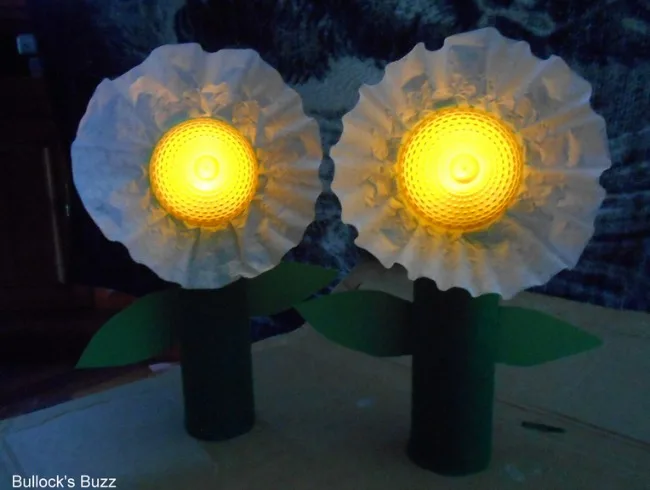
So there you have it! Two cute and functional crafts made from Good Cook ProFreshonal Lemon Keepers! Be sure to check back before the end of the week for a review of the entire Good Cook ProFreshonal Produce Keeper set which included Keepers for bananas, melons, tomatoes, asparagus and more! Too cute!

[email protected]
Sunday 23rd of June 2013
Your bees and flowers turned out really cute! I wanted to do a scalloped flower to look like a daisy, but couldn't figure out how to do it. #Jealous ;)
We must think a LOT alike, because I also used the battery operated tea lights and took a night time picture. ;)
https://dealsfrommsdo.com/decorating-with-good-cook-citrus-keepers/
patricia
Wednesday 5th of June 2013
Those are adorable!! I wish I was as crafty.
Mellissa Hanks
Wednesday 5th of June 2013
Awww those are so cute :) what a great idea!