This post may contain affiliate links. I only recommend products I use and love. Read the full disclosure here
Updated on: March 31, 2025
Originally published on: March 31, 2025
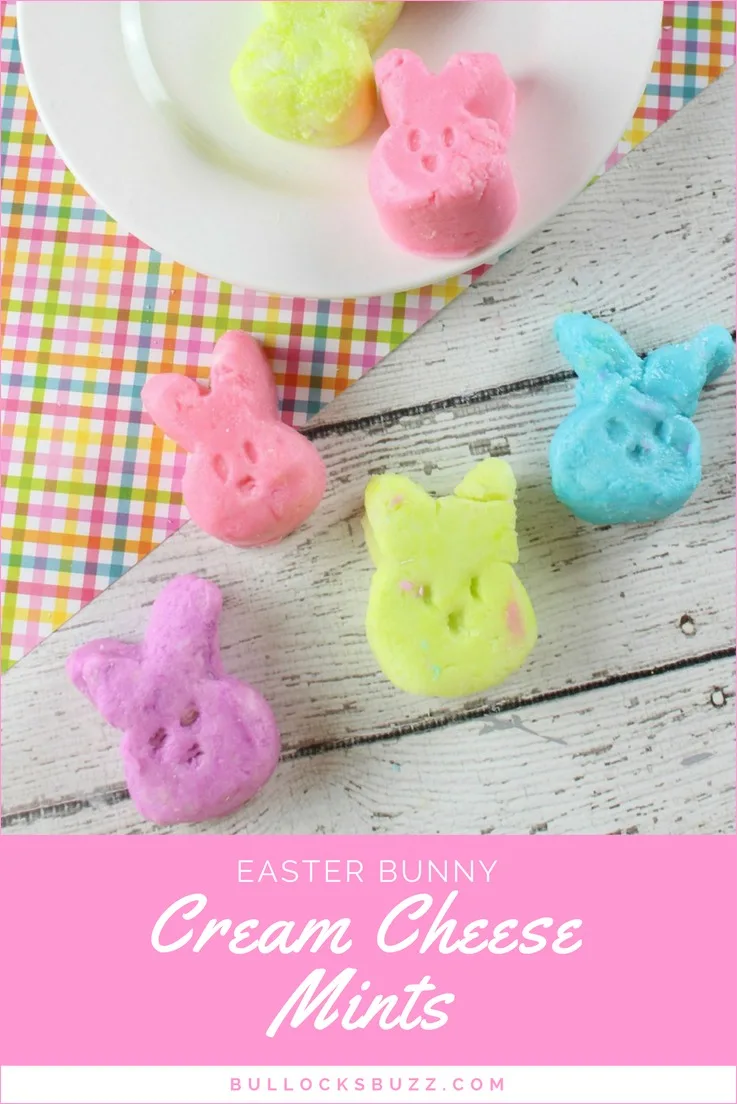
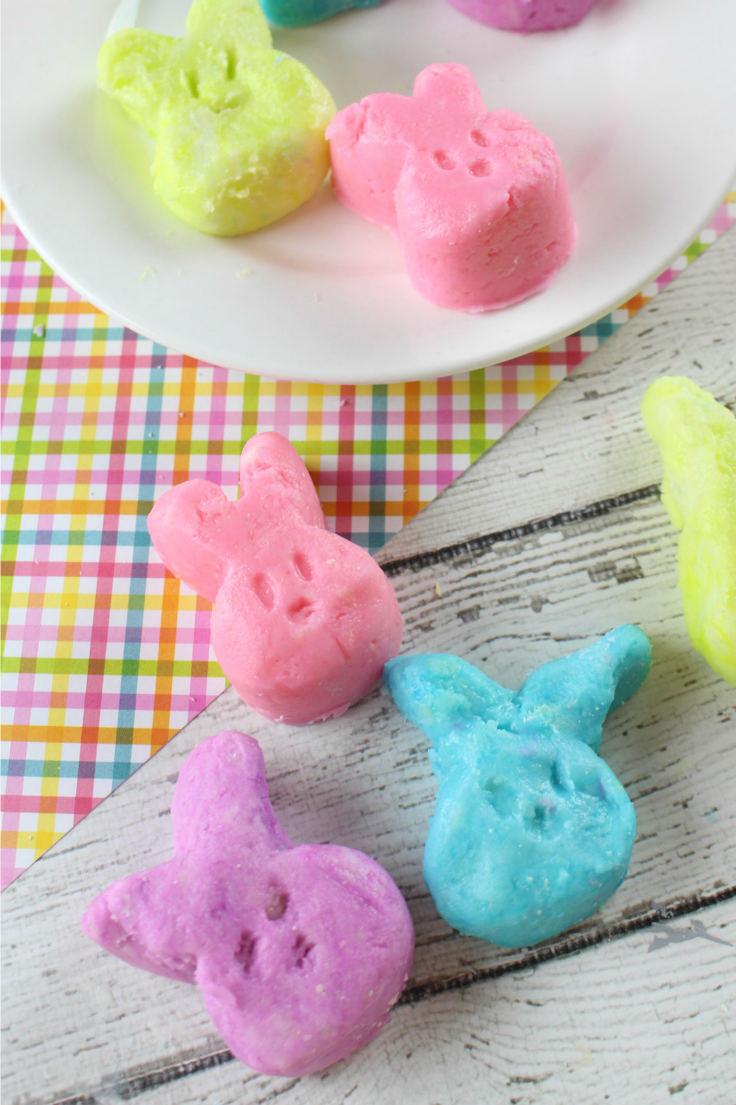
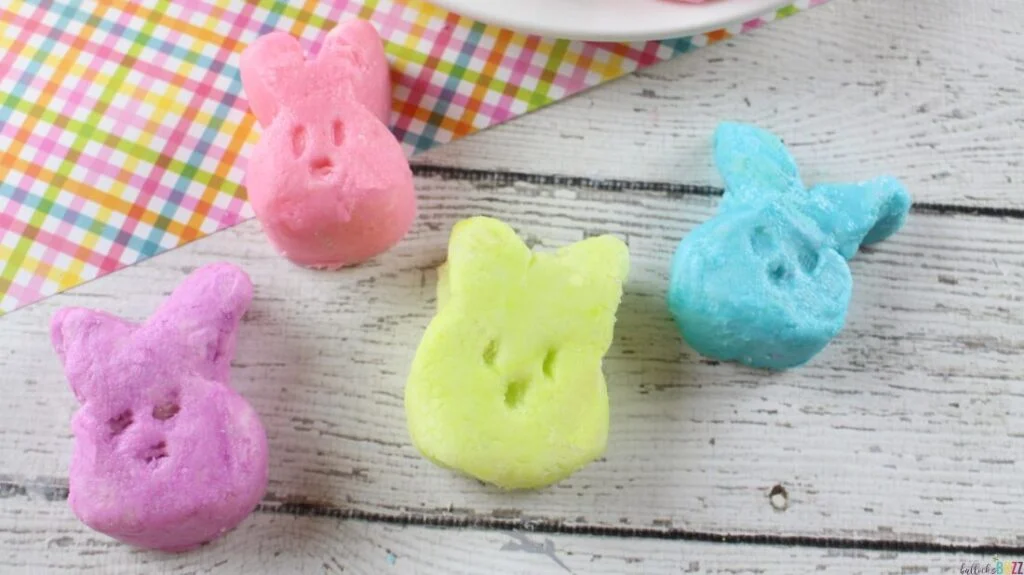
Cream Cheese Mints for Easter are a colorful, creamy, no-bake Easter treat with a fun bunny shape and a cool peppermint flavor—perfect for springtime celebrations!

You know those sweet little mints you always see at weddings or baby showers? The ones everyone flocks to because they practically melt in your mouth? I’ve been obsessed with them for years, so when I found a way to make cream cheese mints for Easter, bunny-shaped and pastel-colored, I had to try them.
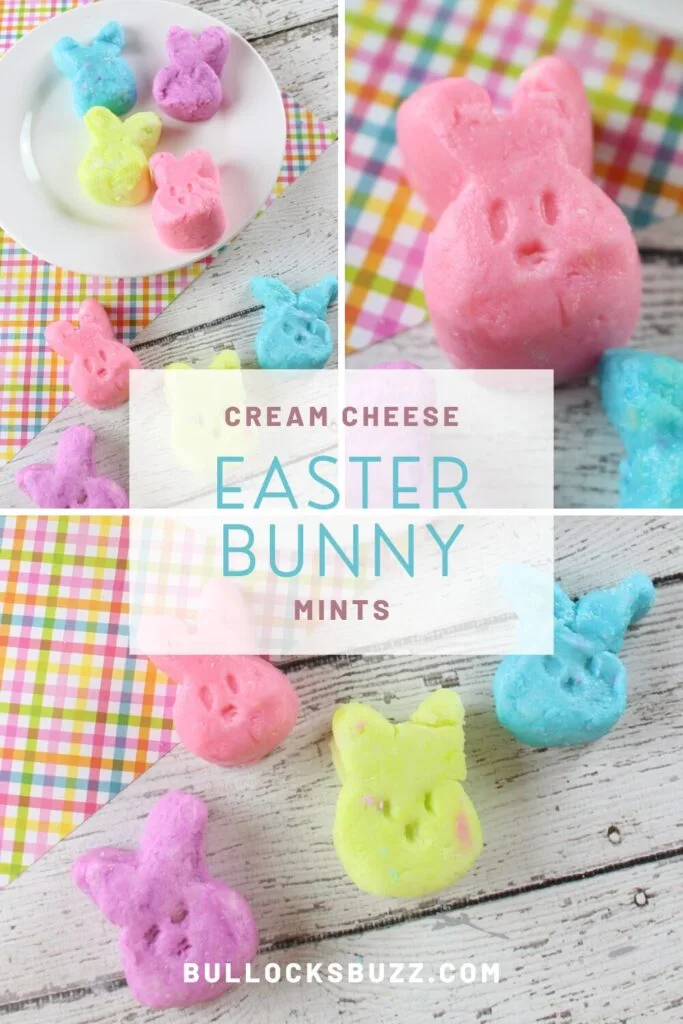
These adorable Easter Cream Cheese Mints are bright, festive, and packed with peppermint flavor. They’re perfect for popping on Easter dessert boards, slipping into treat bags, or serving at your Easter gathering. And they pair perfectly with these Easter Bunny Pudding Cups!
If you’re looking for an easy and fun Easter treat that everyone will love, these little guys are it.
Even better? They’re no-bake, use just five simple ingredients, and come together quickly. Plus, the bunny shapes are just too cute!
Reasons Why You Will Love This Recipe
- No baking required—just mix, mold, and chill.
- Only five ingredients and a few kitchen tools needed.
- Easy to customize for other holidays or events.
How to Make Cream Cheese Mints for Easter
This easy Easter dessert recipe comes together fast, with minimal hands-on time. You’ll just need some basic ingredients and a fun bunny mold to turn this into the ultimate Easter treat.
Kitchen Tools You Will Need to Make Cream Cheese Mints for Easter
Make the process quick and fun with a few helpful kitchen tools. Here’s what you’ll want to have ready:
- silicone bunny mold (I used a Wilton one)
- Mixing bowls
- Hand or stand mixer
- Measuring cups and spoons
- Wax or parchment paper
- Baking sheet
Ingredients You Will Need to Make Cream Cheese Mints for Easter
These easy no-bake mints require just five ingredients! Don’t miss the handy-dandy printable version of this recipe further down the page.
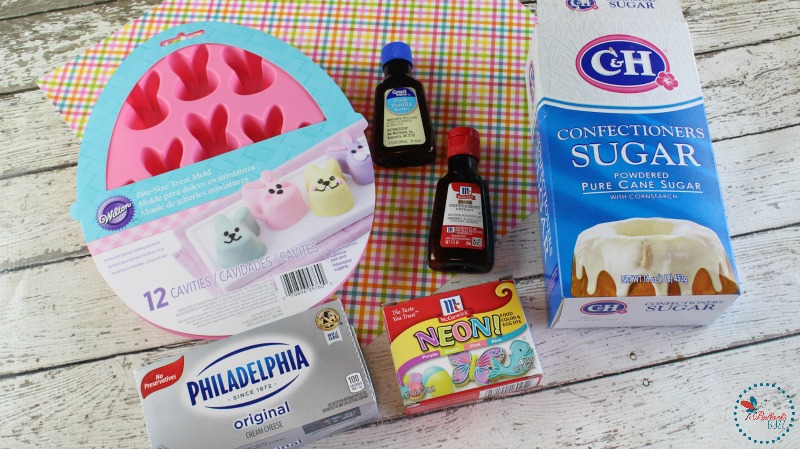

- Cream cheese, softened
- Butter, softened
- Powdered sugar
- Peppermint extract
- Vanilla extract
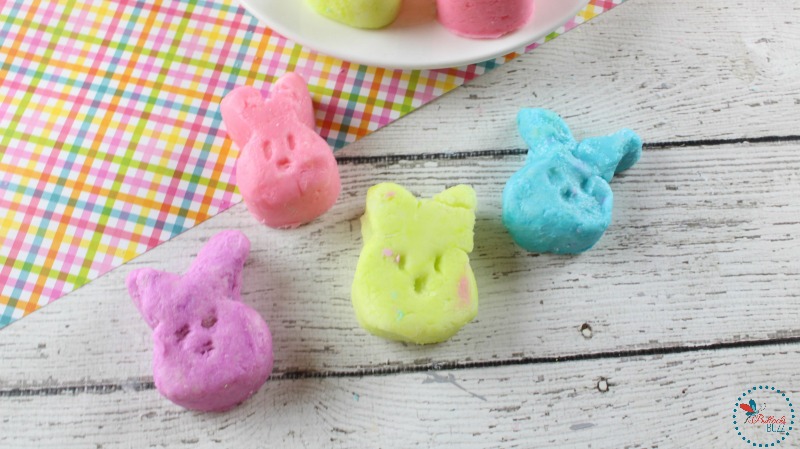
- Gel food coloring (pink, blue, yellow, purple) – I used McCormick Neon to get the pastel shades. See tips below this recipe
How to Make Pastel Colors Using Regular Food Coloring Gel
To get soft, springy pastel shades using standard gel food coloring, just use the tiniest amount! Dip a toothpick into the gel and swirl it into your dough. Mix well, then add a touch more if needed. Here’s a quick guide:
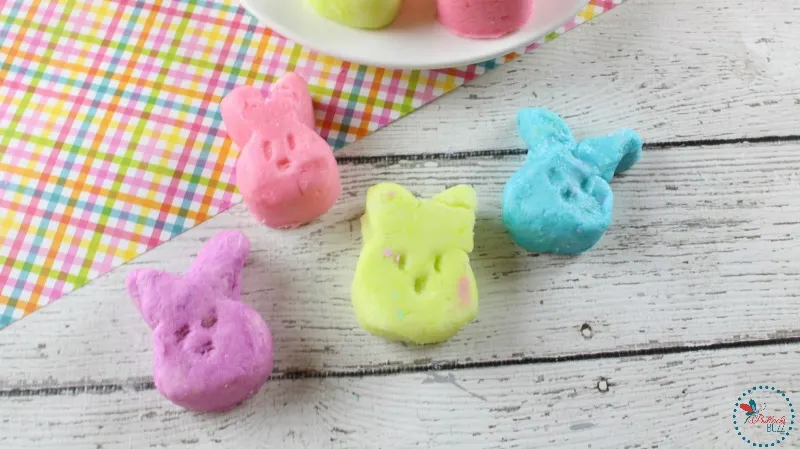
- Pastel Pink: One toothpick dip of red or pink gel coloring.
- Pastel Yellow: A tiny dot of yellow gel coloring.
- Pastel Blue: Use just a smidge of blue gel.
- Lavender (Light Purple): Mix a tiny amount of red and blue gel until you get a soft lavender shade.
Pro tip: Start light—you can always add more color, but you can’t take it away once it’s in!
Step-by-Step Instructions
These bunny-shaped cream cheese mints are easy to make and so much fun! Here’s how to do it:
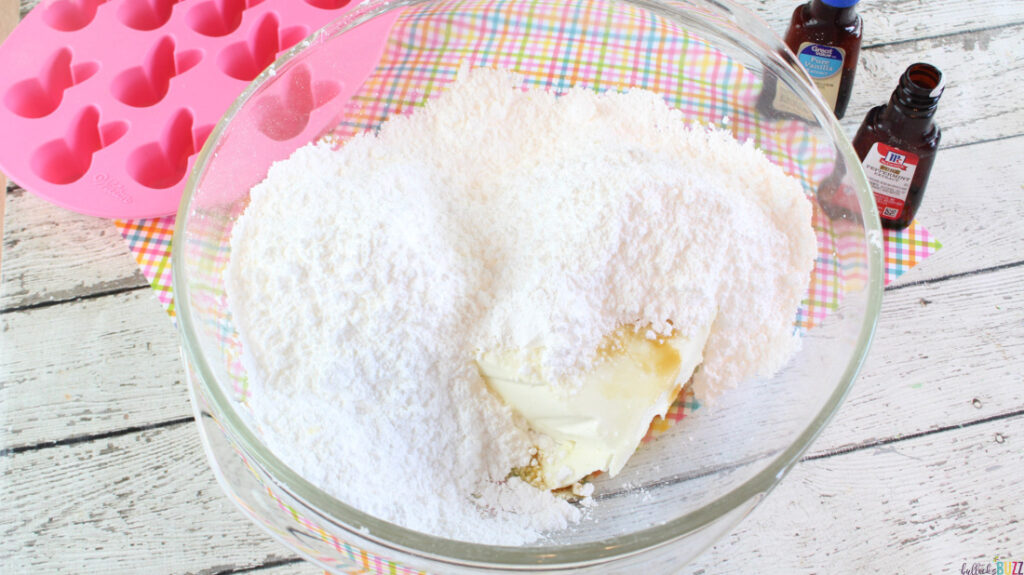
Step One: Mix the Base
- In a large mixing bowl, add softened cream cheese, butter, and 3 cups of powdered sugar.
- Beat on medium speed until a stiff dough forms.

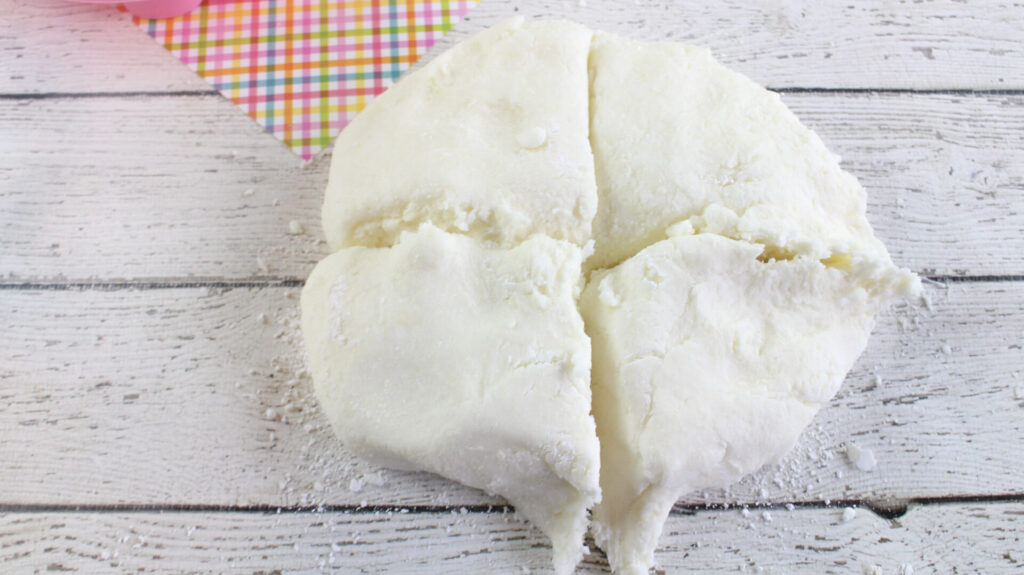
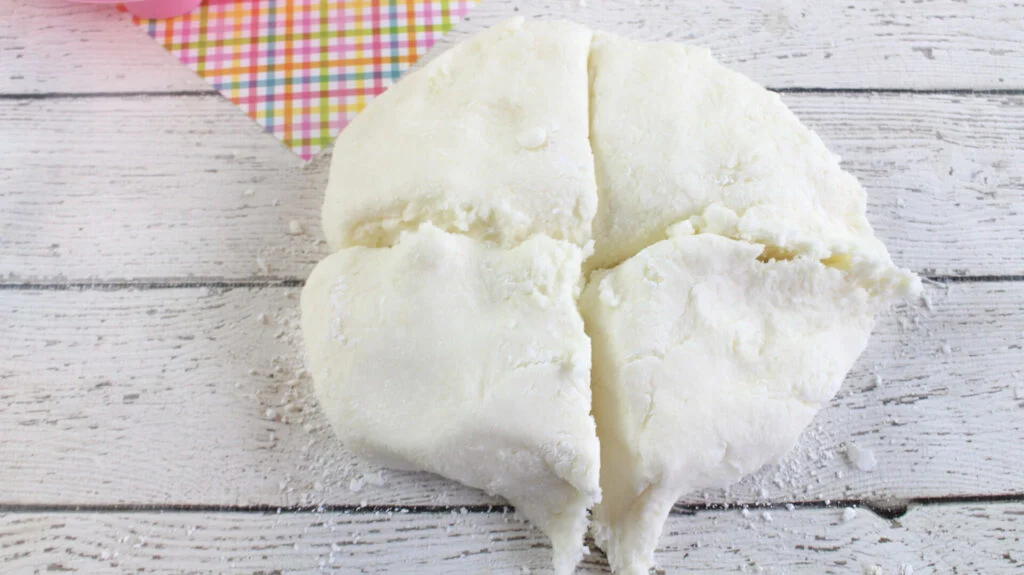
Step Two: Divide
- Turn the dough onto a powdered sugar-dusted surface—it will be sticky!
- Divide into four equal portions and place into separate bowls.
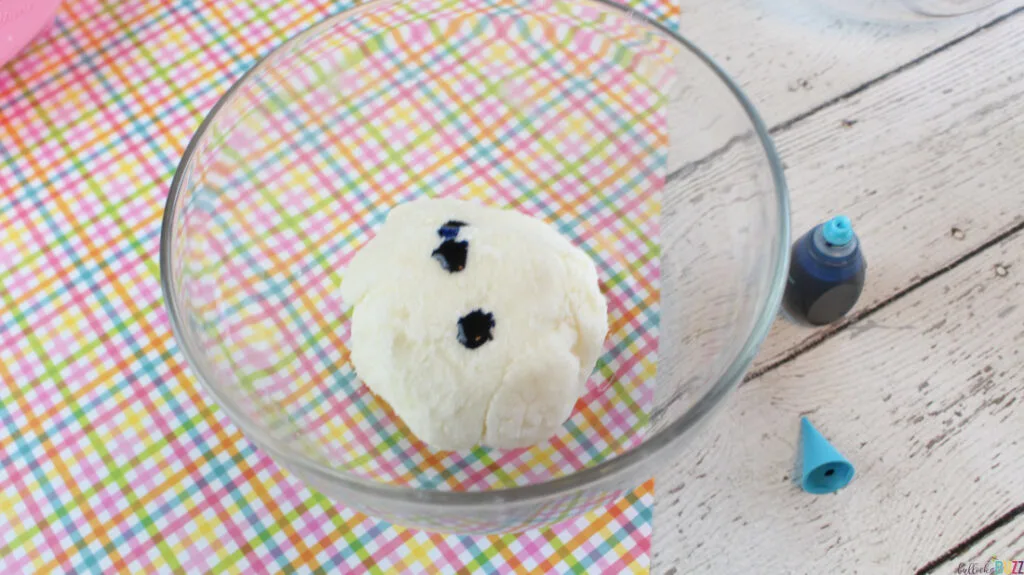
Step Three: Color
- Add a couple of drops of food coloring to each bowl and knead until the color is fully mixed in. See tips below the instructions on getting pastel shades.
- PRO TIP: Wrap in plastic wrap to avoid getting food dye on your hands.

Step Four: Freeze for Easy Handling
- Freeze the colored doughs for 30 minutes to firm them up a tad.
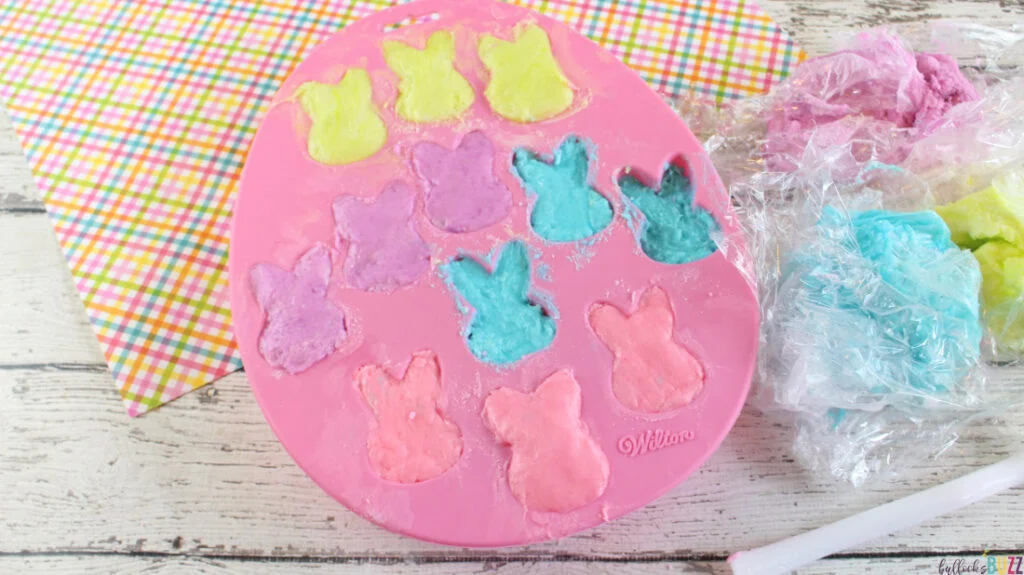
Step Five: Mold the Mints
- Press each dough color firmly into your silicone bunny molds.
- Freeze for 2 hours until completely set.

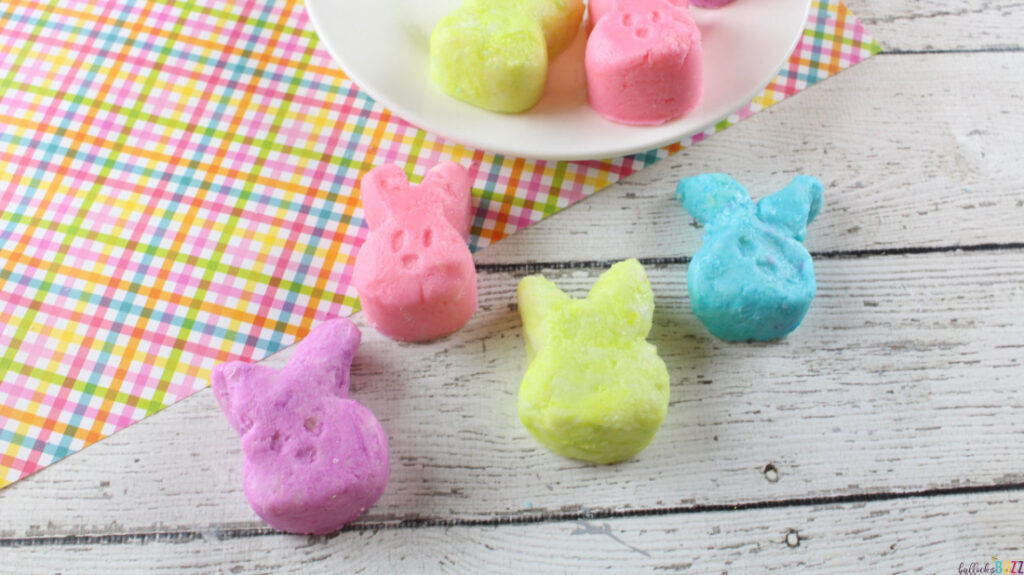
Step Five: Set and Serve
- Gently remove the bunny-shaped mints from the molds.
- Place them on a wax-paper-lined baking sheet.
- Let air dry for at least 2 hours to harden slightly before serving.

Recipe Tips and Tricks
- Dough too sticky? Sprinkle with more powdered sugar.
- Don’t skip the freezer steps—they make molding MUCH easier.
Recipe Variations, Additions, and Substitutions
- Use lemon, almond, or coconut extract instead of peppermint.
- Swap bunny molds for hearts, stars, or seasonal shapes. Make red hearts for Valentine’s, pink or blue bows for a baby shower, red and green ornaments for Christmas, blue and white dreidels for Hanukkah…the options are limitless.
- Leave them white for a classic cream cheese mint look.

Frequently Asked Questions (FAQs)
Can I use liquid food coloring?
Yes, but gel is preferred—it gives vibrant color without making the dough too wet.
Can I make these ahead of time?
Absolutely! These bunny-shaped Easter treats freeze beautifully, so you can make them weeks in advance.
How long do cream cheese mints last?
These Easter Bunny Cream Cheese Mints can last for up to 2 weeks when stored in the fridge or close to 2 months in the freezer.


Show Me What You’ve Got!
Did you make these Cream Cheese Mints for Easter? I’d love to see them! Nothing makes me smile more than seeing your take on my recipes.
Tag me on Instagram @bullocksbuzz or use #bullocksbuzz so I can share your creation!
Be sure to save this post by hitting that little heart on the side or pinning it to Pinterest. Don’t forget to share it with friends and family using those share buttons above the title!
If you loved this no-bake Easter dessert, please comment and leave me a ⭐⭐⭐⭐⭐ rating in the printable recipe card below!
You can also FOLLOW US FACEBOOK, INSTAGRAM, TIKTOK and PINTEREST to see more fun crafts, delicious food, family, and fun!
Looking for More Deliciously Fun and Easy Easter Treats?
Printable Recipe Card
Easter Bunny Cream Cheese Mints


Colorful bites of deliciousness with a creamy, melt in your mouth texture, and sweet peppermint taste make these adorable no0bake, bunny-shaped Easter Cream Cheese Mints the perfect Easter treat.
Ingredients
- 3 cups powdered sugar, plus an additional cup
- 4 oz cream cheese
- 1 Tablespoon butter
- 1 ½ teaspoon vanilla extract
- ½ teaspoon peppermint extract
- Gel food coloring - pastel colors (I used McCormick Neon and added very few drops, testing as I went)
Instructions
- Begin by adding the cream cheese, 3 cups of powdered sugar and butter to a large mixing bowl.
- Using an electric mixer on medium speed, beat until a stiff 'dough' forms.
- Remove the 'dough' from the bowl and place on your work surface. The dough will be very sticky so be sure to sprinkle the work station with a little powdered sugar. (The extra powdered sugar will help with the stickiness through out the recipe).
- Divide the dough into four equal sections and place into 4 individual bowls.
- Add 2-3 drops of different food colors into each bowl (I used pink, blue, purple and yellow). Knead each mixture until the color is distributed evenly. If needed, add powdered sugar as you knead to prevent stickiness. OR, if you prefer, wrap each part in plastic and knead it that way to avoid getting dye on your hands and to keep it from getting sticky.
- Freeze the colored mixtures for 30 minutes for easier handling.
- Remove from the freezer and place the mint mixture into the silicone bunny molds and press down firmly. Freeze for 2 hours.
- Line a baking sheet with wax paper.
- Carefully remove each bunny mint from its mold and place on the prepared baking sheet.
- Air dry the mints for at least two hours before serving to allow to harden.
- ENJOY!!
Notes
Store in the refrigerator, in an airtight container for up to 2 weeks or in the freezer for up to 2 months.
The majority of time is in the freezing so the 'dough' will be easier to work with and so the candy will set.
Recommended Products
As an Amazon Associate and member of other affiliate programs, I earn from qualifying purchases.

Nutrition Information:
Yield:
12 mintsServing Size:
1 mintAmount Per Serving: Calories: 151Total Fat: 4gSaturated Fat: 3gTrans Fat: 0gUnsaturated Fat: 1gCholesterol: 12mgSodium: 38mgCarbohydrates: 28gFiber: 0gSugar: 27gProtein: 1g
Nutritional information is automatically calculated with ingredients and serving size and may not be accurate. Please always double check with your own nutritional apps as well.