This post may contain affiliate links. I only recommend products I use and love. Read the full disclosure here
Updated on: November 30, 2023
Originally published on: December 5, 2021
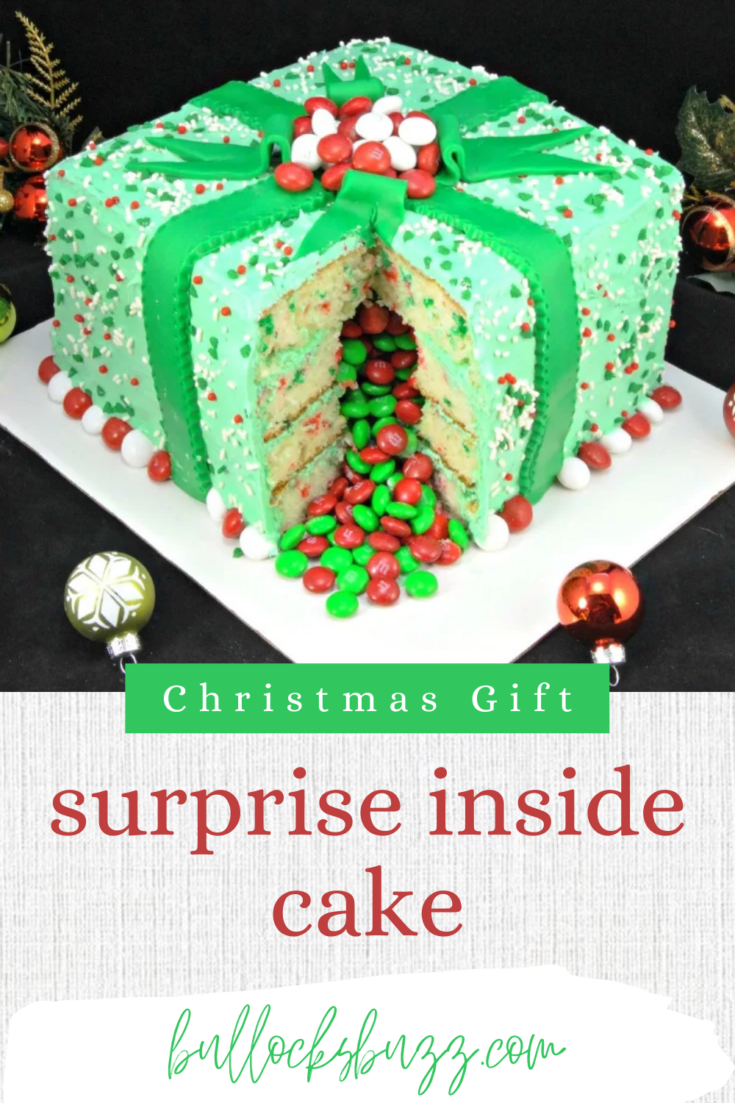
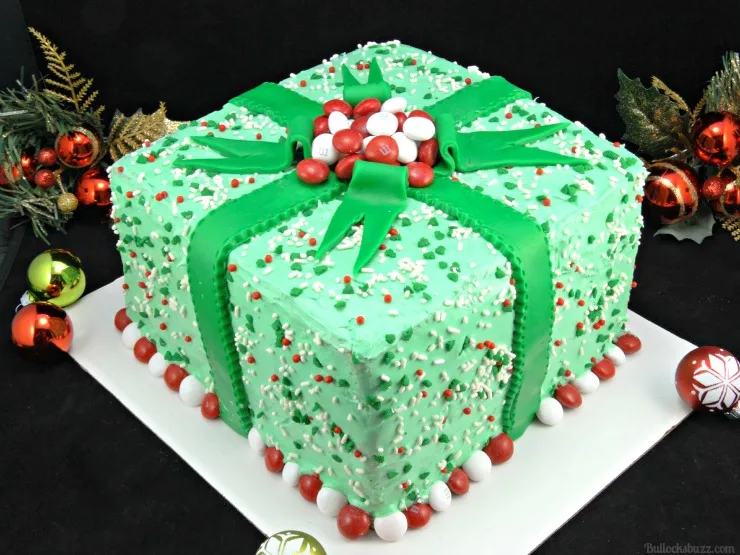
This delicious Holiday Present Piñata Cake not only looks beautiful, but it has a sweet candy surprise in the middle, too! Best of all, this Surprise Inside Christmas Gift Box Cake is easy to make!
Holiday baking is a BIG deal in our house. Every year, starting around the last week of November and lasting until the first of the year, you can pretty much count on the oven being on and the warm, sweet smell of baking treats permeating the air.
And this year is no different! I’ve decided to start off the holiday baking with a fun Holiday Present Piñata Cake that has an M&M’s® surprise in the middle!
Nothing is more fitting the holidays than a cake shaped like a Christmas gift box with a candy surprise inside! Celebrate Hanukkah? No problem! Simply change the colors to blue and white! Hmmm…sounds like an idea for next year! 😉

What is a Surprise Inside Cake or a Piñata Cake?
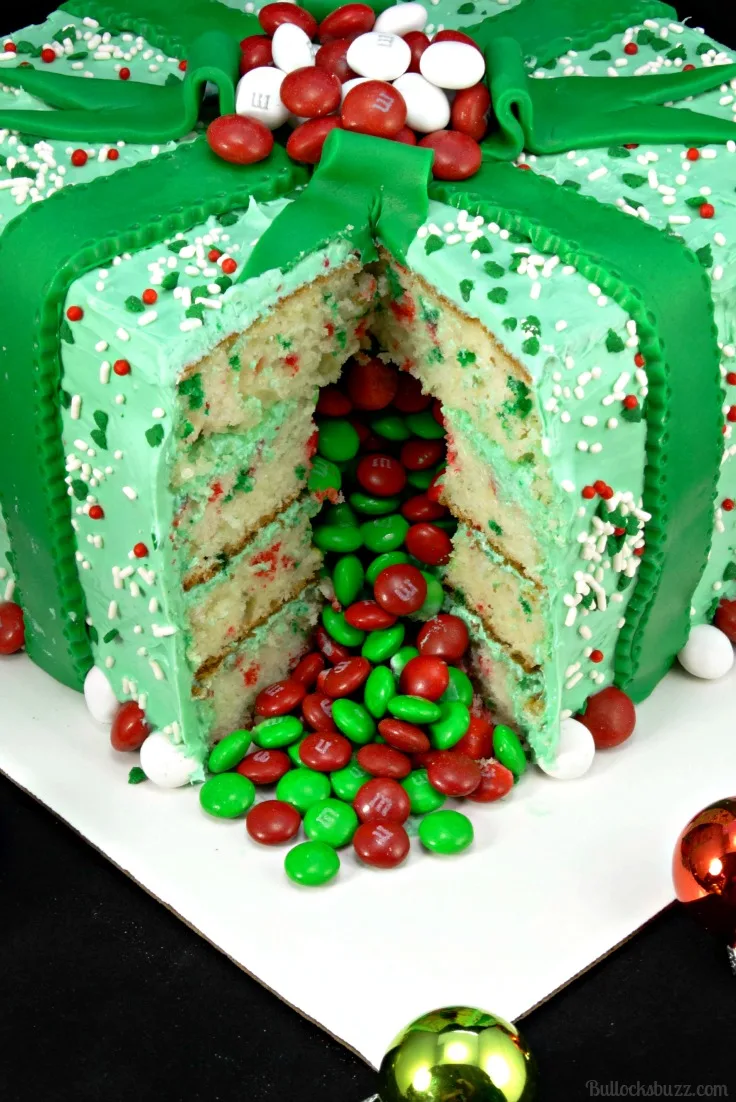
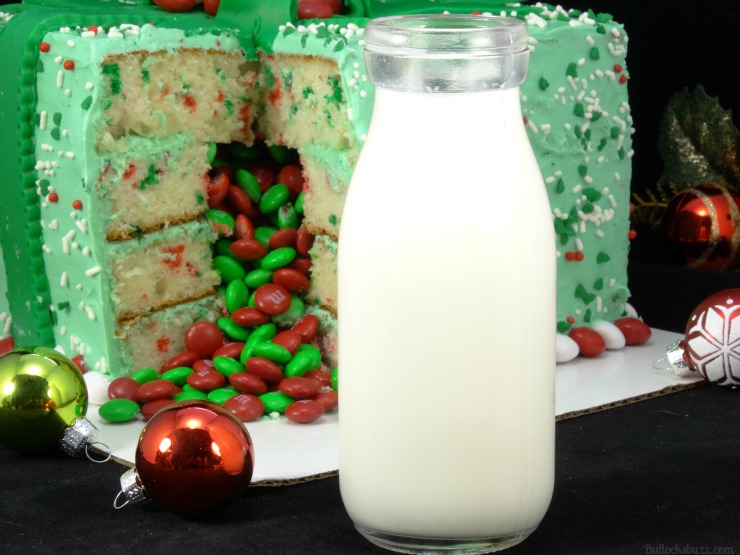
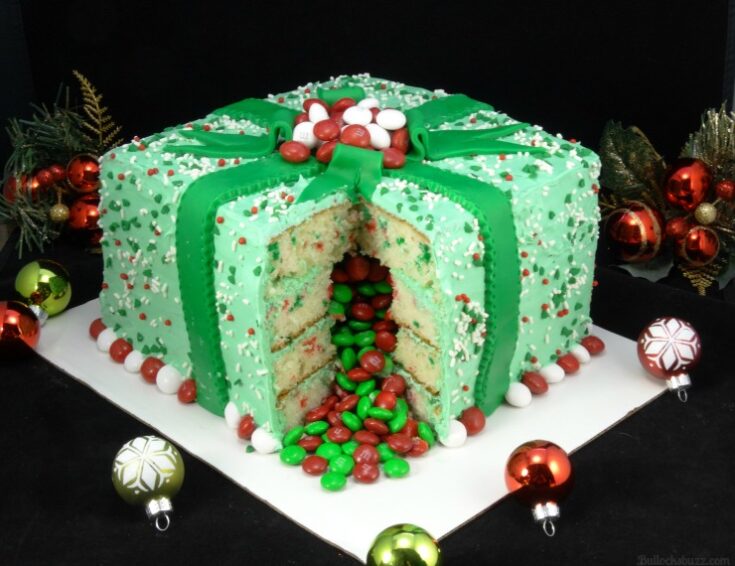
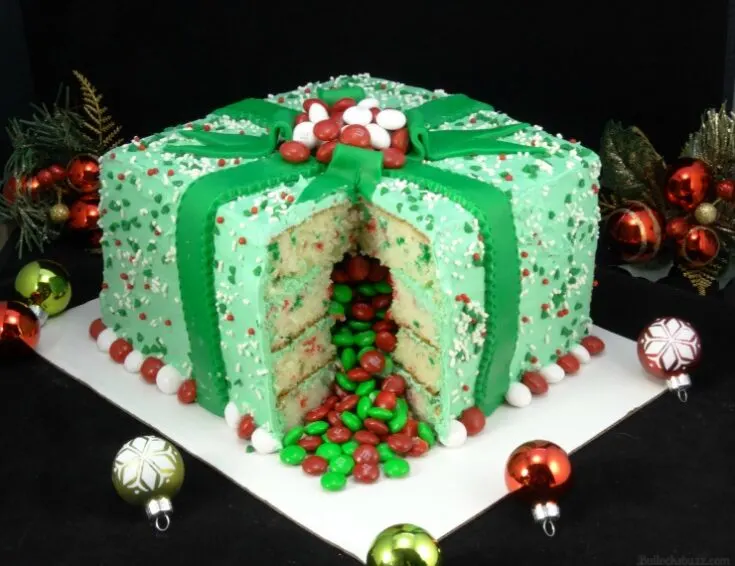
A surprise inside cake is exactly what it sounds like – a cake with a surprise in the middle! In this case, this Christmas gift box cake has a handful of holiday-colored M&MS in the middle. Once you cut a slice out of the cake, the candy comes spilling out, surprising everyone!
This type of cake is also called a piñata cake, most likely due to the candy hidden inside.
Love the idea? Check out my Hanukkah Piñata Cookies!
How to Make a Surprise-Inside Holiday Present Piñata Cake
Ready to see how to make this fun-filled Surprise Inside Holiday Present Piñata Cake?
Keep in mind this is going to be a BIG cake, but that makes it perfect for those holiday gatherings! And don’t think you can’t do it, because YOU CAN! This was the first time I’d ever made a piñata cake, but I think it came out pretty darn good!
Is Making a Surprise Inside Cake Hard?
Actually, making this surprise inside cake was a lot easier than I thought it would be. It’s really not much different from making a regular layered cake, except you cut out a square out of the two middle layers to make room for the candy.
Easy peasy – promise!

You will find the complete ingredients and instructions listed in the printable recipe card at the bottom of this post. I also included step-by-step instructions along with pictures below so you can see the entire process of making this holiday gift surprise inside cake.
Kitchen Tools You May Need to Make This Holiday Present Piñata Cake
Another fact that makes this piñata cake much easier than you’d think is that you only need a few supplies and ingredients to make it.
In fact, the cake itself is made with a box mix, as is the icing which saves a lot of time! Of course, you can always use your favorite homemade cake recipe if you prefer.
Disclosure: This blog post contains affiliate links for products or services I think you’ll like. This means if you make a purchase from one of these links, I may make a small commission at no additional cost to you. I only recommend items I use and love.
- 9″ square baking pan
- medium mixing bowl
- blender or countertop mixer
- cake slicer/leveler
- icing spatula or offset spatula
- cake knife – important for properly shaping the cake
- square cake board – a few inches larger than the cake pan (I used a 12-inch)
- Wilton Silicone Ribbon and Fabric Fondant and Gum Paste Mold – to make the fondant ribbon and bow
- Fondant rolling pin
Ingredients to Make the Surprise Inside Holiday Present Piñata Cake
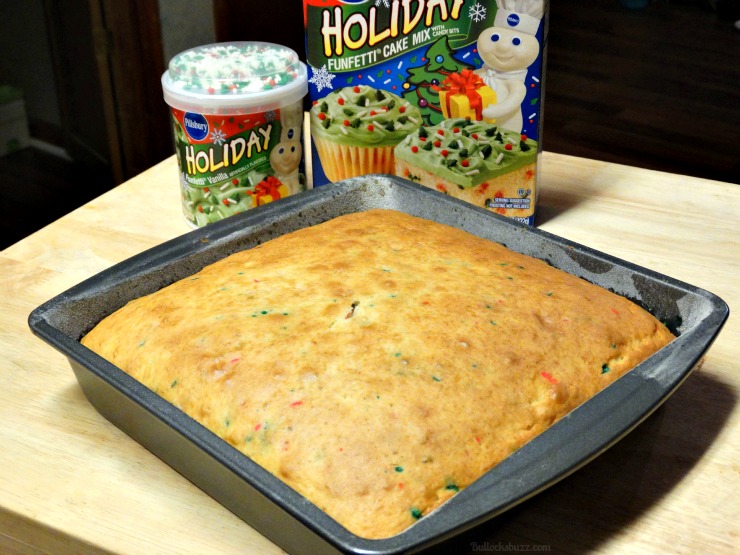
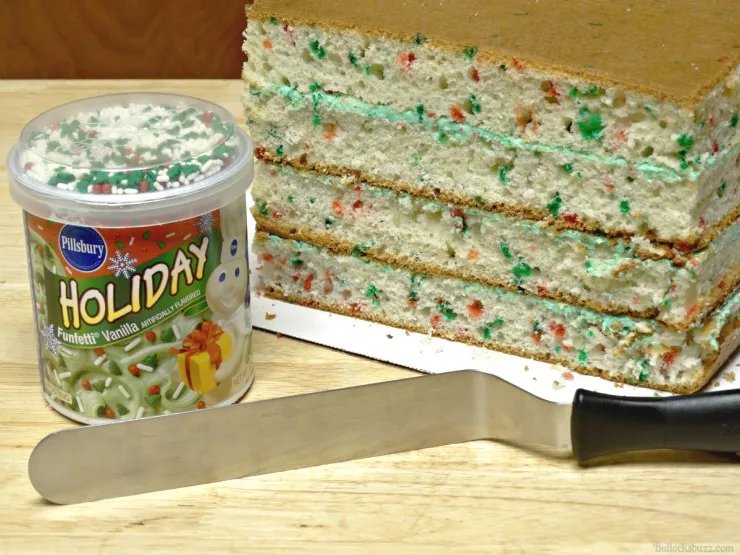
Using a box mix and store-bought frosting makes this cake even easier to create. I opted to use Funfetti cake mix because it makes this cake even more festive due to the sprinkles.
- 4 boxes Pillsbury™ Funfetti® Holiday Cake Mix
- 2.5 Pillsbury™ Funfetti® Holiday Vanilla Flavored Frosting
- Water, vegetable oil, and eggs called for on cake mix boxes
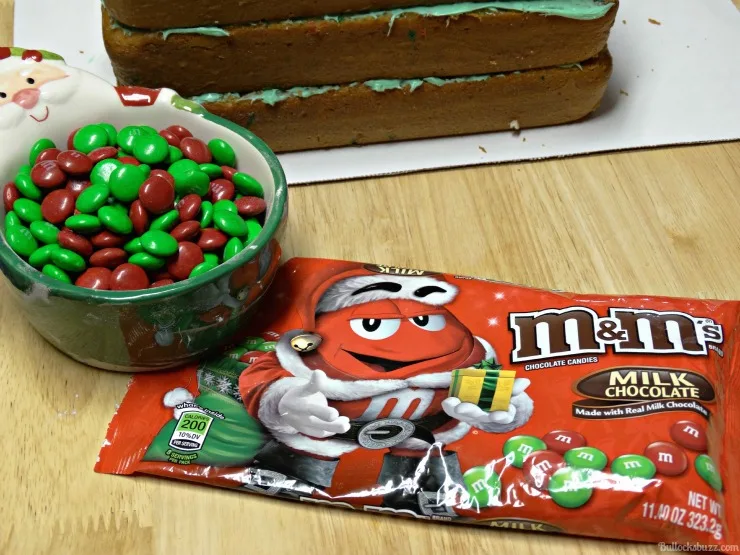
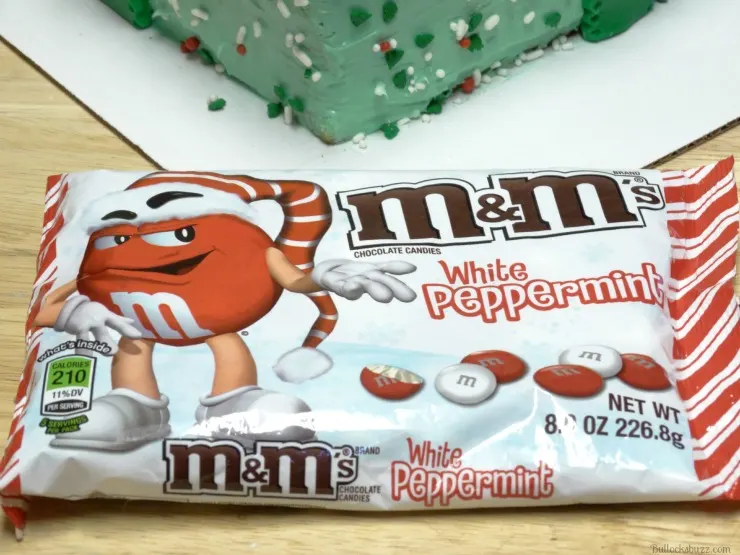
- 1 bag M&M’s® White Peppermint candies (similar M&Ms on Amazon)
- 2 bags M&M’s® Holiday Milk Chocolate
- Green fondant for the ribbon

Instructions to Make this Holiday Gift Surprise Inside Cake
While this cake may look complicated, I promise that it is a lot easier than it looks! I am by no means a professional cake decorator, but I was able to make this one with no problems.
Step One: Bake the Cakes for this Holiday Present Piñata Cake
Begin by baking all four cakes in 9″ square cake pans following the instructions on the box.

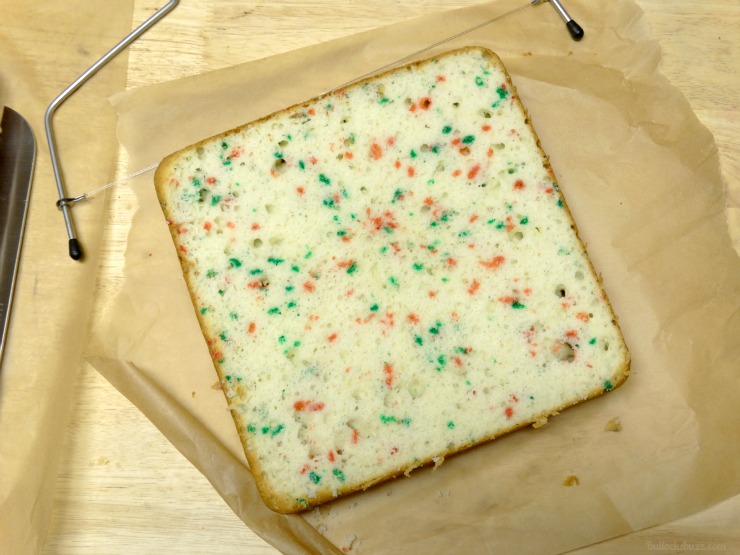
Step Two: Trim to Flatten Each Cake
Allow the cakes to cool completely, then flatten each of the cake layers by trimming off the rounded tops. Do not worry about trimming the rest of the cake in order to get sharper corners right now.

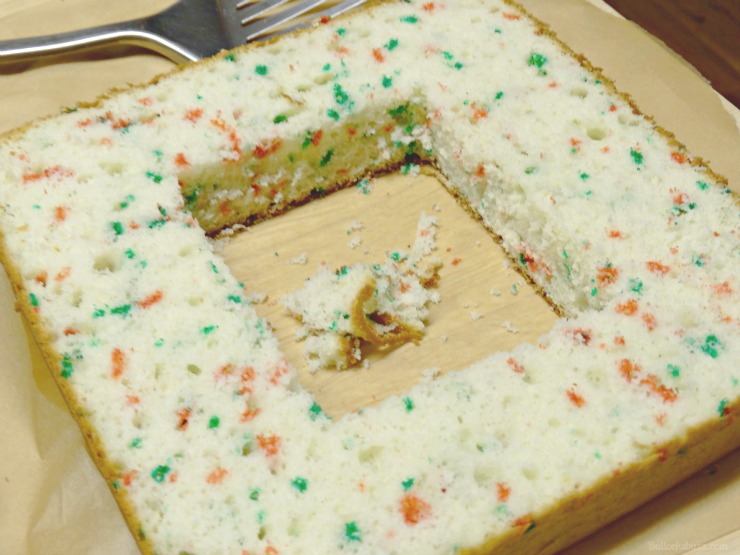
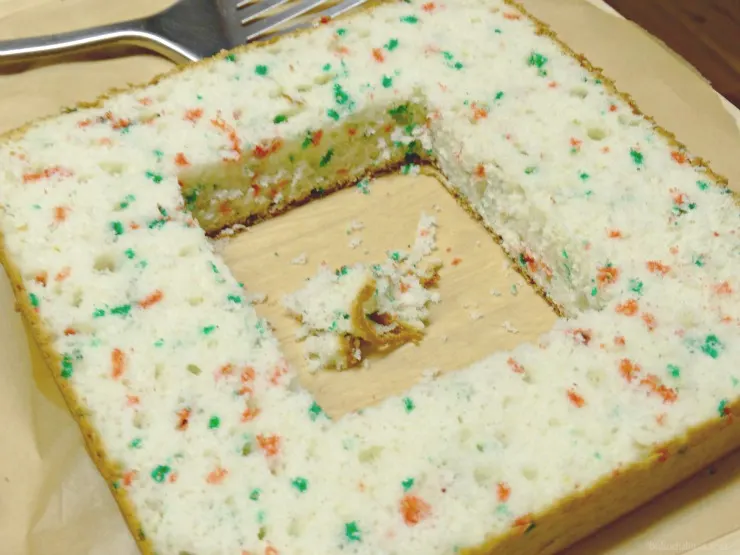
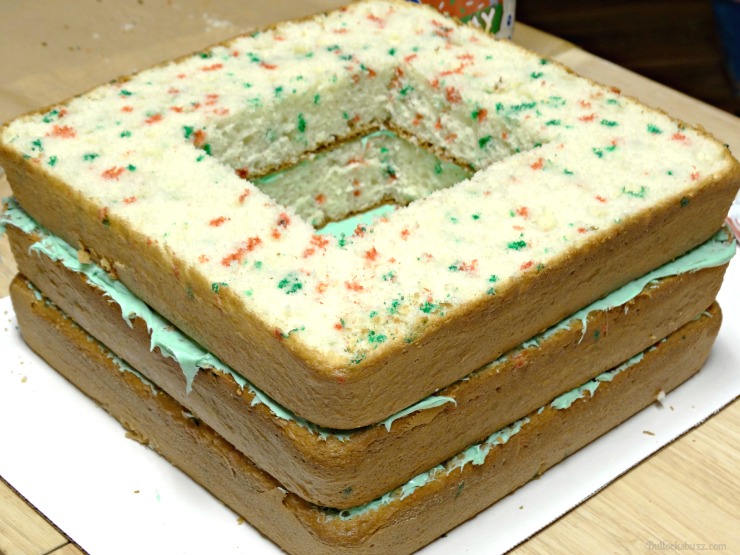
Step Three: Cut Out Squares from Middle Layers
Next, cut a square out from the very center of two of the cake layers. You don’t need any special tool to do this. Do you know what I used? A metal offset spatula. The holes do not have to be perfect either, just make sure both layers have the same size hole. These two cakes will be the two middle layers of the surprise inside piñata cake and where the candy will be.
Step Four: Assemble the Cake
To assemble the Holiday Present Piñata Cake, you will first place one layer on a square cake board and lightly frost the top of it. This will be the bottom of the cake. Do not make the frosting too thick or the layers could slip and slide.
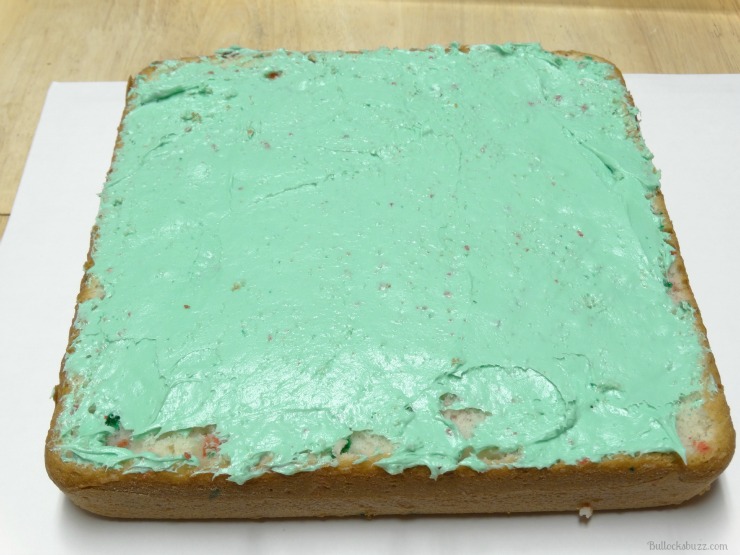
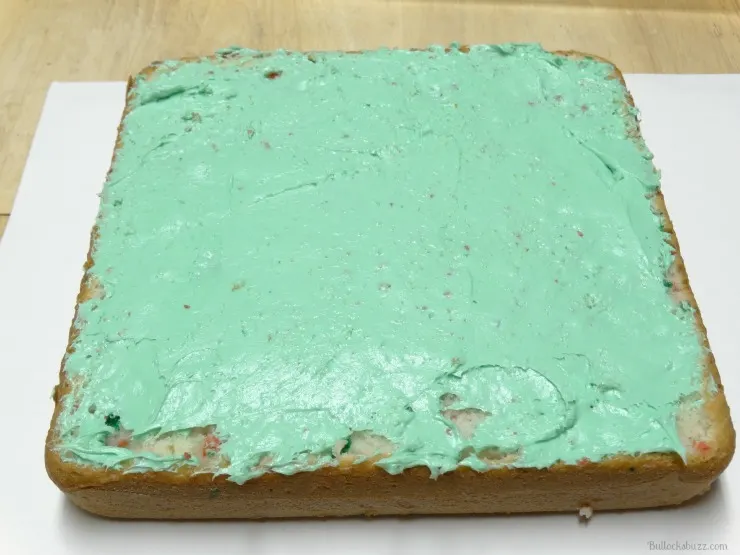
Next, place one of the cake layers with the square cut out on top of the bottom frosted layer.
Lightly frost the top of it…
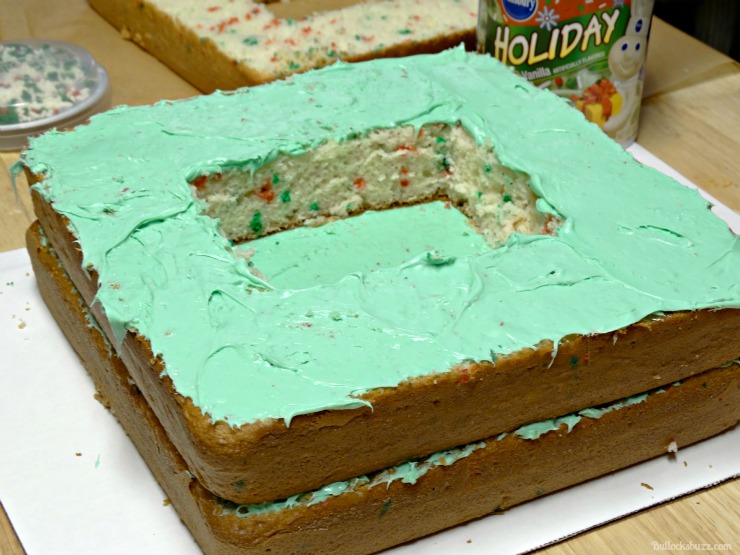

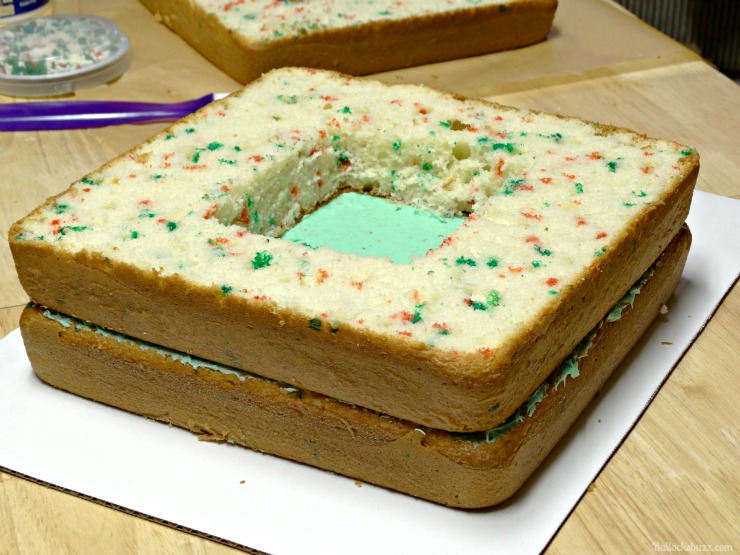
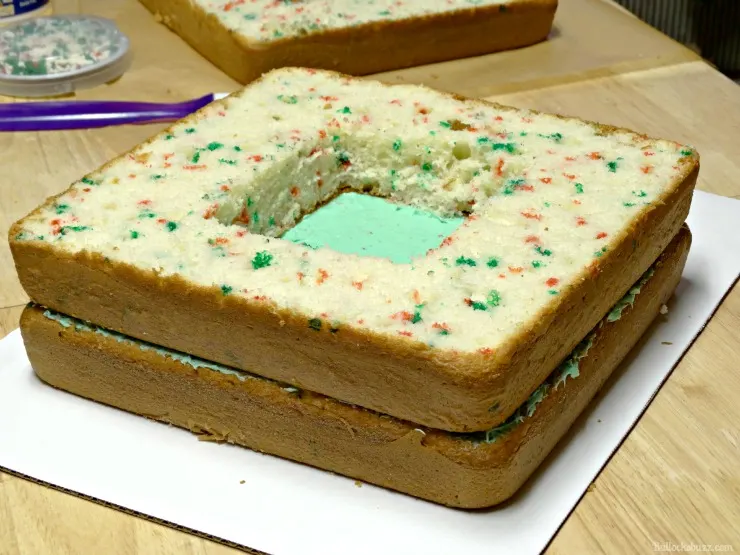
and then add the second cake with the hole in it (this will be the third layer of the piñata cake).

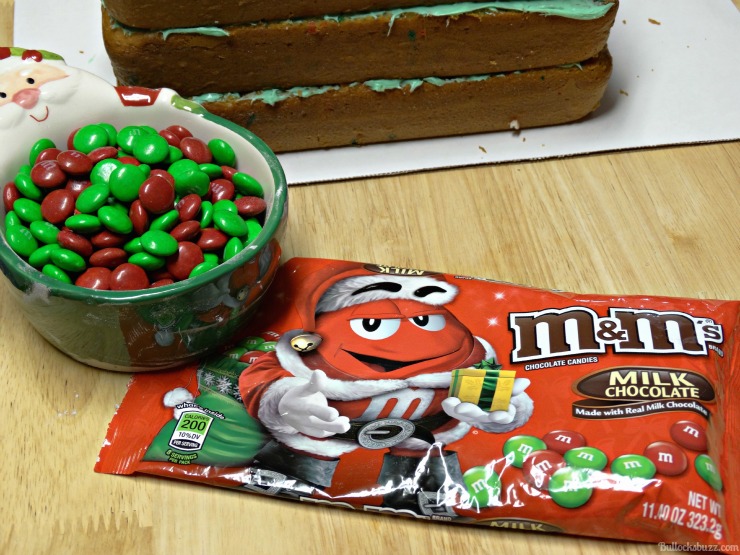
Before icing that layer, grab the M&M’s® Holiday Milk Chocolate candies and fill the hole in the middle up to the very top. Like this.
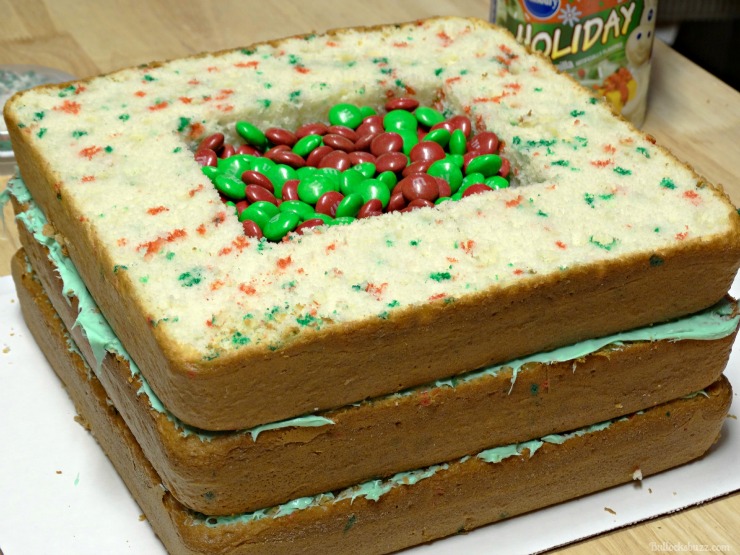
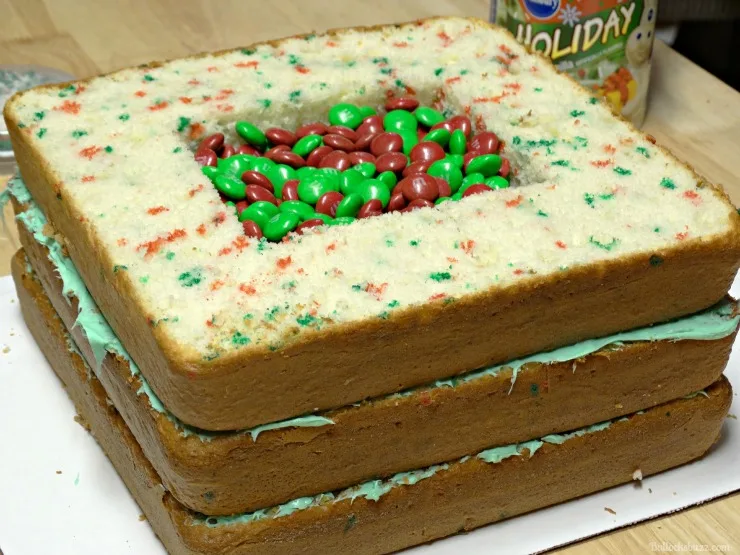
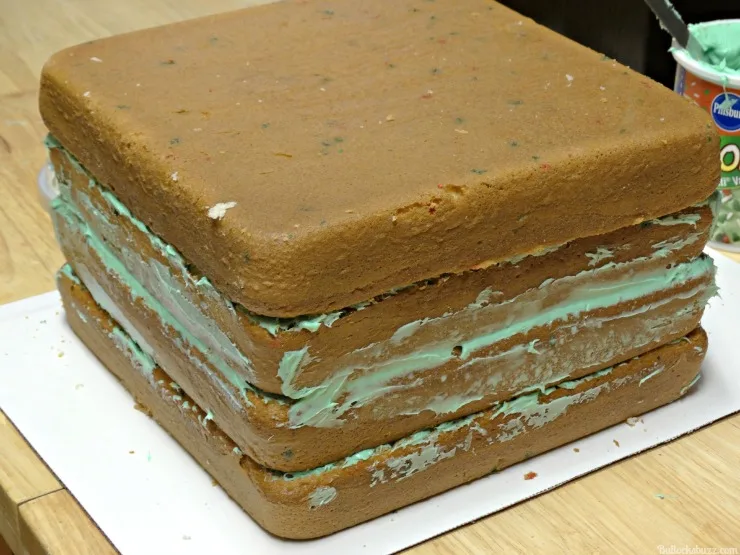
Once you fill the hole, lightly frost the top of that layer. Now take the last cake, flip it upside down so you have a smooth surface to frost, and place it on top of the other layers.

Step Five: Chill the Cake
Now, carefully place the entire cake in the fridge for a couple of hours. This helps a lot when it comes time to cut the cake into a more square-like shape. Chilled, the cake won’t rip and tear as badly so you will be able to get a nice clean-cut.
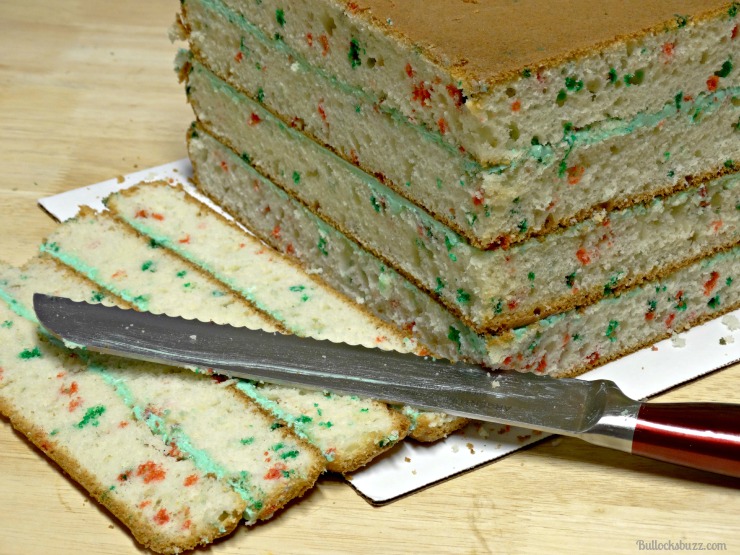
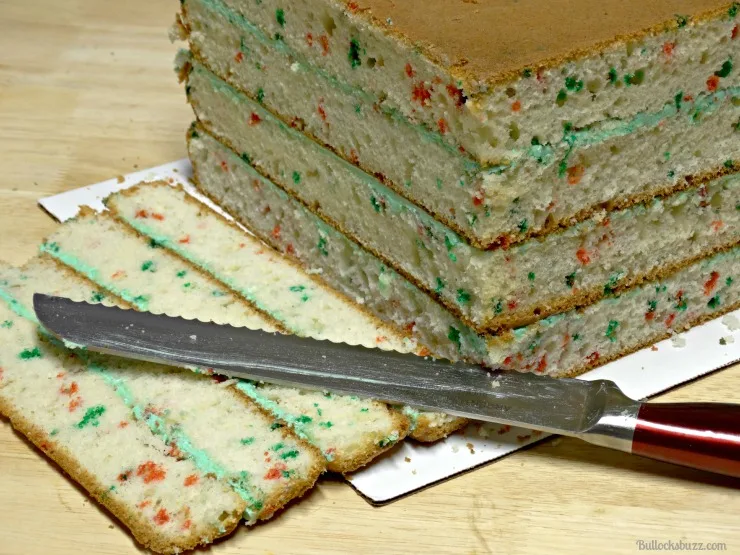
Step Six: Shape the Cake
Once the cake is thoroughly chilled, you will need to trim it into a nice square shape by cutting off the edges. Be sure to use either a bread or cake knife to do this.
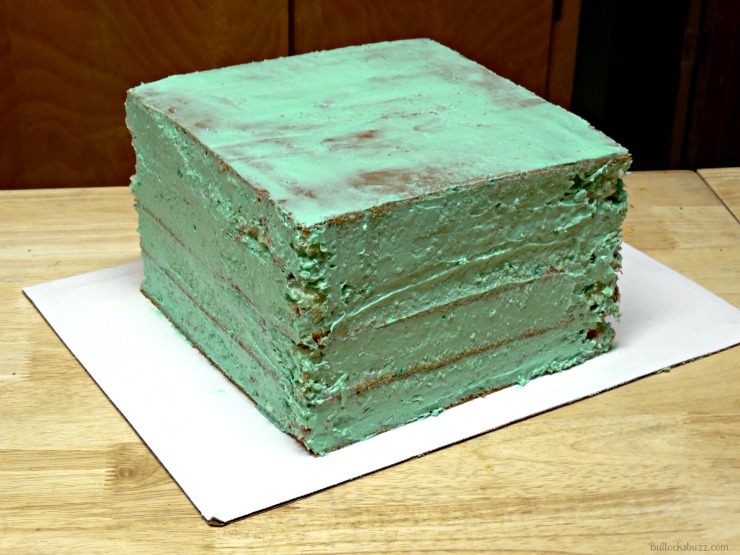
Step Seven: Add the Crumb Layer to the Holiday Present Piñata Cake
Next, apply a crumb layer (a thin layer of frosting that helps give a nice smooth surface to frost) to the top of the cake and all four sides.

Take your time and be very careful when icing, especially around the corners! As you can see in the pictures I had some trouble with mine, but luckily, once I added the final layer of icing, and all of the decorations, you really couldn’t tell.
Now place the cake back in the fridge to chill until the frosting is firm to the touch (about 30 to 45 minutes).

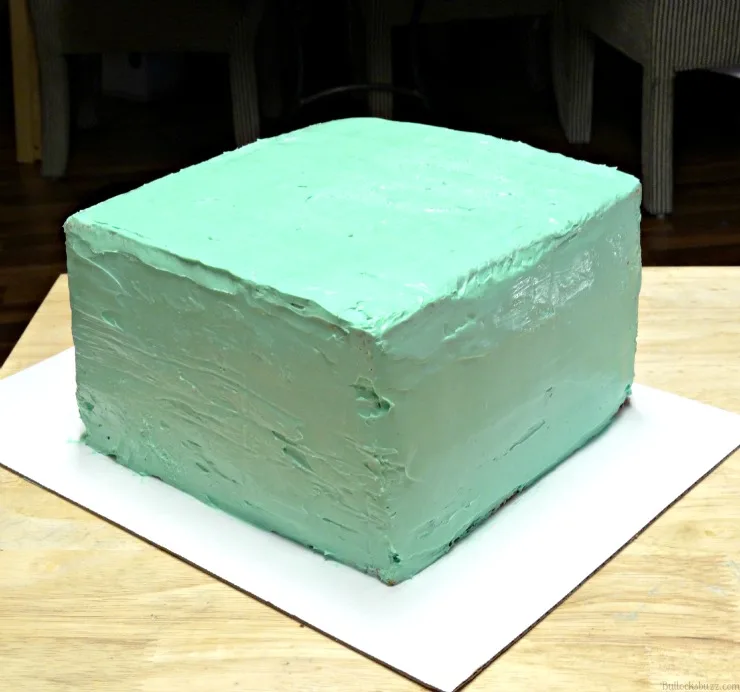
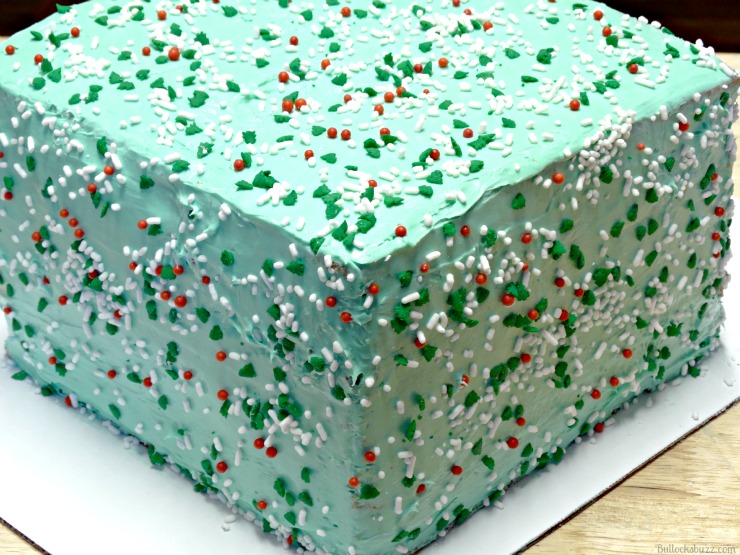
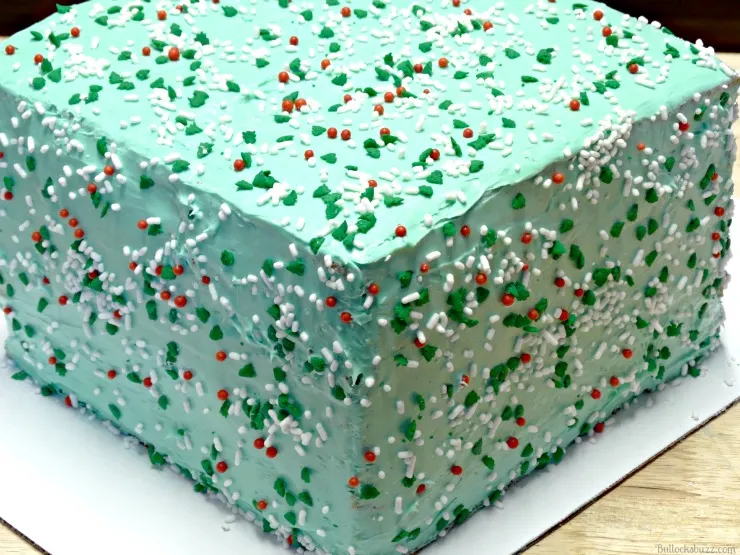
Step Eight: Add Second Layer of Frosting
Once the crumb coat is thoroughly chilled, the cake is ready to be iced with a thick second layer of frosting. Try to get the frosting as smooth as you can, but don’t worry about making it perfect.
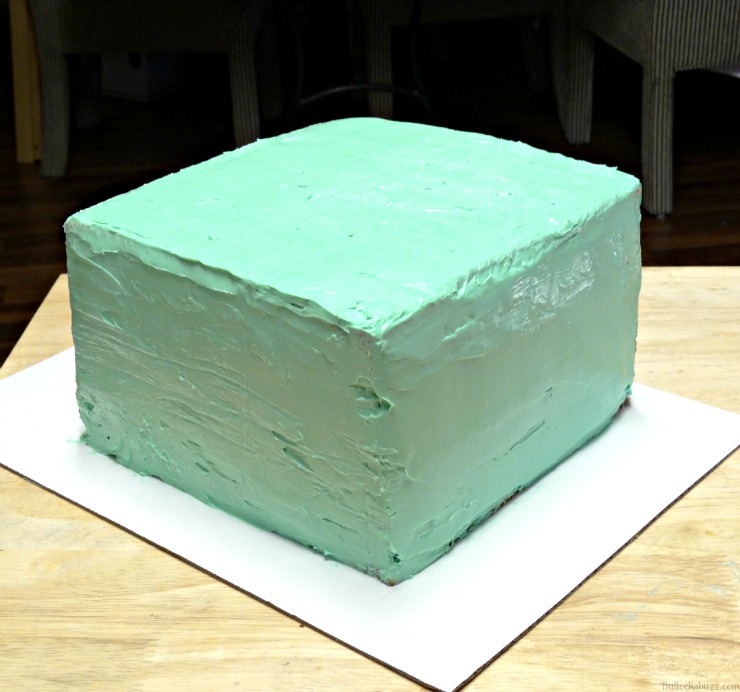
Don’t forget to add those festive sprinkles from the Pillsbury™ Funfetti® Holiday Vanilla Flavored Frosting all over the Holiday Present Piñata Cake!
Step Nine: Making the Fondant Ribbon and Bow Streamers
This next part in making this Christmas gift box cake took the longest as I was fairly new to working with fondant. It turns out that it was much easier than I originally thought it would be. So, if this is your first time working with fondant, too, don’t worry. You’ve got this!
To make the very basic and simple ribbon and the bow streamers, I first lightly dusted a fondant rolling mat with a little bit of confectioner’s sugar. I then rolled out some fondant to around 1/4-inch to 1/8-inch thickness. Next, using a pizza roller, I cut out four strips. I then pressed each fondant strip into the ribbon pattern mold to give each strip that embossed beaded edge design you see.
TIP – the mold I used makes short strips of ribbon. Therefore, I had to make two strips and “glue” them together using a dab of water. Once they dried, I carefully laid them across the cake.
I next laid one strip in the middle of each “side” of the cake, gently pressing them into the frosting so it could act as glue. Notice that the strips do not meet in the middle of the cake.
For the bow’s streamers, I cut out four more long strips the same width as the ribbon (1-inch). I then cut a ‘V’ shape in the end of each piece with kitchen shears to make it look prettier.
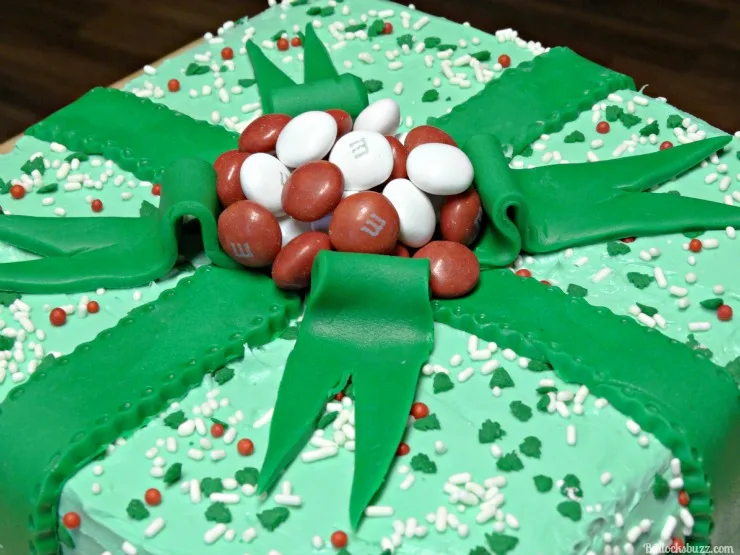
Next, I made “loops” in each strip by gently folding over and bunching together the top third of each strip. Then I lightly brushed them with a slightly damp brush and put them in place on the cake. As you can see in the picture above, I intentionally left an open space in the very middle where the bow would be.
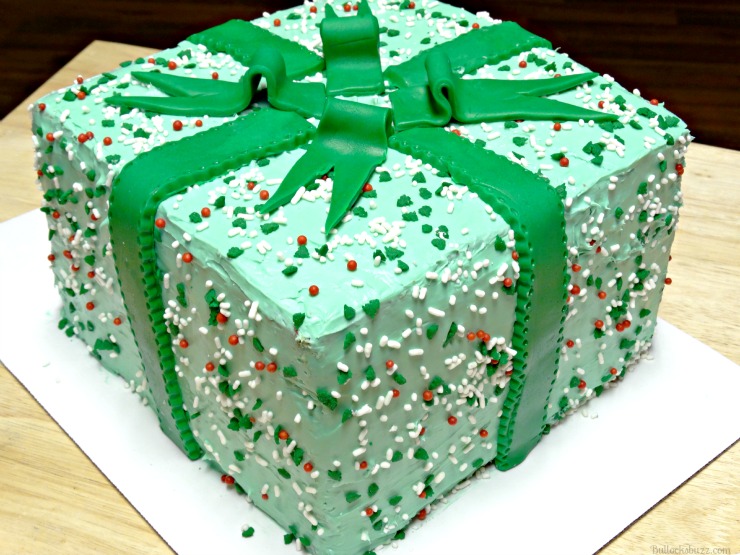
Then, instead of making a bunch of fondant loops for the bow, I decided to go a much faster route. I grabbed the package of M&M’s® White Peppermint candies and used some for them to finish out the bow on this Christmas gift box cake!

I think it turned out nicely, adding another pop of color and pulling the entire cake together.

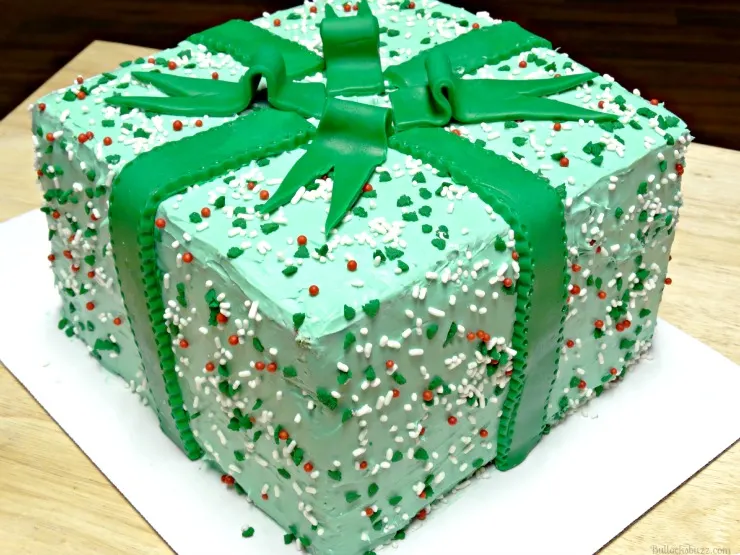
Step Ten: Finish Decorating the Christmas Gift Cake
To finish the look, I added a line of the peppermint M&Ms around the bottom edge of the gift box cake, alternating between red and white.
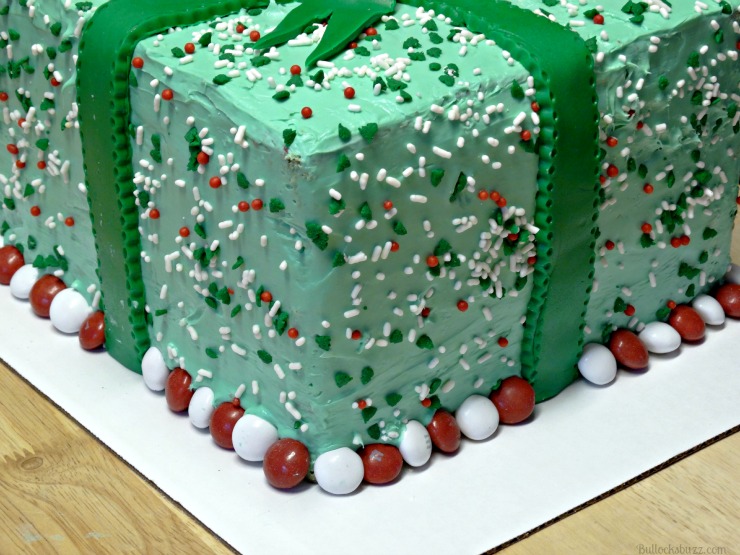
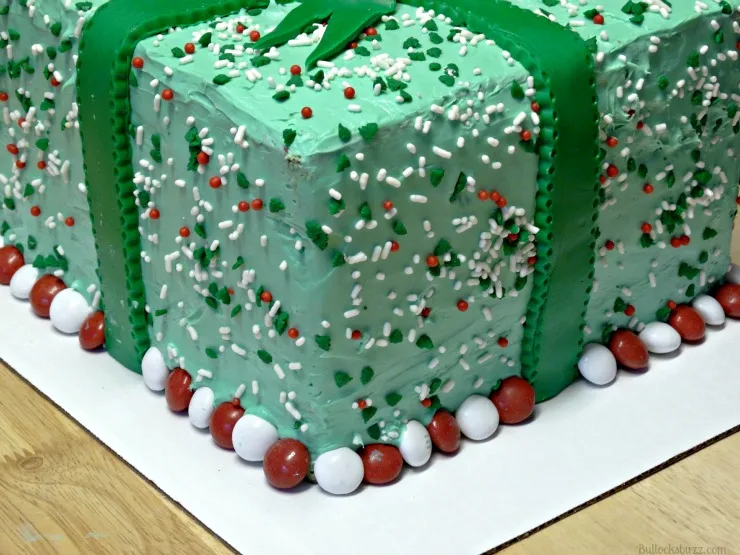
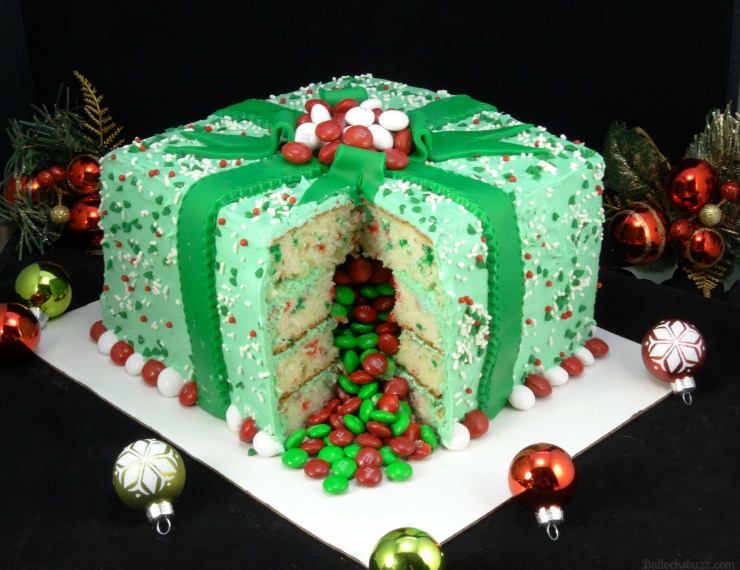
And that’s it…you’re done! Doesn’t this Christmas gift box cake look fun, festive and delicious?!

And just wait until you see their faces when you take a sharp knife and cut out a slice to show everyone what’s inside the Holiday Present Piñata Cake!
Now all that’s left to do now is to enjoy! And of course, don’t forget your tall glass of ice-cold milk!


LIKE IT? LOVE IT? SHARE THIS SURPRISE INSIDE HOLIDAY PRESENT PIÑATA CAKE RECIPE!
I hope you enjoy this Christmas Gift Box as cake much as I did! It’s so easy to make, and lots of fun to eat!
If you give this Holiday Present Piñata Cake it a try, I’d love to know! Leave a comment below and tag a photo @bullocksbuzz and #bullocksbuzz on Instagram or Facebook so I can see your holiday creations!
And be sure to Pin it to save it, and then share with your friends and family by clicking the share buttons above the post title!
And finally, if you get a chance, please comment and leave me a ⭐⭐⭐⭐⭐ rating on the printable recipe card below!
Printable Holiday Present Piñata Cake Recipe Card
Holiday Present Piñata Cake
A deliciously fun piñata cake designed to look like a holiday present! Made with your favorite festive cake mix, icing and M&M's candy. Your guests will love the surprise in the middle!
Ingredients
Cake
- 4 boxes Pillsbury™ Funfetti® Holiday Cake Mix
- Water, vegetable oil and eggs called for on cake mix boxes
- Square cake board or other flat serving tray.
Decoration
- 2.5 Pillsbury™ Funfetti® Holiday Vanilla Flavored Frosting
- 1 bag M&M’s® White Peppermint candies
- 2 bags M&M’s® Holiday Milk Chocolate
- Green fondant for the ribbon
Instructions
Cake
- Begin by baking your four cakes in 9" square cake pans following the instructions on the box.
- Allow them to cool completely, then flatten each of the cake layers by trimming off rounded tops. Do not worry about trimming the rest of the cake in order to get sharper corners right now.
- Next, cut a square out from the very center of two of the cake layers. You don't need any special tool to do this. Do you know what I used? A metal spatula. The holes do not have to be perfect either, just make sure both layers have the same size hole. These two cakes will be the two middle layers of the piñata cake.
- Place one layer on a square cake board and frost it lightly. This will be the bottom of the cake. Don't make the frosting too thick or the layers could slip and slide.
- Now place one of the cake layers with a hole on top of that bottom frosted layer.
- Lightly frost the top of it.
- Then add the next layer with the hole in it (this is the third layer of the piñata cake).
- Once you have that third layer on, and before you frost it, grab the M&M's® Holiday Milk Chocolate candies and fill the hole up to the very top with the candies.
- Once you fill the hole, lightly frost the top of that layer, then add the final layer as the top. Make sure you flip this layer upside down so you have a smooth surface to frost!
- Now, carefully place the entire cake in the fridge for a couple of hours. This helps a lot when it comes time to cut the cake into a more square-like shape, the cake won’t rip as badly so you will get a nice clean-cut. Once the cake is thoroughly chilled, trim it into shape, using a bread knife.
Frosting and Decorating
- Apply a crumb layer (a thin layer of frosting that helps give a nice smooth surface to frost) to the top of the cake and all sides.
- Be very careful when icing, especially around the corners! As you can see in the pictures I had some trouble with mine, but once I added the final layer of icing, and all of the decorations, you really could not tell.
- Place the cake back in the fridge to chill until the frosting is firm to the touch (about 30 to 45 minutes). Once it is thoroughly chilled, the cake is ready to be iced with a thick second layer of frosting. Try to get the frosting as smooth as you can, but don't worry about making it perfect.
- Don't forget to add those festive sprinkles from the Pillsbury™ Funfetti® Holiday Vanilla Flavored Frosting!
- Make a simple ribbon from green fondant.
- Use some M&M’s® White Peppermint candies for the bow.
- Then add a line of the candies around the bottom edge of the cake.
Notes
Much of the total time is the time you put the cake in the refrigerator to help it set up properly.
Nutrition Information:
Yield:
12 slicesServing Size:
1 sliceAmount Per Serving: Calories: 455Total Fat: 9gSaturated Fat: 4gTrans Fat: 0gUnsaturated Fat: 4gCholesterol: 22mgSodium: 673mgCarbohydrates: 88gFiber: 1gSugar: 52gProtein: 5g
Nutritional information is automatically calculated with ingredients and serving size and may not be accurate. Please always double check with your own nutritional apps as well.

Disclosure: This shop, featuring a fun Holiday Present Piñata Cake recipe, has been compensated by Collective Bias, Inc. and its advertiser. All opinions are mine alone. #BakeInTheFun #CollectiveBias
Do you have a special recipe you like to make to kick off the holiday baking season in your home? Share with us below!
Alaina
Heather {Brie Brie Blooms}
Monday 7th of December 2015
I love this! The final image of the cake looks quite complicated but the recipe itself is so easy to follow. I can't wait to make a pinata cake! #client
Alaina Bullock
Monday 7th of December 2015
They really are much easier than they look! I'd love to see it if you make one!
Samantha K
Sunday 6th of December 2015
What a fun idea! This would be great for a holiday party!! (client)
Alaina Bullock
Monday 7th of December 2015
Thanks! It really is perfect for a holiday party, too!