This post may contain affiliate links. I only recommend products I use and love. Read the full disclosure here
Updated on: October 6, 2022
Originally published on: October 6, 2022
Embroidery is a fun and easy way to add some creativity to your life. And while it may look complicated, it’s actually easy enough that anyone can learn. I used to be intimidated by the complicated-and-intricate-looking designs, yet I was able to pick up embroidery easily. So, without further ado, here are the simple steps needed to get started with embroidery.

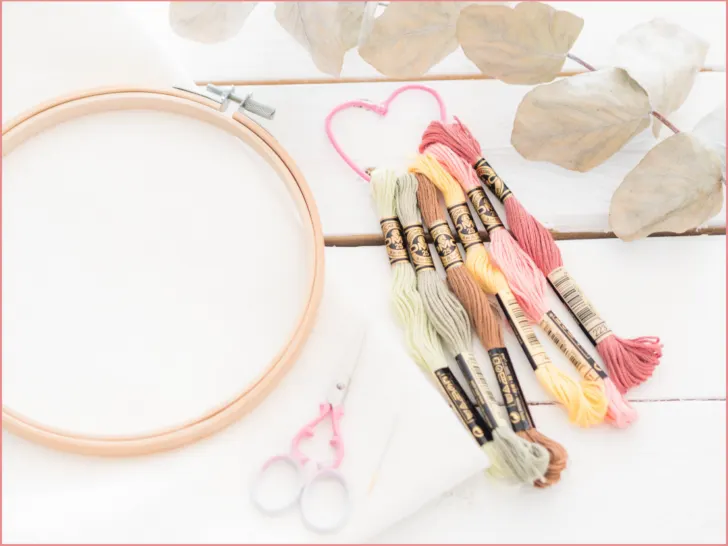
Hand Embroidery Supplies for Beginners
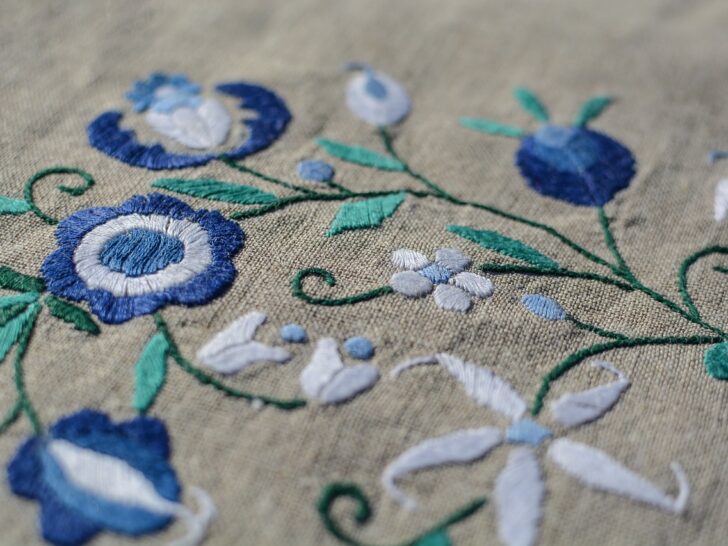
Embroidery is an affordable hobby to pick up. And the creative possibilities are endless. Even as a beginner, you’ll be amazed at the beautiful pieces you can create.
While embroidery used to be done solely by hand, there are embroidery machines that you can work with. However, today I am going to focus on embroidering by hand.
To get started with embroidery, all you are need a few basic supplies and a pattern.
1. Embroidery fabric
When choosing fabric for embroidery there are a few things that you need to take into consideration including the type of design you want to create and the size of your project.
The type of fabric is another important consideration. While you can pretty much embroider on anything you can get a needle through, some fabrics are easier than others. Most often, fabrics with a tighter weave, such as linen and quilting cotton, are ideal for embroidery.
You also need to consider the thread count of the fabric. This is simply the number of threads per inch in the fabric. The higher the thread count, the finer the fabric will be. When learning how to get started with embroidery, choose a lower thread count is better because it is easier to work with.
Lastly, make sure that the fabric you choose is colorfast and has a good drape.
If you’re not sure how much fabric to get, 1/4 yard is usually enough for several projects.
2. Embroidery Hoop
Embroidery hoops are not only used to hold the fabric in place while you’re embroidering, but they also help keep even tension across the fabric. They come in a variety of materials and sizes, and usually cost just a few dollars. As long as the hoop holds your fabric securely, you’re good to go.
To get started with embroidery, a medium (6-inch) basic wooden or plastic hoop will work perfectly, and it will serve you well for a variety of projects.

3. Embroidery thread
Another supply you will need is thread. Embroidery thread comes in a wide variety of colors and types. For example, there’s stranded cotton thread, perle cotton thread, and many other specialty threads.
When getting started with embroidery though, it’s best to stick to stranded cotton thread. It’s also important to get good quality thread so that your embroidery looks its best.
4. Needles
Just like with thread, there are several types and sizes of needles from which to choose. Obviously, it’s best to use a needle that is specifically designed for embroidery. These needles have a longer eye and a sharper point to make it easier to thread and pass through the fabric.
Embroidery needle sizes are also numbered to where the smaller the number, the larger the needle. Choose a needle size that feels right for the thickness of the thread you’re using. The most common needle sizes for hand embroidery are a size 7 and 9.
Tip: buy a pack of needles with various sizes.
5. Scissors
While any pair of scissors that is sharp enough to cleanly cut thread will work, using smaller embroidery scissors makes it easier to get a close, clean cut. Especially when you need to get to the back of your work to trim thread ends.
There are several types of scissors made for different tasks in embroidery, but when first getting started with embroidery, a basic, small, sharp pair will work just fine.
6. Transfer tools
There are plenty of options when it comes to transferring a pattern to your fabric. The tool and method you choose will vary, depending on your fabric and your preference.
For example, for lighter fabrics a regular pencil and some tracing paper will work just fine, but for darker and thicker fabrics an iron-transfer may work best.
A few other methods include the use of water-soluble pens and a lightbox, using a water-soluble stabilizer, or using a disappearing ink pen. Find the method that works best for you.

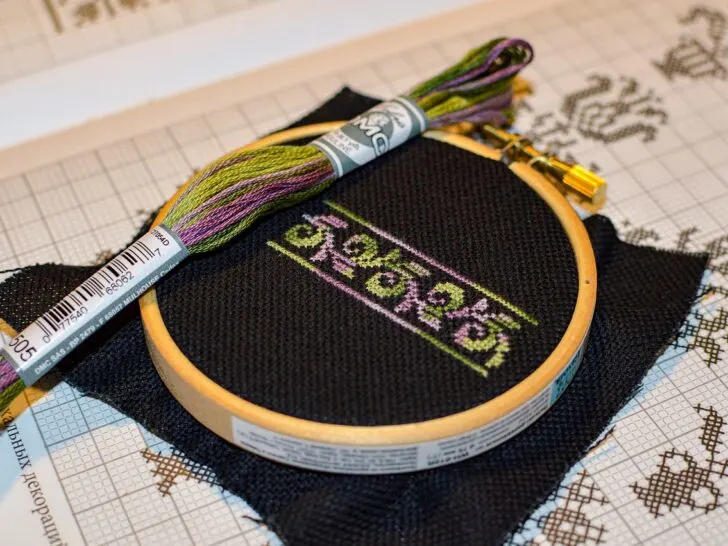
Finding Embroidery Designs
Now that you have gathered the necessary tools, it’s time to decide on an embroidery pattern. The best way to get started with embroidery is to pick a simple pattern to follow. You can find many designs both online and in books.
Creative Fabrica, for example, has a huge library filled with traditional and modern embroidery patterns for hand and machine embroidery that you can download. And they are constantly adding new ones.
If you are super creative, you could always create your own design.
Transferring the Design on to Fabric
Once you have a pattern you like, you will need to transfer it onto the fabric. You can do this by tracing the design onto the fabric using tracing paper and a pencil, or by one of the other methods mentioned earlier.
Setting Up Your Embroidery Hoop and Fabric
As I mentioned above, the purpose of an embroidery hoop is to hold the fabric and keep tension on it.
A traditional hoop has two rings joined by a tightening screw. To get started, loosen the tightening screw just enough to separate the pieces.
Next, place the inner hoop on a hard surface and lay the fabric on top of the hoop with the part you want the design on in the middle. Be sure to leave some excess fabric around the outside of the hoop, otherwise your tension won’t work.
Lastly, press the outer hoop down on top of the fabric and the inner loop and begin to tighten the screw. But before you twist the screw all the way, pull on the sides of the fabric until it is nice and taut. Then finish tightening the screw fully.
A few tips: when placing the outer hoop on top of the fabric, try to get the tension/tightness just loose enough to place the hoop over the fabric, but not so loose that you can easily move the fabric around. Also, be sure to use even pressure all the way around when you push it down onto the inner hoop.

Stitch the design
Now it’s time for the fun part – stitching the design! There are lots of different embroidery stitches and techniques that can be used for hand embroidery, but when you are getting started with embroidery, the most basic stitches will work fine. Save the more advanced stitches for later as you gain knowledge and experience.
If you are unsure what type of stitch to use, there are plenty of online tutorials and books that can help you.
What Are Some of the Basic Embroidery Stitches?
- Stright Stitch: perfect for making short, straight lines.
- Back Stitch: ideal for any kind of outlining. Focus on making each stitch the same length.
- Running Stitch: good for making dashed outlines and adding details.
- Chain Stitch: makes nice, strong lines, made by linking rows of stitches together.
- Split Stitch: a series of straight stitches worked next to each other to make filled shapes.
Stitching the Design:
First, thread your needle and tie it off with a knot at the end. While there are many techniques for starting and stopping, it is perfectly fine (and easiest as a beginner) to start with a knot and end with a knot. Begin by making small stitches in the fabric, keeping them even as you work your way around the design.
As you get closer to the end of the design, begin making smaller stitches in order to prevent your fabric from bunching up.
Once you have finished the design, simply knot off the thread and trim the excess.
Finishing Your Craft
Once you are finished stitching the design, it’s time to finish off your project. You can do this either by framing it or by stitching the back of it.
If you opt to stitch the back, use a running stitch as this will tie off all the ends and prevent them from coming undone.
If you are going to frame it, just be sure to use an acid-free mat and an embroidery hoop.
Don’t forget to display it so everyone can see your beautiful work!
Final Thoughts
As one of the most popular crafts out there, embroidery is a fun and simple way to add creativity and personality to your projects. Itt’s unfortunate that so many people are intimidated by the idea of embroidering. But with these simple steps teaching you how to get started with embroidery, you’ll be creating beautiful, embroidered pieces in no time at all. I hope you give it a try!