This post may contain affiliate links. I only recommend products I use and love. Read the full disclosure here
Updated on: February 1, 2023
Originally published on: February 1, 2023
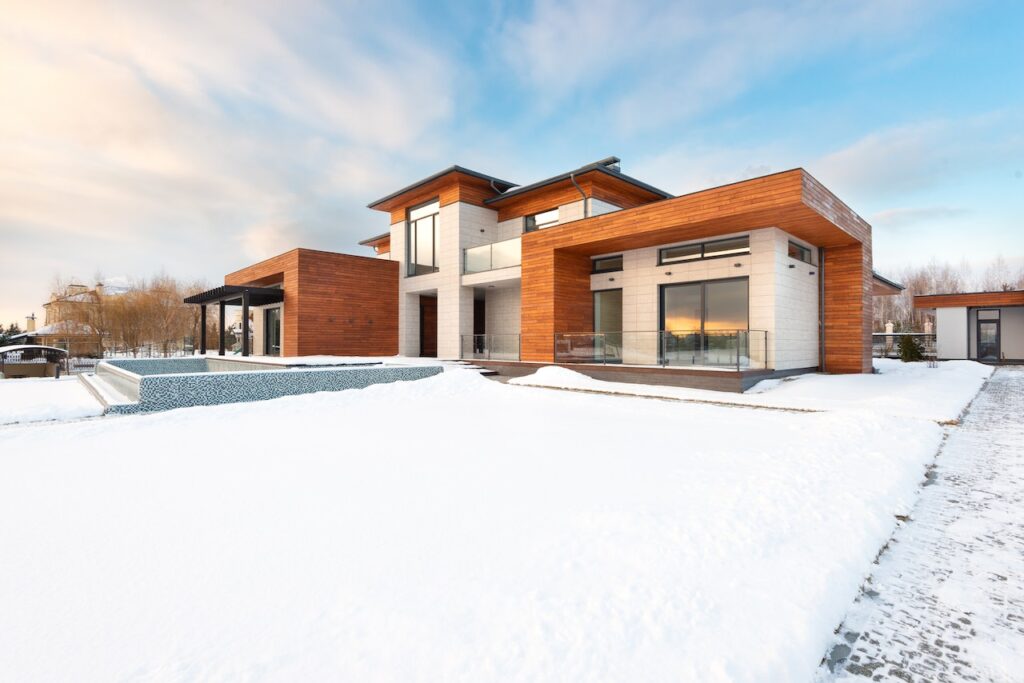
Timber cladding is a great way to add character to the exterior of your home. It’s a versatile finish that can be used in a contemporary or traditional style. Cladding can be used all over the exterior or to highlight architectural features such as gables or dormer windows. If timber cladding is something that appeals to you, it’s worth knowing a bit more about the materials, structure, and installation method to use.

Choosing a Suitable Timber and Finish
There are plenty of suitable timber options for exterior cladding. There are hardwood and softwood choices to suit most budgets. Oak is one of the most attractive and hard-wearing options but it’s usually the most expensive.
More affordable cladding types are made from Red Wood and Larch. Both are softwoods that are grown commercially, making them popular choices for professional trades and DIYers. Both Larch and Red Wood can change character with age, even when treated. So, you may want to think about the finish you’re after.
Staining and painting wood cladding can improve durability and looks. Wood charring is another option for preserving cladding and provides a modern finish, but this can be expensive.
The Differences Between Cladding Styles
Timber cladding comes in different styles, and each creates a different effect. Shiplap is one of the most common styles for the home. This is because the planks are shaped to overlap neatly for a weatherproof finish that looks decorative. It works well on contemporary buildings. You’ll see this style of wood cladding on many garden sheds as well as on homes.
Tongue and Groove cladding is similar to Shiplap. These planks are also shaped to interlock. The finish is slightly less decorative and more uniform. It also provides good, tight weatherproofing. Both of these cladding types can be installed horizontally or vertically, depending on your preference.
If you are looking for a more rustic style of cladding, then Log lap or Waney lap cladding will be more appealing to you. Log lap gives you a rounded, log cabin effect. Whereas Waney lap has a wavy-edged, rustic finish that works well on period or character homes. These don’t have as flush a finish as shiplap or tongue and groove and are used more for decorative rather than practical reasons.
Things to Check Before You Start
The big question to ask yourself before you start is whether your home is suitable for cladding. You may require the help of a builder to answer this. Adding any type of cladding can cause unintended problems such as changing the breathability of your walls. And the structure of your home will determine how and if cladding can be installed.
You should also check you have the right skills and tools before you start. Even if you’re confident with woodwork, you may not be happy working at height, so installation could be tricky.
Installing Your Timber Cladding
Using a kit is perhaps the easiest way to install your cladding but if you’re a seasoned woodworker or have a bespoke project you may prefer to work from scratch. This means that you’ll need to work out a plan for your cladding to make measuring and ordering wood easier.
It’s worth noting that there are different methods of installing timber cladding, depending on cladding styles and building types.
However, the usual first step is to create some battens to fix your cladding. These should be made from pressure-treated wood and be installed at a right angle to your cladding boards. So, if your cladding is horizontal, your battens need to be vertical.
Spacing should ideally be 400mm from the center of one batten to the next but they can be a little wider if necessary. The depth of your battens should be around one and a half times that of your cladding planks. This should give you enough material to secure your cladding.
You’ll need to measure out your battens and cladding planks for cutting. Using a chop saw or miter saw for this task will speed up the process. It’s a good idea to check measurements twice before you cut to avoid mistakes and wastage. Every cut end of wood also needs to be treated so it’s weatherproofed.
How you fix your wood in place will depend on what works best for you and your cladding type. The battens should be screwed in place to make sure they’re secure, but your cladding planks can be screwed or nailed with a gun for speed.