This post may contain affiliate links. I only recommend products I use and love. Read the full disclosure here
Updated on: February 3, 2023
Originally published on: February 1, 2023
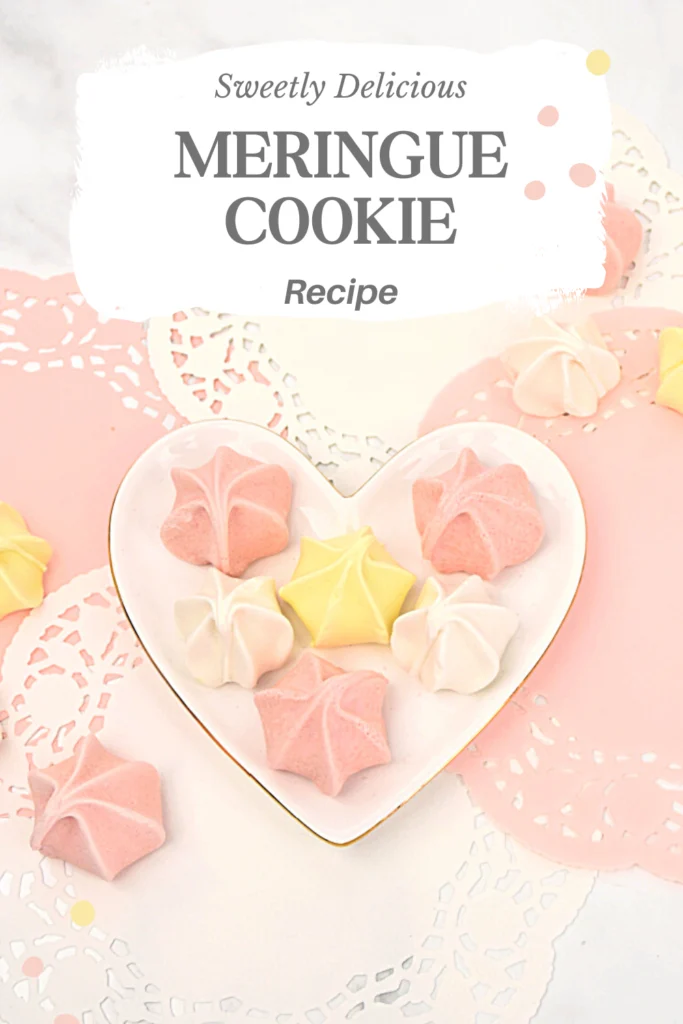
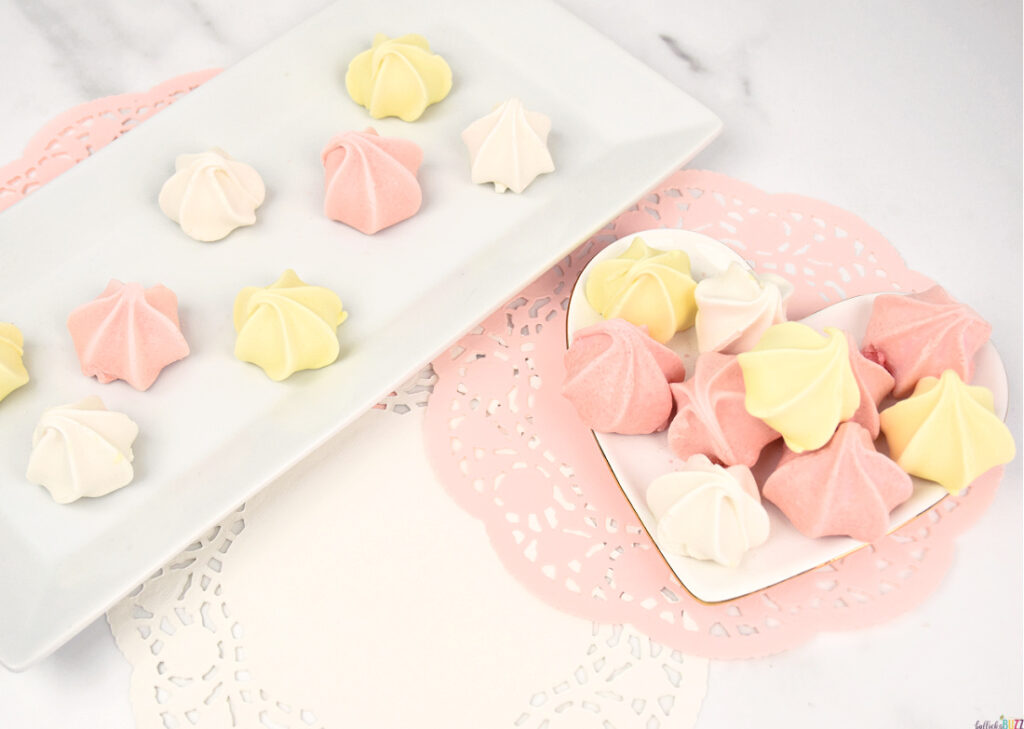
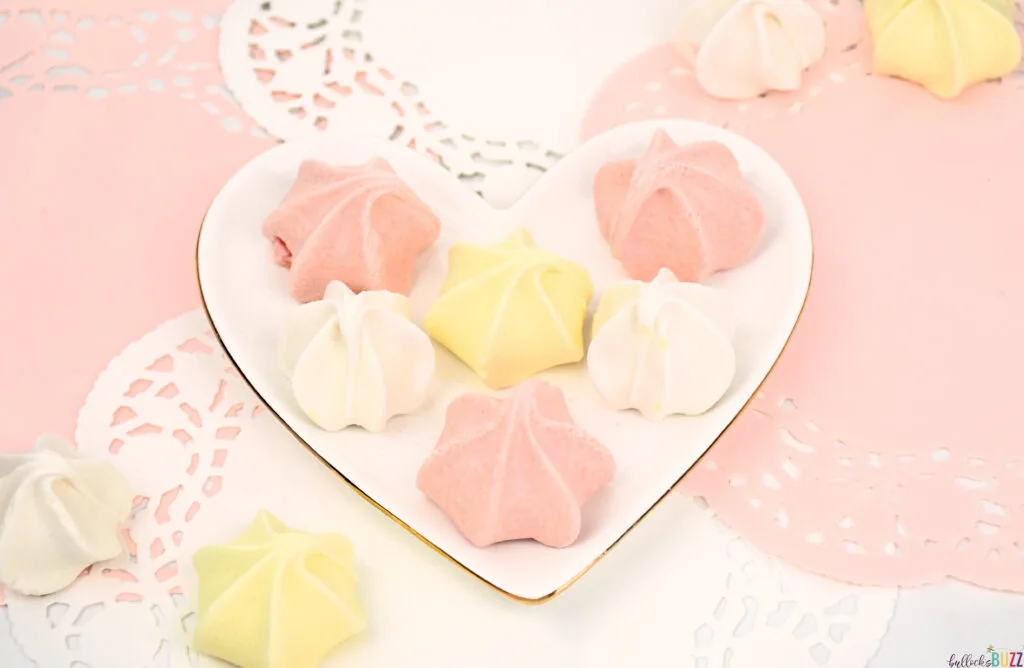
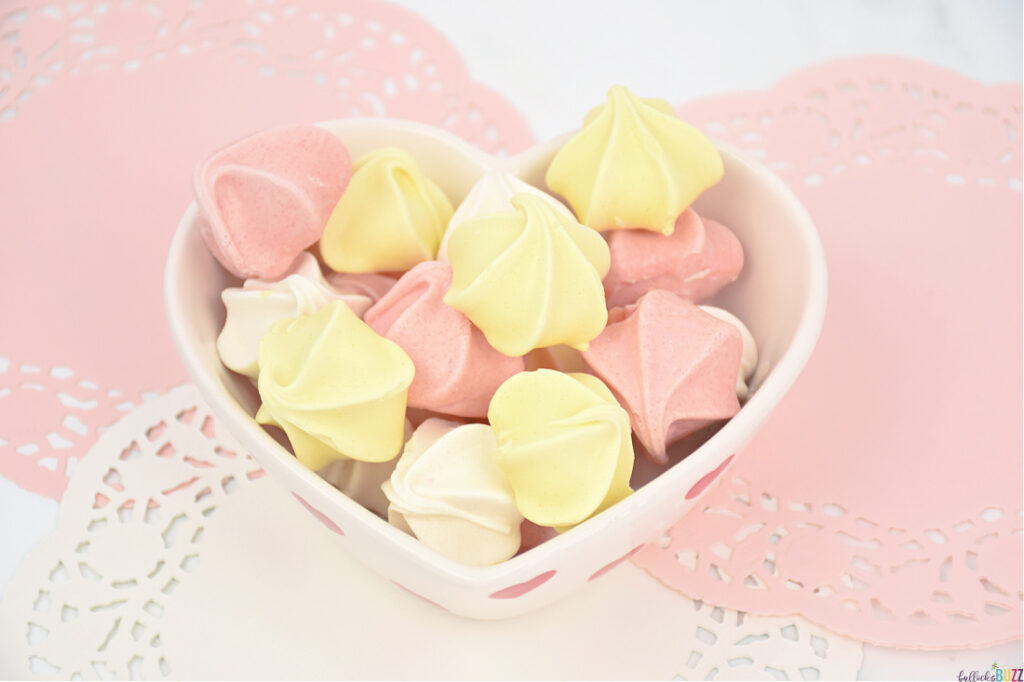
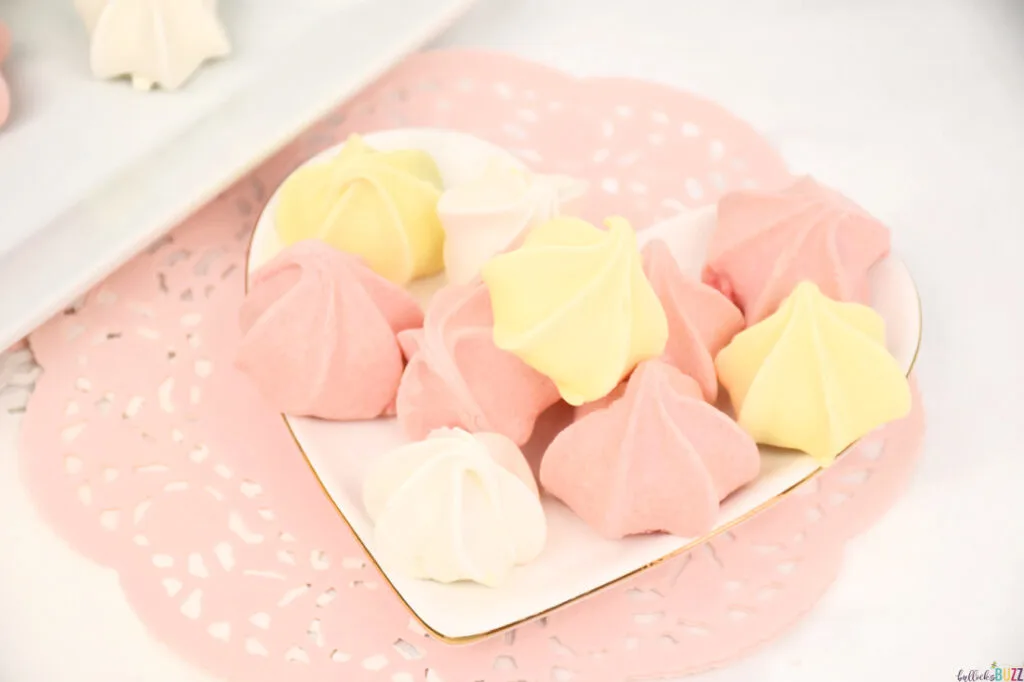
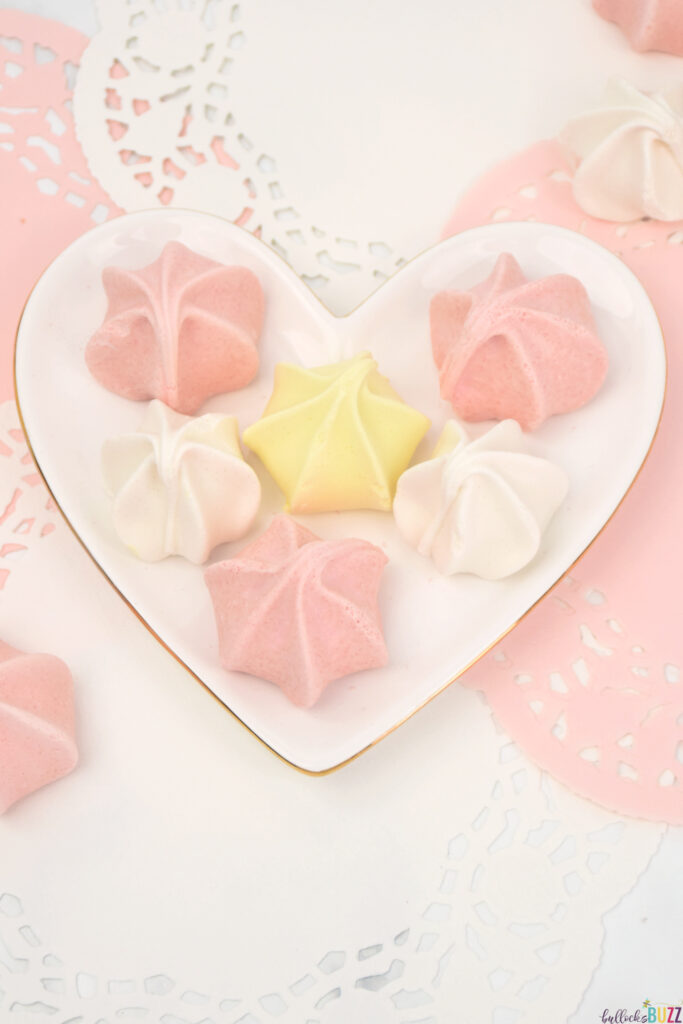
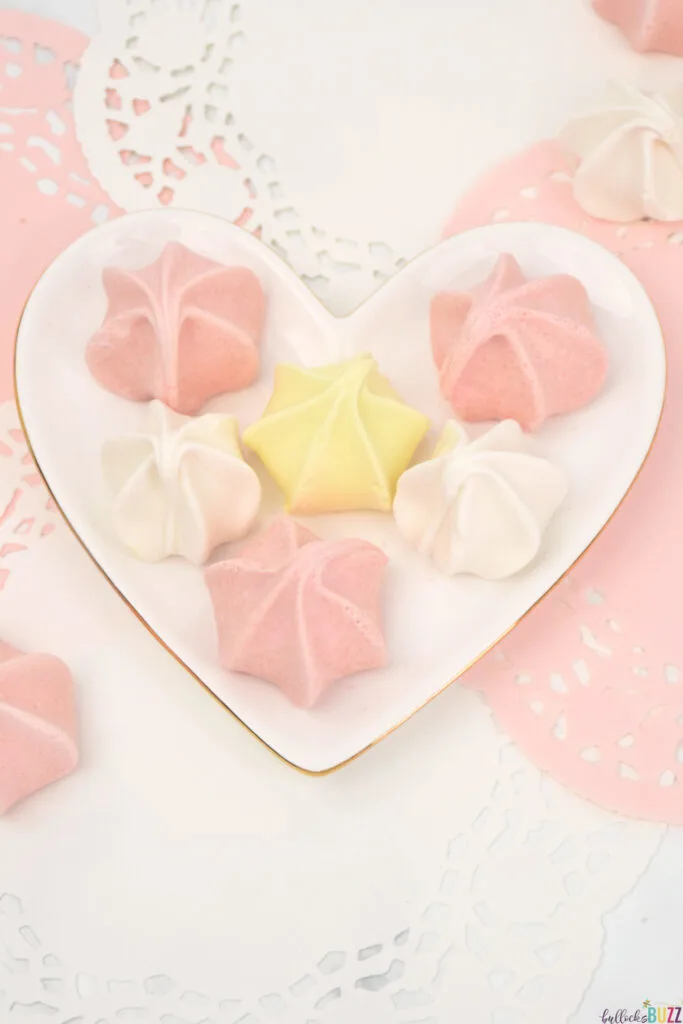
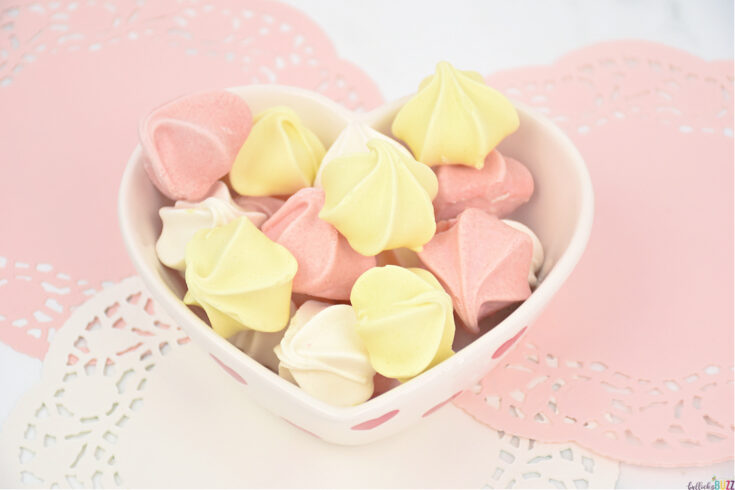
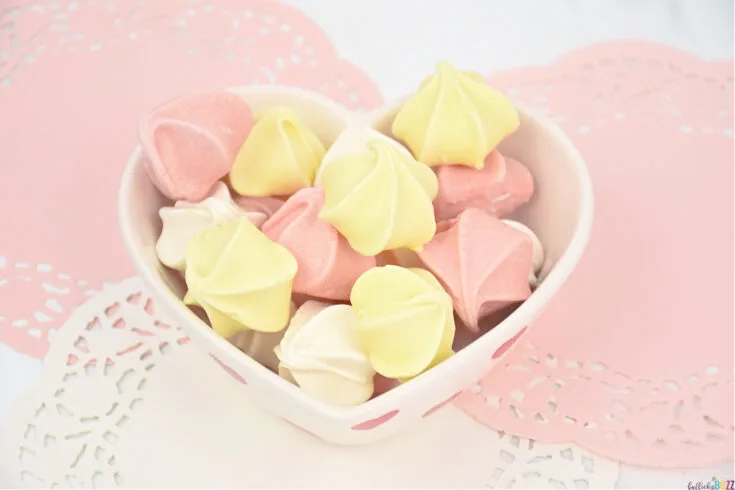
These pretty pastel pink, white, and yellow Valentine’s Day Meringue Cookies are as sweet as a kiss, light as a cloud, and easy to make!
When it comes to cookies, made-from-scratch is the way to go for me. Don’t get me wrong, there are some store-bought cookies that I really like, but there is just something so much tastier about a homemade cookie. Not to mention, I know exactly what goes into them.

While I have made many types of cookies over my life, I had never tried to make homemade meringue cookies – until now. They always seemed like they would be too difficult and/or too time-consuming to make.
I’ve rarely met a cookie I didn’t like! If you are like me and love cookies, then you’ve got to come back after this post and try these incredibly delicious Butter Pecan Cookies, these insanely popular Vanilla Wafer Turtle Cookies, and these scrumptious Kitchen Sink Cookies. You won’t be disappointed!
But then I found this recipe in one of my mom’s old recipe binders, and man do I wish hadn’t waited so long to try them. This meringue cookie recipe is ah-MAZ-ing! Not only do the cookies taste wonderful, but they were a lot easier to make than I’d thought.
And with just 5 ingredients and about 25 minutes of active prep time, they are the perfect cookies for those who enjoy easy cookie recipes.
HOW TO MAKE MERINGUE COOKIES FOR VALENTINE’S DAY
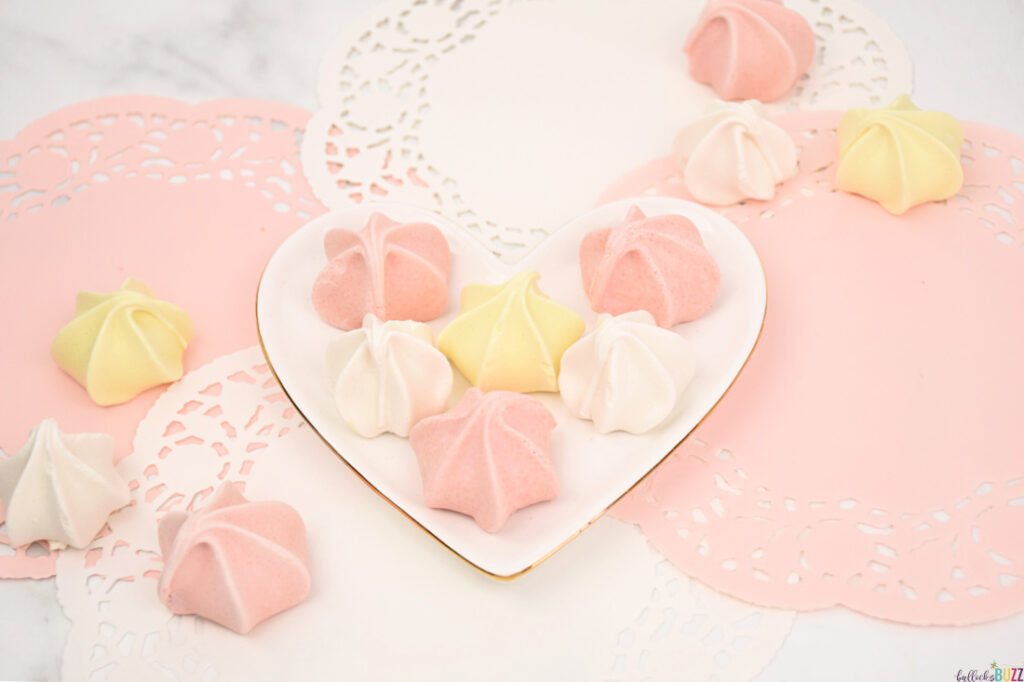
Shaped like a kiss, these vanilla-flavored Valentine’s Kiss Meringue Cookies are everything you want a meringue cookie to be. They are light as a cloud and so airy they practically melt in your mouth. They are sweet, but not too sweet. Their texture is delectably crisp on the outside and tender on the inside. And their pretty pastel pink, yellow, and white coloring makes them perfect for Valentine’s Day.
And even though the recipe calls for just 5 everyday ingredients, there is absolutely no skipping out on flavor. Oh, and did I mention that they are fat-free?!
Find the complete recipe with measurements in the recipe card below.

KITCHEN TOOLS YOU MAY NEED
Disclosure: This blog post contains affiliate links for products or services I think you’ll like. This means if you make a purchase from one of these links, I may make a small commission at no additional cost to you. By the way, I only recommend products that I use and love.
- baking sheet
- icing bag
- closed star tip for piping – I used the Wilton 32 tip, but you can use an open star, a small round, or even a sultan tip. It’s up to you!
- parchment paper
- countertop mixer with whisk attachment or handheld mixer
- mixing bowls – avoid plastic!
- measuring spoons
- measuring cups
MERINGUE COOKIES RECIPE INGREDIENTS
Because this recipe for Valentine’s Day Meringue Cookies only calls for 5 ingredients, the quality of the ingredients will make a big difference in the taste. So make sure you get the good stuff!
- egg whites – the star of the show. The basis of what makes a good meringue so only use fresh egg whites that are at room temperature.
- cream of tartar – adds a bit of acidity to help stabilize the egg whites so they whip up into stiff peaks
- sugar – also helps stabilize the egg whites while adding sweetness.
- salt – brings out more flavor and helps cut down on sugariness
- vanilla flavoring – enhances flavor so they don’t taste only like sugar. Use clear vanilla flavoring for pure white meringue cookies.
- gel food coloring – only use gel food coloring to eliminate extra liquid being introduced into the meringue. I used Americolor gel colorings in “Soft Pink” and “Lemonade“

MERINGUE COOKIES INSTRUCTIONS
It’s hard to believe that with their light crunchy texture and melt-in-your-mouth sweet flavor, these Valentine’s Kiss Meringue Cookies are so simple to make. Below are the step-by-step meringue cookie recipe instructions followed by some pro tips to help ensure they turn out great!
PRO TIP: While these meringue cookies are best made in a stand mixer with the wire whisk attachment, they can be made in a large bowl with an electric hand mixer. Just be prepared for it to take a while.
If making multiple colors, you will want to split the recipe up into halves, thirds, etc. depending on how many colors you want to make. Then just follow all of the recipe instructions for each color.
STEP ONE: PREHEAT THE OVEN
- Preheat your oven to 200°F.
- Place the rack in the center position.
STEP TWO: SEPARATE AND ADD EGG WHITES
- Separate the egg whites one at a time into a small bowl and transfer each egg white to the stand mixer bowl of your stand mixer as you go. This helps to ensure you will not get any yolk into the egg whites.
STEP THREE: COMBINE AND BEAT
- Add the cream of tartar and salt to the mixing bowl with the egg whites.
- Begin mixing on low and then gradually increase the speed to high.
STEP FOUR: SLOWLY ADD IN SUGAR
- Once the egg whites have frothed up nicely, begin to SLOWLY add in the sugar giving it time to completely dissolve before adding more. Slow is key here as this step makes a big difference in the final meringues so be sure to add the sugar in gradually. I usually do is a teaspoon or a tablespoon at a time.
- The mixture will begin to take on a thick, glossy, sticky appearance as you go.
- Continue beating the mixture until stiff peaks begin to form. Once you hit nice, stiff peaks, STOP MIXING! You can go ahead and quickly add in the flavoring and coloring as mentioned in the two steps below, but be sure not to beat the mixture any longer than is necessary to distribute to flavoring and coloring. Overbeating is just as bad as under beating.
STEP FIVE: ADD VANILLA FLAVORING
- Once the peaks form, go ahead and add in the vanilla flavoring.
- PRO TIP: if you want your meringue cookies to be truly white, use a clear extract instead.

STEP SIX: ADD YOUR COLORING
- Then to color, the meringue, use a skewer or toothpick and add a TINY amount of coloring gel. A little bit will go a long way – especially as you are looking to get soft, pastel hues.
- Add in that tiny bit with the skewer and let the whisk attachment distribute the color THEN STOP THE MIXER so you do not overbeat the meringue.
STEP SEVEN: PREPARE TO PIPE AND BAKE
- Prep the baking sheet by adding a few small dollops of the meringue cookie batter to the corners of the sheet and then lay the parchment paper down and press the corners into the dollops. This will act as glue to give you a stable base to pipe on. As a bonus, the paper makes it a lot easier to remove the cookies after baking, and cleanup is a cinch!
- PRO TIP: if you want to make perfect circles, then first trace your desired outline directly onto the parchment paper with a pencil. Then flip the paper over, so the markings show through when you are ready to pipe.
- Next, fit the tip into your pastry bag and fill the bag with batter.
STEP EIGHT – PIPE THE COOKIES
- Using the pastry bag, pipe your meringue cookies in swirls (about 2 inches wide), leaving about one inch in between each cookie for airflow.
- PRO TIP: I start squeezing the piping bag while it’s about ½ an inch from the paper, lifting as I squeeze but then I will stop squeezing while continuing to lift to finish the meringue.
STEP NINE: BAKE AND COOL
- Bake the meringue cookies at 200°F on the center rack for about an hour then turn the oven off and keep the door closed for an additional 1-2 hours. No peeking! Let the cookies cool in the oven.
- The key here is low and slow, and then cool gradually in the oven. I’ve even left mine in the oven overnight once before.
HOW DO I KNOW FOR SURE THAT THE MERINGUE BATTER IS DONE?
You will know the meringue is done once it can hold stiff peaks (when you turn the batter on the whisk over, the batter can stand up on its own without folding back over on itself) and has a nice, thick, glossy almost marshmallowy-like texture. It will take a bit of time to reach this point. Also, the batter will increase in volume and become even more thick and glossy as you go.
Pro Tip: Don’t let the batter sit out on its own for too long. If you do, it can lose its consistency and will not pipe as well or as nicely.

TIPS FOR MAKING THE BEST MERINGUE COOKIES
- Use an electric stand mixer with the whisk attachment, or, if you don’t have one, use a balloon whisk and hand mixer. Air gives the meringue volume.
- Only use metal or glass mixing bowls, because plastic tends to retain traces of grease.
- Make sure the bowl and whisk are grease-free by washing them with soapy water; even if they’re already clean! I kid you not when I say that even the tiniest amount of grease (or hint of yolk) will ruin the meringue before you even start whipping the eggs.
- Make sure all parts are bone dry before beginning.
- Separate the eggs as soon as you remove them from the fridge. This makes it easier. BUT, do not start making the cookies until the egg whites have come to room temp.
- Even the tiniest hint of yolk in the whites can ruin the meringue. Therefore, I always use two bowls – a smaller one and the mixing bowl I’ll be using to make the batter. I will separate each egg over the smaller bowl and then transfer the white to the mixing bowl before moving on to the next egg. This way I only risk ruining one egg, instead of all of them.
- Bake meringue cookies on the center rack.
- Leave your meringue cookies on the cookie sheet in the oven to cool completely. Avoid the temptation to open the door and peek!
WHY DID MY MERINGUE COOKIES TURN OUT CHEWY?
One of the most common problems with meringue cookies is that they turn out too chewy or sticky. There are three common reasons that cause this: high humidity, poor mixing, and under-baking.
1. Moisture
Moisture is a common culprit of chewy meringue cookies. Light, airy, and crispy meringues only happen when all of the moisture is removed from the mixture during the baking process. But if there is too much moisture, to begin with, then this might never happen.
Too much moisture can be the result of mistakes made during preparation. For example, if your mixing bowl is even a little bit wet, then the egg whites will not whip up properly. Avoid this mistake by making sure your bowl is clean and completely dry.
Humidity is another way moisture can get into meringue cookies. While you cannot control most instances of humidity, you can control some. For example, a steamy dishwasher or even a nearby pot of boiling water can add too much humidity to the air resulting in chewy and sticky meringue cookies.
I live in Alabama and my first attempt at making meringue cookies was not so great because I made them on a hot, rainy, summer day. Lesson learned. Now, if possible, I try to avoid baking on rainy days or days where the relative humidity is high.
The Fix
If humidity is making your meringue cookies come out too chewy try placing them on a parchment paper-lined baking tray and popping them back into a 200°F oven for up to 10 minutes. Keep an eye on them so they don’t burn.
2. Poor Mixing Technique
The second cause of sticky, chewy meringue cookies is the result of poor mixing. A successful meringue is the result of proper mixing. Mixing the meringue for too little time is actually a very common mistake. You want your meringue to form very stiff peaks before you stop mixing and start piping them out.
A few other things to watch out for include:
- whipping cold egg whites instead of egg whites that are at room temperature.
- adding the sugar too quickly.
- contaminating the egg whites by allowing some of the yolk to get into them.
3. Under Baking
The third most common cause of chewy or sticky meringue cookies is underbaking them. An easy fix is to use a timer while baking.
Oven temperature can be another factor in underbaking. Oven temps vary widely. Yours could be off by a few degrees without you ever knowing it. Another simple fix, invest in an oven thermometer. I did, so now I always know the exact temperature of my oven. It cost very little on Amazon, around $7.
HOW LONG DO MERINGUE COOKIES LAST?
When properly stored in an air-tight container and kept dry, these meringue cookies will last up to two weeks on the counter.

HOW TO STORE MERINGUE COOKIES
Storing your meringues properly will ensure that they stay crispy and light as air for longer. Make sure you store them in an airtight container to help prevent air and humidity from getting to them and make them sticky and/or chewy.
Meringue cookies will stay fresh for up to two weeks when stored in an airtight container at room temperature. Wait until they are completely cooled and then immediately place them in an airtight container. I always layer them with parchment paper to keep them from sticking together.
Whether or not you can store meringue cookies in the fridge is up for debate. Some say you can, others say you can’t. I personally leave mine on the counter.
They can also be stored in the freezer (in an airtight container) for up to a month, although I haven’t tried this yet as the ones I make are so good they always disappear within a few days. ;).
CHEWY COOKIES WHEN REMOVED FROM STORAGE?
If your meringue cookies are chewy when you remove them from storage, rebaking them a bit can help revive them. Simply place them on a parchment paper-lined tray, then put them in the oven at 200°F for a few minutes. Watch to make sure they do not start turning brown around the edges.
SUBSTITUTIONS, ADDITIONS, AND VARIATIONS
One of my favorite things about meringue cookies is how versatile they can be. There are many ways you can change these delightful, dreamy, airy cookies up for other tastes, holidays, special occasions, or just because you want to.
Substitutions
- No cream of tartar? Use lemon juice instead in a 1:2 ratio. So for the recipe’s measurement of cream of tartar, you will need to use double that amount of lemon juice.
- You can also substitute with vinegar. You will use an equal amount of white vinegar in place of the cream of tartar.
- I do have to say though, I find that this particular recipe tastes best when you use the cream of tartar.
Additions
- Try switching out the vanilla flavoring for a different flavoring such as peppermint, almond extract, or lemon extract to give the meringue a different flavor.
- Add some of these common mix-ins such as chocolate chips, small pieces of freeze-dried or fresh fruit, or chopped nuts. Just carefully fold your mix-ins into the meringue right before piping and baking.
Variations
- Swiss Meringue Cookies – softer yet denser in texture than the above French version recipe, this variation is where you continually whisk egg whites and sugar together over a double-boiler until the sugar dissolves, the mixture starts to thicken, and it reaches around 130° on a candy thermometer. It’s then removed from the heat and beaten immediately until stiff, glossy peaks form and it feels cool to the touch.
- Italian Meringue – with a soft and creamy texture and most often used for decorating pastries, this meringue variation is cooked. You use a candy thermometer to track the temperature as the egg whites cook. It also involves making a sugar syrup cooked to the soft-ball stage, then slowly adding it to the whipped egg whites while the mixer is running. Once stiff, glossy peaks form and it feels cool to the touch, it’s ready to be baked.
- You can also make different flavored meringue cookies such as chocolate, mocha, cherry, chocolate sandwich meringue cookies, and many more. A simple Google search will come up with all sorts of delicious variations.
- Try using different tips to pipe them out into different shapes.
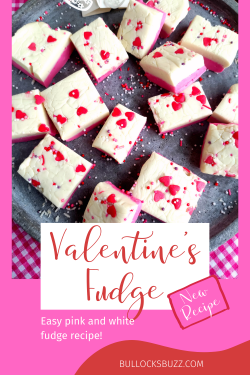
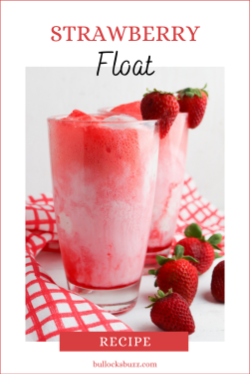
MORE VALENTINE’S DAY RECIPES
Love Valentine’s Day treats? Me, too! After reading this deliciously sweet meringue cookie recipe, come back and try some of my other Valentine’s Day recipes. Simply click on the image below and it will take you to the recipe!


HUNGRY FOR MORE? Follow along on Pinterest, Facebook, and Instagram for all my latest updates!


LIKE IT? LOVE IT? PLEASE SHARE THIS MERINGUE COOKIES RECIPE!
I hope you enjoy this Meringue Cookies recipe much as I did! It’s so easy to make, and even more, fun to eat!
If you give this tasty treat a try, I’d love to know! Leave a comment below and tag a photo @bullocksbuzz and #bullocksbuzz on Instagram or Facebook so I can see your creations!
Be sure to Pin it to save it, and then share it with your friends and family by clicking the share buttons above the post title!
And finally, if you get a chance, please comment and leave me a ⭐⭐⭐⭐⭐ rating on the printable recipe card below!
VALENTINE’S DAY MERINGUE COOKIES PRINTABLE RECIPE CARD
Best Ever Meringue Cookies Recipe
Prettily pastel, light as air, and as sweet as a kiss, these vanilla-flavored Valentine's Kiss Meringue Cookies are everything you want a meringue cookie to be.
Ingredients
- 4 egg whites, room temperature
- 1 cup sugar
- Pinch of salt
- ¼ tsp cream of tartar
- 1 tsp vanilla, only use clear if you want white meringue cookies
- Optional - GEL food coloring (I used Americolor gel colorings in "soft pink" and "lemonade")
Instructions
- Preheat your oven to 200°F, and place the rack in the center.
- Begin by separating the egg whites one at a time into a small bowl and then transferring each egg white to the bowl of your stand mixer as you go. This ensures you will not get any yolk into the egg whites.
- Add the cream of tartar and salt to the bowl then begin mixing on low, gradually increasing the speed to high.
- Once the egg whites have frothed up, begin to SLOWLY add in the sugar giving it time to dissolve before adding more. Slow is key here. I usually add it as a teaspoon or a tablespoon at a time. Continue beating until stiff peaks begin to form.
- Once you hit nice, stiff peaks, go ahead and add in the vanilla flavoring and then the coloring as mentioned in the steps below. *See notes below.
- Add a TINY amount of coloring in with a toothpick or skewer then let the whisk distribute the color.
- Once fully colored, STOP MIXING. Be careful not to mix any more than is needed to fully incorporate the flavoring and coloring.
- Prep the baking sheet by adding a few dollops of meringue to the corners of the baking sheet to act as glue, then place the parchment paper down, lightly pushing the corners into the batter.
- Next, fit the tip into the icing bag and fill the bag with batter. Using the pastry bag, pipe your meringue cookies in swirls (about 2 inches wide), leaving about one inch in between each cookie to allow for airflow.**
- Bake the meringue cookies at 200°F on the center rack for about an hour then turn the oven off and keep the door closed for an additional 1-2 hours. Let the cookies cool along with the oven. Do not open the door.
Notes
* Once stiff peaks have begun to form, you want to stop mixing, Go ahead and add in the vanilla and gel coloring, but as soon as those are incorporated, stop mixing. You do not want to beat the mixture any longer than necessary to distribute to flavoring and coloring. Overbeating is just as bad as under beating.
**When piping, I usually start squeezing the piping bag while it’s about ½ an inch from the paper, lifting as I squeeze but then I will stop squeezing while continuing to lift to finish the meringue.
Pipe your meringue as soon as it's done, otherwise, it will lose its consistency if it sits around too long.
Nutrition Information:
Yield:
48Serving Size:
1Amount Per Serving: Calories: 18Total Fat: 0gSaturated Fat: 0gTrans Fat: 0gUnsaturated Fat: 0gCholesterol: 0mgSodium: 7mgCarbohydrates: 4gFiber: 0gSugar: 4gProtein: 0g
Nutritional information is automatically calculated with ingredients and serving size and may not be accurate. Please always double check with your own nutritional apps as well.