This post may contain affiliate links. I only recommend products I use and love. Read the full disclosure here
Updated on: February 16, 2021
Originally published on: February 19, 2020
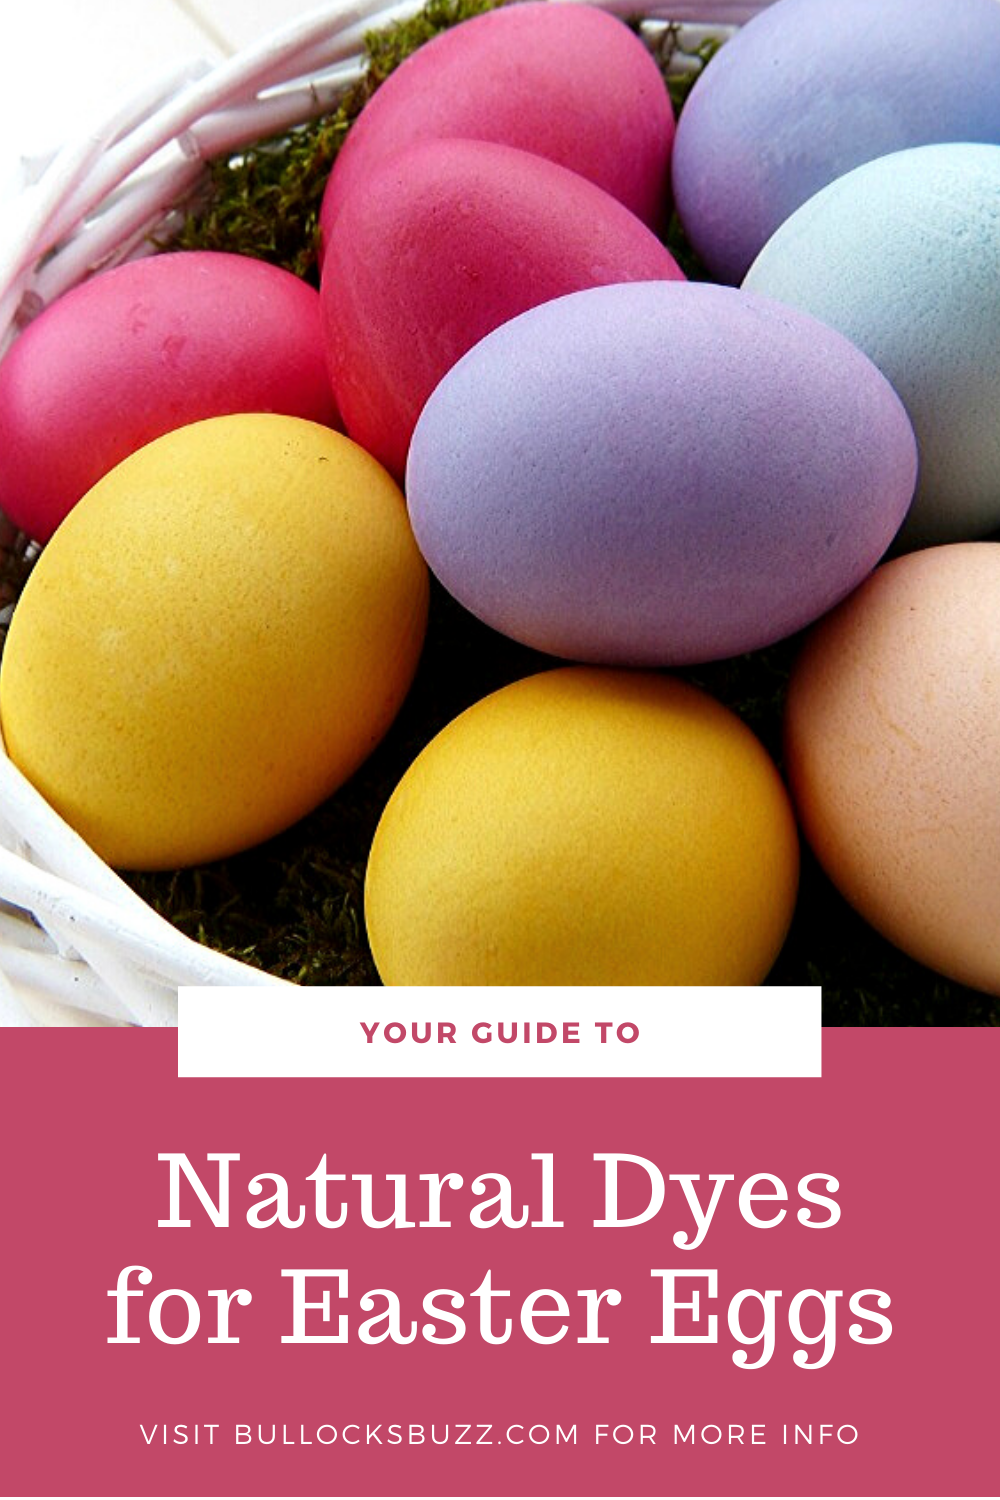
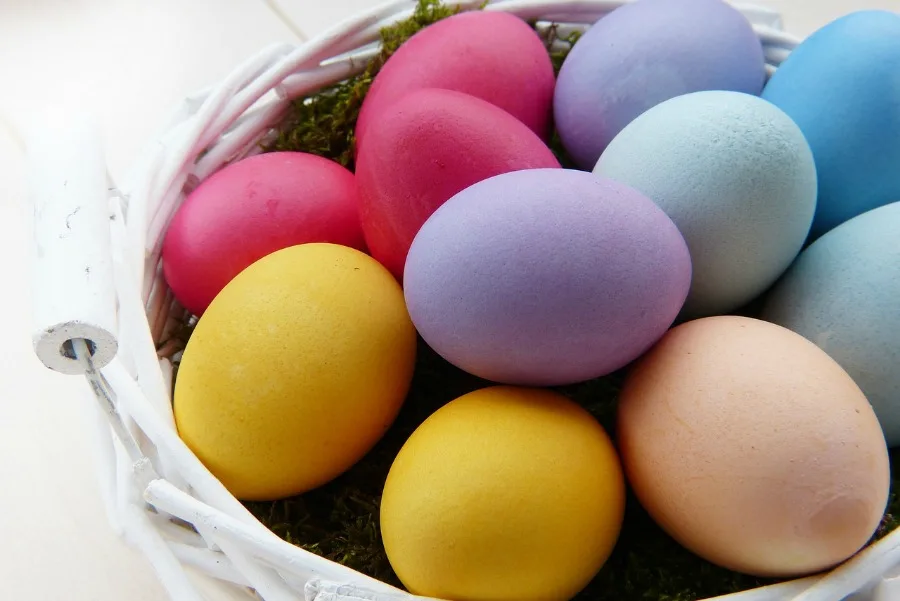
Why spend money on an Easter Egg dye kit when you most likely have several natural dyes in your home right now. Using berries, vegetables, and even spices, you can create just about any color Easter Egg dye you want, ranging from spring-like pastels to deep, rich hues. Best of all, once finished you can toss all your leftover dye in the compost pile! Check out these natural dyes for Easter eggs and get ready to make gorgeous, fun-colored eggs that are perfect for your Easter Egg Hunt!

Disclosure: This blog post contains affiliate links for products or services I think you’ll like. This means if you make a purchase from one of these links, Bullock’s Buzz will make a small commission at no additional cost to you. I only recommend products that I use and love.
Natural Dyes for Easter Eggs
Believe it or not, natural dyes for Easter eggs can be found in everything from berries to spices to your favorite drink. Below is a list of some of the most common products people use as natural dyes for Easter Eggs along with the color you will get when you use it.
Fruits and Vegetables
- Yellow onion skins = yellow to dark orange
- Red onion skins = lavender or red eggs
- Red beets = pink on white eggs, maroon on brown eggs
- Purple cabbage = blue on white eggs, green on brown eggs
- Spinach = green
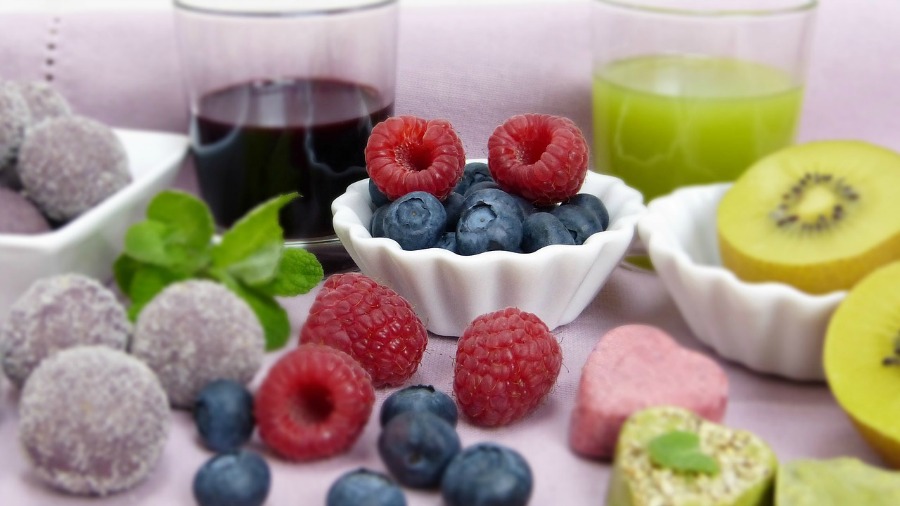
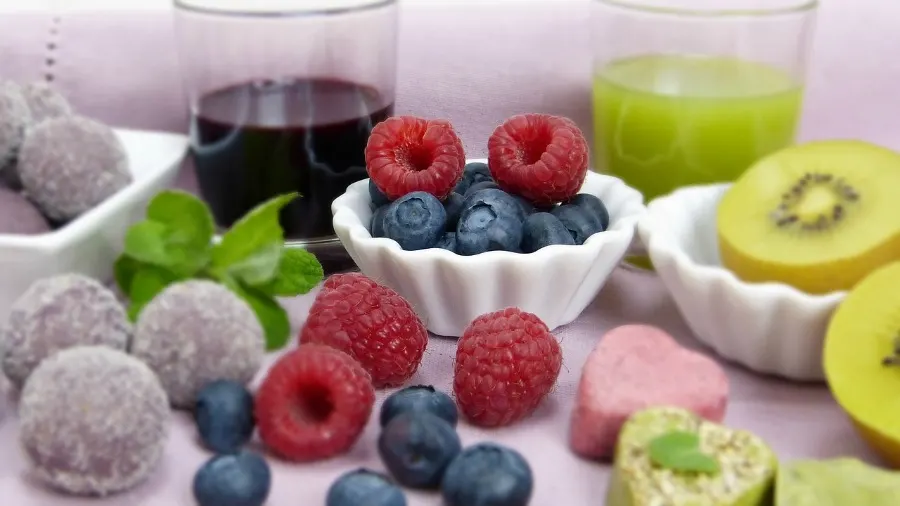
- Raspberries or blackberries = pink to purple
- Yellow or green apple peels = yellow-green
- Cherries and strawberries = deep red
- Blueberries = Blue
- Carrots = Yellow/orange
*Use 1 cup of fruit or veggies to 1 cup of water
Spices:
- Turmeric or cumin = pale yellow eggs
- Chili powder = light orange eggs
*Use 2 tablespoons per cup of water
Liquids like tea or juice:
- Purple grape juice (use as is) = lavender
- Coffee (use as is) = tan to brown
- Cranberry Juice (use as is) = pink
How To Color Easter Eggs with Natural Dye
Coloring Easter Eggs with natural dye is a bit different from using the prepared Easter Egg dye kits, but it’s actually quite easy.
Ingredients/Supplies to Make Natural Easter Egg Dye
There are a few things you will need to get started making the dye and dying the eggs.
- Natural dye materials (see list above)
- Filtered water – I use 1 cup of water per 1 cup of fruits/veggies; 2 tbsp of spice per cup of water; 1 bag of tea per cup of water
- vinegar – 1 tablespoon of vinegar per each dye color
- saucepans – several for simmering the ingredients and for boiling eggs
- mesh strainer
- small bowls or mason jars – deep enough to submerge an egg
- eggs
- coconut or olive oil – optional – it will add luster to eggs after dying
How to Make Natural Dye for Easter Eggs
- Begin by bringing the dye matter and water to a boil. Turn the heat down to low and simmer, covered, for 15-60 minutes until the desired color is reached. The eggs will be several shades lighter than the dye so it’s best to go for deep, rich hues. Check by dipping the corner of a white rag into the dye to get a general idea of the depth of color.
- Next, remove the liquid from heat and let cool to room temperature.
- Now pour the dye through a mesh strainer into bowls and add 1 tablespoon of vinegar for each cup of dye liquid.
How to Prepare Eggs for Coloring with Natural Dye
- Begin by adding the eggs to a medium pot filled with cold water. There should be enough water to completely cover the eggs.
- Bring the water to a boil. Once boiling, turn off the heat and cover the pot.
- After 10 minutes, place eggs in a bowl of cold water and let them sit until they’re cool to the touch.
- Next, drain the bowl, and add some warm, soapy water (I prefer to use Castille soap).
- Gently rub eggs with a washcloth or your thumb to remove any dirt or oils that will prohibit the natural dyes from adhering to the eggshell.
How To Color Easter Eggs with Natural Dye
- Gently lower the prepared eggs into the dye, cover, and then place them in the fridge. Soak overnight or until your desired color is reached.
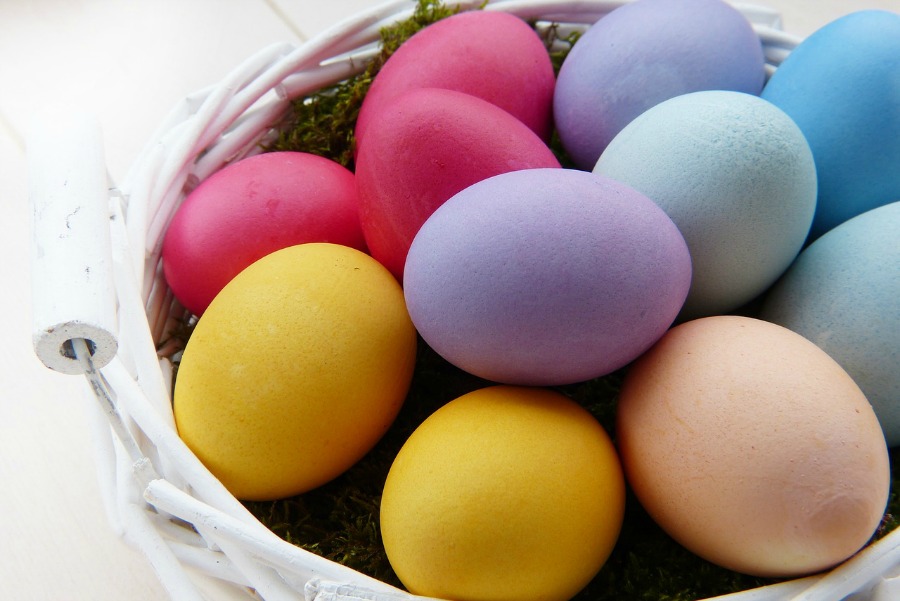
- When the eggs are ready scoop them out with a spoon and place on a cooling rack or on top of an upside-down egg carton.
Add Finishing Touches – Easter Egg Decorating Ideas
Although solid-colored eggs are beautiful on their own, consider adding a bit of glam with the following Easter Egg decorating ideas:
- Colored tissue paper – cut hearts, flowers, circles, stars, and other designs out of colored tissue paper. While the colored egg is still damp, lay the tissue paper design on top of it. The juice residue will work like glue to keep the design on the egg.
- Metallic paint pens – use pens to add intricate designs
- Glitter – a great way to add some sparkle and shine.
- Glitter pens – fun to draw patterns and designs!
- Stickers – an easy, yet fun decoration.
- Hot Glue – use a hot glue gun to draw cool designs and patterns on colored eggs.
- Crayons – use to draw designs or melt crayons and drip the colored wax over the colored eggs.
How Long Does Using Natural Dye for Easter Eggs Take?
Keep in mind that when you use natural dyes for Easter Eggs, it will take longer than using a store-bought dye kit. Depending on the material used to create the dye, it can take anywhere from several hours to overnight. So be sure to plan ahead and leave some extra time to get the results you want.
Nikki
Monday 25th of March 2013
That is seriously cool! Those are some bright colors!Nikkirushedmommy.com
jenny at dapperhouse
Monday 25th of March 2013
I am so overwhelmed right now with all this new information! There are so many cool options and I cant WAIT To try them with my son! He loves to cook and loves science so this will be right up his alley - a fun experiment with foods and spices! Maybe with my preschool class as well. Awesome Tutorial Thank you.
Glenda
Sunday 24th of March 2013
Such fun and something I can do with my son. Thanks for sharing this with us.
Marie
Sunday 24th of March 2013
These look Great, I just dyed eggs for the second time. I had to try another technique with shaving cream. Your colors are nice and bright!!
Margaret Reed
Sunday 24th of March 2013
OMGoodness! So rich and vibrant! I never thought of using foods, I am returning the support for Fit and Beyond 40, I followed back on bloglovin, and I added you on G+ and Networkblogs. Looking forward to the connection!https://fitandbeyond40.com