This post may contain affiliate links. I only recommend products I use and love. Read the full disclosure here
Updated on: September 15, 2018
Originally published on: February 12, 2017
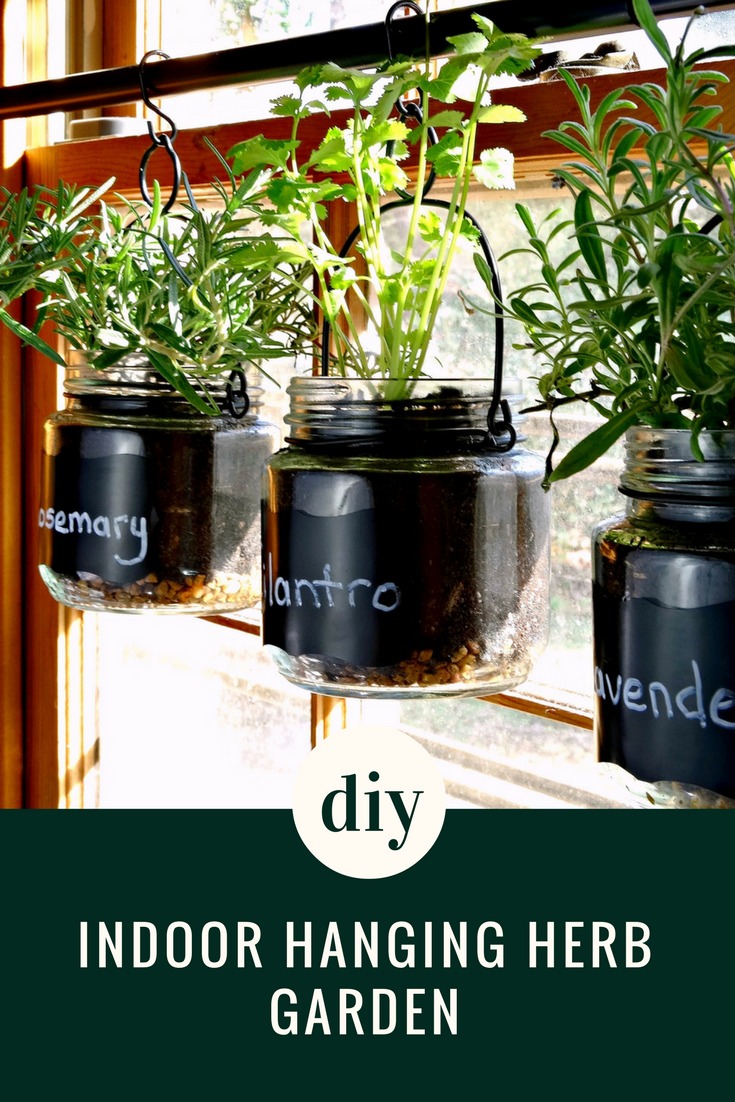
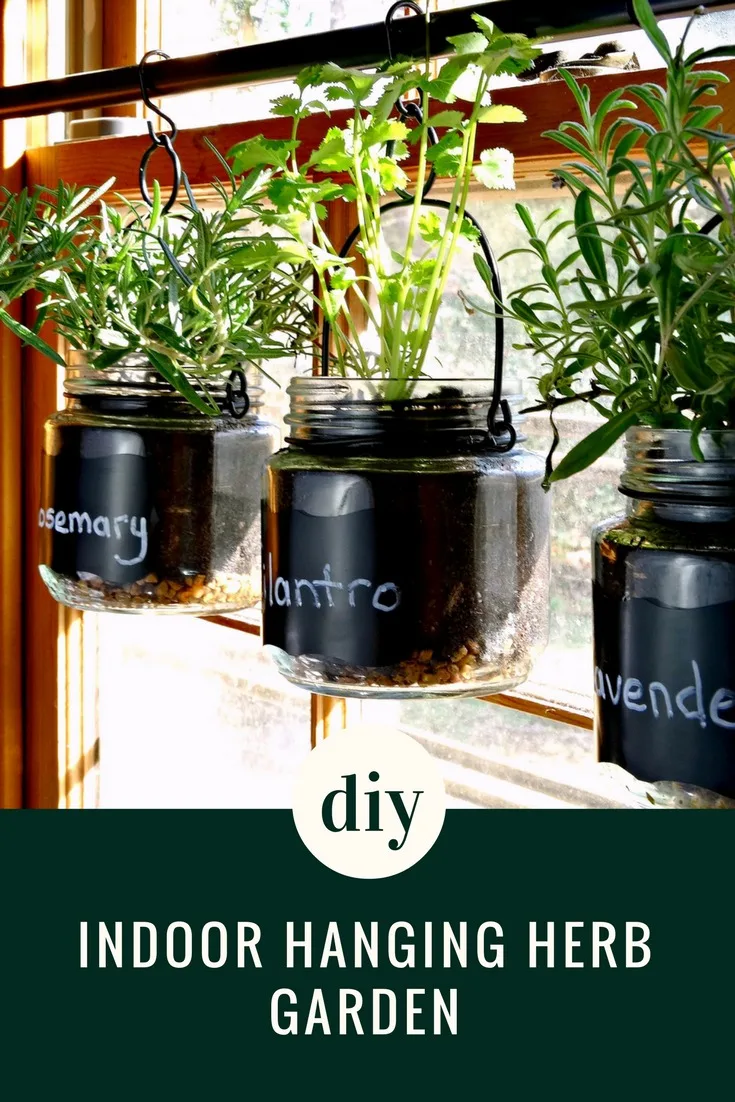
Spice up your recipes with fresh herbs from your own DIY Indoor Hanging Herb Garden!


DIY Indoor Hanging Herb Garden Tutorial w/ EcoScraps
Gardening has always been one of my favorite past times. When it’s warm out our back porch is covered with a variety of herbs and our garden is full of vegetables, but since it’s still the middle of winter, it’s a bit too early to grow most vegetables. I can, however, still grow my herbs! How? This incredibly easy and inexpensive DIY Indoor Hanging Herb Garden and EcoScraps plant food!
Fresh herbs are a great way to spice up your cooking game. They make everyday dishes taste amazing like this Herbed Corn and this Fresh Herb Spread! And all you really need is to water the plants, feed them, and make sure they get plenty of light. Best of all, growing your own herbs allows you to use the exact amount you need, therefore cutting back on the unnecessary wasting of food.
EcoScraps
Did you know, that just in the United States alone, we waste 40% of the food produced. That’s enough to fill the Rose Bowl –every day. That wasted food sits in our landfills producing methane, which is 20 times more harmful than CO2! That waste (also known as compost) would be a lot better off being used to plant and feed lots of beautiful plants and herbs, and that’s exactly what the founders of EcoScraps believe, too. #BadFoodGoneGood
Not familiar with EcoScraps? EcoScraps is a line of soils and plant foods that was created by people who saw a better way to make soil—better for our gardens, better for our planet. The founders, Dan and Craig, were in college at an all-you-can-eat buffet when they realized just how much food was being wasted. Disgusted by the waste, they came up with a plan to convert restaurant scraps and waste into natural and organic compost soils and plant food. And based on their belief that bad food transformed into rich, organic soils and plant foods can do a lot of good for our families and the environment, EcoScraps was brought to life.
In addition to providing the nutrients my herbs need to grow, since EcoScraps is basically made up of leftover food, I don’t have to worry about any unhealthy ingredients going into the foods that I feed my family. And I’m doing my part to help the environment, too. It’s a win-win situation! Check out this YouTube video to learn more about how EcoScraps can help you #GrowFoodBetter.
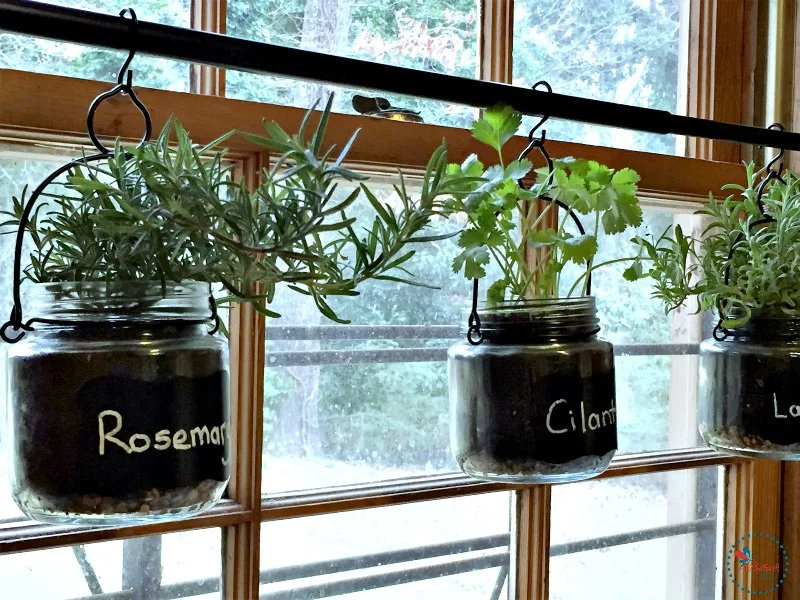
DIY Indoor Hanging Herb Garden
This quick and simple DIY turns a few easy-to-find materials into a great indoor hanging herb garden that can fit in even the smallest of spaces. All you need are a few inexpensive supplies and a bright window (South or West facing are best) and you can have fresh herbs no matter the season!
Supplies You Will Need for Indoor Hanging Herb Garden
Please note, I added Amazon affiliate links to make shopping easy. If you make a purchase through these links, I’ll make a small bonus at no extra charge to you:
- jars (I found mine at Walmart and they already had a handle for hanging! Amazon has several jars, too)
- picture hanging wire (only if you cannot find jars with handles for hanging)
- ‘S’ hooks
- curtain rod
- chalkboard labels and chalk
- Activated Charcoal
- small rocks or pebbles (I use aquarium gravel)
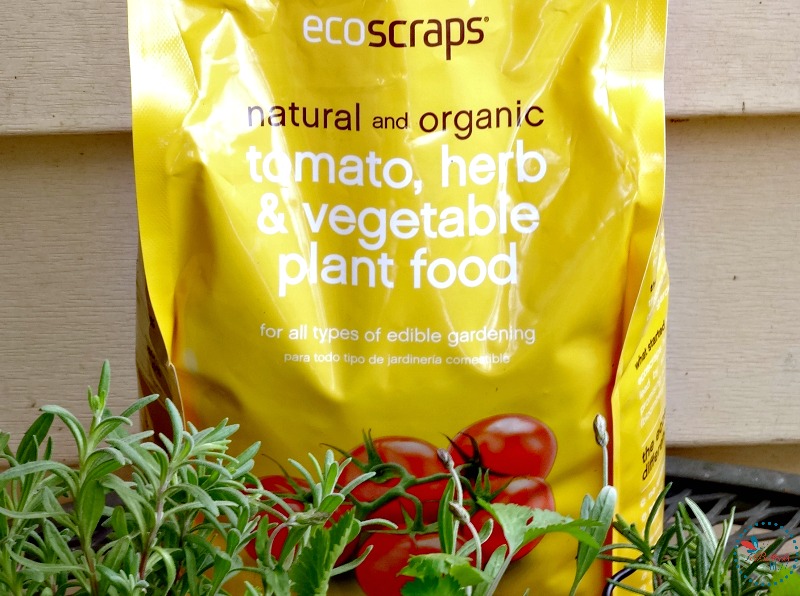
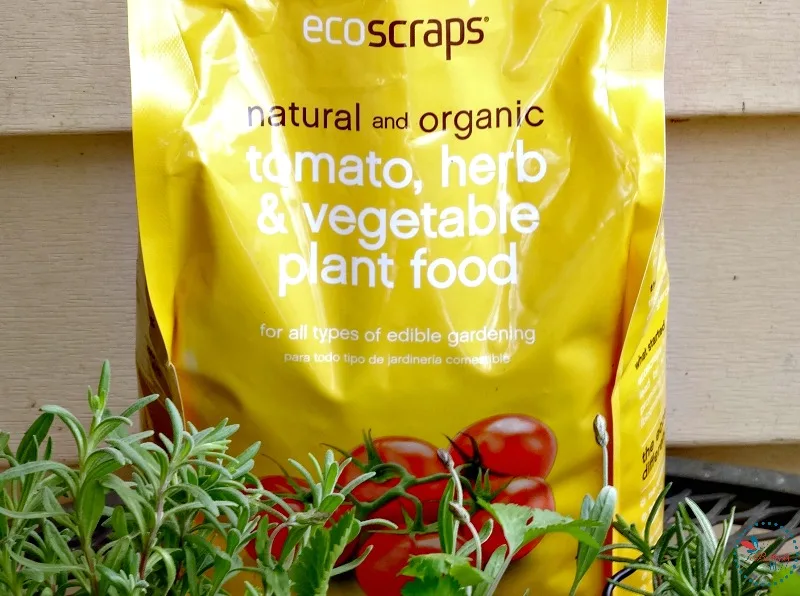
- EcoScraps Natural and Organic Tomato, Herb & Vegetable Plant Food
- potting mix
- herbs
How to Make Indoor Hanging Herb Garden
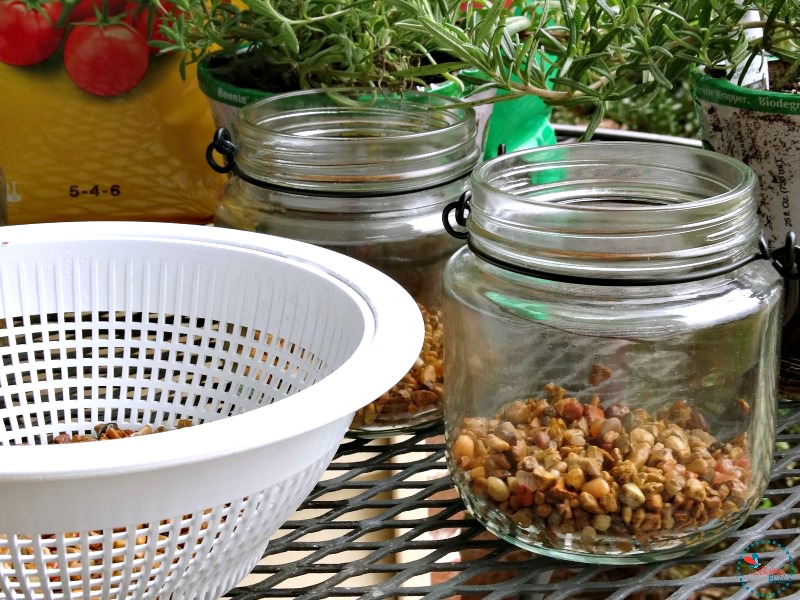
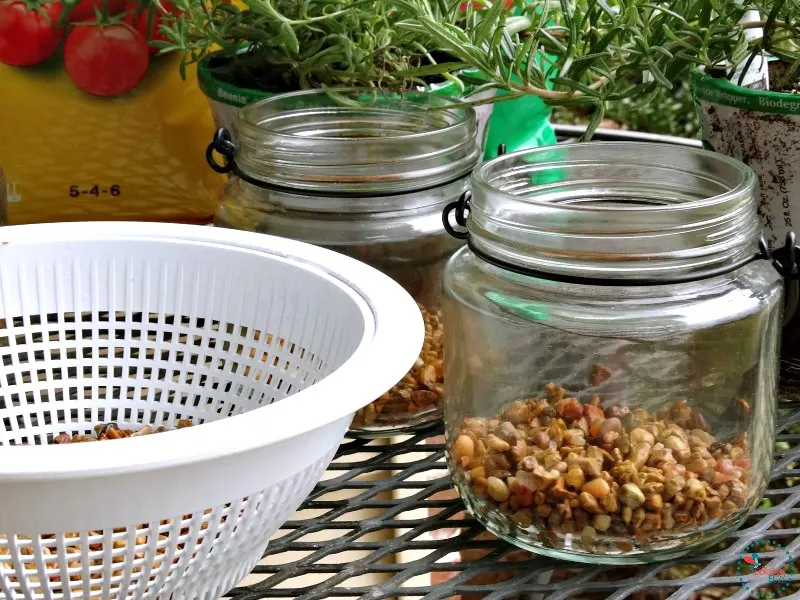
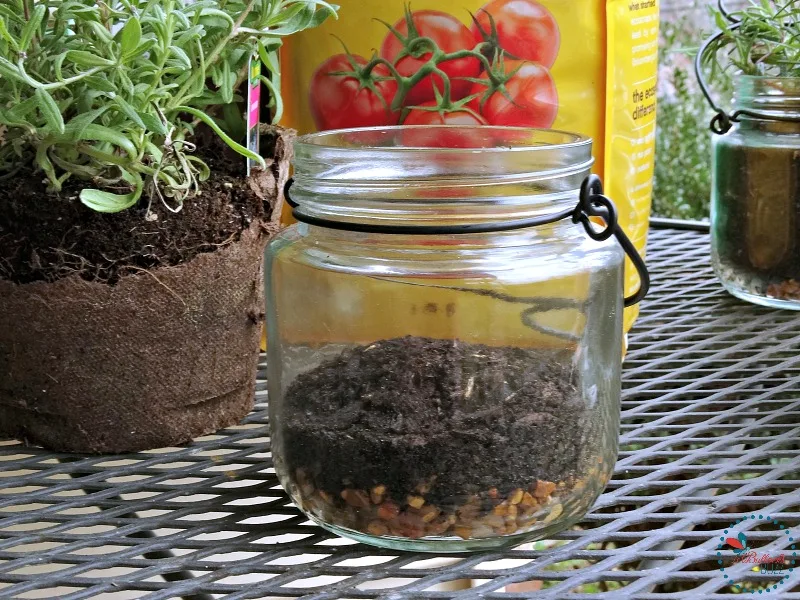
Step One: Place Pebbles or Gravel In Bottom of Jars
Because the jars do not have holes for drainage, adding a layer or rocks or gravel about 1.5 inches deep will help prevent the roots getting damaged from excess water. I always use the rocks you can put into aquariums, making sure to rinse them well first.
Step Two: Add Activated Charcoal
Next add about 1/2″ activated charcoal on top of the pebbles. The activated charcoal will help to balance the pH in soil, assist with drainage, and also prevents bacteria buildup in the soil due to over-watering which can hurt the plant roots and cause disease or death in plants.
Step Three: Add Potting Soil
Fill the jars with about 2 inches of potting mix. I always use potting mix because it is different from potting soil in that it provides excellent moisture retention making it a great choice for container gardening.

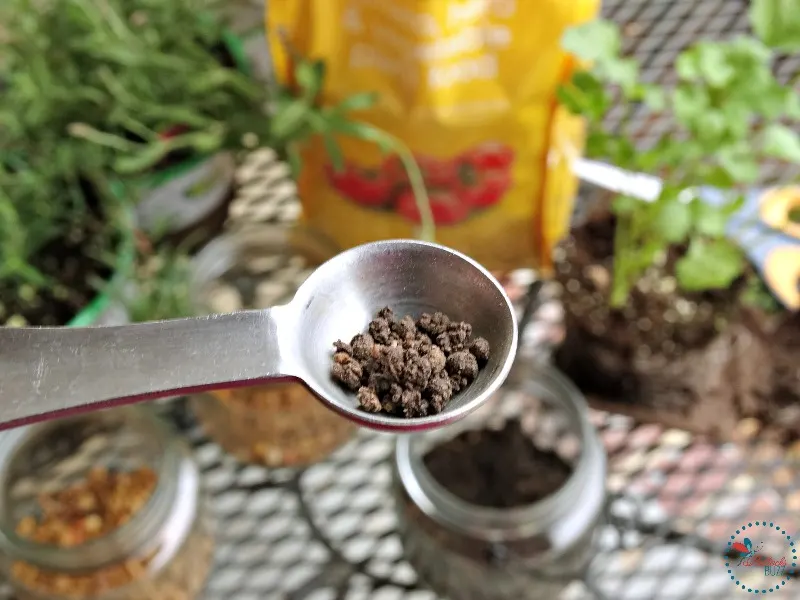
Step Four: Add EcoScraps Natural and Organic Tomato, Herb & Vegetable Plant Food
Add about 1/4 to 1/2 tsp of EcoScraps Natural and Organic Tomato, Herb & Vegetable Plant Food and mix it into the soil. Then fill the jar about 3/4 with more potting soil. EcoScraps plant food provides the nutrients all herbs, fruits and vegetables need to grow. It also has added calcium to help prevent rot. It comes in little pellets which are very easy to distribute, and the bag has a zip up feature to keep it fresh and dry in between uses.

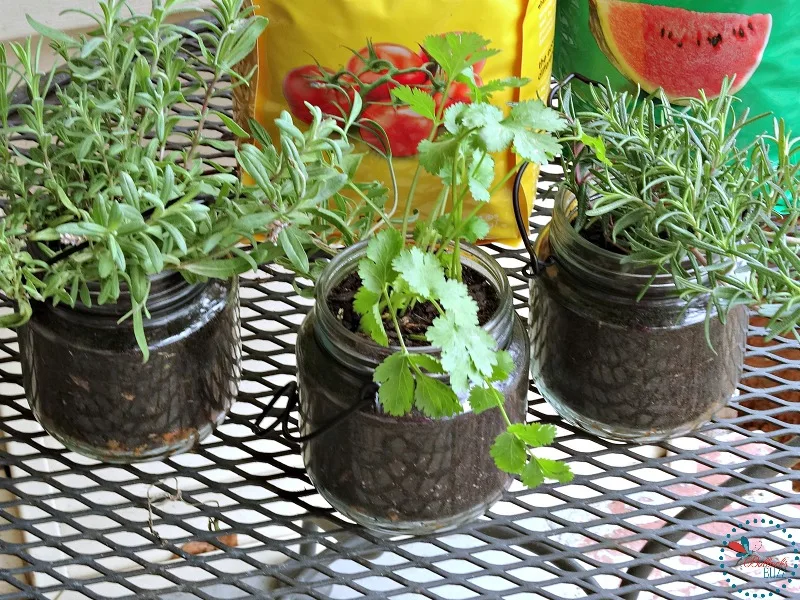
Step Five: Transplant the Herbs
When transplanting herbs to jars you will want to keep the roots exposed to the air for as little time as possible. Before removing the herbs from the containers they came in, dig a small depression into the soil that is in the jar. Now remove the container the plant came in, and gently pull the roots apart to encourage growth and get rid of any clumps of soil. Place the plant into the jar. Slowly add more potting soil, packing it firmly around the roots and the base of plant, topping off the jar. Lightly water the plants as soon as they are re-planted.

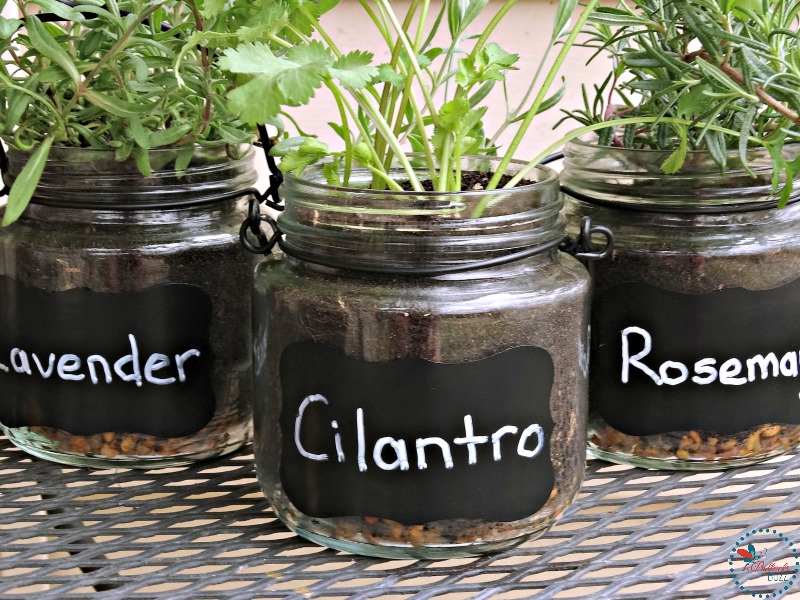
Step Six: Label Jars
Once the herbs are in their new home, adding a pretty label will go a long way toward adding a bit of flair! The chalkboard stickers are a fun way to label your herbs, and they are easy to erase and remove. Simply place a chalkboard sticker on the front of the jar, then write the name of the herb using chalk or a chalk marker.

Step Seven: Create Handle on Jars (if you are using jars without handles)
As I mentioned above, I was lucky to find jars with handles to make hanging them a cinch. If you are using jars without a handle, you will want to create a handle using the picture hanging wire. Simply wrap the wire around the mouth of the jar several times, and then form a handle (similar to what I did in this post for DIY Upcycled Hanging Flower Vases). Make sure it is secure.
Step Eight: Hanging Your Herb Garden
Install the curtain rod in a window that receives lots of natural light. Most herbs need at least 6 hours of bright light per day, if not direct sunlight. I hung my herbs over the sink in my kitchen so they would be within easy reach while I was cooking and because that window gets lots of natural light.
Once the rod is installed, all that is left is to attach the ‘S’ hooks to the jar handles and then hang each jar on the curtain rod.
And there you have it! Your Mason jar garden is complete.

Caring for your Indoor Hanging Herb Garden
This Indoor Hanging Herb Garden is super easy to maintain! Keep your herbs watered, but be extra careful not to over-water. Keep the soil moist, but not damp. So far I haven’t had any problems due to lack of drainage. The rocks and activated charcoal work well!
About once every four to six weeks, add a small amount of Ecoscraps Natural and Organic Tomato, Herb & Vegetable Plant Food. I usually put about 1/4 tsp in each jar and mix it around in the top layer a bit, then lightly water the plants. This extra food helps the herbs grow strong and healthy. And best of all, since it’s made from food scraps, it’s all natural and organic so I don’t have to worry about unwanted ingredients going into the herbs which I feed to my family. Plus I’m doing my part to help the environment – it’s a win-win situation!
Harvest your kitchen crops as needed to add flavor to whatever is on the menu. Remember, the more you trim them, the more flavorful and abundant the plants become. Plus, frequent cutting also encourages new leaf growth. Herbs flourish super quickly, so you’re going to want to make sure to snip them early, before they begin to flower.
Another reason I love this hanging herb garden is because it is terrifically portable! You can hang your plants from the curtain rod, or from hooks in the ceiling, or just about anywhere that gets plenty of light.
EcoScraps products can be found at your local Lowe’s.
Connect with EcoScraps: Website | Instagram | Facebook
Like this post?
Be sure to like us on Facebook so you can be the first to know about latest DIY crafts and more.
Elizabeth Krill
Wednesday 3rd of May 2023
I would like to try the EcoScraps Organic Potting Mix. I have never grown plants in jars w/o holes in the bottom.
Holly Thomas
Thursday 23rd of February 2017
EcoScraps 1-cu ft Organic Flower and Vegetable Garden Soil is what I would like to try.
Mary Gardner
Thursday 23rd of February 2017
I'd like to try the EcoScraps Rose & Flower Organic/Natural Flower Food.
Stacey Roberson
Thursday 23rd of February 2017
I want to try the EcoScraps Tomato, Herb and Vegetable 4-lb Organic/Natural Vegetable Food.
Sarah Mayer
Thursday 23rd of February 2017
I would like to try the EcoScraps Tomato, Herb and Vegetable 4-lb Organic/Natural Vegetable Food.