This post may contain affiliate links. I only recommend products I use and love. Read the full disclosure here
Updated on: November 2, 2017
Originally published on: July 6, 2015
A special thanks to Pringles® for sponsoring today’s post featuring DIY Percussion Instruments for children. All opinions are my own. This post contains affiliate links.
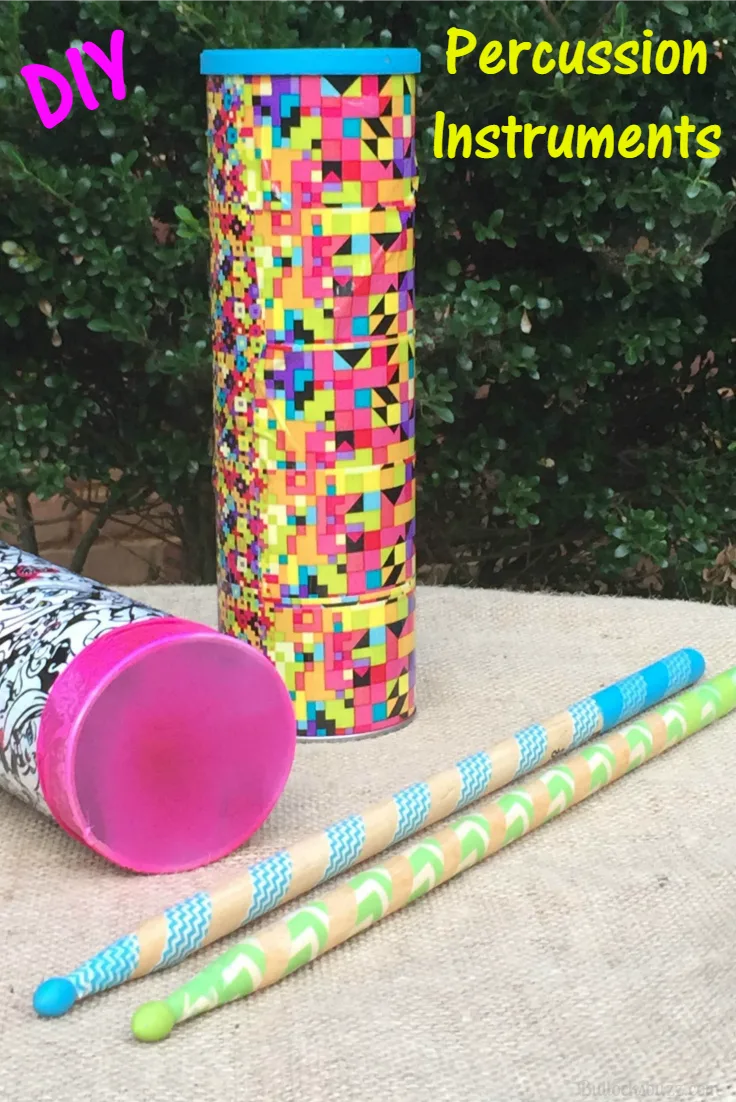
Two Simple DIY Percussion Instruments for Kids
In our family music plays a big role. Not only do we all enjoy listening to it, we love making it, too. I learned how to play the guitar in my early teens, my stepson is learning the trombone, and my niece, though only 3, already loves playing percussion instruments! Hand her a wooden spoon, and she’ll beat away to her heart’s content.
As an Early Childhood educator, I know the important role music plays in a child’s development, and I am all for children expressing themselves musically. Knowing my niece’s love for anything percussive, and to help save my sister’s pots and pans, I created a couple of cute and easy DIY percussion instruments! And the best part of these DIY Percussion Instruments is that they can be made using nothing more than empty Pringles® cans and some common household items.

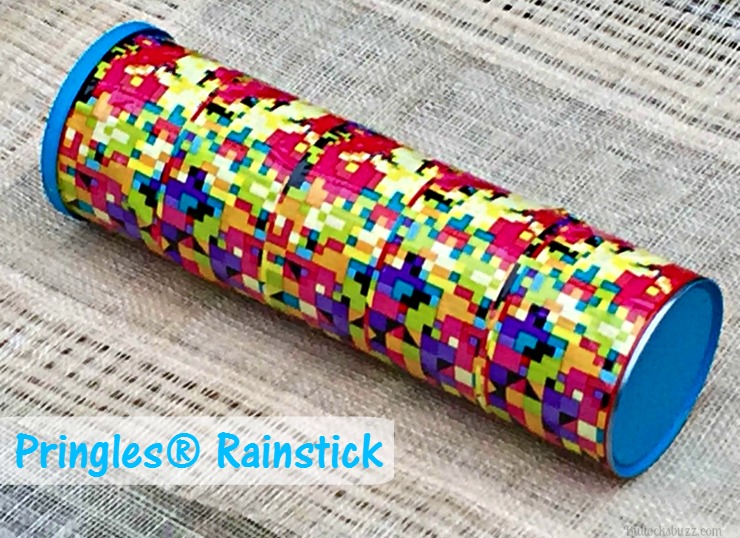
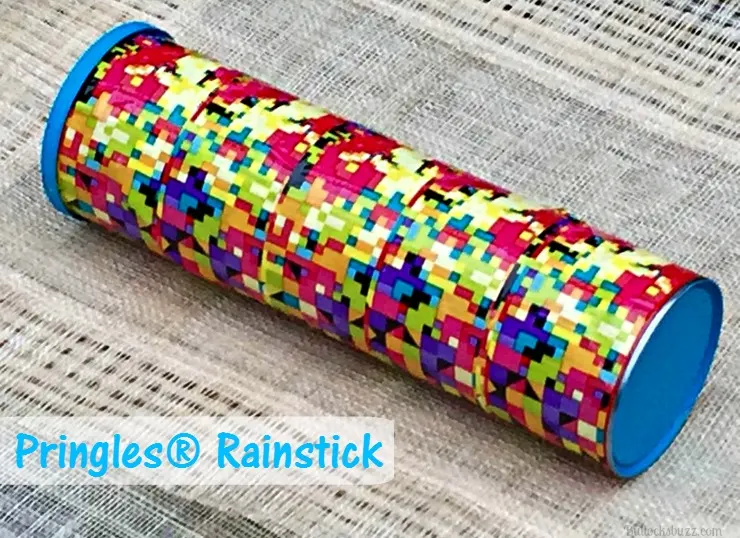
Pringles® Rainstick
A rainstick is a favorite instrument of little percussionists, and this one is easy to make. Since this DIY percussion instrument craft involves nails, you will want to be there to supervise! To begin you will need the following materials:
– 1 empty Pringles® can
– decorative Duck tape
– craft paint
– paint brush
– dried beans
– craft glue
– a box of nails (just a bit shorter than the diameter of the Pringles can)
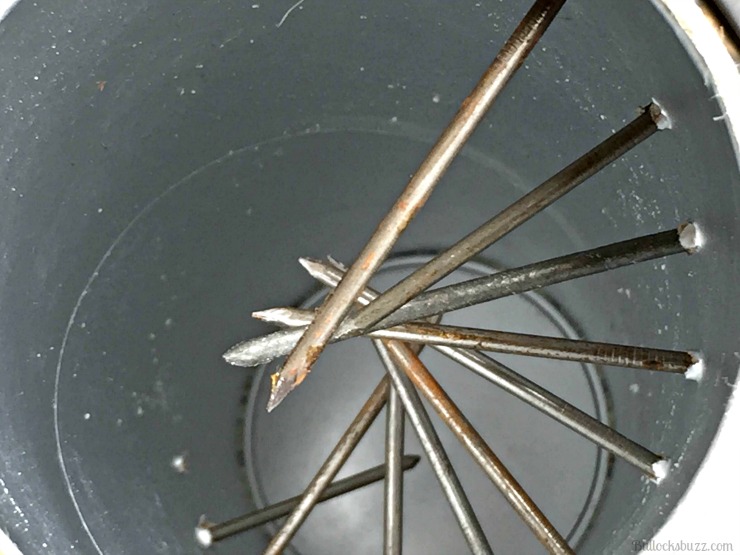
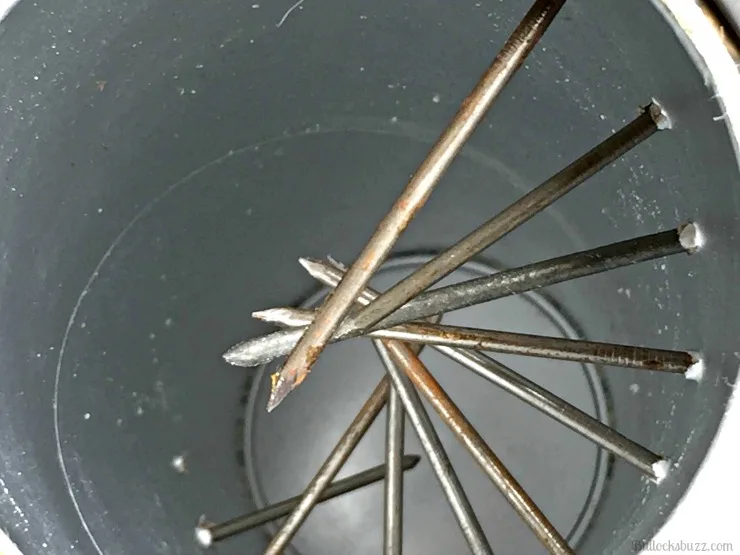
The first thing you want to do is remove the lid from the Pringles® can and paint it. While it dries, begin inserting the nails into the can. If you look along the side of the can you will see a seam that starts at the top and spirals around to the bottom. I used that seam as a guide, inserting a nail about every 1/2″. Once all of the nails in place, if you look inside the can you can see a spiral pattern of nails. Tip: the more you use, the better the rainstick will sound.
Next, cover the outside of the can with the decorative tape. This actually serves the double purpose of holding the nails in place and making the rainstick look pretty.
By now, the lid should be dry, so you can use it to help figure out the sound you want. Start adding the dried rice or beans to the tube a little bit at a time. Listen to what they sound like as they fall to the bottom of the tube, and continue adding more until you achieve your desired sound. Once you have as many dried beans or rice inside as you’d like, remove the lid, and place a thin line of glue along the top rim of the can to help ensure that the lid stays closed. Put the lid back on the can, and let it dry for about 5 minutes. As a final step, I painted the very bottom of the can too, but that is completely up to you. Now your rainstick is ready to play!
Pringles® Balloon Drum
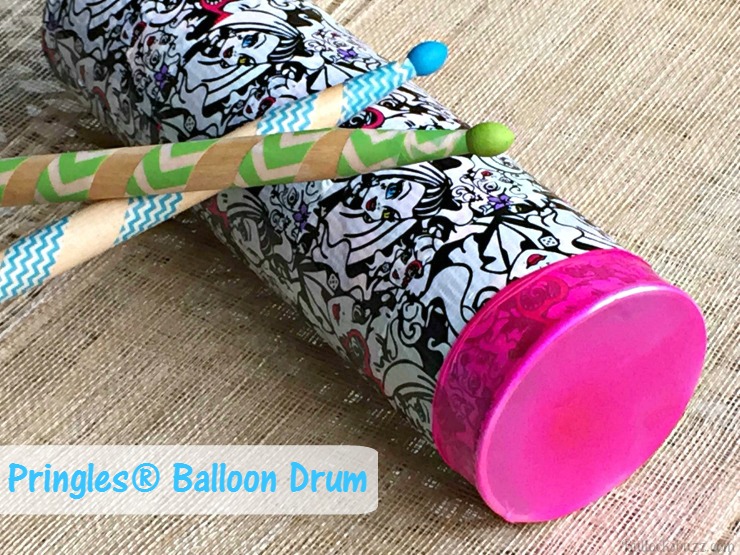

The second instrument I made for my niece is a Pringles® balloon drum. This one is even easier to make than the rainstick and will provide several different pitches as well as hours of fun! To begin you will need the following materials:
– 1 empty Pringles® can with lid
– decorative Duck Tape
– 1 latex balloon
– craft paint
– paint brush
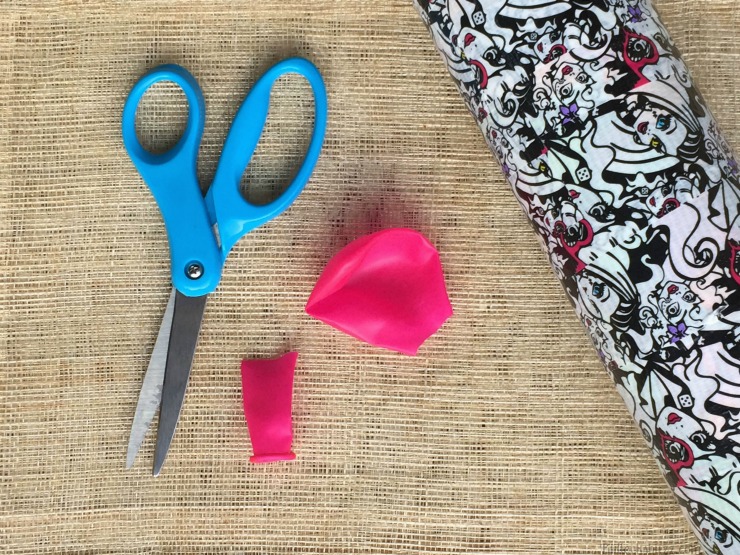
– scissors
Begin by covering the empty Pringles® can with decorative tape. Next take the balloon and cut it just a little bit above where the neck begins.

Now place the remaining part of the balloon over the open end of the Pringles can (if you need to you can secure it with either tape or a rubber band). Next flip it over, and paint the metal bottom. As soon as the paint is dry, you are finished! Your percussionist can now drum on either end or even the sides for several different sounds!
Colorful Drumsticks
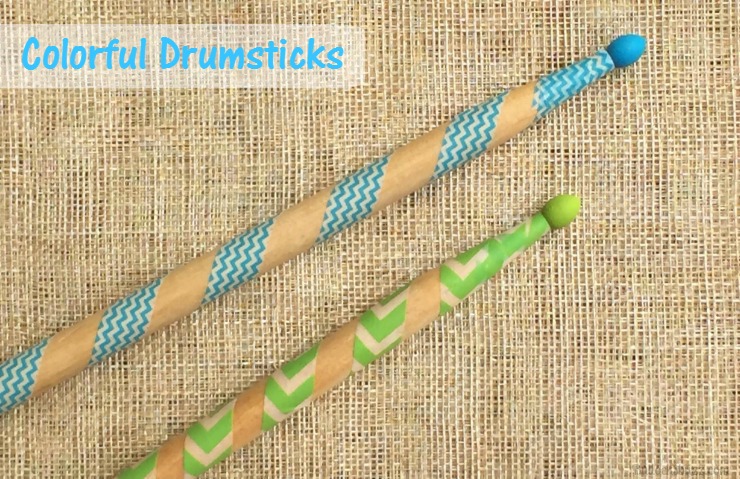

What fun is a balloon drum without a set of drumsticks? Although wooden spoons or even dowels will work just fine, you can get a set of 5A drum sticks for just a few dollars! Grab some paint and decorative Washi tape, and your little percussionist will have some of the coolest sticks on the block!

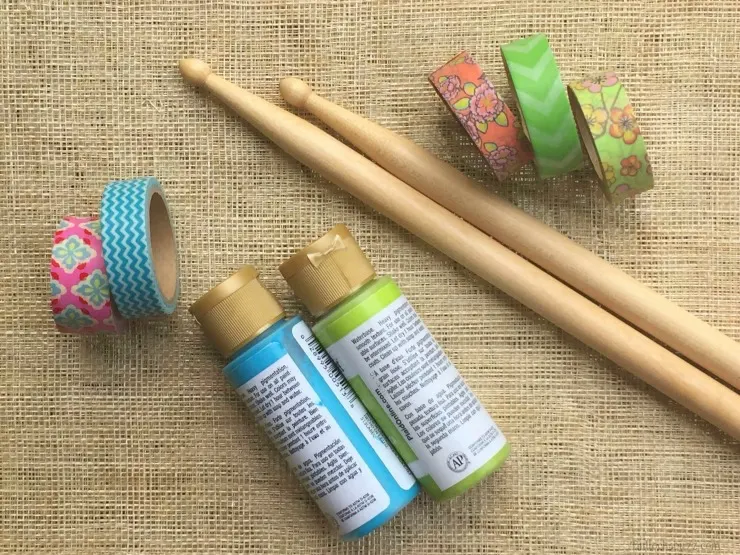
Materials:
– 1 pair 5A drumsticks
– Washi tape
– craft paint
– scissors
Begin by painting the very tips of the drum sticks, and about 2″ to 3″ of the bottom. Once the paint is dry, add the colorful tape in any pattern you desire. I wrapped mine around the tips a few times, then spiraled it down to the paint on the bottom of the drumsticks.
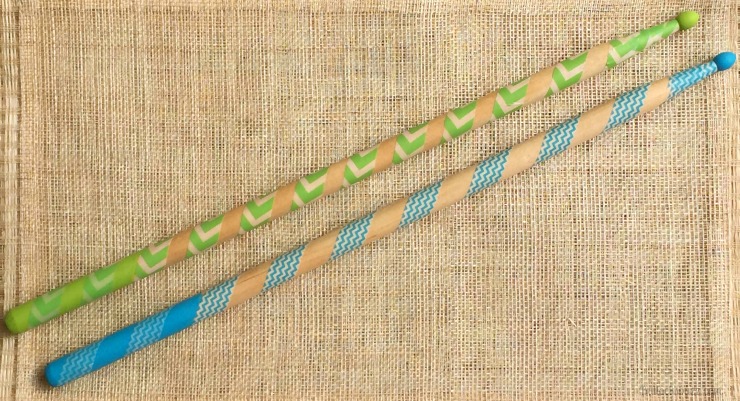
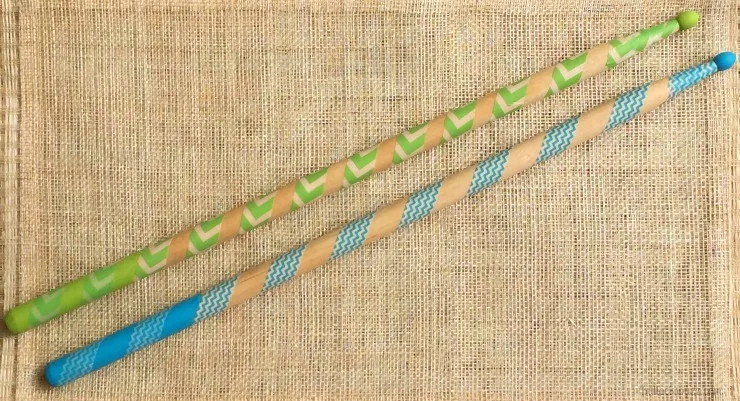
Help your child decorate theirs anyway they choose, then send them off to march to the beat of their own drum! 😉
Have you ever made any DIY Percussion Instruments? Share with us in the comments below!
This is a sponsored post written by me on behalf of Pringles® Summer Jam.
tammileetips
Tuesday 7th of July 2015
What a fun way to recycle the pringles cans! This is such a fun craft to play with!
Ashley S
Tuesday 7th of July 2015
What a super fun idea! Great way to make your own musical instruments :)
Tammi @ My Organized Chaos
Tuesday 7th of July 2015
I think every time we have pringles my kids use the can at the end for a drum. FUN!! We need to make this more formal and make some instruments next time, thanks for the great idea!
leanne
Tuesday 7th of July 2015
I homeschool and we are for sure gonna try this!! What a neat idea!!
Ellen Christian (@ellenblogs)
Tuesday 7th of July 2015
Oh those are so cute! My kids would have had a blast with these when they were little!