This post may contain affiliate links. I only recommend products I use and love. Read the full disclosure here
Updated on: June 14, 2023
Originally published on: July 7, 2015
If you have a home study, you might like the idea of creating a chair for it. This approach is unique and can make your office look incredible. If you already have all the best office gadgets in your study, it is time to complete the look with a chic chair as well. You will need to make sure that you set aside a few hours to complete this project. This one is only suitable for DIY gurus, so make sure that you have skills before you begin. Here is to make a chic office chair from an old car seat.
You will need:
1 x old car seat
1 x legs fixture
5 x castors
1 x ratchet
4 x steel pipes
1 x drill
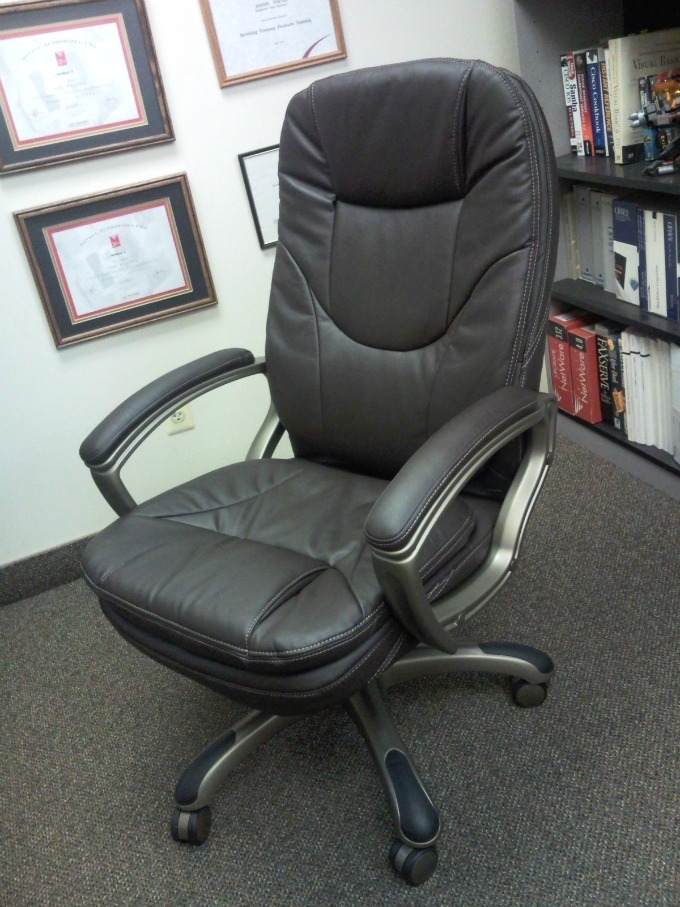
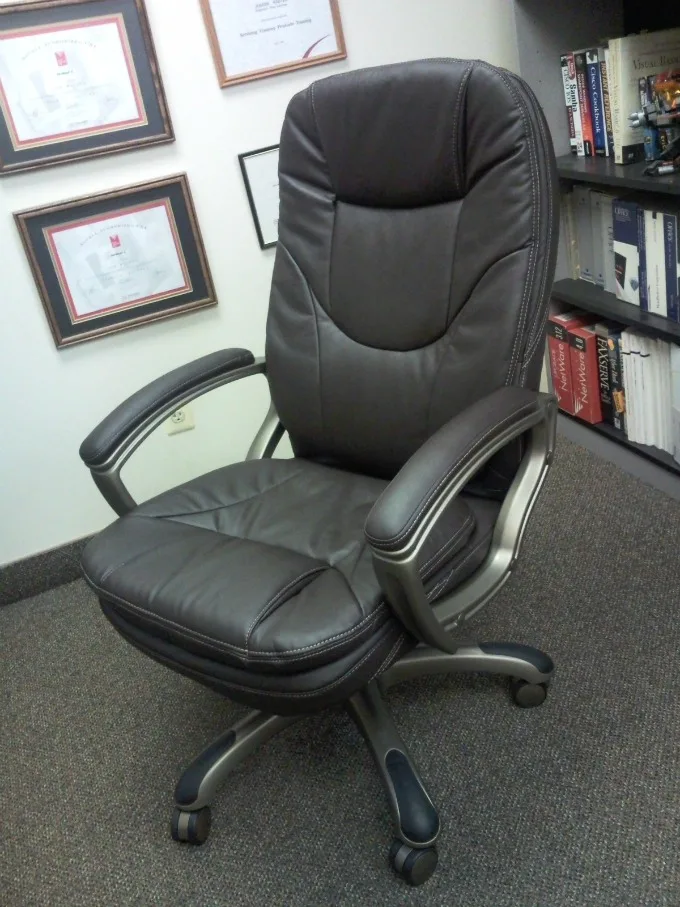 Image courtesy Joe Whited via Flickr
Step 1: Rescue an old car seat from a junkyard
First of all, you need to lay your hands on a car seat. You might think that these things would be hard to come by, but that’s not true at all. If you head to any junkyard in the country, you should find that there is an old seat there up for grabs. In fact, it is amazing what you can find at junkyards, and so it’s always well worth a look. You should ask the guard whether you can take things before you go grabbing them. You might want to clean down the seat before you start using it.
Step 2: Fit steel bars to the base of it
If you are lucky, the seat will not have any sharp or protruding parts. If it does have sharp edges, you should sand them down before you continue. Flip the seat over and fit your steel bars to it. You will need to create a solid square with this material. You should weld them to the base of the chair or use a hatchet to fix them to it. Make sure that the bars are as firm as they can be. After all, you don’t want this part of your chair to come loose.
Step 3: Drill four holes into the bars
Next, you will need to drill four small holes in the bars. You should make sure that you mark out where the holes are on the leg fixture. There are usually four holes that you can use to fix the base of the chair to the fixture itself.
Step 4: Fit the legs to the chair
You will need a ratchet and four bolts for this part of the project. You should fit the legs to the seat using these bolts. It might be useful to get another person to hold the legs in place while you do so. That way, you can make sure that the legs are at a perfect 90-degree angle from the base of the seat.
Step 5: Screw on the castors
The castors are the little wheels that will allow you to move the chair in your study. Of course, this feature is essential. Different wheels suit different floor types, and so you should check out some castor selection tips. It should be a simple case of screwing the wheels to the legs of your office chair. Again, make sure that they are as tight as possible.
Step 6: Decorate the chair as you wish
Finally, you get to do the fun part! You can now decorate the chair as you wish. Some people like the idea of reupholstering the fabric of the chair. I think that the car seat look is quite retro, though, and so would prefer to keep it that way.
Extra info
There are, of course, some extras you can add to your chair. You might want to add armrests, for example. You can find extra information about these projects online. Now, all that you have left to do is enjoy your new chair!