This post may contain affiliate links. I only recommend products I use and love. Read the full disclosure here
Updated on: July 31, 2025
Originally published on: August 13, 2014
For me blogging is much more than a hobby and creative outlet, it is also a job. I have been blogging for a little over two years now, and if there is one lesson I have learned, it is to make sure you have a way to keep everything organized! At first, – somehow – I was able to keep up with things using sticky notes, my memory and an calendar, but now that I am much more busy, I need something more. I need a way to keep up with posts, due dates, reviews, giveaways, social media posts, Facebook group thread posts, payments, costs, media contacts, taxes … and the list keeps going and going! The solution? A blogging planner.

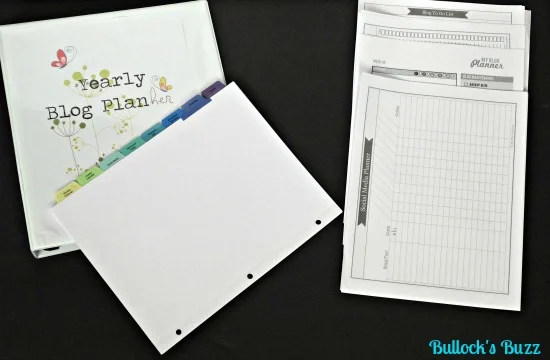
If you Google ‘blogging planners’ or ‘blogging binders’ you will be amazed at how many are out there! They come in all sorts of color and styles, and some are free, while others are not. I spent several hours looking, trying to find one that met my exact needs, before finally deciding that what would work best for me was to select specific pages from several planners and put them all together into my ideal planner. Once I had selected the pages I wanted, the next step was to print them. I won’t lie, this took plenty of paper and lots of ink, but once it was done I couldn’t wait to put it together!
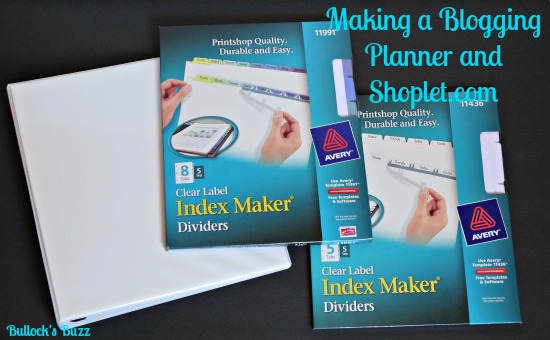
Now that I had all of the pages printed, I needed a way to keep them together. As many of you know, Shoplet.com is where I go to look for the best discounts on school supplies, office supplies and more. I also often receive products from them to review and share with my readers. This month they happened to send everything I needed to put my blogging planner together including a 3 ring binder, and two types of label dividers – all of which are made by one of the most reliable school and office supply brands, Avery.
Avery Heavy Duty View Binder with One-Touch EZD Rings

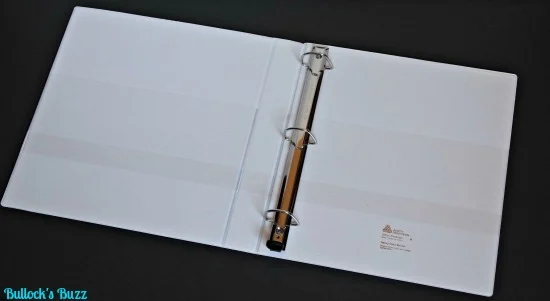
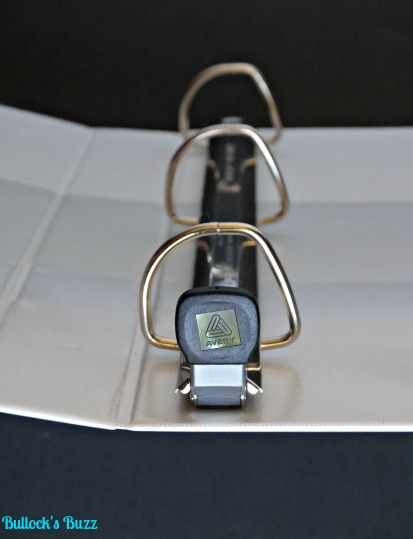
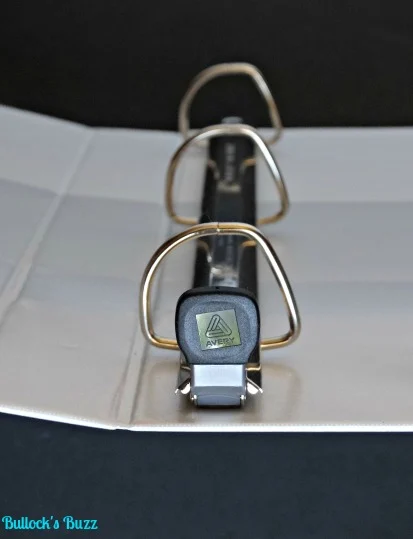
One of my biggest pet peeves with binders has always been the rings. It seems that on almost every binder I have had not only are the rings hard to open, but when they close they become misaligned making turning the pages something less than easy. This Avery Heavy Duty View Binder, however, features One-Touch EZD Rings which, with one simple touch, lets you open, close and lock the binder all in one easy step. And, since the rings also have a gap-free feature to prevent misalignment, I don’t have to worry about my pages not turning smoothly. And although this is a 1″ binder, I found it to be perfect for my needs. You see these innovative rings can actually hold up to 50% more than the same size round rings, and 20% more than the same size slant rings! Plus they are mounted on the back which allows the pages to lie flat, giving even more room.
The crystal clear overlay on the front cover, spine and back cover, made it possible for me to customize the binder. And on the inside of both the front and back covers, instead of 1 pocket there are two, giving me a total of four pockets for loose papers! Plus, the binder is made from a nonstick, archival-safe material that will not lift the ink or toner off printed pages. This Avery binder turned out to be exactly what I needed!
Avery Index Maker Clear Label Dividers with Color Tabs
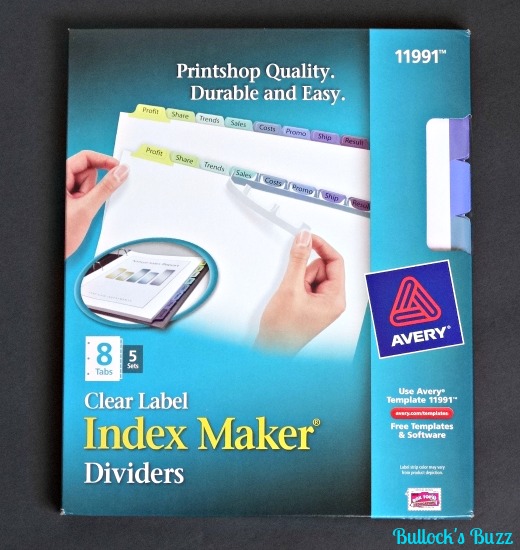

Now that I have somewhere to keep all of my blogging pages securely together, the next step was to label each individual section. The Avery Index Maker Clear Label Dividers with Color Tabs were perfect for this! With five sets of 8 different colored tabs, one pack was all I needed to organize my entire Blogging Binder. Unlike other color label dividers, these can easily be personalized using either an inkjet or laser printer. If you don’t have the proper template on your computer, you can get it for free from the Avery website.

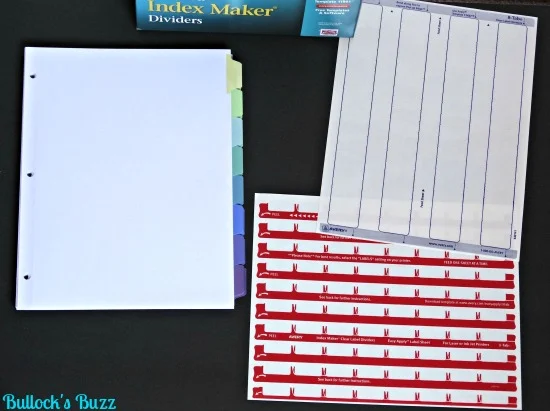
Then, with the EZ Labels, all you have to do is type in your tab titles, print, peel off the label strip, align it to the tabs, and then apply by firmly pressing down. Next you just peel off the cover over the strip and you’re done! And since these dividers come with pre-punched holes, it took seconds to place them in my binder. Now all of the different sections of my Blogging binder are organized by a specific color label divider. clearly labeled by name and color. I like that the tabs are staggered so I can easily see each section at one glance, and each divider sheet is made from a heavy weight paper with reinforced tabs so they should last for a good while.
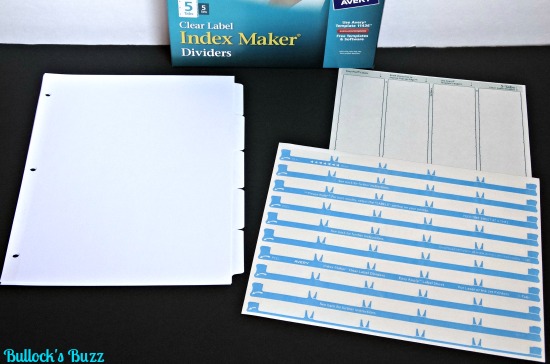
Avery Index Maker Clear Label Dividers with White Tabs
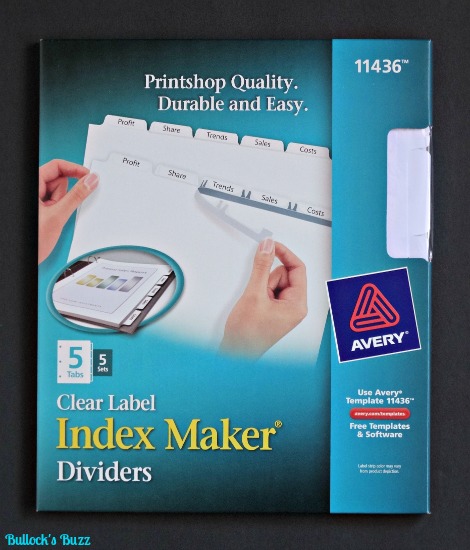

Although I used the color divider tabs for my blogging planner, Avery also makes a white or clear label divider. These dividers come with five sets per package, and have five tabs. They can also be personalized using your printer, and are made of a heavy weight paper with the tabs reinforced so they won’t tear up easily.

Love the binder and tabs? You can get them for incredibly affordable prices at shoplet.com. And did you know that they also carry a great assortment of office stationary and other promotional products for your business that you can have personalized? They even carry certain medical supplies, too!

Now that my blogging planner is complete, blogging has become much more organized and enjoyable. Give it a try! How do you keep your blogging organized? Let me know by leaving a comment below!