
This post may contain affiliate links. I only recommend products I use and love. Read the full disclosure here
Updated on: July 18, 2024
Originally published on: July 9, 2024
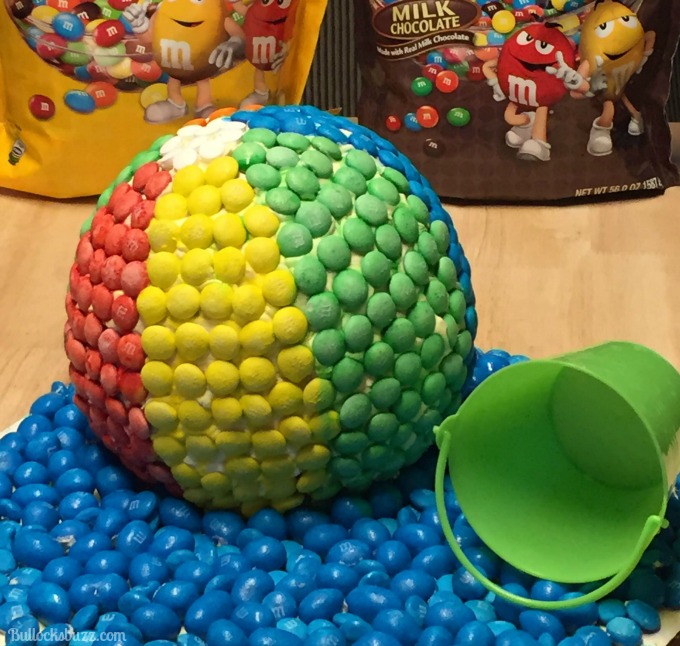
Beach Ball Cake: Have a ball this summer with this fun and delicious M&Ms-covered cake! Colorful and festive, this is the perfect cake for a beach party, a beach-themed birthday party, or other summery fun!
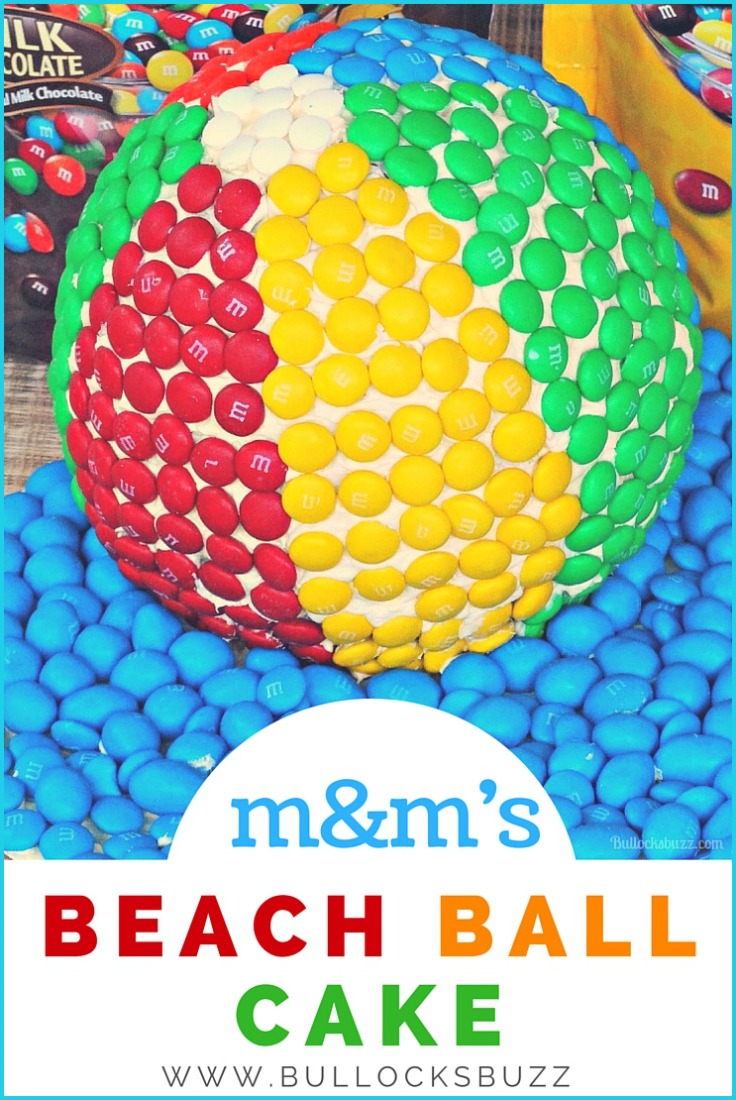

Looking for a fun and creative way to celebrate a beach-themed party or event? Look no further than this delightful Beach Ball Cake recipe! Made with moist vanilla cake, frosted with smooth buttercream, and covered in colorful candies, this cake will not only satisfy your sweet tooth, but also bring a touch of summery cheer to any occasion.
I don’t know about you, but I’ve already been out enjoying the longer days, sunshine, and warmer weather! To me, summer is all about being outdoors, having fun with friends and family, and eating good food at BBQs and group gatherings!
Speaking of good food, just wait until you try this delicious Beach Ball Cake that’s made with everybody’s favorite candy-coated chocolates, M&M’s®!

Perfect for kids and adults alike, this beach ball cake is sure to be a hit at your next beach bash, pool party, or backyard barbecue. So, grab your apron, preheat your oven, and let’s get baking!


How to Make a Beach Ball Cake
While this cake may look hard to make, it’s really not. In fact, this was my first time make any type of cake other than a typical sheet pan cake. If I can do it, you can do it!
Learn how to make this Beach Ball Cake with this simple cake recipe below. You will find the complete list of ingredients and instructions in the free printable recipe card at the bottom of this post.
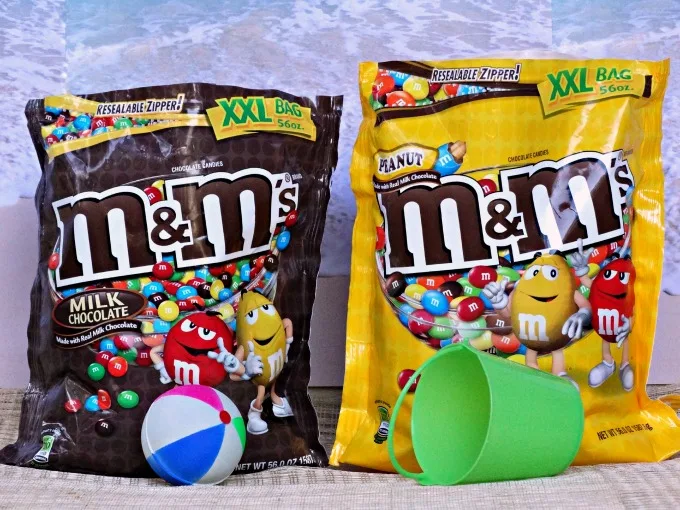
Most of the time less is more, but when making this delectable M&M’s® Beach Ball Cake, the opposite is true! You are going to need a lot of M&M’s® to cover the entire cake, and I found that the 56-ounce XXL bags are the perfect size.
So, are you ready to see how to make this fun-filled, candy-covered Beach Ball Cake? Below are step-by-step instructions along with images so you can see exactly how to make this unique and fun cake.
Kitchen Tools You Will Need
Before you get started, you are going to need a few tools including a special cake pan to make this ball-shaped cake. This pan makes creating a round cake easy-peasy!
Disclosure: This blog post contains affiliate links for products or services I think you’ll like. This means if you make a purchase from one of these links, I may make a small commission at no additional cost to you. I only recommend items I use and love.
- Wilton Sports Ball tin
- 10-inch round cake board
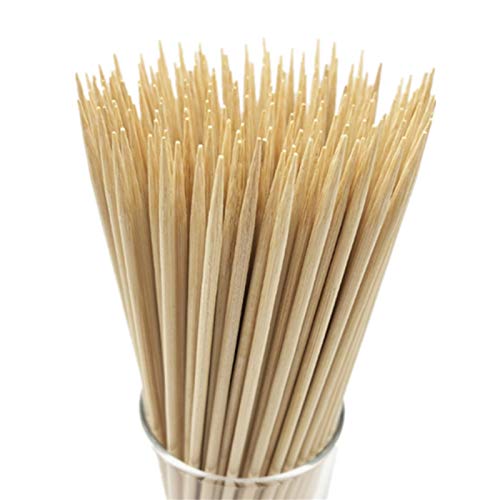
- food-safe wood skewers
- sharp knife – I find that serrated knives cut through cake cleaner than smooth ones.
- icing spatula
- cookie sheet
Please note, the Wilton Sports Ball pans make a 6″ cake – while that may sound small, it is more than you think because the cake is actually 2 six-inch cakes put together. I believe this would be enough for a small party (you can get enough small pieces for 10-12 kids).
This section includes ingredient notes and substitution options. Get all measurements, ingredients, and instructions in the free printable recipe card at the end of this post.
M&MS Beach Ball Cake Ingredients
To make a beach ball cake that’s as tasty as it is visually stunning, you’ll need a few simple ingredients that are easy to find at your local grocery store. The cake itself is made from a classic boxed cake mix to save time, although you can always use your own homemade cake recipe as long as it is a moist cake recipe.
For the frosting, we’ll again be using a store-bought classic vanilla buttercream. You could also make your own homemade buttercream frosting if you’d prefer.
Lastly, to achieve the bright and colorful outside of the cake, you’ll need quite a few classic M&Ms in blue, yellow, green, and red. The best part? You can customize the colors of the M&Ms to make your beachball look any way you’d like!
So let’s dive in and gather our ingredients for this fun and festive summery dessert!
- Your favorite MOIST cake mix – any flavor you’d like, but make sure it is moist
- Whatever ingredients the cake mix calls for (mine needed eggs, water, and vegetable oil).
- Vanilla buttercream frosting
- M&M’s® Original – make sure you get A LOT! I used an XXL (56 oz) bag but had leftovers
- M&M’s® Peanut – *only the blue ones for the water, I used peanut m&ms because they are larger.
- Crisco – for greasing the cake pans
- All-purpose flour – for flouring the cake pans
*You could also buy a bag of only blue M&Ms for the water. However I cannot find the peanut ones by color, only the original ones.
This section shows you how to make the recipe with step-by-step instructions. For the full recipe, see the free printable recipe card below.
Instructions to Make M&M Beach Ball Cake
Below I will guide you through the step-by-step process of making a round cake, assembling it into a beach ball shape, and decorating it with smooth buttercream frosting and colorful M&Ms.
Whether you’re a seasoned baker or a novice in the kitchen, this recipe is a great way to get creative and make a delicious cake that looks as good as it tastes. So, grab your baking tools, and let’s get started!
Step One: Prepare Cake Mix
First, you will need to prepare the molds by lightly greasing and flouring each one. Once the pans are ready, begin making the cake, following the instructions on the box. Although you need to use both boxes, you will have some batter left over. I had enough to make another small sheet cake (another use for all those tasty M&M’s®)!
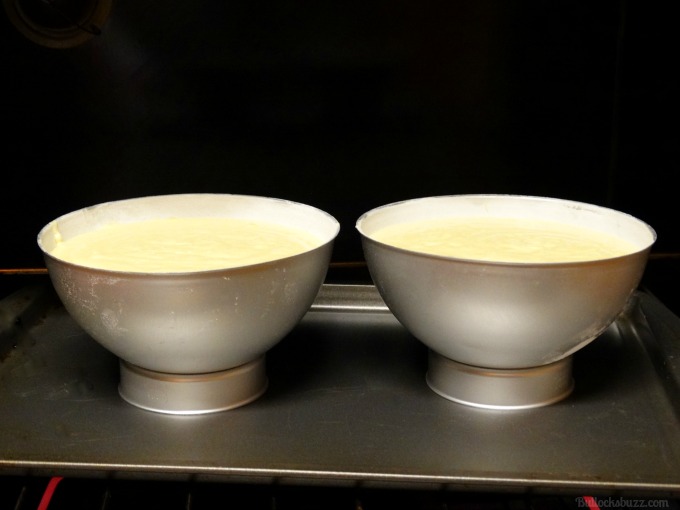

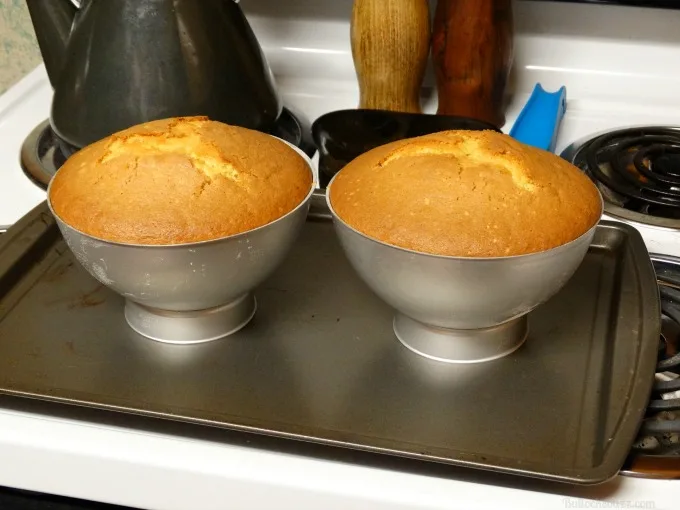
Step Two: Fill Molds and Bake
- Once the batter is ready, fill each hemisphere at least ¾ of the way full (the cakes need to rise to the rim and over a little bit).
- Place both pans in the oven on top of a cookie sheet and bake at 325° for anywhere from 35 to 50 minutes, or until a wooden skewer inserted in the middle of each mold comes out clean.
Pro Tip: These will take longer to bake than a regular sheet cake.

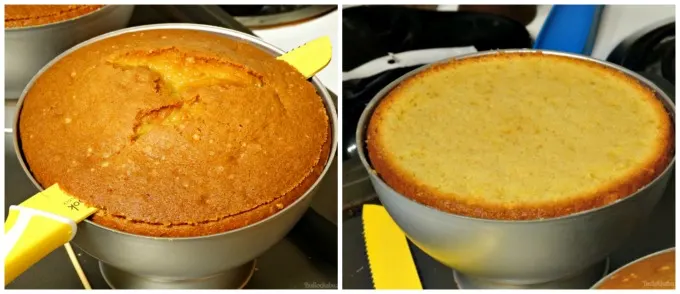
Step Three: Cool and Trim
- Once the cakes are finished, leave them in the molds until they have completely cooled. I chose to refrigerate mine overnight, although you do not have to.
- When the cakes are cool, and before you remove them from the tins, use a serrated knife to slice the tops of each half so that they are even with the rims of the molds.
- You should now have two halves of a ball.

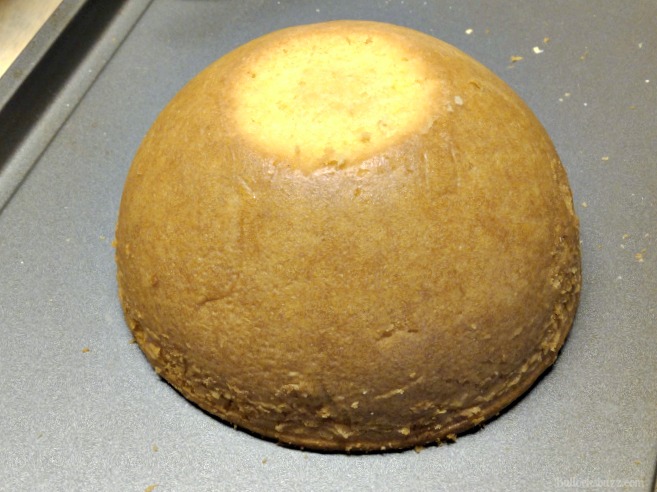
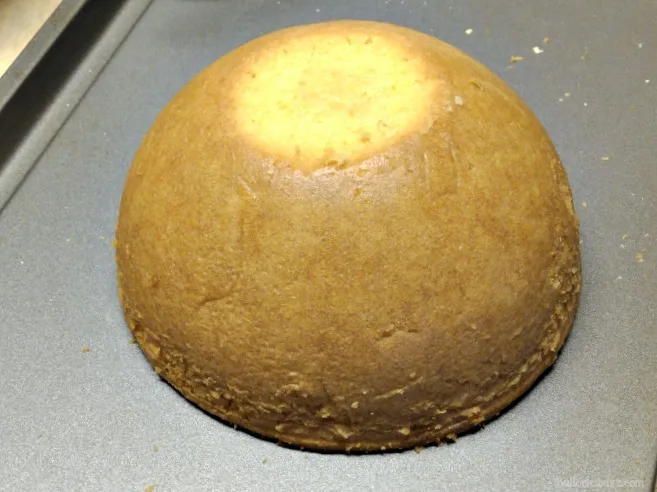
Step Four: Create a Flat Base
- Gently remove the cakes from the tins. Lay them both flat side down.
- Now take one of the halves, and using a bread knife, carefully slice off a little part of the dome in order to create a flat base for the cake to rest on.
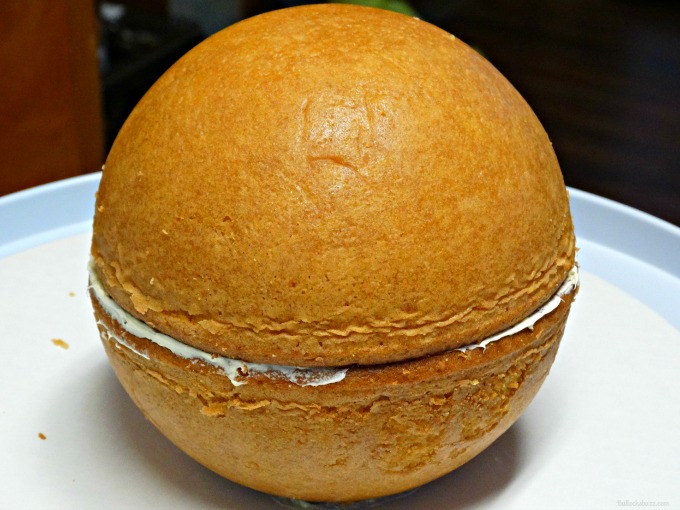
Step Five: Combine Both Sides to Make a Ball
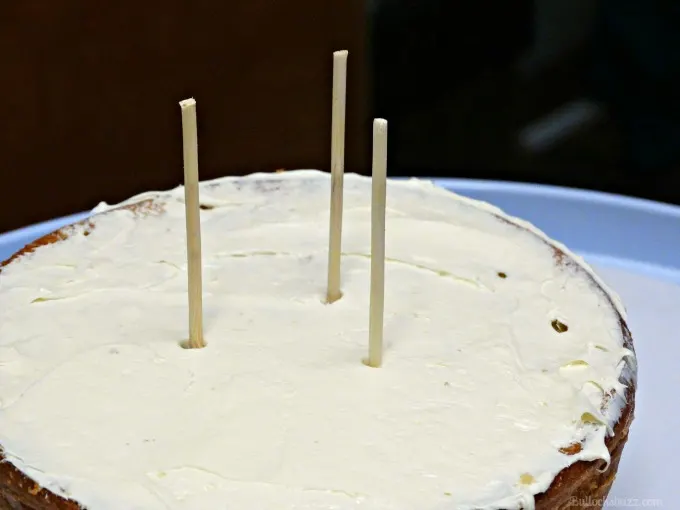
This is a good time, if you have one, to place your cake board on a cake turntable (I actually used a Lazy Susan). First, spread a little bit of buttercream frosting on the cake board to help hold things in place.
I choose to insert three skewers into the middle of the bottom half of the cake to help hold the two halves together. This is completely optional, but I find that they hold the two sides together better than frosting alone. If you choose to add them, PLEASE make sure everybody knowns they are in there so there will not be any surprises or injuries.
- Next, take the half that you just trimmed, and position it on top of the buttercream, trimmed side down.

- Next, spread a layer of buttercream on top of the half you just placed on the cake board. Don’t go crazy with it, just add enough to effectively hold the two halves together.
- Take your time and gently position the other half of the cake on top, and carefully press them together until a sphere is formed. Be extra careful if you have skewers so you don’t break the cake.

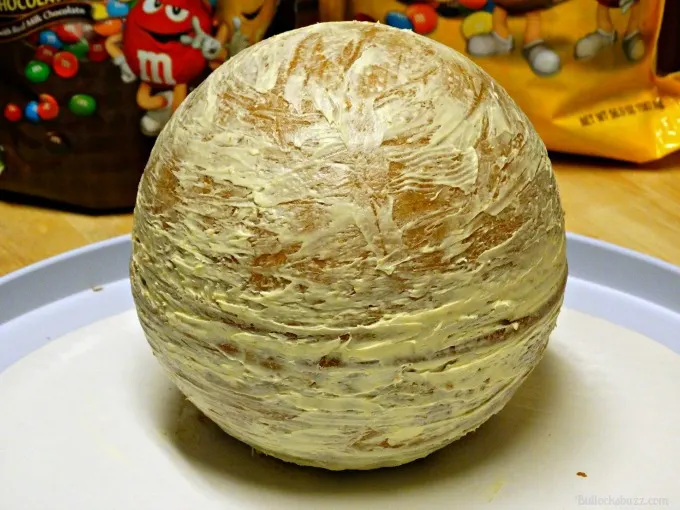
Step Six: Add a Crumb Coat
- Once you have your round cake assembled, take some frosting and give the entire cake a thin crumb coat. This is basically a thin layer of frosting that works to hold in most of the crumbs so you will have a nice, smooth surface to frost.
Step Seven: Cool to Allow Frosting to Set
- Do not skip this step! After applying the thin crumb coat, place the cake in the refrigerator for about 45 minutes so the frosting will set.

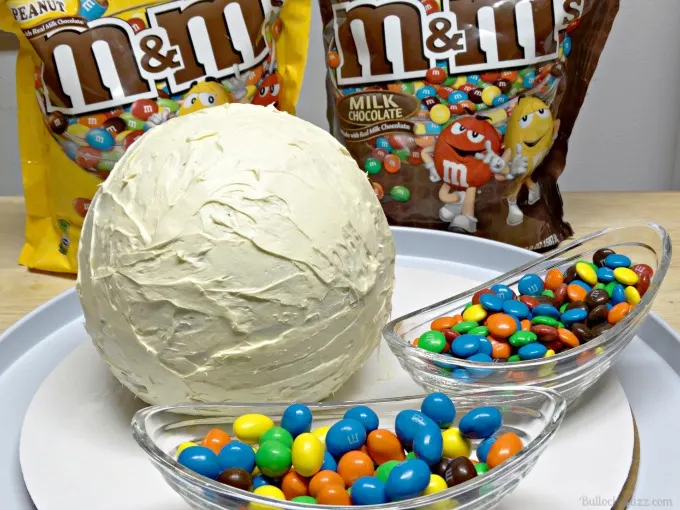
Step Eight: Frost
- Once the crumb coat is nice and firm, add another layer of buttercream all around the cake, making sure it is thick enough to hold the candies but not so thick that the candies slide down the frosting.
Next comes the fun part…adding the M&M’s®! This is also the part that will take the longest – and the most patience!
Pro Tip: I used the M&M’s® Original for the entire cake and then used the M&M’s® Peanut for the ‘water’ around the cake.

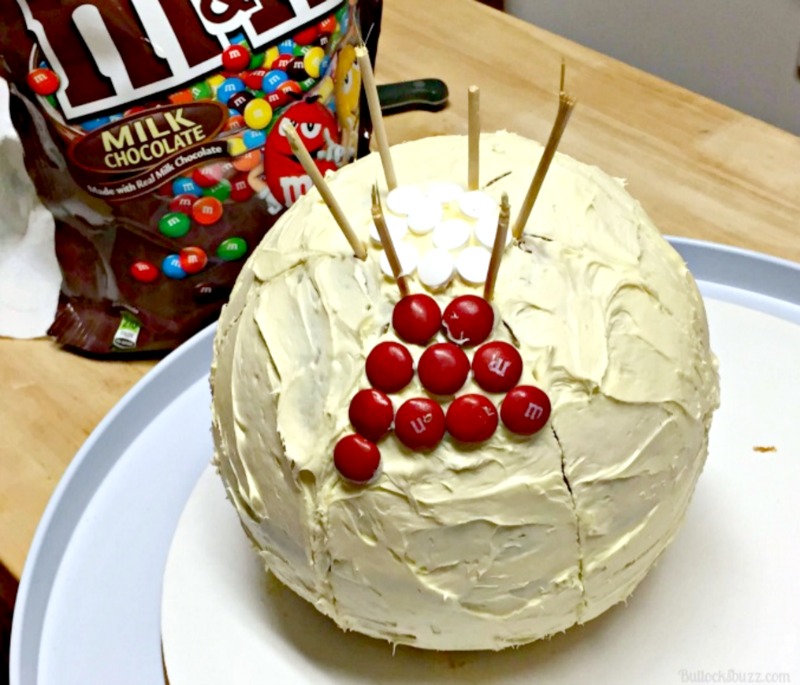
Step Nine: Make Guidelines
In order to get the beachball pattern correct, use a skewer to make guidelines in the frosting. Trust me, the whole process will go much quicker and easier if you do!
- First, make a small circle on the top of the ball-shaped cake with whatever color M&M’s® you choose. I used some white candies I had left over from Valentine’s Day, but you can use any color you’d like.
- Next, place six toothpicks, equal distance apart, around the outside of the candy circle.
- Now, using another skewer or toothpick, ‘draw’ a gently curving line in the icing running from each toothpick down to the bottom of the cake.
- Once you have the guidelines drawn, remove the toothpicks.

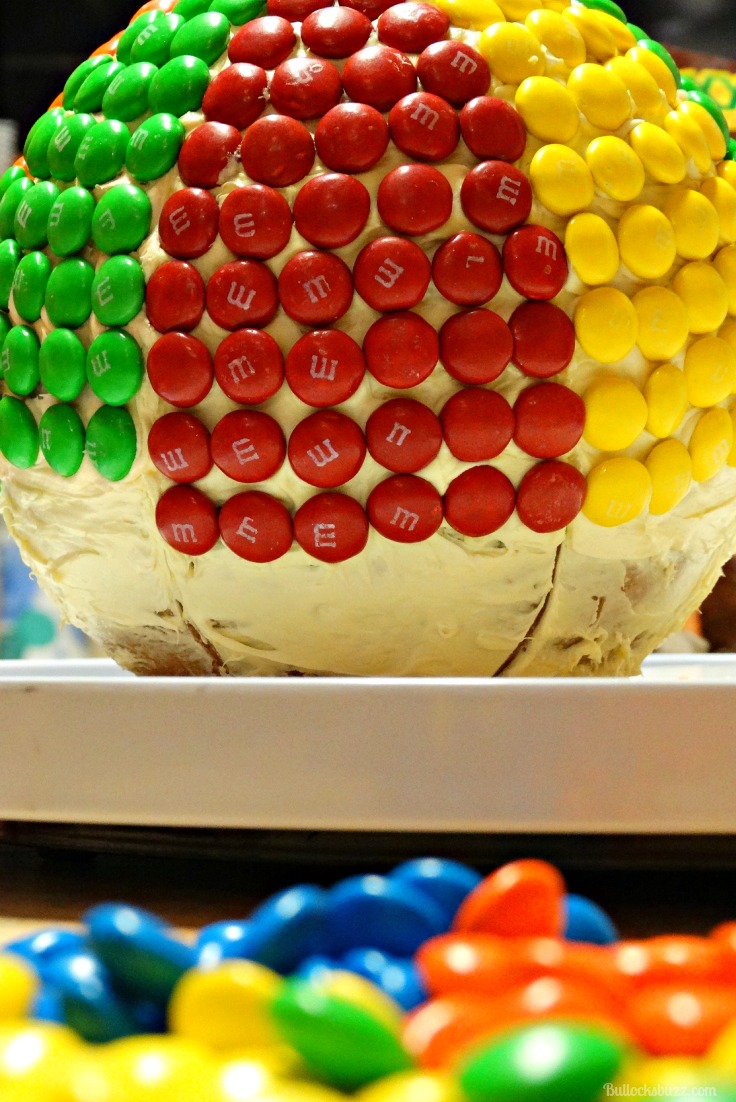
Step Nine: Add the Candy
- Begin adding the colored M&aM’s®.
PRO TIP: At first I tried filling in one color at a time (like in the above picture), but I soon realized that was not going to work due to spacing. So instead, I started at the top of the cake and added one row (not column) at a time, working my way around the circumference of the cake, and switching colors as I went.
So in other words, if you begin the row with red when you get to the next section switch to the next color, and then so on around the entire beachball cake. Continue in that fashion until the cake is finished, starting at the top of the cake and working your way around and down.

- Once the cake is completely covered, the last step is to add the “water” around the cake. Use the blue M&M’s® Peanut for this, and fill in any holes with the blue M&M’s® Original.
Pro Tip: spread a thin layer of frosting around the entire cake board, so the M&M’s will remain in place instead of rolling all around.
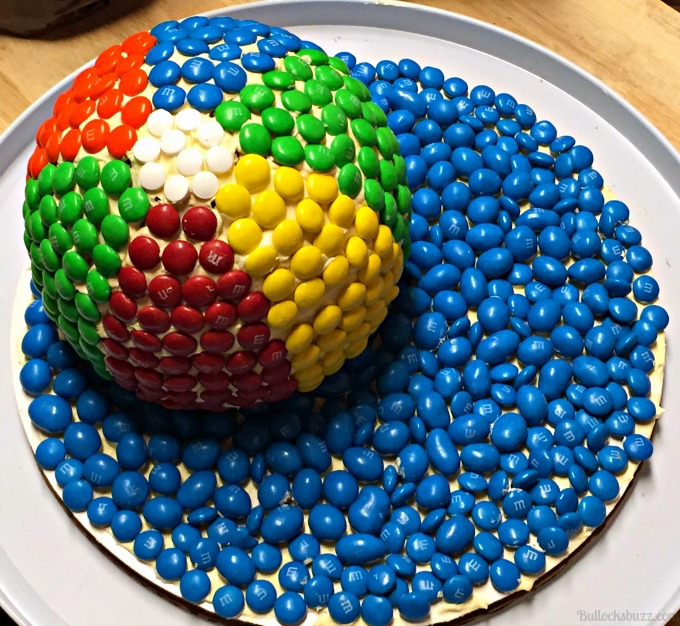

- Once the cake and ‘water’ is finished, store the cake in a cool, dry place (not the fridge) for a few hours or even overnight so the frosting and candy will set.
Pro Tip – DO NOT place the cake in the fridge or the M&MS will lose their sheen. Yes, I learned this the hard way!

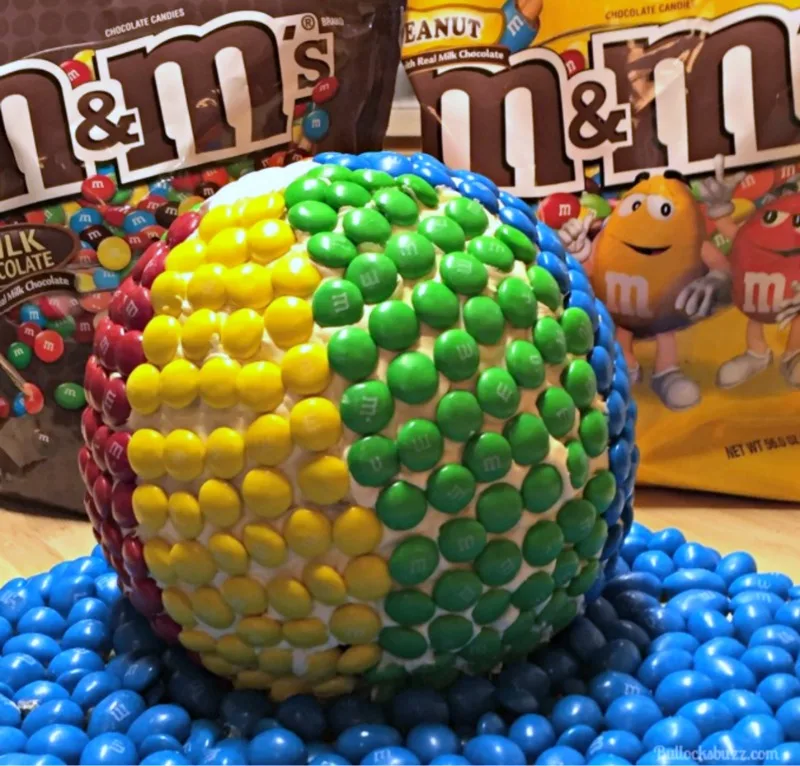
So there you have it – a fun and delicious M&M’s® Beach Ball Cake that is perfect for get-togethers, birthday parties, BBQs, and all sorts of summertime fun!


Show Me What You’ve Got!
I’d love to see how your 4th of July Red & Blue Jell-O Ice Cubes turn out! Share your festive drinks on social media and tag me. Let’s celebrate together!
Looking for more deliciously fun and easy summer recipes?
Check out these other festive treats to make your celebrations even more special!
- No Churn Rocky Road Ice Cream: Easy Homemade Ice Cream Recipe
- Ocean Water Cookies
- Easy Dirt and Worms Ice Cream Sundae Dessert Recipe
Love this Beach Ball Cake recipe? Subscribe to my newsletter (form in footer) for more fun and festive recipes delivered straight to your inbox. Let’s make every celebration a delicious one!
Printable Recipe Card Beach Ball Cake Recipe
M&M’s® Beach Ball Cake

Get ready to have a BALL this summer with this fun and delicious M&Ms -covered Beach Ball Cake! Colorful and festive, this is the perfect cake for a beach party or other summery fun!
Ingredients
- 2 boxes of your favorite flavor, MOIST cake mix
- Whatever ingredients your cake mix calls for
- 2 containers vanilla buttercream icing
- 2 XXL bags of M&M's® (M&M's® Original and M&M's® Peanut)
- 2 tbsps. all purpose flour to flour cake pans
- Crisco - to grease cake pans
Instructions
- Prepare the cake molds by greasing and flouring.
- Prepare cakes following instructions on the boxes.
- Once the batter is ready, fill each cake pan hemisphere at least 3/4 of the way full (the cakes need to rise to the rim and over a little bit).
- Place both pans in the oven on top of a cookie sheet and bake at 325° for anywhere from 35 to 50 minutes, or until a wooden skewer inserted in the middle of each mold comes out clean. *These do take longer than a regular sheet cake.
- Once the cakes are finished, leave them in the molds until they have completely cooled.
- Once cooled, and before you remove cakes from the tins, use a serrated knife to slice the tops off each half so that they are even with the rims of the molds.
- Gently remove the cakes from the tins. Lay them both flat side down.
- Now take one of the halves, and cut off a little part of the dome in order to create a flat base for the cake to rest on.
- Spread a little bit of buttercream frosting on the cake board, then take the half that you just trimmed the dome and position it on top of the buttercream with trimmed side down. This will act as a glue to hold the cake in place.
- Now spread a layer of buttercream on the top of the half you just placed on the cake board. Not tons, just enough to act as glue. At this point I also inserted 3 dowels cut to the size I needed to act as extra support to hold the two halves together.
- Gently position the other half of the cake on top, and carefully press them together until a sphere is formed.
- Once you have the sphere assembled, take some frosting and give the entire cake a thin crumb coat.
- Then place the cake in the refrigerator for about 45 minutes so the crumb coat will set.
- Once the crumb coat is nice and firm, add another layer of buttercream all around the cake, making sure it is thick enough to hold the candies.
- Begin decorating by making a small circle on the very top side of the ball with whatever color M&M's® you choose (I actually used some white candies).
- Next, place six toothpicks, equal distance apart, around the outside of the circle you just made. These will act as your guidelines for each candy color.
- Using another toothpick, 'draw' a gently curved line in the icing running from each toothpick down to the bottom of the cake (using these guidelines to mark each section makes it much easier to get the proper design). Then remove the toothpicks.
- Starting at the top of the cake and working your way around and down, begin adding each color of M&MS. Add one row at a time, working your way around the circumference of the cake, switching colors as you go. So in other words, if you begin the first, top row with red, when you get to the next section, switch to the next color, and so on all the way around the cake. Continue in that fashion, working from the top to the bottom, until the entire cake is finished.
- Once the entire cake is finished, it's time to add the water. Do this by adding a thin layer of frosting on the cake board all around the cake. This will be the glue to hold the blue M&Ms "water" in place.
- Then cover the frosted cake board with the blue candies. Make sure there are no white spots showing through.
- Once finished, allow the frosting to set before serving.
Making the Sphere-Shaped Cake
Decorating the Cake
Notes
* If you choose to use the wooden dowels, remember they are there before cutting into the cake.*
Do not place the finished cake in the refrigerator as this will cause the M&MS to loose their sheen. Instead, store cake in a cool, dry place.
Recommended Products
As an Amazon Associate and member of other affiliate programs, I earn from qualifying purchases.


Nutrition Information:
Yield:
12 slicesServing Size:
1 sliceAmount Per Serving: Calories: 453Total Fat: 7gSaturated Fat: 3gTrans Fat: 0gUnsaturated Fat: 3gCholesterol: 11mgSodium: 670mgCarbohydrates: 92gFiber: 2gSugar: 48gProtein: 5g
Nutritional information is automatically calculated with ingredients and serving size and may not be accurate. Please always double check with your own nutritional apps as well.
Do you have a favorite recipe using M&M’s® that you like to make? Tell us about it in the comments below!
Cindy deRosier
Thursday 27th of July 2017
I'm the Editor of Fun Family Crafts and wanted to let you know that we have featured your beach ball cake! You can see it here:
https://funfamilycrafts.com/mm-beach-ball-cake/
If you have other kid-friendly craft tutorials, we'd love for you to submit them. Thanks for a great project idea!
Alaina Bullock
Friday 28th of July 2017
Hi Cindy! Thank you! I do have some more that I'd be happy to submit! I'll do so this weekend. Thanks again!
Debbie
Sunday 21st of May 2017
What an adorable idea! What size were your hemisphere pans? I'm going to try this for my grandson's birthday. Thank you for the tutorial!
Alaina Bullock
Tuesday 23rd of May 2017
Thanks Debbie! The pans I used were 6" - small enough to make it easy, but surprisingly plenty of cake! You can find the one I used here: https://amzn.to/2qdgXsy (this is an affiliate link so if you make a purchase, I will make a small commission but at no extra charge to you).Let me know how it turns out - love to see a pic!
Lauren @ Mom Home Guide
Tuesday 2nd of February 2016
This beach ball cake is so cute -- such a clever idea! :)
Alaina Bullock
Tuesday 2nd of February 2016
Thank you!! It was much easier than it looks!
Val
Wednesday 12th of August 2015
Can't wait to try this, as making red frosting for the ball is a pain. Question: How did you cut it?
AlainaBullock1
Thursday 13th of August 2015
I would love to see how yours turns out! As far as cutting, well that was interesting to say the least. LOL! We started to cut into it just like a regular cake but it didn't look as though that was going to work out too well. So we wound up slicing a bit off the top to locate the dowels, removed those and then separated the cake back into 2 half spheres. We then laid each half on a large plate, and cut it into slices from there. I'm sure there is an easier way, but this being my first time to make a sphere cake the entire process was a learning experience. Once you make yours, please let me know if you figure out an easier (and less messy) way!
Stephanie
Friday 3rd of July 2015
This cake is amazing, Alaina! So perfect for all those summer parties!
AlainaBullock1
Tuesday 7th of July 2015
Thank you!!