This post may contain affiliate links. I only recommend products I use and love. Read the full disclosure here
Updated on: December 3, 2021
Originally published on: December 19, 2018
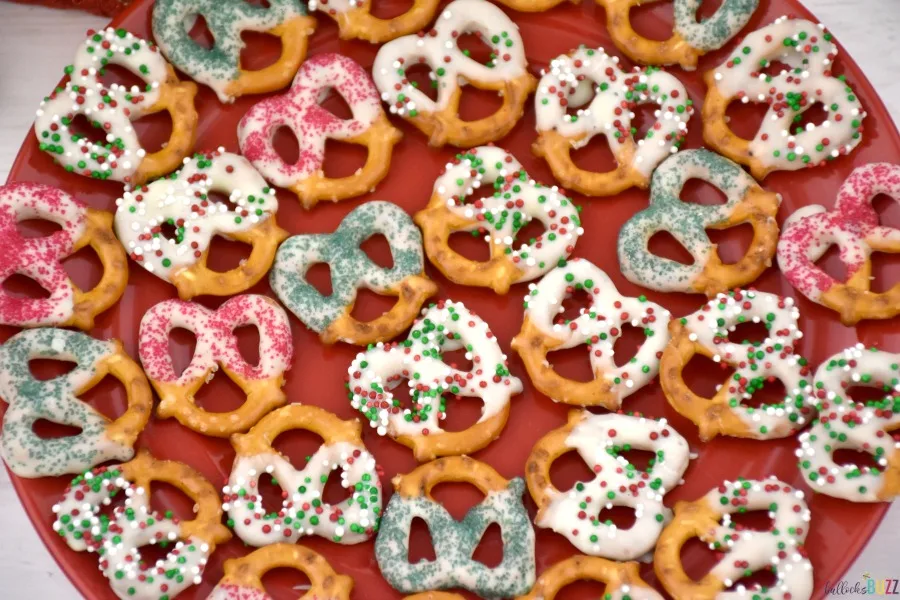
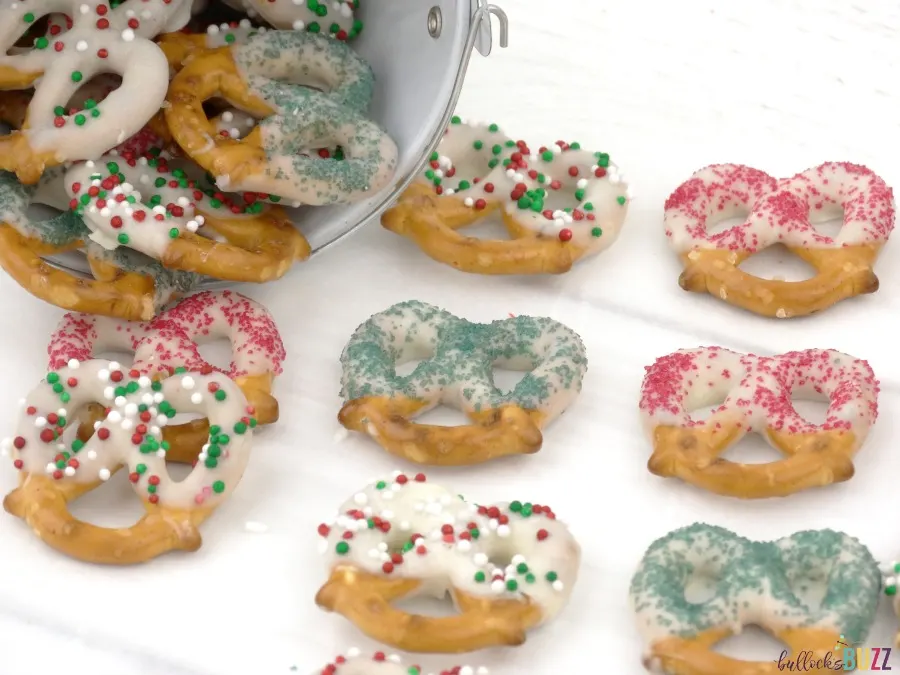
These Christmas White Chocolate Covered Pretzels are so delicious and easy to make, it’s no wonder they are a classic! Add some colorful sprinkles and you’ve got a festive treat everyone will love to eat!
Hello peeps! Today I am so excited to share a super easy and incredibly tasty no-bake holiday treat that is fun, inexpensive, and so easy to make that even the kids can help — Christmas White Chocolate Covered Pretzels!
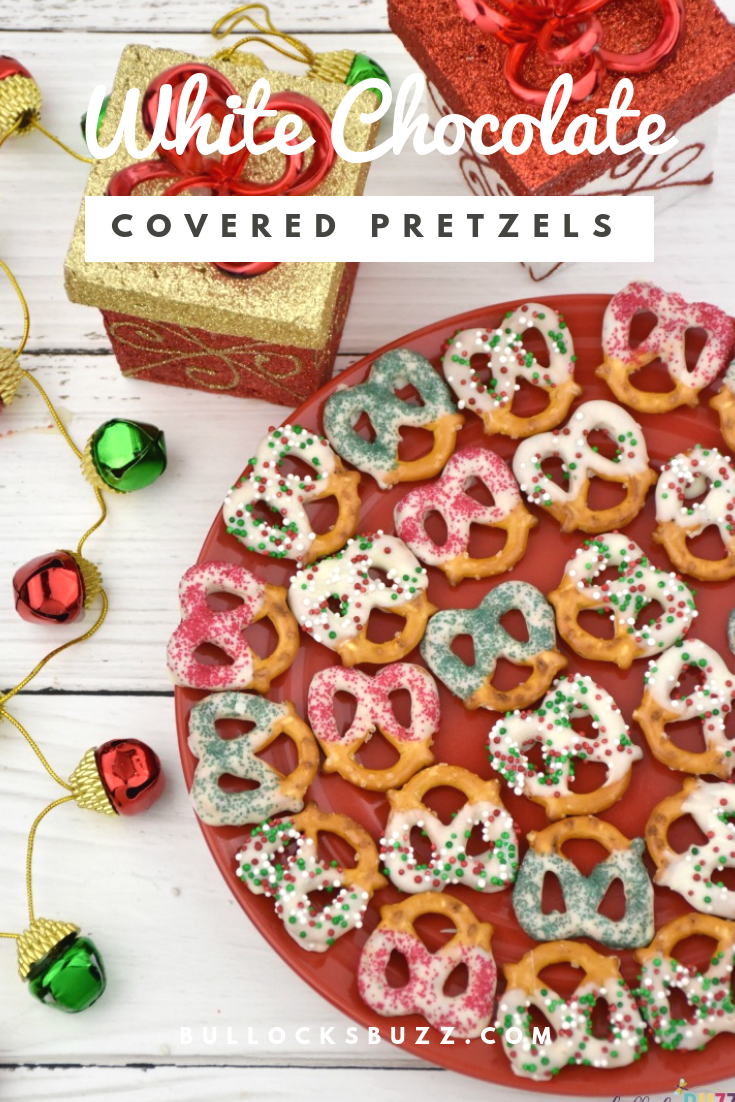

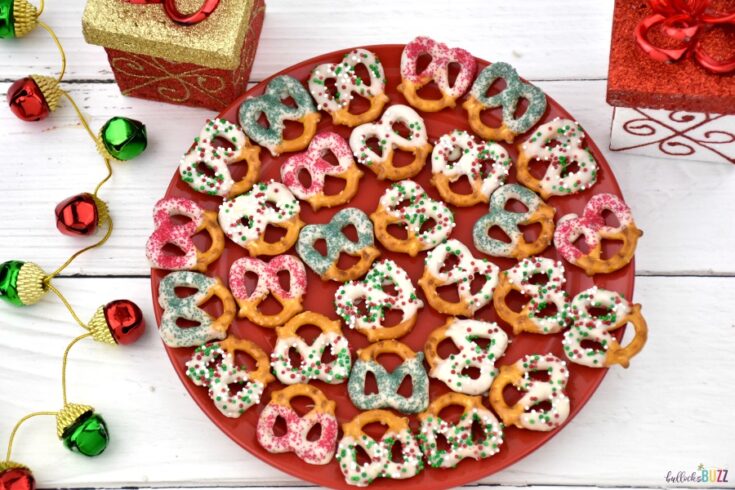
Ideal as a snack, dessert, or holiday party favor, these white chocolate-dipped pretzels for Christmas are the perfect combination of salty and sweet, crunchy and creamy. Plus, they make a great homemade gift for teachers, neighbors, co-workers and even friends and family. Pair them with White Chocolate Toffee Bark for an extra sweet gift!
No baking is required for these colorful holiday chocolate-dipped pretzels and they come together in just minutes! All you have to do is melt, dip, sprinkle and then let the chocolate set. It doesn’t get any easier than that!


If you’ve never made white chocolate covered pretzels, you must – seriously! They are that good!
Christmas White Chocolate Covered Pretzels Recipe
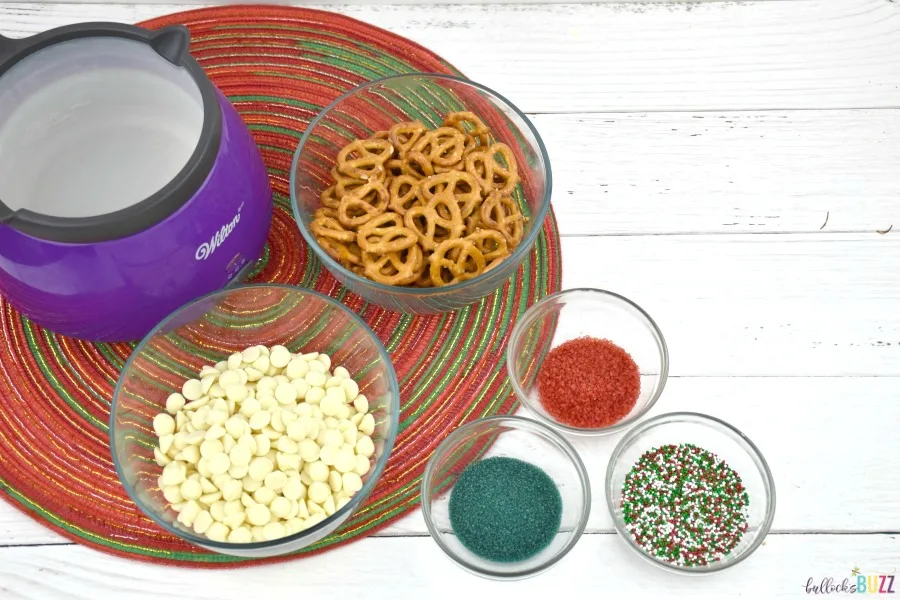
Ingredients for Christmas White Chocolate Covered Pretzels
- bag of pretzels
- white chocolate chips – I prefer to use Ghirardelli as they melt much smoother and easier
- colorful Christmas sprinkles
- coconut oil (optional – helps make chocolate even smoother)

Instructions to Make Christmas White Chocolate Covered Pretzels
Begin by melting your chocolate according to the instructions on the bag. I love using my Wilton Candy Pot – as opposed to the microwave or double boiler. It makes it soooo much easier, and keeps the chocolate from setting while dipping!
Meanwhile, line two baking sheets with wax or parchment paper or use a silicone baking mat.
Working with one pretzel at a time, dip the pretzel into the melted chocolate, then gently tap and shake to remove excess coating.

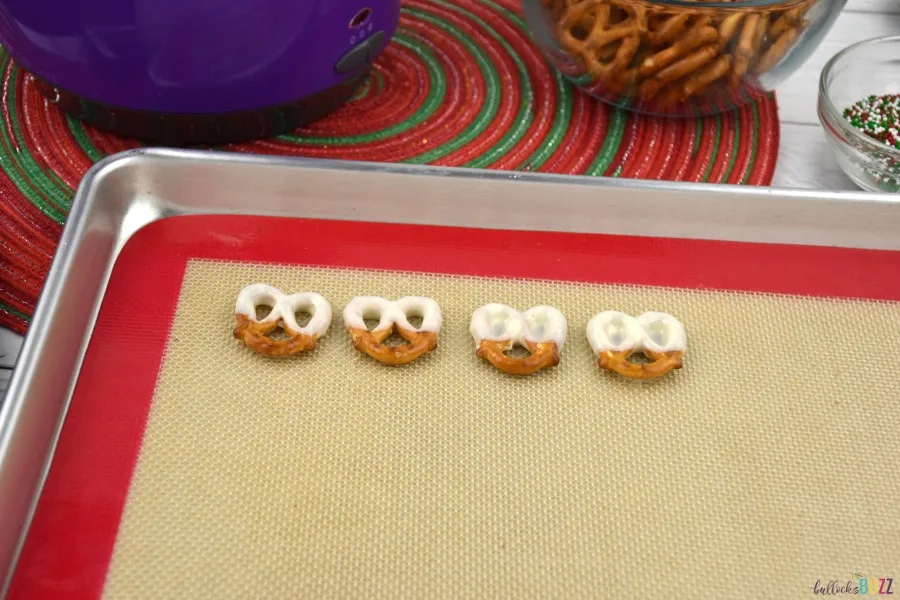
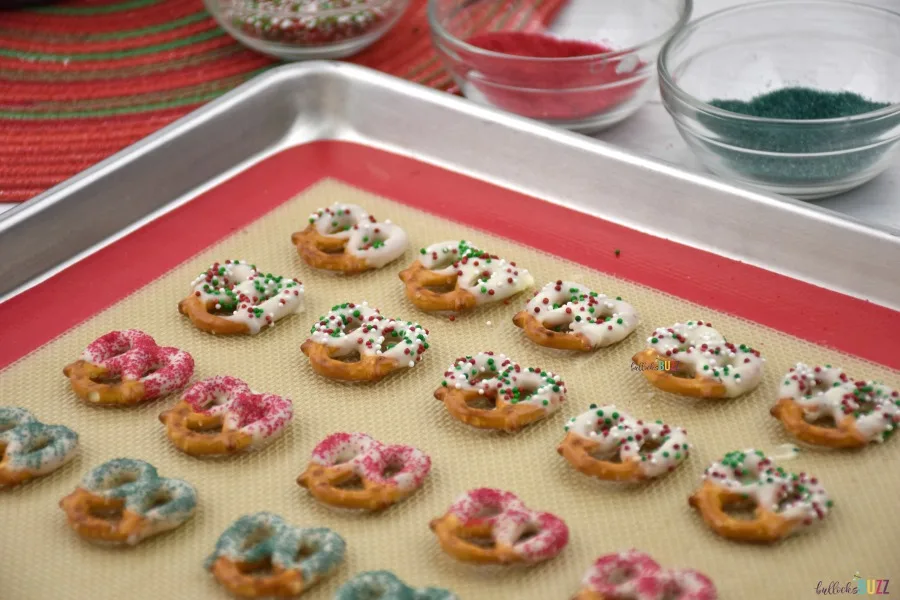
Immediately sprinkle with the holiday sprinkles, then place on the wax paper. Repeat with the remaining pretzels.
Once all pretzels are dipped and decorated, allow the chocolate to set. This takes around 20 to 25 minutes. If you are in a hurry, you could always place them the fridge or freezer to set.

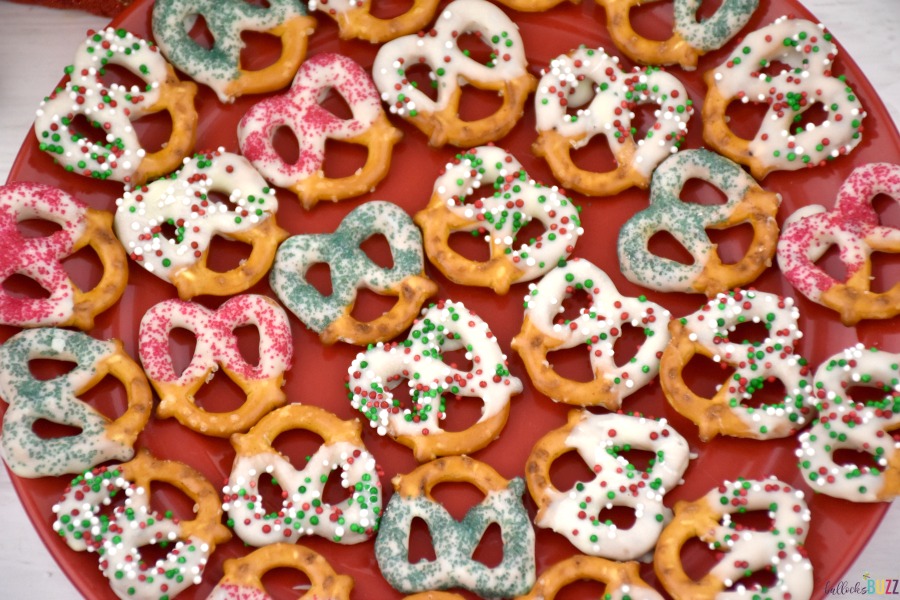
And that’s it! Now all that’s left to do is enjoy!!
White Chocolate Covered Pretzels for Christmas can be stored in an airtight container for up to two weeks.
More Reasons to Love Chocolate Covered Pretzels
Chocolate-covered pretzels not only taste great, but they are easily customized for any holiday or special occasion. All you need are some holiday-themed sprinkles, chocolate and pretzels and you’ve got a cute and delicious treat that’s perfect for New Year’s Eve, Halloween, Valentine’s Day or even the 4th of July!
Plus they are incredibly versatile. You can use white chocolate or dark, sweet or semi-sweet, or even use flavored candy melts or almond bark instead.

And the possibilities for toppings are practically endless. They taste great covered with nuts, candy bits, or any version of sprinkles you like!
And don’t worry, Total Shape will give you many great workout ideas if you eat too many. 😉
I hope you like this White Chocolate Covered Pretzels recipe! Be sure to follow us on Pinterest for more great holiday recipes, crafts, and everyday recipes! And use the social sharing buttons below the post title to share with friends and family!
Do you have a favorite Christmas recipe? Leave a comment below, discover more crafts and recipes on Instagram or Facebook.
Christmas White Chcocolate Covered Pretzels
These Christmas White Chocolate Covered Pretzels are so delicious and easy to make, it's no wonder they are a classic! Add some colorful sprinkles and you've got a festive treat everyone will love to eat!
Ingredients
- 1 bag pretzels
- 1 bag white chocolate chips
- 1/4 cup holiday sprinkles
Instructions
- Melt chocolate according to the instructions on the bag.
- Line a baking sheet with wax or parchment paper or a silicone baking mat.
- Working with one pretzel at a time, dip the pretzel into the melted chocolate, then gently tap and shake to remove excess coating.
- Immediately sprinkle with the holiday sprinkles.
- Place decorated pretzel on the wax paper to set, approximately 30 minutes.
- Repeat with remaining pretzels.
Notes
Finished pretzels can be stored in an air tight continaer for up to two weeks.
Nutrition Information:
Yield:
4Serving Size:
1 gramsAmount Per Serving: Calories: 142Total Fat: 7gSaturated Fat: 2gTrans Fat: 0gUnsaturated Fat: 4gCholesterol: 2mgSodium: 98mgCarbohydrates: 20gFiber: 0gSugar: 12gProtein: 1g
Nutritional information is automatically calculated with ingredients and serving size and may not be accurate. Please always double check with your own nutritional apps as well.
Looking for some more easy Christmas recipes? I’ve got you covered! Check out my…
Other Easy Christmas Treats
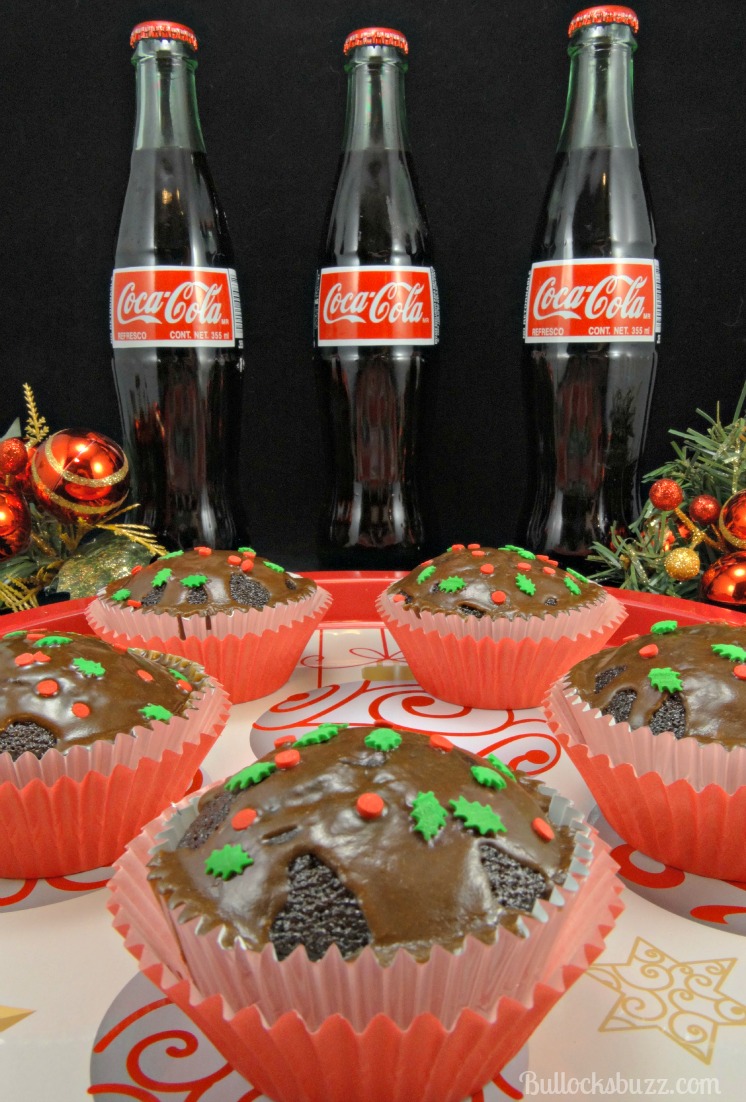

Coca Cola Cupcakes

Soft and Chewy Eggnog Cookies