This post may contain affiliate links. I only recommend products I use and love. Read the full disclosure here
Updated on: December 23, 2021
Originally published on: December 23, 2021
I love this time of the year! There are so many fun crafts and delicious foods to make, I rarely know where to start! I had so much fun making these two Grinch Christmas Ornaments, I just had to make some more! So today I decided to make some more Christmas ornaments using the crinkled shredded paper.
You know what I love best about these DIY Christmas ornaments? They are quick, easy and inexpensive!


Although I used my Cricut Explore Air, these ornaments will turn out just as cute using craft paint, markers and even buttons, pom-poms and wiggly eyes!
If you are using a die cutting machine, I let you know below where you can find the SVG files I used.
So, are you ready to see how to make these incredibly cute DIY Christmas Ornaments?
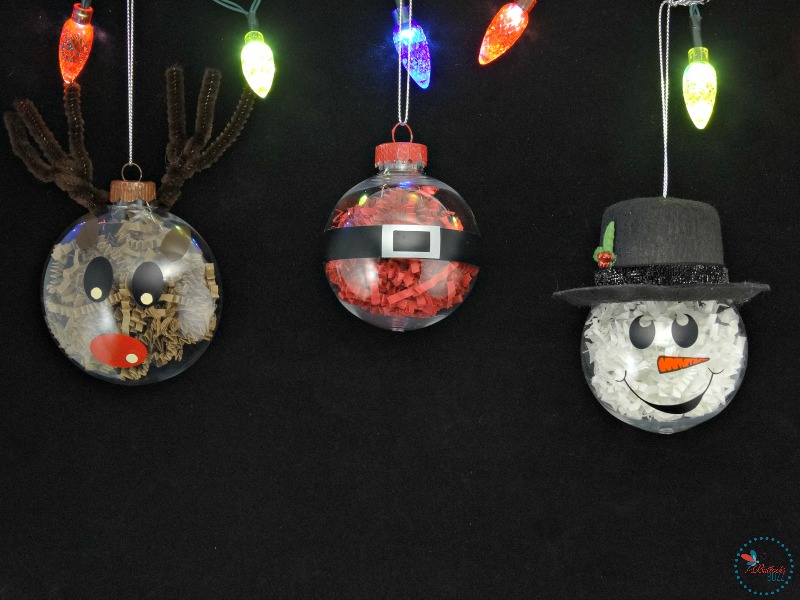
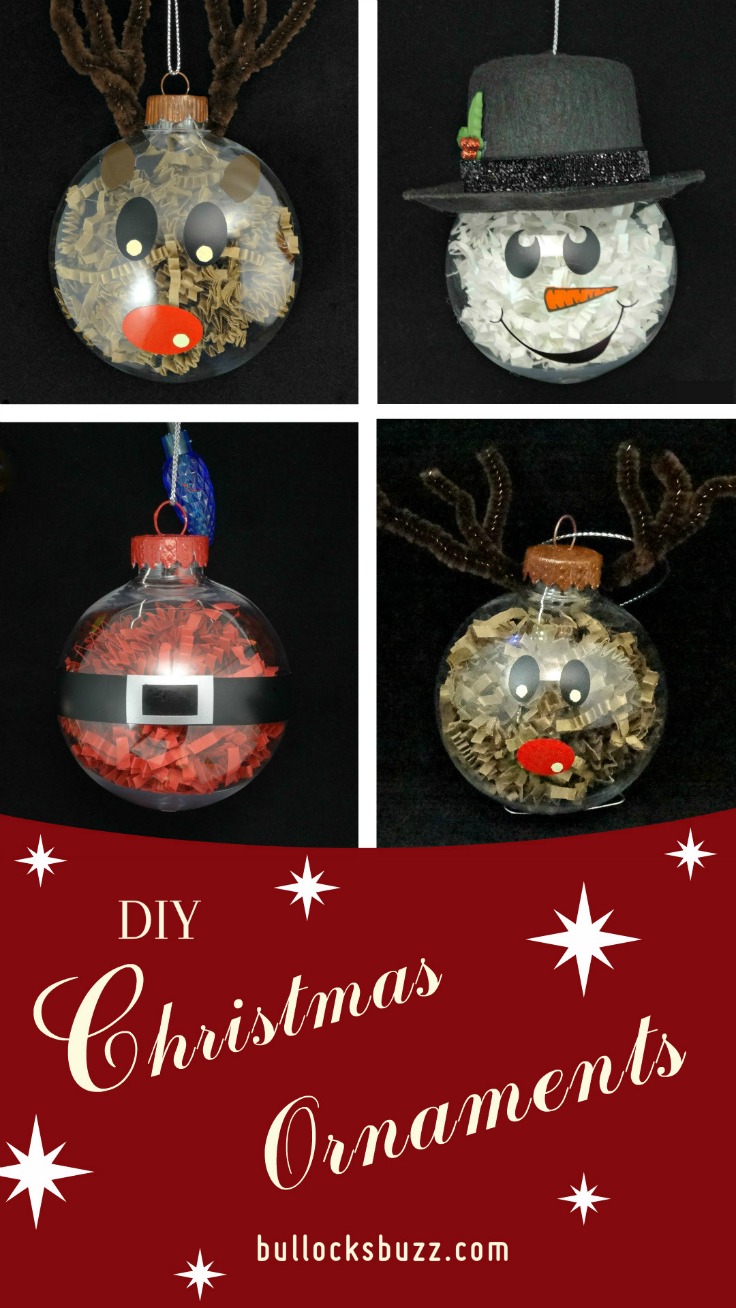
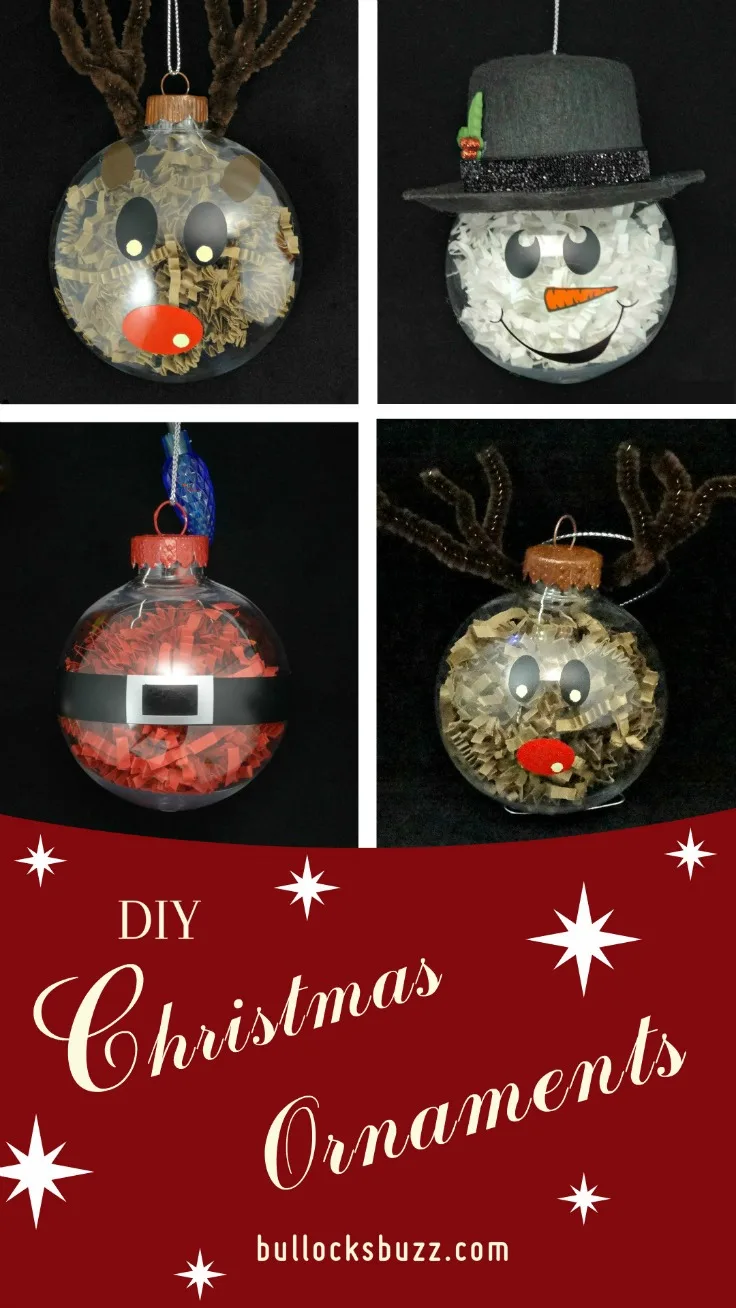
How to Make DIY Christmas Ornaments – Crinkle Paper Ornaments
Each of these DIY Christmas Ornaments are made pretty much the same way. The only thing that differs is the colors, facial features, and extras. All of them will look great on the tree, and they also make a wonderfully unique gift! Best of all, they are so easy to make the whole family can help. It’s a great way to make special holiday memories together!

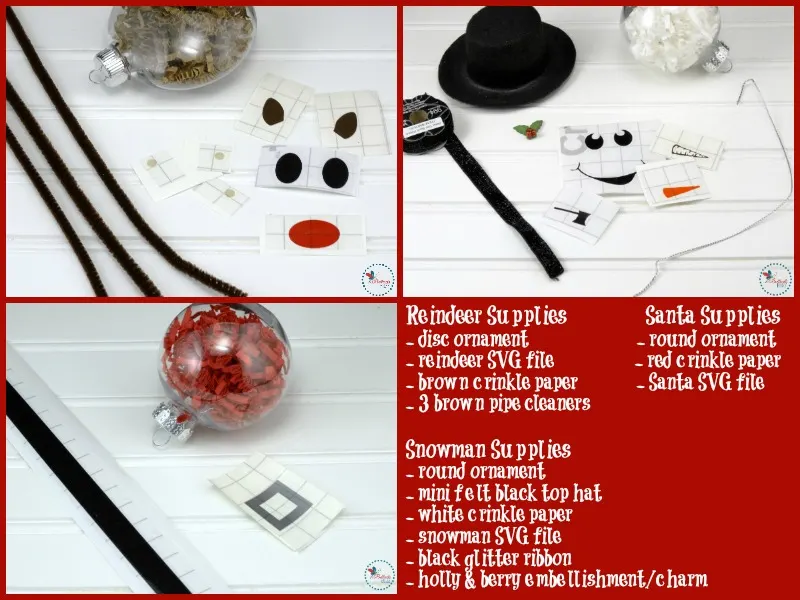
Supplies You Will Need to Make Crinkle Paper DIY Christmas Ornaments
Disclosure: This blog post contains affiliate links for products I think you’ll love. If you make a purchase from one of these links, Bullock’s Buzz will make a small commission at no additional cost to you. As always, I only recommend products that I have (or have had), use, and love.
- Snowman svg file (I found mine on Etsy)
- Reindeer svg file (also from Etsy)
- Santa Belt svg file (this one I made, and you can get it HERE)
- Cricut or another die cutting machine
- Vinyl such as Oracle 651 in red, orange, cream, brown, black and silver
- 12 x 12 Cutting mat
- Transfer tape
- Clear, plastic disc ornaments
- Clear, plastic round ornaments
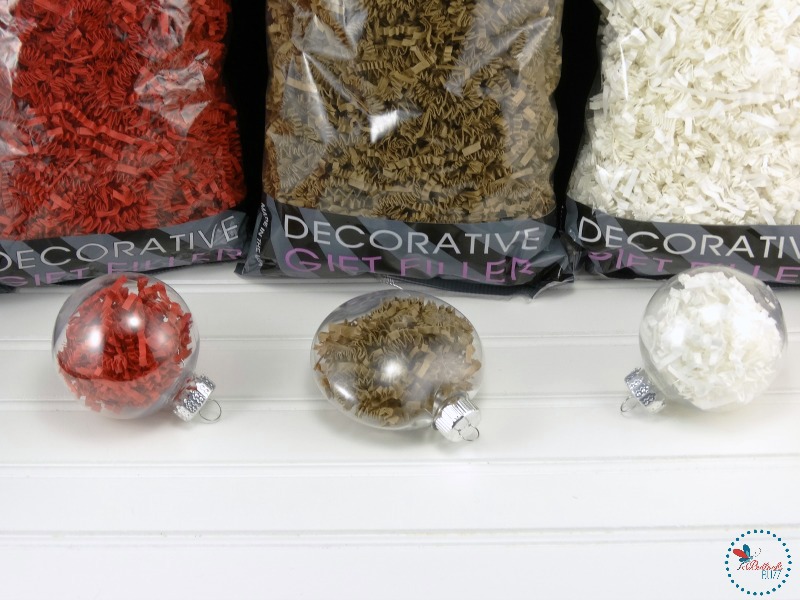
- Red crinkle cut paper shreds (like those you find in Easter baskets)
- Brown crinkle cut paper shreds
- White crinkle cut paper shreds
- Red craft paint
- Brown craft paint
- Metallic Silver craft cord – to make the loops for hanging the ornaments
- Hot glue gun and glue sticks
For the Reindeer
- Brown pipe cleaners for antlers
For the Snowmen
- Mini black felt top hat for the snowmen (I found mine at Hobby Lobby)
- Tiny holly and berry charms/embellishments (Hobby Lobby) Similar to these
- Black Glitter Trim Ribbon 3/8″ (Hobby Lobby) Similar to this
If you like to shop on Amazon, you can purchase many of these supplies by clicking them in the above list. These are affiliate links so if you make a purchase using them, I’ll make a small commission at no extra cost to you. You can also find many of these supplies at any craft store, and even some at dollar stores.
Instructions to Make the DIY Christmas Ornaments
Making these Crinkle Paper Christmas Ornaments is pretty straightforward. The steps for these DIY Christmas ornaments are pretty much the same until you get to the unique features of each one.
STEP ONE – CLEAN ORNAMENTS
- Before getting started, wash the outside of both ornaments to remove any fingerprints, oil or other dirt.
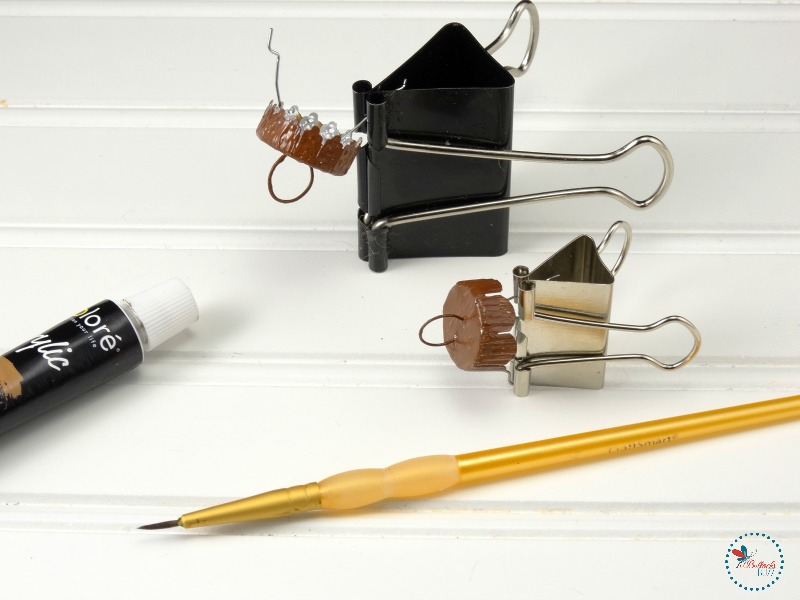
STEP TWO: PAINT THE CAPS
- Next, remove the silver caps from you ornaments and paint them brown for the reindeer, and red for the Santa’s.
- There’s no need to paint the Snowman lids since the hats will cover them. Tip: I like to use a paperclip to hold them while I paint them and while they dry!

STEP THREE: FILL ORNAMENTS
- While the lids are drying, fill each ornament with the crinkle paper shreds using brown for the reindeer, white for the snowmen and red for the Santa’s.

STEP FOUR – OPEN AND SIZE SVG FILE
Next, if you are using a die cutting machine, open your svg files in Design Space or whatever program your machine uses. Then size each of the SVG files to make sure the faces will fit the ornaments. To give you a general idea of sizes, here are mine:
- for the round Snowman ornament, I sized mine to 1.79″ wide by 1.6″ high then ungrouped them.
- the round Reindeer ornament I sized to 2.28″ wide by 3.32″ high then ungrouped and removed the antlers
- for the disc Reindeer ornament I sized to 2.48″ wide by 3.62″ high
- for Santa’s belt, I seized the belt 10″ wide by 0.5″ high, and the buckle 0.9″ wide by 0.5″ high
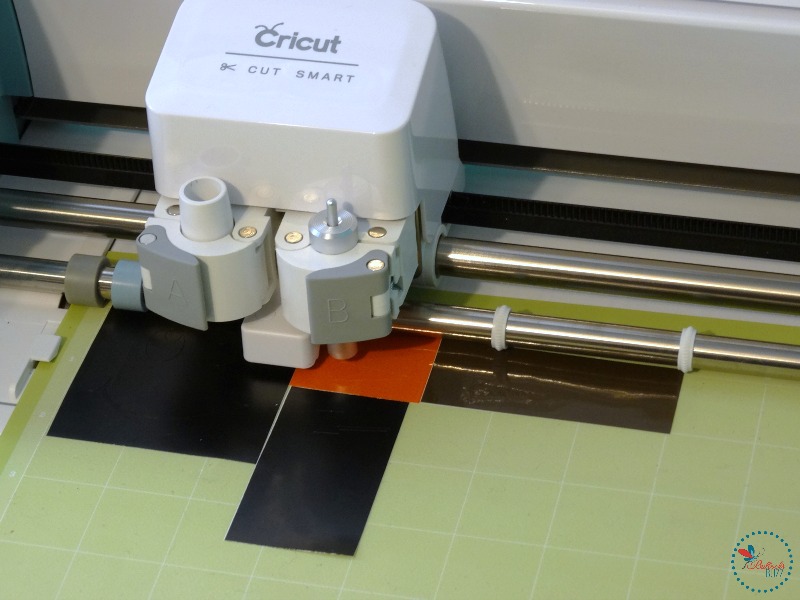
STEP FIVE – CUT VINYL
- Next, apply the vinyl to the mat, set your machine to the ‘vinyl’ setting, and let it do its thing.
STEP SIX – WEED AND APPLY VINYL DESIGN
- Once everything is cut, weed the vinyl.
- then use transfer tape to apply the vinyl to the ornaments.
- Tip: slightly bend the transfer paper and apply the middle part first. Then work your way smoothing to one side and then the side.

If you are not using a die cutting machine, use craft paint or markers along with black buttons for the snowmen, and wiggly eyes and red pom poms for the reindeer.
Unique Instructions for Each Ornament
Below are more specific instructions for finishing each ornament.
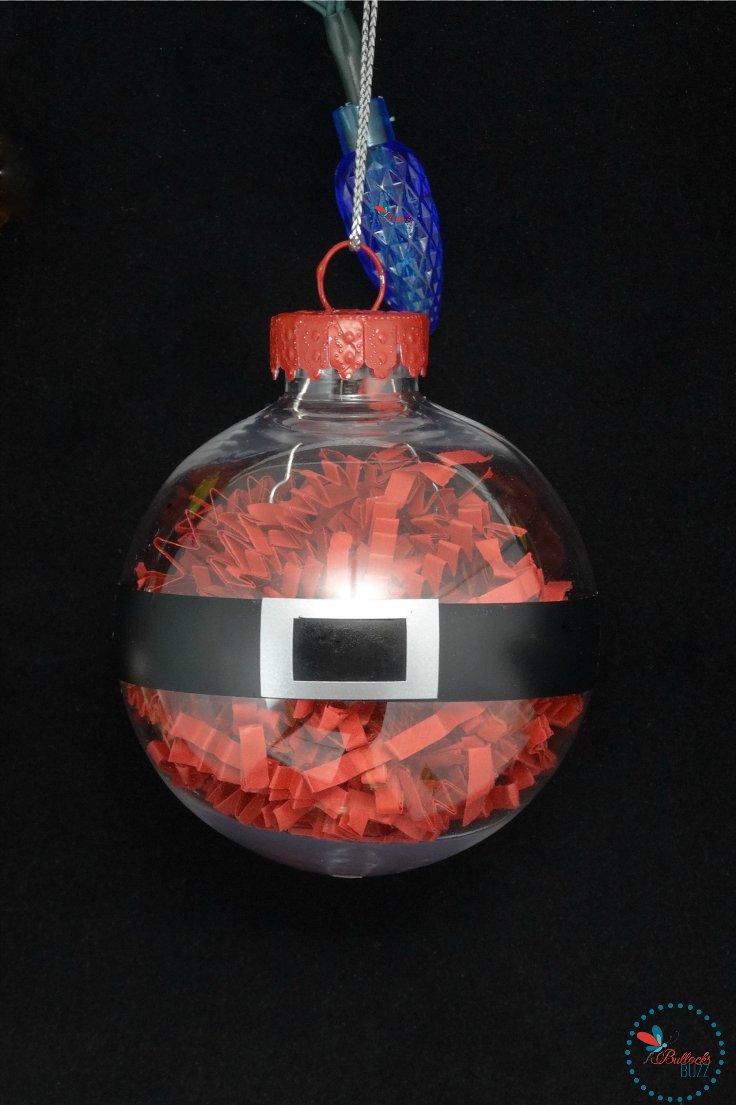
Santa’s Belt DIY Christmas Ornament Instructions
- Simply add the vinyl belt around the middle of the ornament, and then place the silver buckle on top of the belt. You could also paint the belt and buckle or use construction paper.

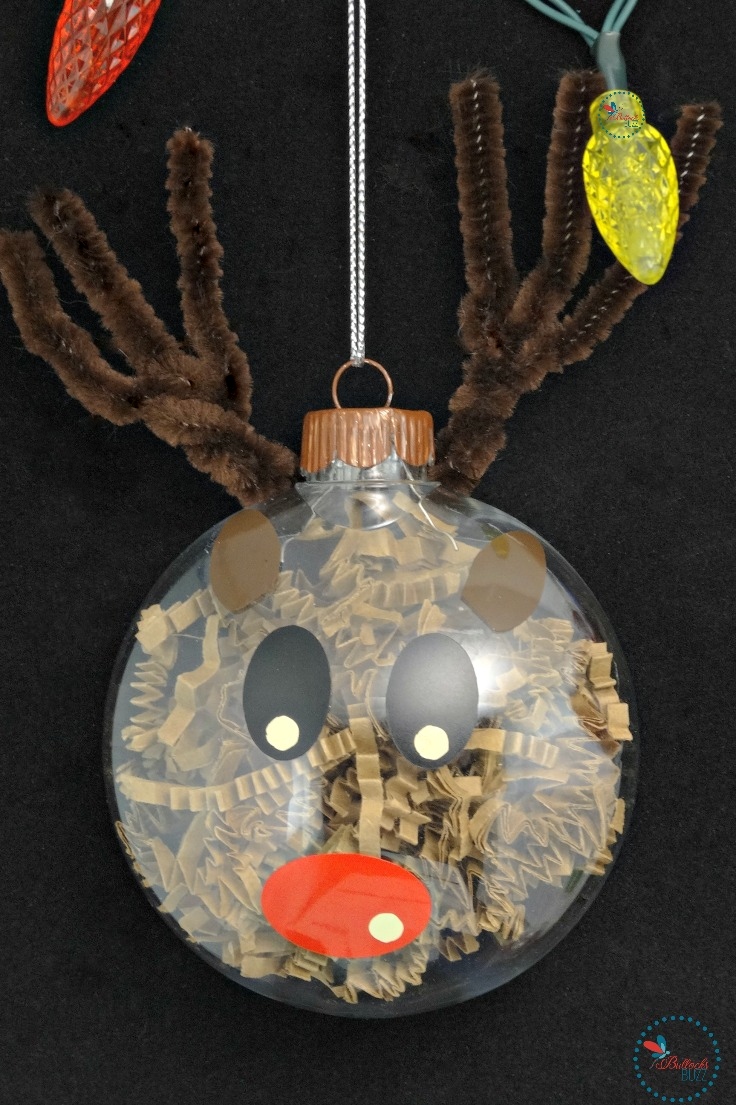
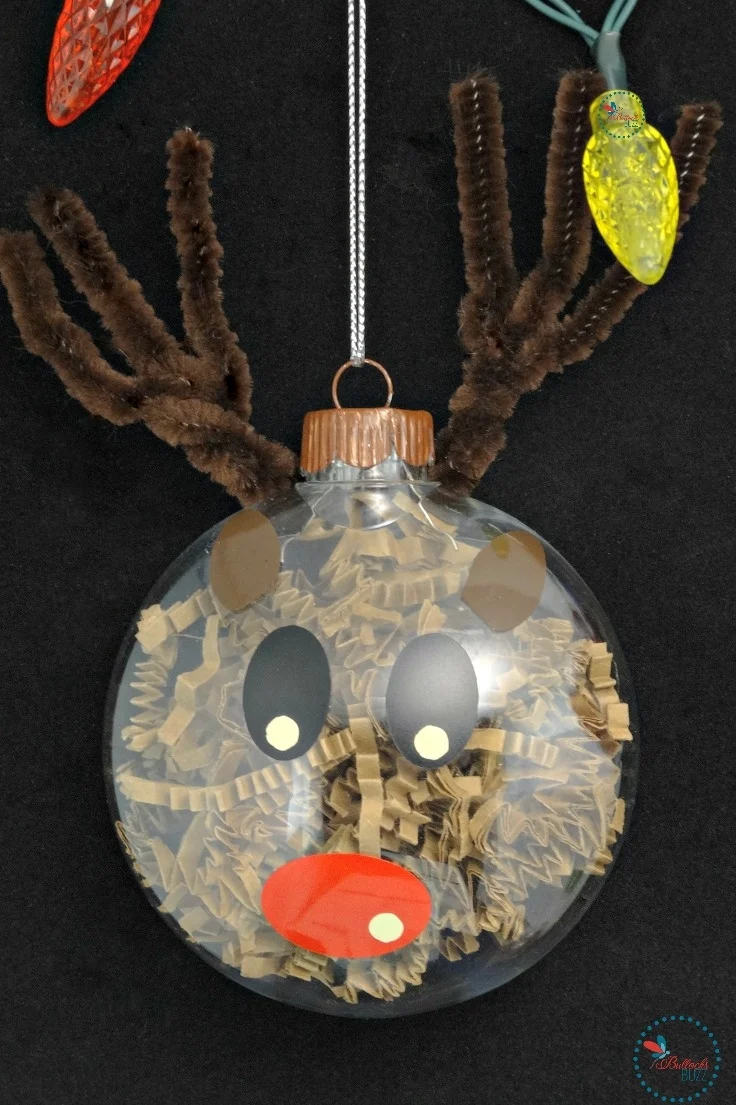
Reindeer DIY Christmas Ornament Instructions
- First, add the ears, eyes and nose. Next, make the antlers by taking 3 pipe cleaners (about 4-5″ long) and make sure they are even on one end. Begin twisting them together starting from the middle and working outwards. Make sure you leave enough untwisted pipe cleaner at both ends to form the actual antlers.
- Once you have them made, wrap the twisted part around the back side of the ornament’s neck, and hot glue in place. Lastly, fold the antler’s upward and out.
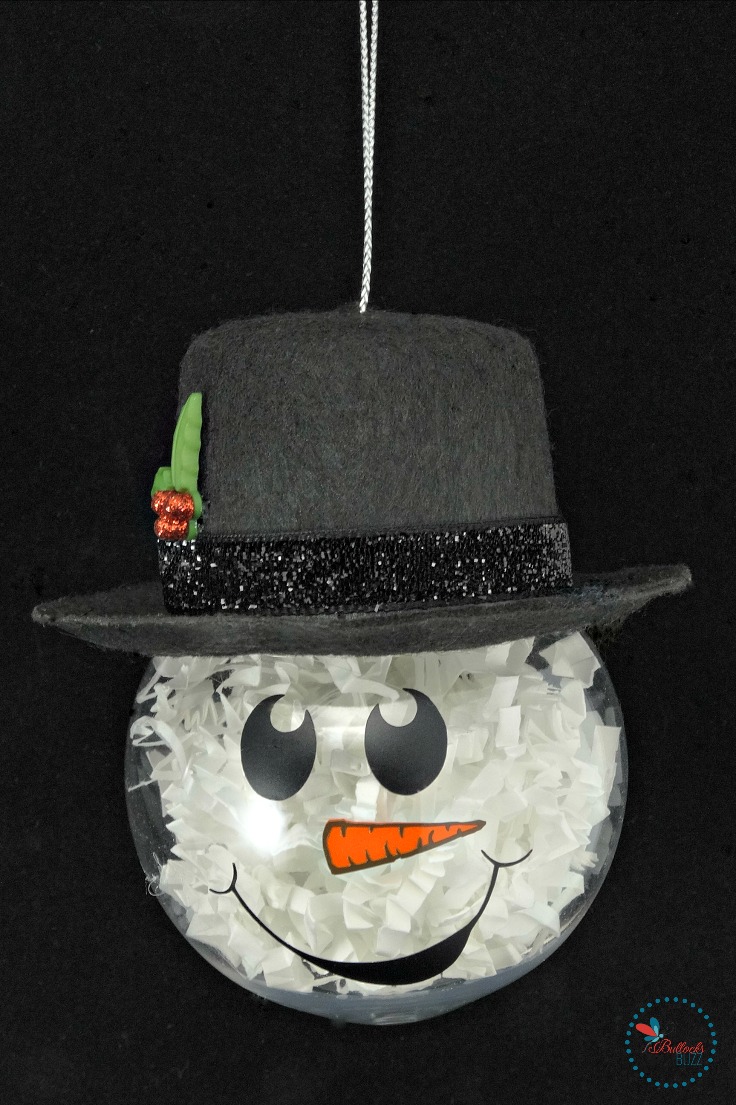
Snowman DIY Christmas Ornament Instructions
- Using hot glue, attach a length of black ribbon around the bottom of the part of the hat. Next, hot glue the holly and berry charm on one side slightly above the ribbon.
- Then, using a razor knife, carefully cut a small slit in the very top of the hat to thread the silver string through. Now thread the string through the loop on the ornament’s lid, pull the 2 ends of the thread up through the slit in the hat, and tie it off to form a loop.
- Finally, glue the hat to the ornament to help it stay secure.

And there you have it, three super cute DIY Christmas Ornaments to bring a smile to everyone’s face!

Love this DIY Christmas craft? Pin it, and then share it with friends and family by using the social share buttons right below the post title!
Other DIY Holiday Crafts and Recipes you may enjoy.

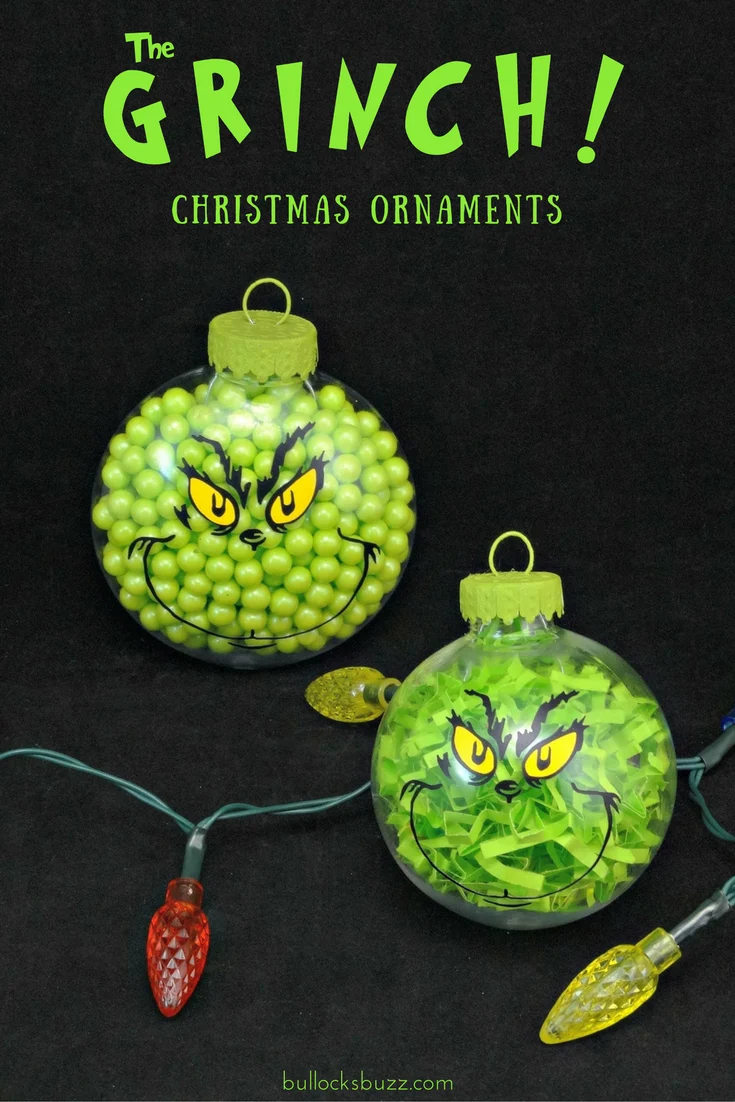
DIY Grinch Christmas Ornaments

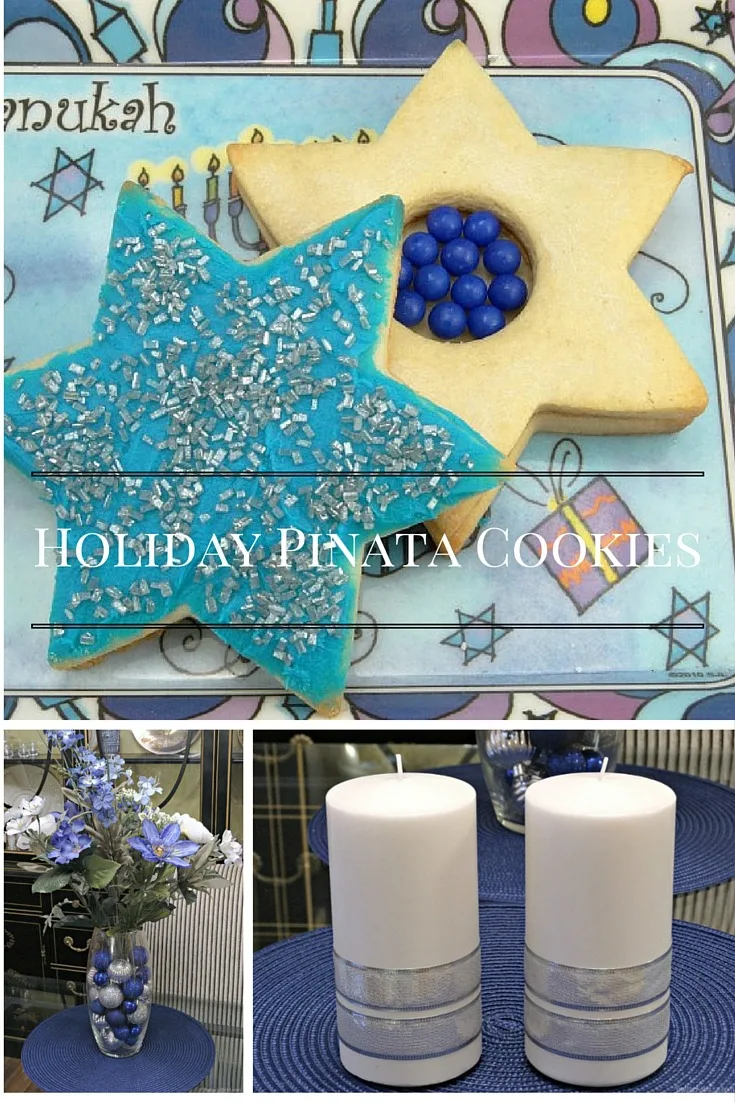
DIY Hanukkah Piñata Cookies & DIY Decor
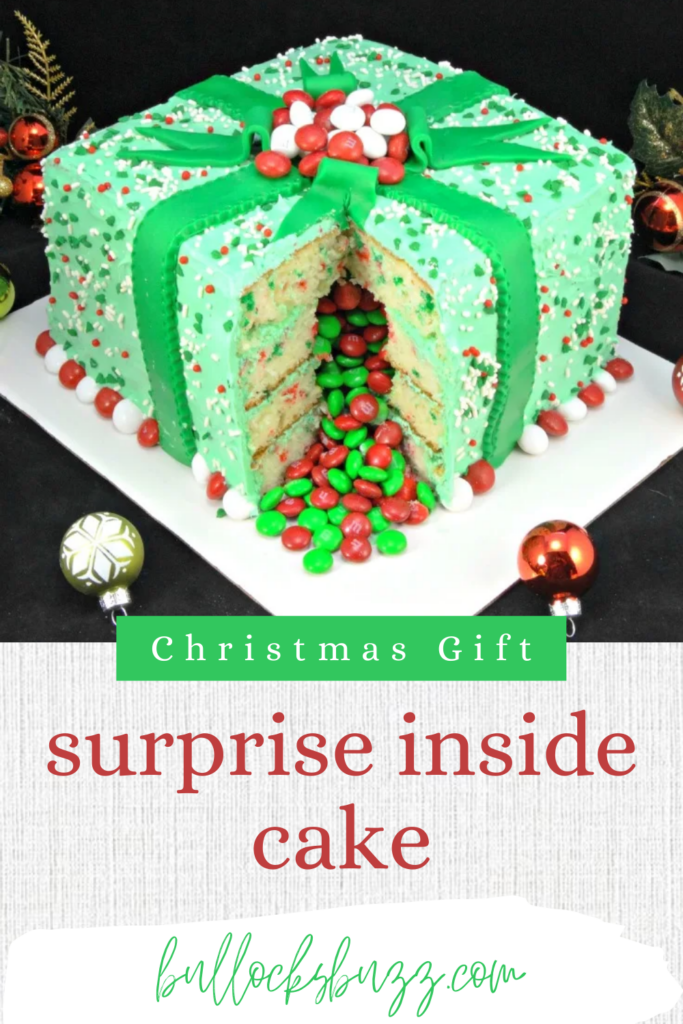
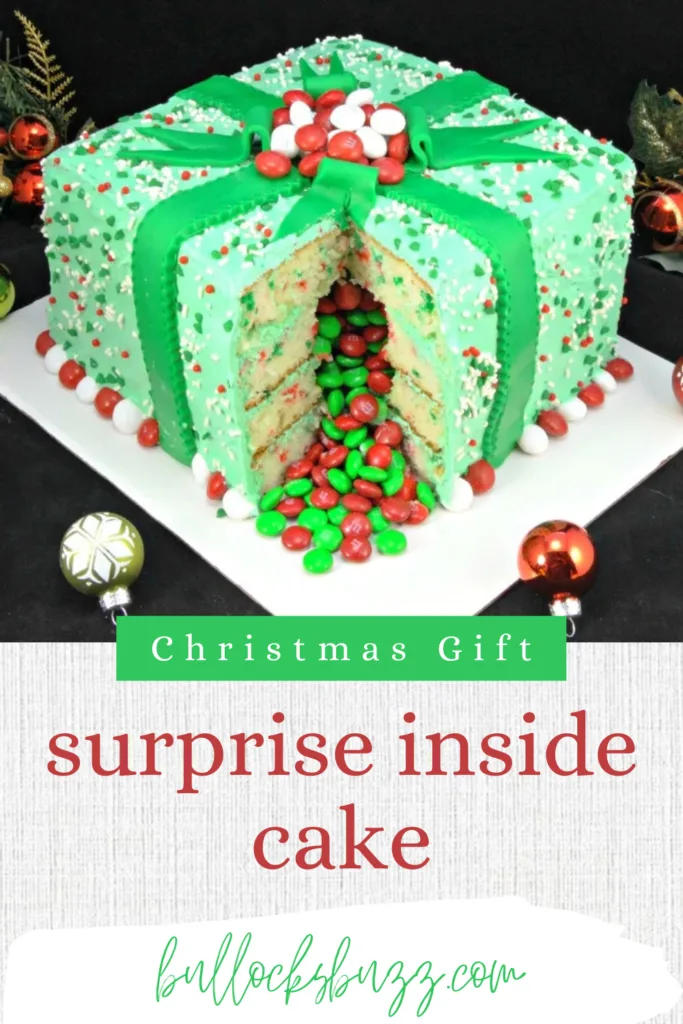
Christmas Present Piñata Cake
Do you have a favorite handmade Christmas Ornament? Share with us in the comments below!
Lindsey Sauls
Saturday 23rd of November 2019
How much filler paper do you need to make 150 ornaments
Alaina Bullock
Tuesday 26th of November 2019
Hi Lindsey, I haven't made that many, but I can tell you that each one took about 1 cup worth of filler paper. So I would think you could get at least 10-12 per bag if not more. Sorry I couldn't be more exact.
Cassandra J. Robinson
Friday 23rd of December 2016
I love your idea of DIY Christmas ornaments here. So beautiful and creative. I will make it for the next Christmas decorations in our house. Anyway, thank you so much for sharing your creative ideas. Surely, many of your readers follow this created DIY Christmas ornaments. Happy Holidays everyone!
xoxo, Cassandra https://www.boutiqueken.com/cat/home-holiday-lane