This post contains affiliate links. I only recommend products I use and love. Read the full disclosure here
Last Updated on August 13, 2024 by Alaina
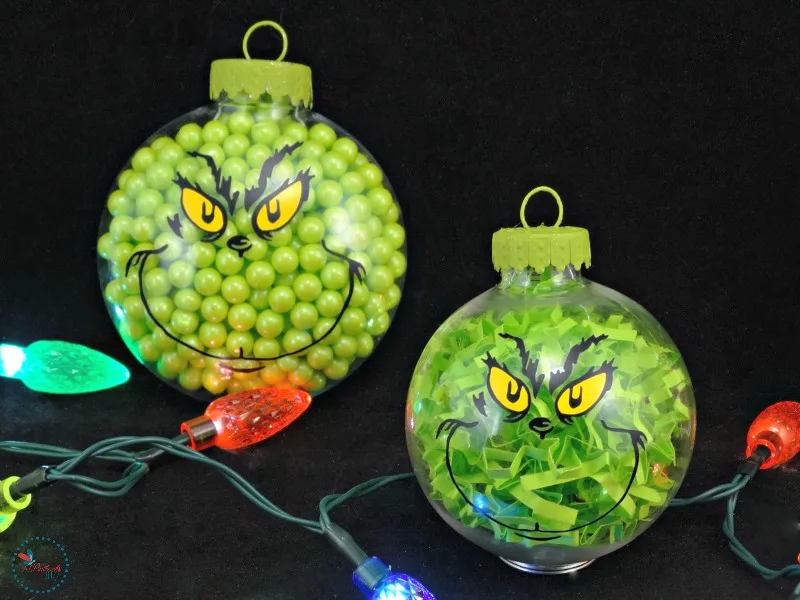
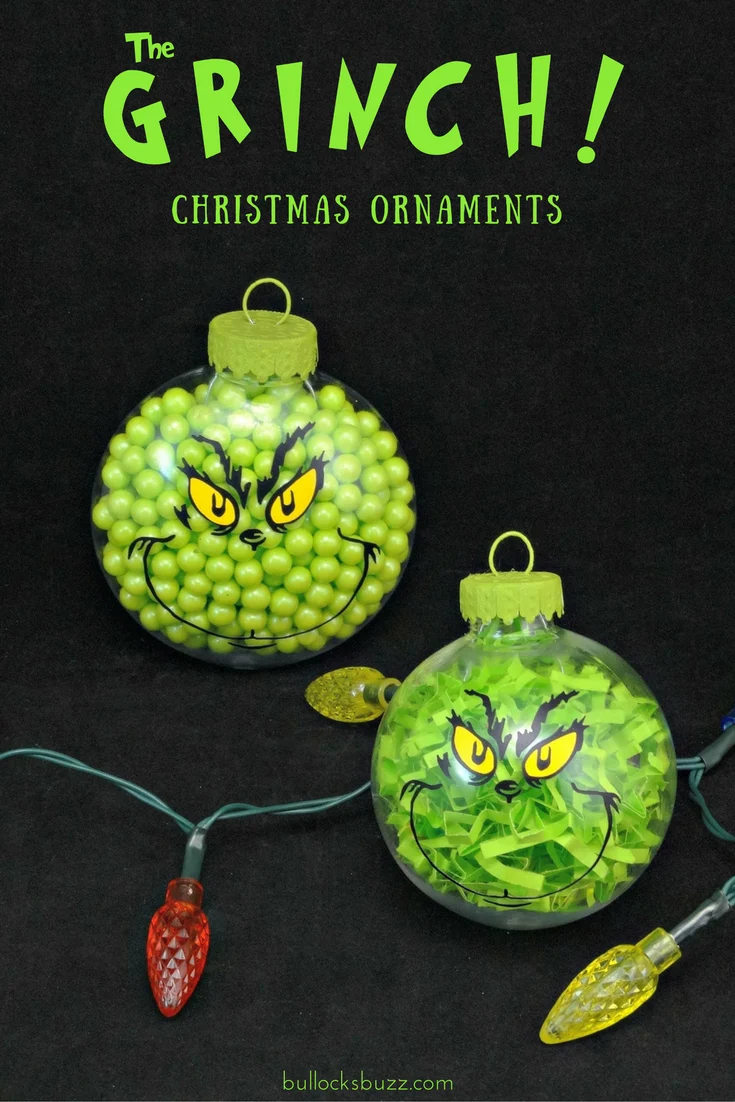
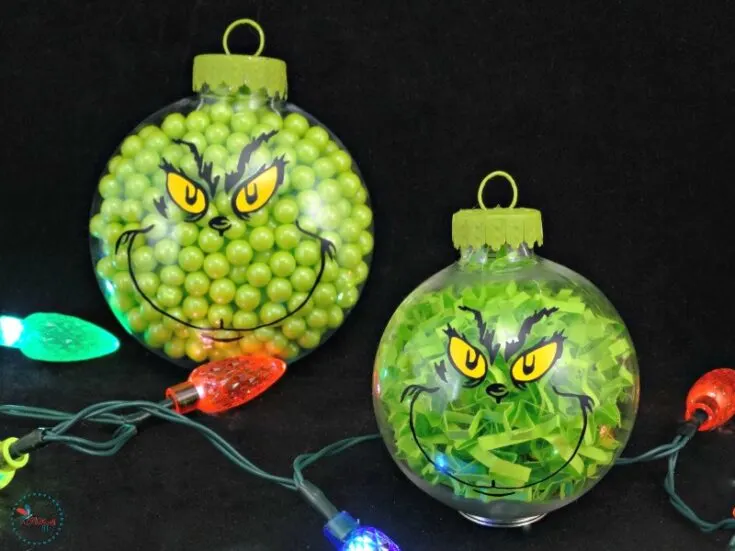
If that yellow-eyed fuzzy green Grinch is one of your favorite holiday icons, then you are going to love this Grinch craft idea for two adorable DIY Grinch Christmas ornaments!
Growing up, my favorite Christmas cartoon was always Dr. Suess’ How the Grinch Stole Christmas. When the Grinch movie with Jim Carrey was released, I fell in love once again! If you are looking for some good craft ideas for Grinch, then you are going to love this tutorial on how to make DIY Grinch Christmas ornaments!
If you have a playlist on YouTube to which you’d like to add this easy Christmas craft, here is my DIY Grinch Ornament video tutorial.
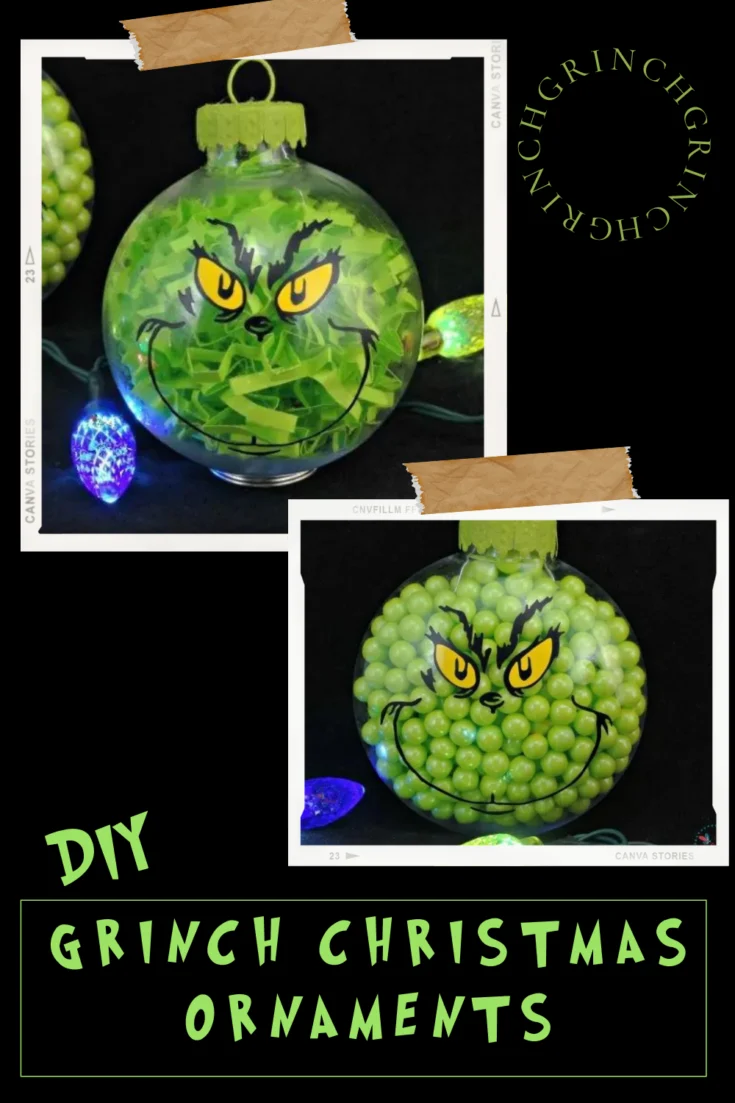
Using my Halloween candy-filled ornaments and DIY Thanksgiving Turkey Treats as inspiration, these Christmas Grinch crafts are extremely easy-to-make and take very little time.
Although I used my Cricut Explore Air™, if you don’t have a die-cutting machine, paint markers or craft paint will work just as well!
If you are using a die-cutting machine, you will need a Grinch Face SVG file like any of these from Etsy for both ornaments.
HOW TO MAKE GRINCH ORNAMENTS FOR CHRISTMAS
There are two different DIY Grinch Christmas ornaments: one is candy-filled and the other is shredded paper-filled.
The candy-filled Grinch Christmas ornament is perfect for hanging on your tree, using it as holiday decor, or even giving it as a unique holiday treat!
The shredded paper-filled Grinch Christmas ornament will also look great on the tree, and it makes a wonderfully unique gift!
Best of all, these Christmas Grinch crafts are extremely easy and inexpensive to make! So easy, in fact, that the kids can help you make them! What a fun Christmas memory to make!
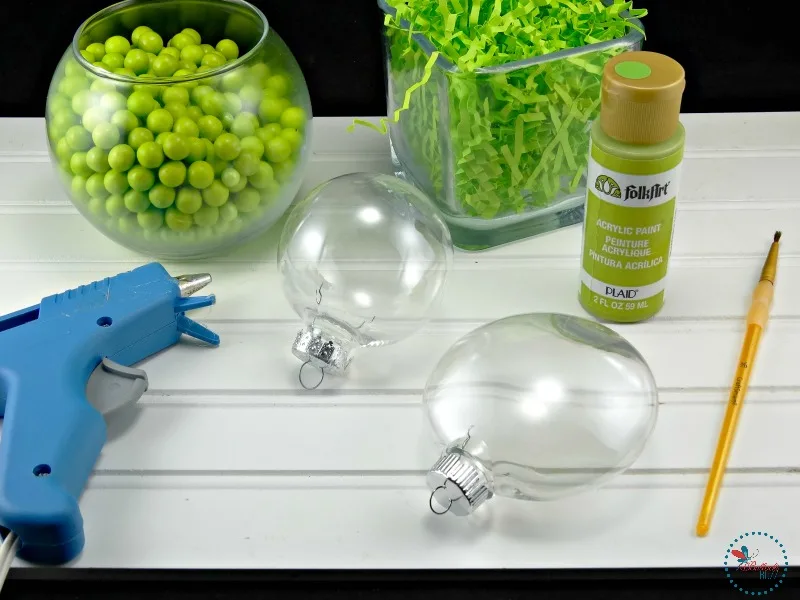
SUPPLIES YOU WILL NEED TO MAKE DIY GRINCH CHRISTMAS ORNAMENTS – EASY CHRISTMAS GRINCH CRAFT
Disclosure: This blog post contains affiliate links for products I think you’ll love. If you make a purchase from one of these links, Bullock’s Buzz will make a small commission at no additional cost to you. As always, I only recommend products that I have (or have had), use, and love.
- Grinch SVG file (I found mine on Etsy– the URL to this file often changes, so you may have to search)
- Cricut or other die cutting machine
- Black waterproof vinyl such as Oracle 651
- Yellow waterproof vinyl such as Oracle 651
- 12 x 12 Cutting mat
- Transfer tape
- Clear, round, DISC plastic ornament
- Clear, round plastic ornament (if you will be eating the candy, please use a food-safe ornament instead)
- Lime green Sixlets candy or green M&Ms
- Lime green crinkle cut paper shreds (like those you find in Easter baskets)
- Lime/apple/citrus green craft paint
- Hot glue gun and glue sticks
(If you are an Amazon Prime member or like shopping through Amazon, you can purchase any of the necessary items by clicking them in the above list.). You can also find these supplies at any craft store, and even some supplies at dollar stores.
DIY GRINCH CHRISTMAS ORNAMENTS INSTRUCTIONS
STEP ONE – CLEAN ORNAMENTS
Before getting started, wash the outside of both ornaments to remove any fingerprints, oil, or other dirt. If you are going to give the candy-filled ornaments as gifts to eat, make sure you wash the inside as well. Let ornaments dry completely.
STEP TWO – PAINT SILVER CAPS
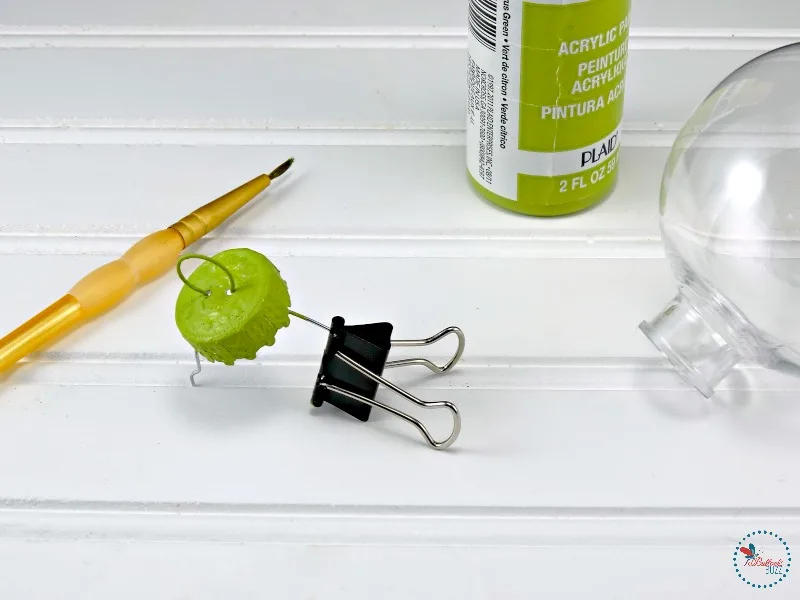
To get started, remove the silver caps from both ornaments and paint them green. Put them off to the side to dry. Depending on the paint, it may take two layers. Tip: use a paperclip to hold the lids while you paint them and while they dry.
STEP THREE – OPEN AND SIZE SVG FILE
Next, if you are using a Cricut or other die cutting machine, open your Grinch SVG file in Design Space or whatever program your machine uses. Size the file to make sure it fits the ornaments.
- for the round ornament, I sized mine to 2″ by 1.9″
- the disc ornament I sized to 2.5″ by 2.38″
STEP FOUR – CUT VINYL
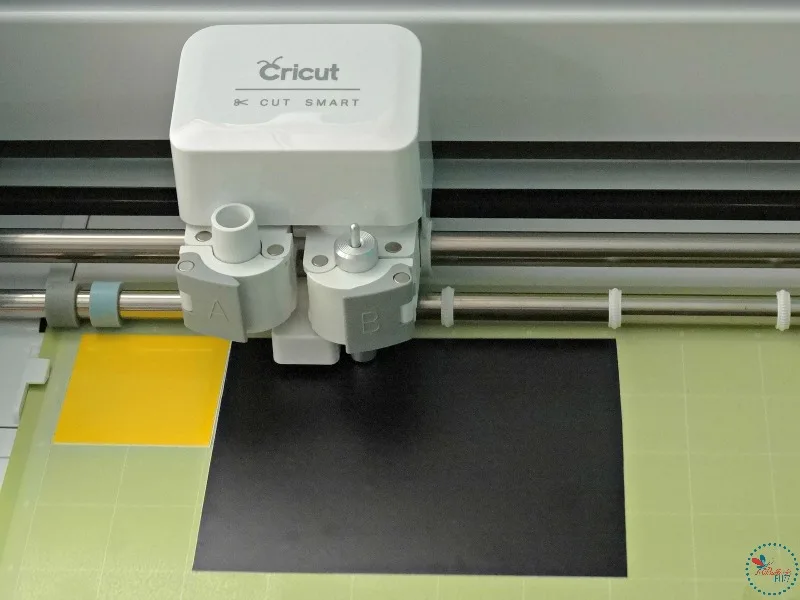
Place the vinyl on the mat, set your machine to cut ‘vinyl’, and then step back and let your machine do its thing.
STEP FIVE – REMOVE AND WEED VINYL DESIGN
Once the designs are cut, peel off the top layer of vinyl.
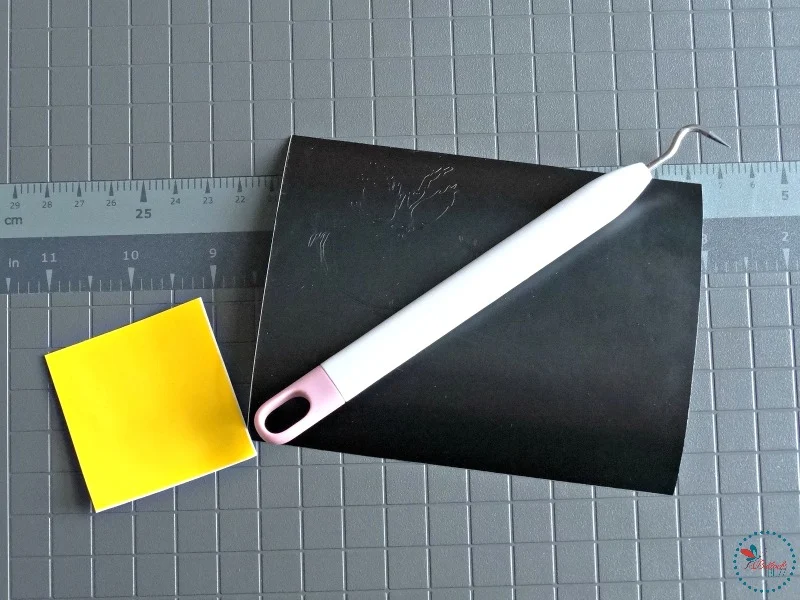
STEP SIX – APPLY TRANSFER PAPER
Next, carefully apply the transfer paper, burnishing it to make sure it sticks to the vinyl. Tip: for making ornaments, I usually cut some lines into the design to make it easier to apply to the rounded surface.
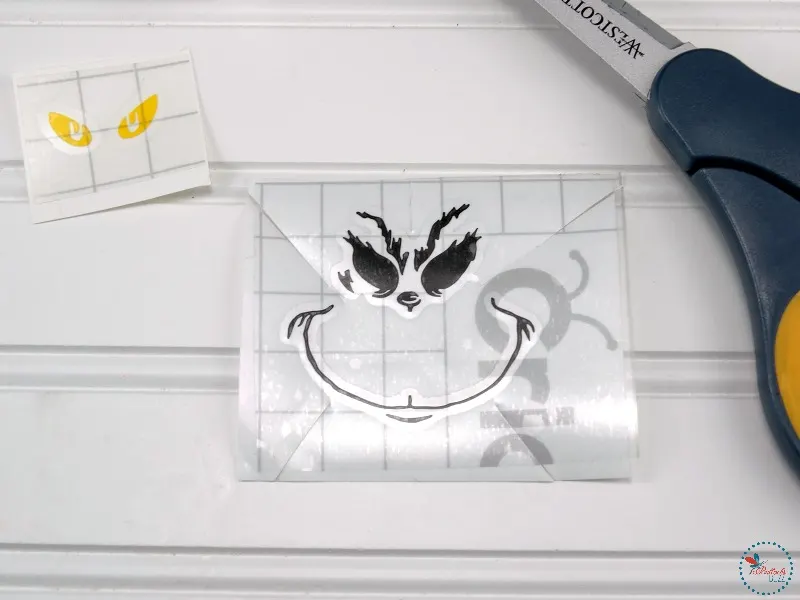
STEP SEVEN – ADD VINYL TO ORNAMENT
Carefully apply the black vinyl to the ornament first, smoothing it with your spatula or a credit card once the vinyl is in place.
Next, add the yellow vinyl eyes on top of the black, once again smoothing to ensure it adheres.
Repeat with the second ornament.
STEP EIGHT – FILL AND CLOSE ORNAMENTS
Once the face is on, all that is left to do is fill the round ornament with the crinkle paper shreds, replace the lid, and hot glue it shut.
And then…
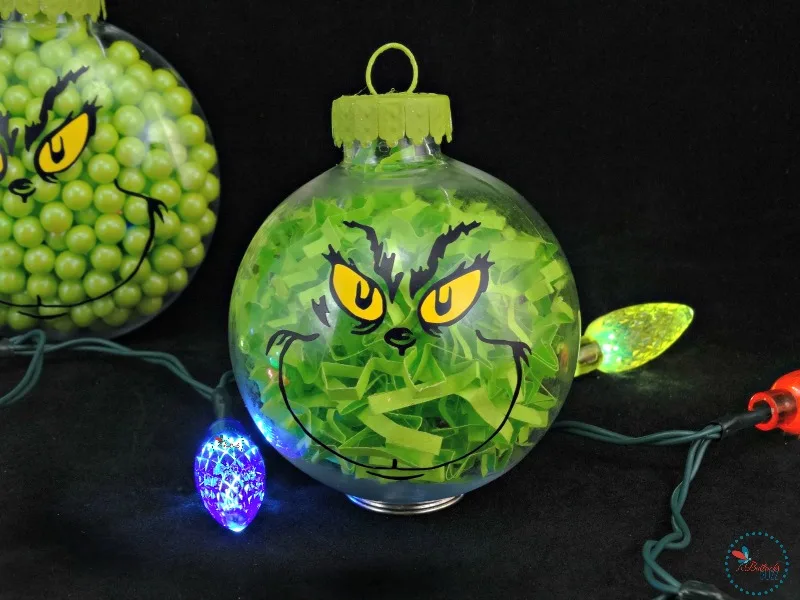
…fill the disc ornament with the green candy and replace the lid. If you are not using this DIY Grinch Ornament as a treat, seal this lid with hot glue, too.
You could also glue a green feather sticking up from the top if you wanted!
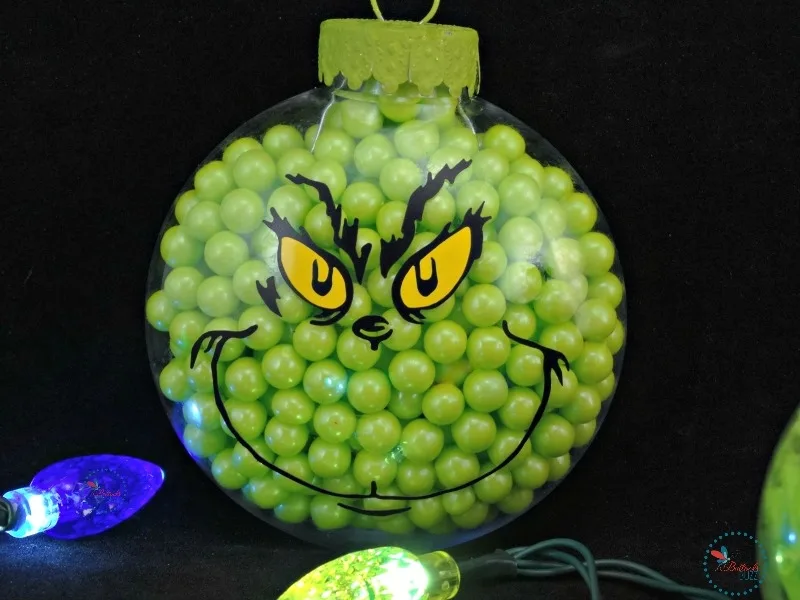
And that’s it, you’re done!
So there you have it. An easy Grinch craft for Christmas in the form of two adorable DIY Grinch Christmas Ornaments that everyone is sure to love!
Give them as a gift, put on them on the tree, or use them as decor around your home – and every time you see it you’ll be reminded of the true meaning of Christmas!
SHOW ME WHAT YOU’VE MADE!
I hope you love this Grinch Christmas Craft tutorial! It’s simple and so much fun to make! If you do decide to give it a try, let me know! Nothing makes me happier than seeing your own take on my crafts and recipes!
Tag me at @bullocksbuzz (Instagram and Facebook) or @alainabullock (on Twitter). And be sure to use #BullocksBuzz so I can see your creation and share it!
Also, share it with friends and family by using the social share buttons right below the post title!
MORE DIY CHRISTMAS CRAFTS AND RECIPES
Looking for more simple holiday crafts and recipes? Check these out!
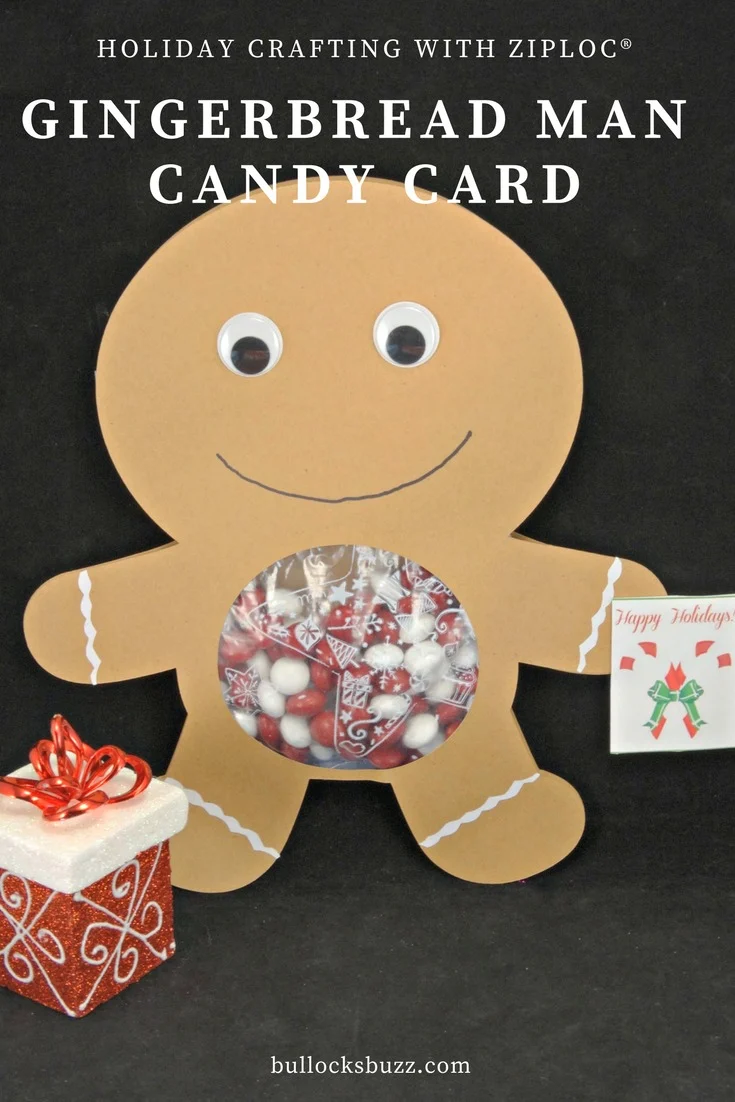
 DIY Gingerbread Man Candy Card
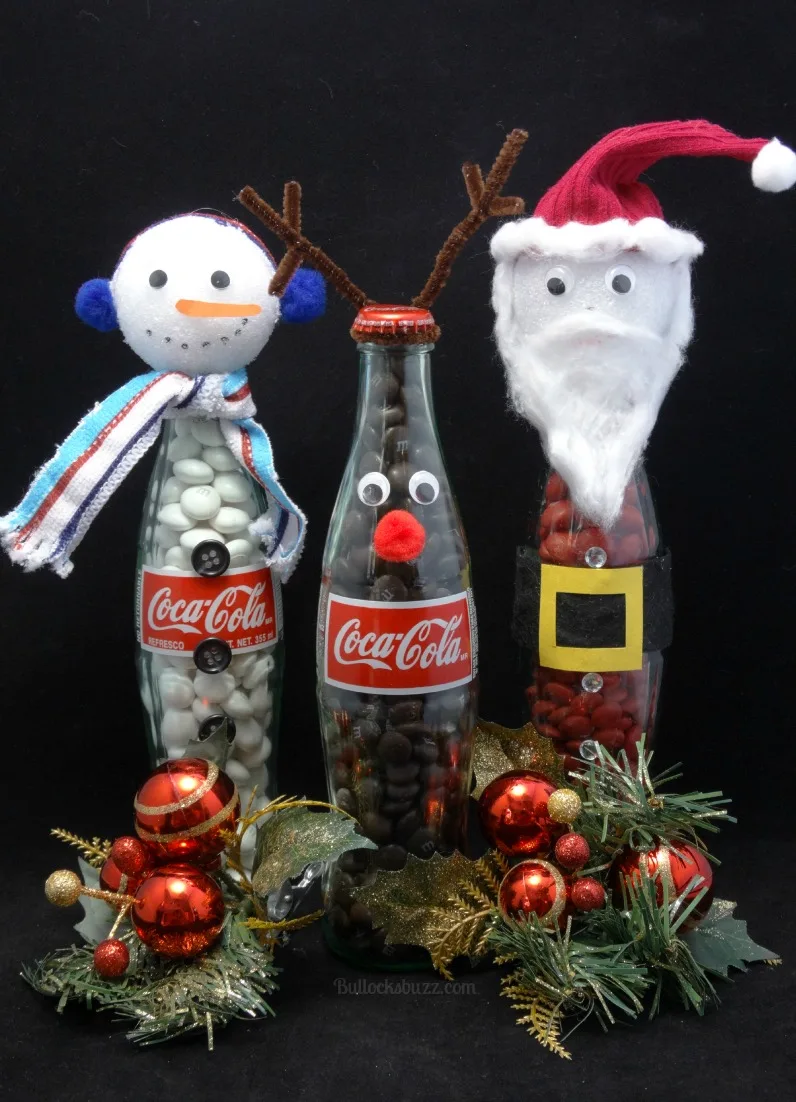
DIY Upcycled Bottle Christmas Characters
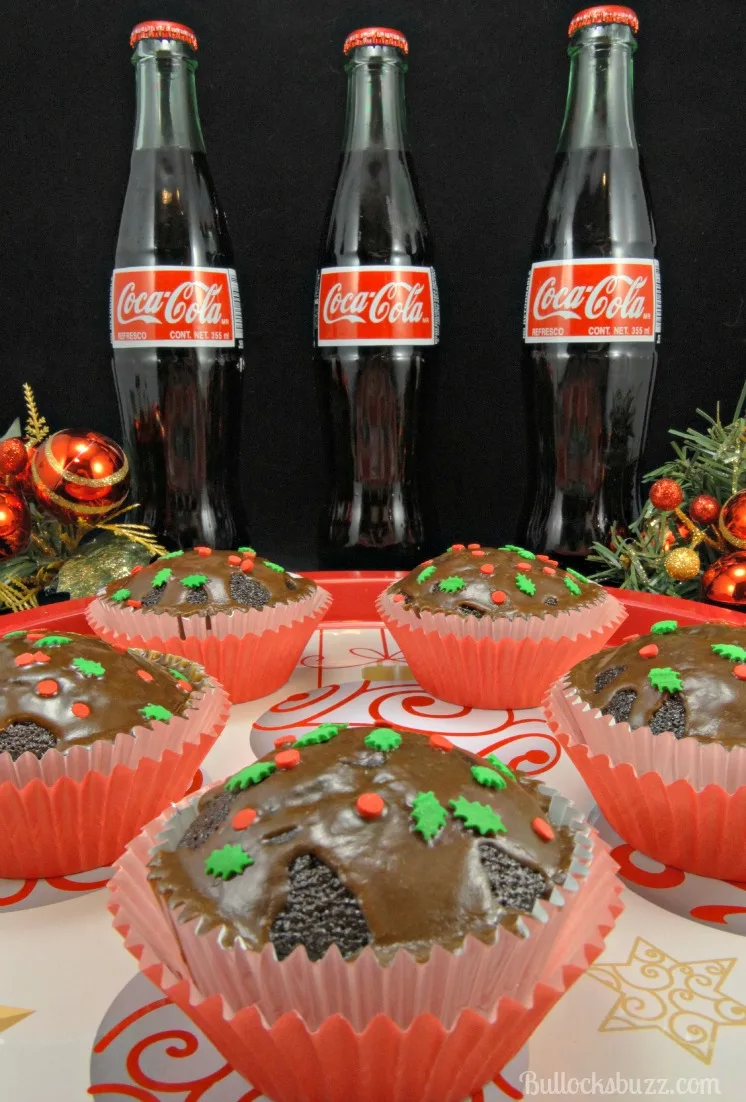
Coca-Cola Christmas Cupcakes
Christmas Butter Cookies
PRINTABLE CRAFT INSTRUCTIONS CARD
Two DIY Grinch Christmas Ornaments - Easy Grinch Christmas Craft
If that yellow-eyed fuzzy green Grinch is one of your favorite holiday icons, then you are going to love this Grinch craft idea for two adorable DIY Grinch Christmas ornaments!
Materials
- 2 Grinch Face SVG files (I found mine on Etsy- the URL to this file often changes, so you may have to search)
- 1 sheet waterproof vinyl such as Oracle 651, Black
- 1 sheet waterproof vinyl such as Oracle 651, Yellow
- 12 x 12 Cutting mat
- Transfer tape
- 1 clear, DISC-shaped plastic ornament (food-safe if giving as a holiday treat to eat)
- 1 clear, round plastic ornament (if you will be eating the candy, please use a food-safe ornament instead)
- 1 to 1.5 cups Lime green Sixlets candy or green M&Ms
- 1 to 1.5 cups Lime green crinkle cut paper shreds (like those you find in Easter baskets)
- 1 small bottle lime/apple/citrus green craft paint
Tools
- Cricut or similar machine
- Cricut Weeding Tool
- Hot glue gun and glue sticks
- 1 small paintbrush
Instructions
- Clean ornaments by washing the outside of both ornaments to remove any fingerprints, oil, or other dirt. If you are going to give the candy-filled ornaments as gifts to eat, make sure you wash the inside as well. Let ornaments dry completely.
- Paint ornament caps green and put to the side to dry.
- Next, if you are using a Cricut or other die cutting machine, open your Grinch SVG file in Design Space or whatever program your machine uses. Size the file to make sure it fits the ornaments. For the round ornament, I sized mine to 2" by 1.9" and for
the disc ornament I sized the design to 2.5" by 2.38" - Place the vinyl on the mat, set your machine to cut 'vinyl', and then let your machine do its thing.
- Once vinyl is cut, weed the design and carefully add it to the vinyl burnishing as you go to ensure it sticks to the vinyl.
- Carefully apply the black design first on the ornament, smoothing it with your spatula or a credit card once the vinyl is in place.
- Next, add the yellow vinyl eyes on top of the black, once again smoothing to ensure it adheres.
- Repeat for the second ornament.
- Once the face is on both ornaments, all that is left to do is fill the round ornament with the crinkle paper shreds, replace the lid, and hot glue it shut.
- Then fill the second ornament with the candy and close the lid. If you are not giving it as an edible gift, use hot glue to seal this lid as well.
Notes
Tip: use a paperclip to hold the lids while you paint them and while they dry.
Tip: for applying vinyl to ornaments, I usually cut some lines into the design to make it easier to apply to the rounded surface.


Dena Blacker
Sunday 20th of October 2019
hi I am trying to verify if I purchase this I get a commercial lic. to use this svg. Can you verify this please. Thanks, Dena Blacker
Alaina Bullock
Sunday 20th of October 2019
Hi Dena, This is a file I got on Etsy (I've linked to the specific page in the post). You will need to go to the site on Etsy and read her policies on licenses for commercial use. In addition, since this is a character owned by Universal Pictures (I think), there may be even more to research. However, she has a disclaimer on her site where she offers her email if you have questions, so you may want to ask her. I wish I could provide more information, but I am just not sure. Hope this helps!
Susan Wojcik
Wednesday 21st of November 2018
I am having a problem with the grinch. The direction says the disc ornament size 2.5 x2.38 to cut on vinyl. That works fine but the eyes are huge. What size are the eyes?
Alaina Bullock
Thursday 22nd of November 2018
Hi Susan! When I sized mine, all of the facial features were 'attached' so I was able to adjust the size all together (the sizes are mentioned in the post). The black layer is all attached together, so I cannot get the measurement for the eyes alone. The yellow part of the eyes I just laid it on top of the other and made sure they matched up. However, separating them in Design Space, the yellow part measures 1.366" by 0.55". I'm so bad at trying to explain this - sorry! I hope this helps! Let me know.
Wendy Neale
Friday 12th of October 2018
Hi Alaina,
You may have already replied to this but my other computer died so here we go again! I have had trouble with two different purchases on Etsy of the grinch svg -_ please could you recommend one that actually works!! Thanks, Wendy
Alaina Bullock
Tuesday 16th of October 2018
Hi Wendy! Sorry for the late reply! I've been working a second job to help out family. I went in and checked the Grinch SVG link and it goes to her page although no longer directly to the actual svg (I am about to change it to the exact link, not sure why she changed it). Did you try that actual one? If so, did you let the Etsy shop owner know you are having trouble? They will refund you if they can't help you figure it out. What type of trouble are you having? I can try to help if I can. Let me know! Also, if you'd rather talk via email. mine is alainabethb (at) gmail.
Tracy Brown
Monday 11th of December 2017
I'd like to make these as the holiday craft for a class of 25 students. How much crinkle paper should I purchase? Thank You! Absolutely love these and they are so cute!
Alaina Bullock
Monday 11th of December 2017
Hi Tracy! I am SO happy you like them, and I'd love to see them once they are finished! My email is on the contact page of the site if you want to send a pic (totally up to you!). I going to guesstimate that two 4 ounce bags should be plenty, with some left over. It really takes less than a small fist-full per ornament using the round ones. Happy holidays!
Robert Washburn
Thursday 16th of February 2017
Nice Blog! You have explained very well all the steps above. Really helpful for art-lovers. I am going to stumbleupon very soon so that other users can also take advantage of it.
Alaina Bullock
Thursday 16th of February 2017
Hi Robert! Thank you!