This post may contain affiliate links. I only recommend products I use and love. Read the full disclosure here
Last Updated on August 30, 2023 by Alaina
Not a crafting genius? No worries. These simple DIY Halloween Ornaments are a fun Halloween craft that will take your Halloween decor from drab to ghoulishly great in mere minutes!
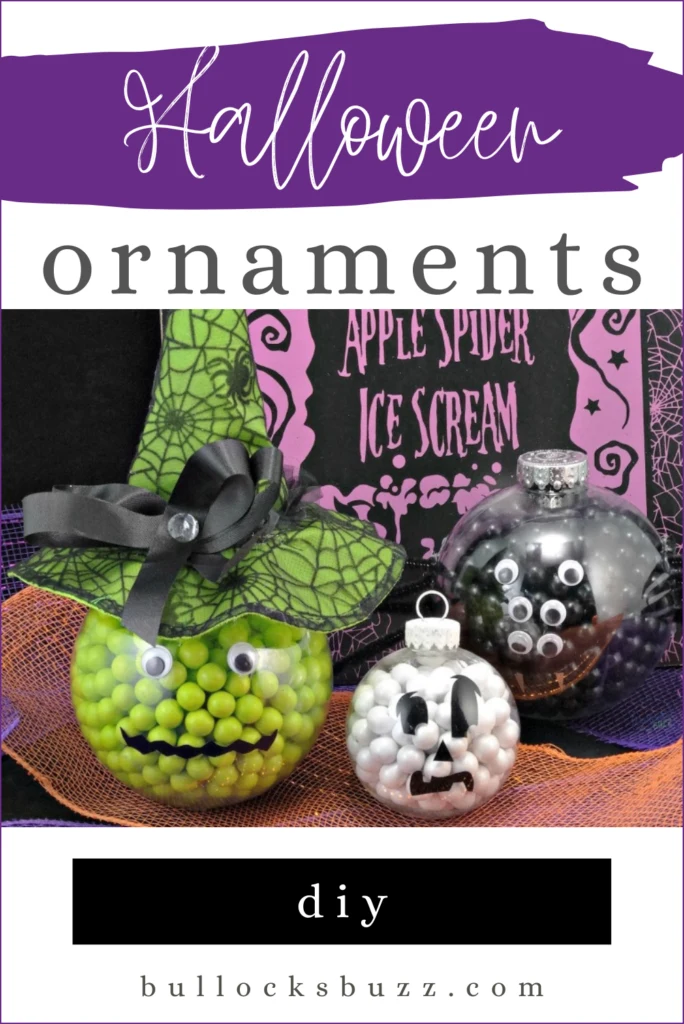
Last year I created a set of DIY Halloween Candy-Filled Ornaments that y’all loved. So of course, I just had to make some more for this Halloween!
These spooktacular Halloween ornaments can be used for so many fun things! Hang them on a Halloween tree, pass them out as favors at a Halloween party, or use them as decor.
You could even give them out for trick or treat; although I would only give them to my friends’ children since the candy is not wrapped.
How to Make Wacky Witch, Ghoulish Ghost, and Silly Spider DIY Halloween Ornaments
These DIY Halloween ornaments are so quick and easy to make it’s almost scary! While I used my Cricut for the ghost’s face, the spider’s fangs, and the witch’s mouth, the rest of the features were made using googly eyes, chenille stems and a witch’s hat.
Just as with the DIY Halloween Candy Jars, if you do not have a Cricut or other machine, you can simply use a marker or craft paint to make the facial feature instead.
Look online where you can find all sorts of silly or spooky Halloween facial templates, or you can simply draw your own.
Ready to get started?
Supplies You Will Need to Make Halloween Candy Ornaments
These fa-boo-lous DIY Halloween Candy ornaments are so fun and easy to make! They also take just minutes to make. And the best part? They cost very little to make!
Disclosure: This blog post contains affiliate links for products I think you’ll love. If you make a purchase from one of these links, I will make a small commission at no additional cost to you. As always, I only recommend products that I have (or have had), use, and love.
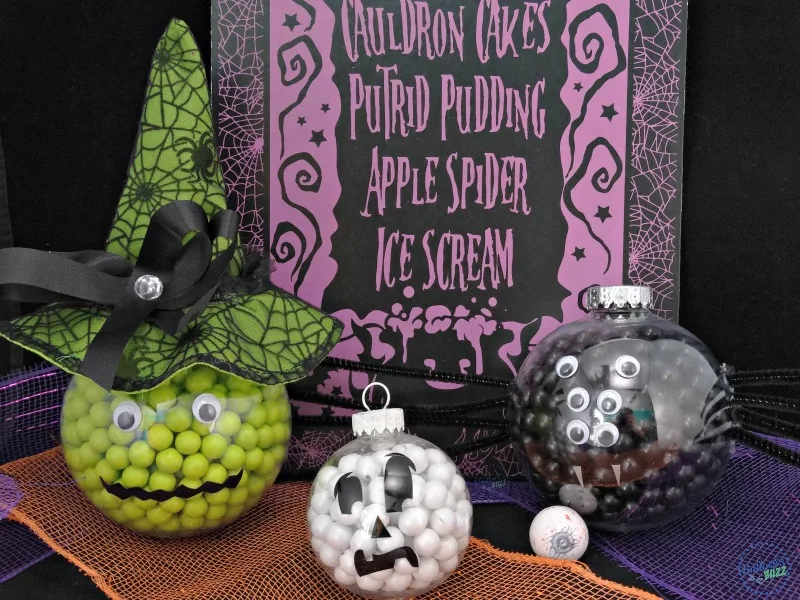
To make these cute candy-filled Halloween ornaments you will need the following supplies.
But first, if you are using a Cricut or another machine, the SVG’s for the faces are no longer active. However, I saw many similar ones by searching on Etsy. I have linked the searches below.
- Clear plastic ornaments (I used 2 large and one regular sized)- food safe or regular craft ornaments. Be sure to check sizes to ensure you get what you want!
- Wiggly Eyes – 8 small eyes total
- 4 black pipe cleaners for spider’s legs
- A silver paint pen or silver craft paint or silver vinyl – for spider’s fangs
- Hot glue gun and hot glue sticks
- Miniature witch hat (found at the Dollar Tree as part of a headband) – there are some on Amazon
- Cricut or another die cutting machine
- Witch face SVG file – for the witch’s mouth
- Ghost Face SVG File on Etsy
- Black outdoor vinyl – for the ghost face and witch mouth
- small candies to fill ornaments – I used Sixlets candies for all three ornaments
If you are making these Halloween ornaments without a Cricut, you will still need all of the above supplies (except the Cricut-related items) as well as:
- black craft paint or black marker
- silver craft paint or marker – for the spider’s fangs
- paintbrush – if using paint
Instructions to Make DIY Halloween Candy Ornaments
These spooktacular DIY Halloween Ornaments are so quick and easy to make, it’s almost eerie!
Below you will find the step-by-step instructions for each of these candy-filled ornaments including a witch, a spider and a ghost.
How to Make the Wacky Witch Halloween Ornament
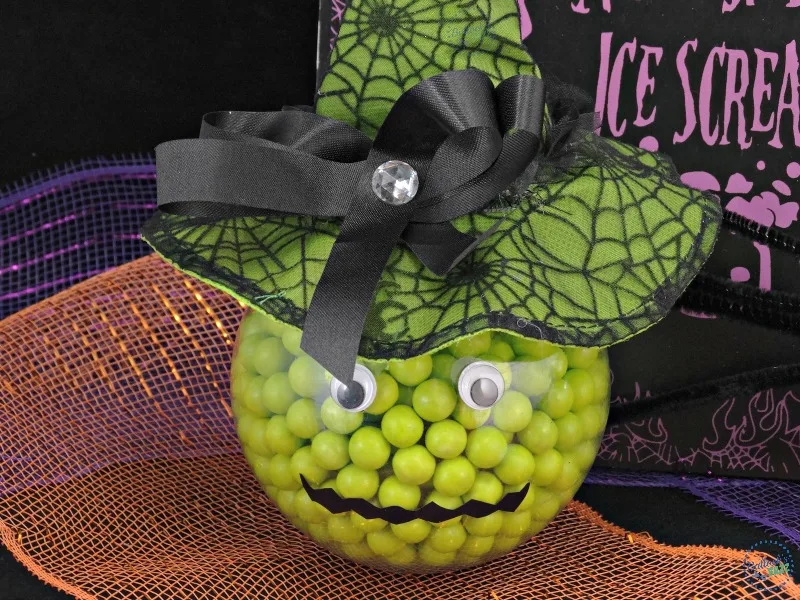
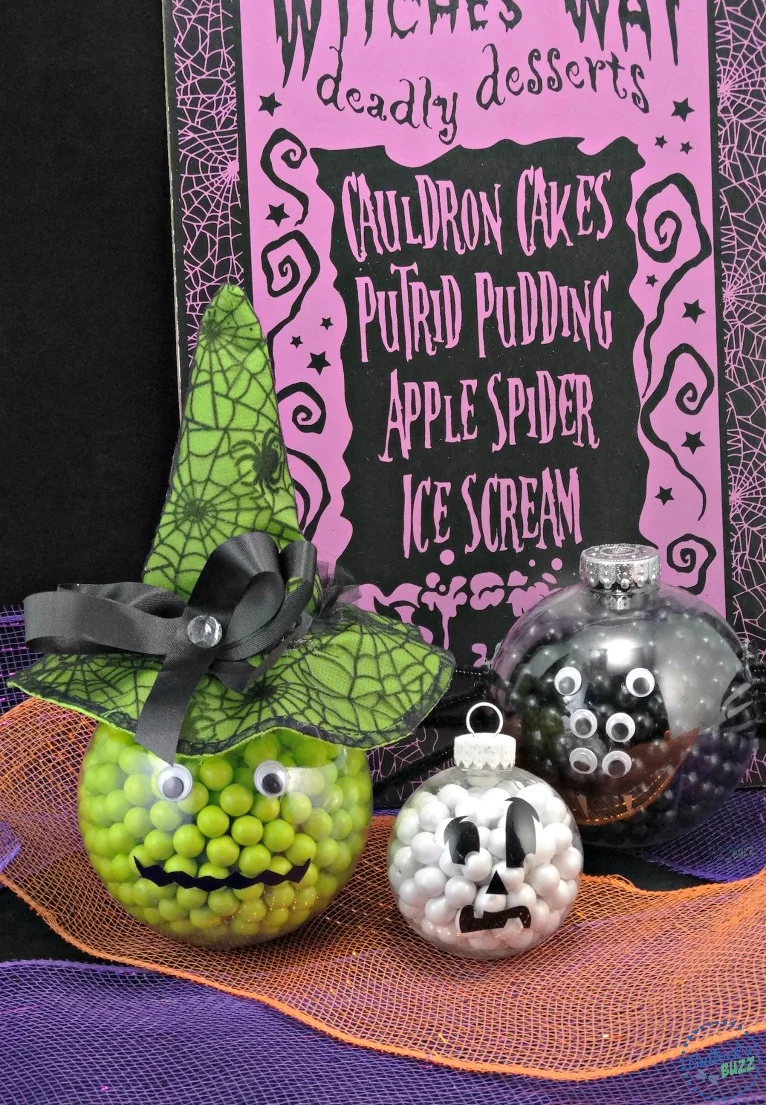
Having a wicked Halloween is easy with this wacky witch! Using a larger sized ornament, this witch is one of my favorites!
STEP ONE: CLEAN THE ORNAMENT
- Begin by cleaning the ornament. If you will be eating the candy, make sure you clean the inside as well.
STEP TWO: FILL WITH CANDY
- Next, fill the ornament with green Sixlets.
STEP THREE: ADD THE WITCH’S HAT AND REPLACE LID
- Using hot glue, secure the witch hat to the ornament’s ‘lid’.
- Next, replace the lid on the ornament and then seal it with glue unless you are planning to eat the candy
STEP FOUR: ADD THE FACIAL FEATURES
- Next, glue on the witch eyes.
- Then either draw the mouth on or use your die cutting machine to cut one from vinyl and attach it to the ornament.
And there’s your wacky witch!
How to Make the Silly Spider Halloween Ornament
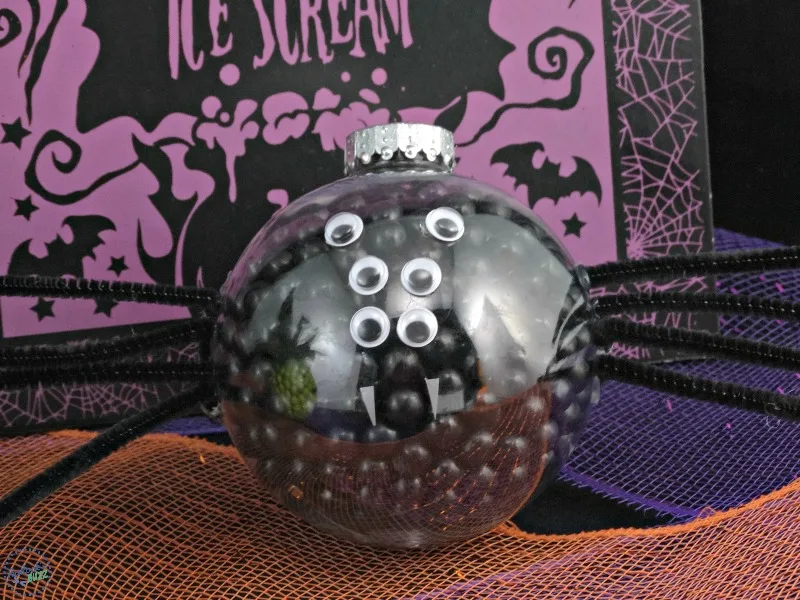
This silly spider Halloween ornament is perfect for some creepy, crawly fun!
STEP ONE: CLEAN THE CLEAR ORNAMENT
- Begin by the cleaning the ornament. Don’t forget the inside if you will be eating the candy.
STEP TWO: FILL WITH CANDY
- Next, fill the ornament with black Sixlets.
STEP THREE: REPLACE THE LID
- Replace the ornament cap, using glue if you are not going to eat the candy.
STEP FOUR: ADD LEGS
- Create the legs by cutting 4 black pipe cleaners/chenille stems in half.
- Make a small 90° bend at the very end of each leg and then attach it to the body using hot glue. The bend makes it easier to attach the legs and helps them stick out from the sides of the body.
- Continue until you have four legs on each side of the spider’s body.
- Allow to dry completely.
STEP FIVE: ADD SPIDER FACIAL FEATURES
- Next hot glue six eyes on the front of the spider and let them dry.
- Then, using either a paint pen or your die cutting machine, add two tiny fangs.
And there you have one silly spider ornament to go along with your wacky witch!
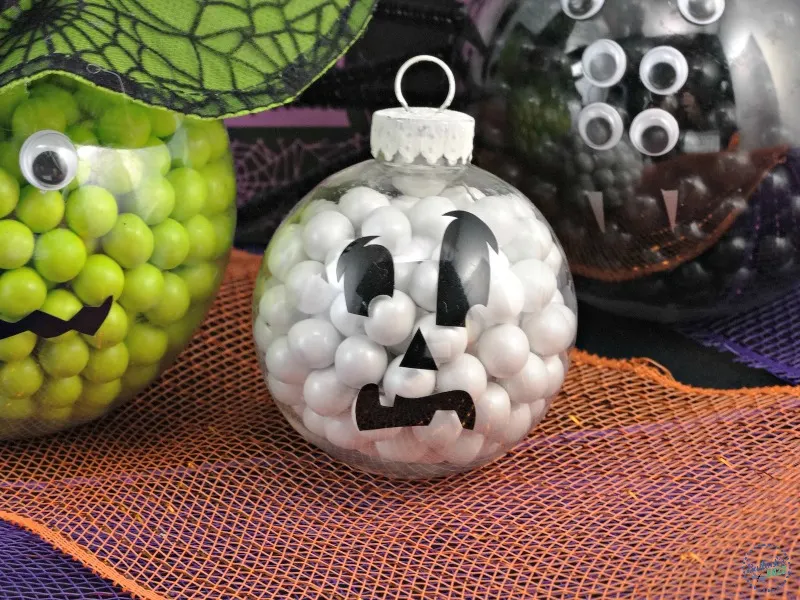
How to Make the Ghoulish Ghost Halloween Ornament
Boo to you! Have a scary good time with this ghoulish ghost!
STEP ONE: CLEAN THE PLASTIC ORNAMENT
- First, thoroughly clean the outside of the ornament and the inside of it if you will be eating the candy.
STEP TWO: PAINT THE LID
- Next, paint the ‘lid’ of the ornament white.
- Allow it to dry completely.
STEP THREE: FILL WITH CANDY
- While the lid is drying, fill the ornament with white Sixlets.
STEP FOUR: ADD THE LID
- Place the ornament cap back on, and secure with glue if you are not going to eat the candy.
STEP FIVE: ADD FACIAL FEATURES
- Prepare the ghost face in Cricut Design Space, then use your machine to cut the vinyl.
- Now carefully add the vinyl facial features (or paint them on) to the ‘front’ of the ornament.
And that’s it! Aren’t these three candy-filled DIY Halloween ornaments just too cute?!
If you liked these Halloween ornaments, you are going to love my other DIY Candy-Filled Halloween Ornaments craft!
bullocksbuzz.com/diy-halloween-candy-ornaments/(opens in a new tab)

Like It? Love It? Share It!
I hope you love this DIY Halloween Ornaments craft as much as I do! They are so easy and fun to make! If you decide to make them, I’d love to see how they turned out!
Nothing makes me happier than seeing your take on my crafts. So, tag me at @bullocksbuzz (Instagram and Facebook) or @alainabullock (on Twitter). And be sure to use #BullocksBuzz so I can see your creation and so can everyone else!
If you get a chance, please comment and leave me a ⭐⭐⭐⭐⭐ rating on the printable craft card below!
And don’t forget to share this craft with friends and family by using the social share buttons right below the post title!
More Halloween Crafts
if you like these DIY Halloween Ornaments, then I bet you will love these other Halloween crafts!
- DIY Halloween Wreath – Black, purple and orange wreath for Halloween
- FaBOOlous Boo Kit – BOO It Forward with These Halloween Monster BOO Kits
- DIY Halloween Sign – Friendly Ghost Sign
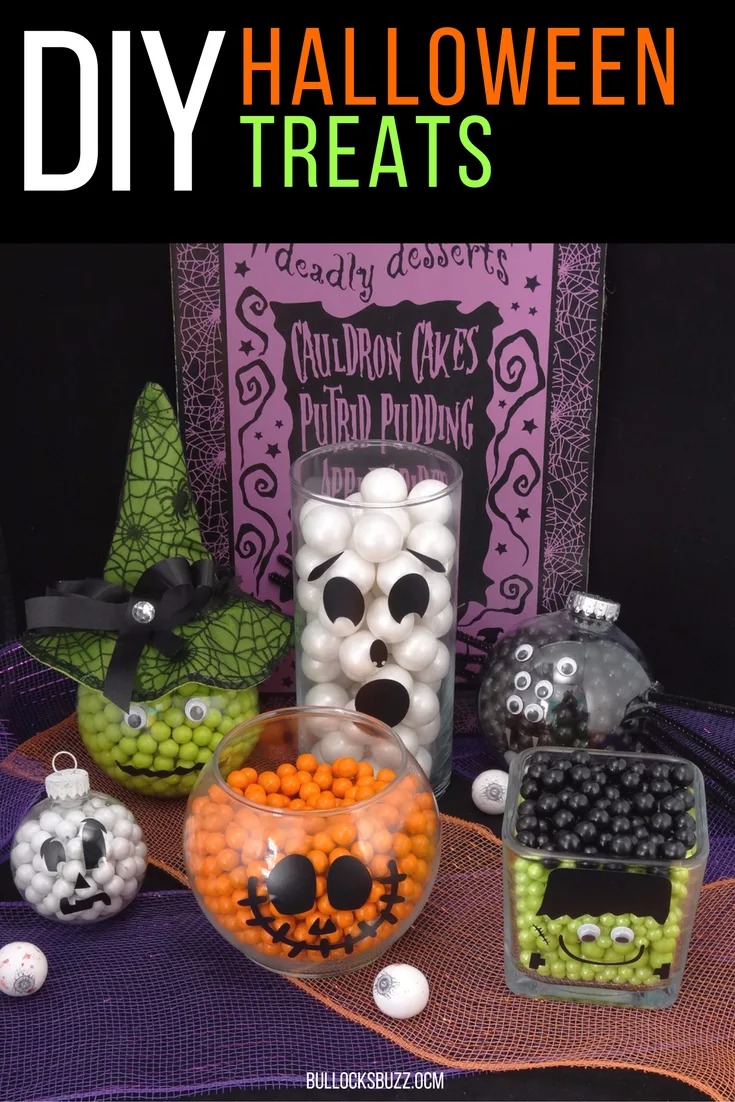
And be sure to check out these spooktacular DIY Halloween Candy Jars, too!
LET’S BE FRIENDS! STAY UP TO DATE ON ALL BULLOCK’S BUZZ FUN BY FOLLOWING ME ON:
