This post may contain affiliate links. I only recommend products I use and love. Read the full disclosure here
Updated on: September 21, 2022
Originally published on: October 10, 2020
This easy and inexpensive DIY Halloween Wreath idea is a spooktacularly simple Dollar Tree decor project! It’s so pretty and cute, your friends will be dying to know where you bought it!
Halloween is truly one of my favorite holidays to decorate for! I absolutely love adorning my home with pumpkins, skulls, and other spooky decorations, as well as creating vignettes like this Haunted Harlequin Halloween tablescape.


DIY Halloween Decorations
Another favorite way of mine to decorate is by crafting my own DIY Halloween decorations. Doing so is not only inexpensive and unique, it’s also a great way to show your personality.
Over the years I’ve made all sorts of eerie Halloween decorations. Like this cute Halloween sign, these candy-filled Halloween ornaments, and these upcycled pumpkin lanterns. I’ve also made lots of wreaths!
Speaking of wreaths, a DIY Halloween door wreath is another frightfully fantastic way to create some Halloween ambiance around your home. And if you make your own DIY Halloween wreath, you won’t have to spend lots of money, either. Store-bought wreaths are so expensive, it’s scary!


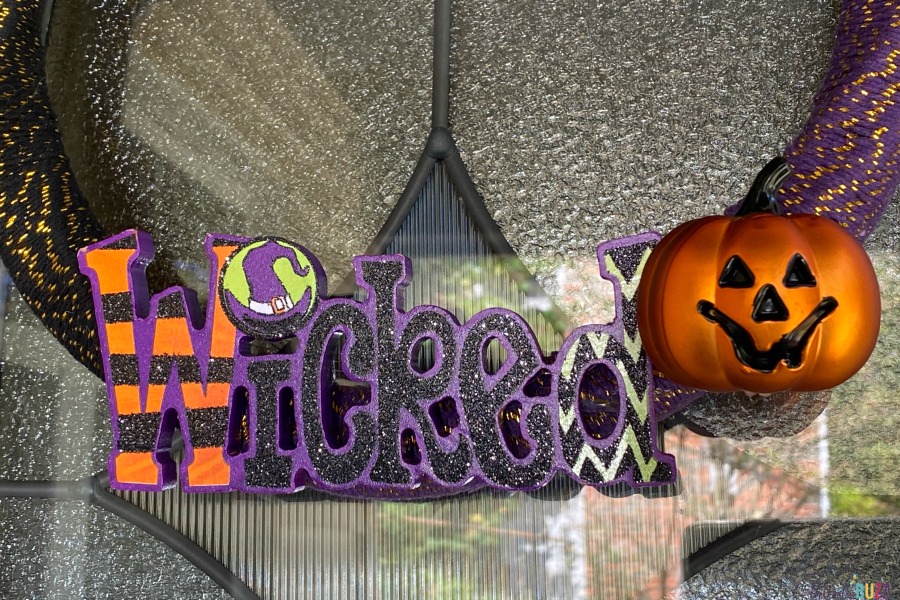
This particular DIY Halloween Wreath was almost entirely made with supplies from my local Dollar Tree. Only the “wicked” sign and the pumpkin pick came from Hobby Lobby, the total of which was a mere $4.00. So this entire DIY wreath cost me around $6 to make!
Of course, the Dollar Tree also has Halloween signs and picks so if you used everything from there, it’d only cost you $4! How awesome is that?!
Here’s how I made this super cute Halloween door wreath using supplies from the Dollar Tree.
How to Make a DIY Halloween Wreath with String or Bakers Twine
This Dollar Tree DIY Halloween wreath idea is so easy to make it’s eerie!
Seriously…anyone can do it! If you have about a half-hour, and even the tiniest piece of a crafty bone in your body, this DIY Dollar Tree Halloween Wreath is perfect for you!
Disclosure: This blog post contains affiliate links for products I think you’ll love. If you make a purchase from one of these links, Bullock’s Buzz will make a small commission at no additional cost to you. As always, I only recommend products that I have (or have had), use, and love.

Halloween Wreath Craft Supplies
Here are the supplies you’ll need for this DIY Halloween wreath idea. *Please note, these links go to similar items on Amazon which will cost more than the ones at the Dollar Tree. So, check your local dollar store first. 🙂
- Scissors
- string – I used baker’s twine with gold in Halloween colors
- Halloween colored artificial flowers
- small Halloween sign for wreaths
- Halloween picks for wreaths
- hot glue gun and glue sticks
- wood bend wreath form aka wicker wreath form

How Do You Make a Dollar Tree Wreath?
This DIY Halloween craft using supplies from the Dollar Tree is frightfully simple to make with only four quick steps! In less than 30 minutes you can have a spooktacular DIY Dollar Tree Halloween Wreath that’ll put others to shame.
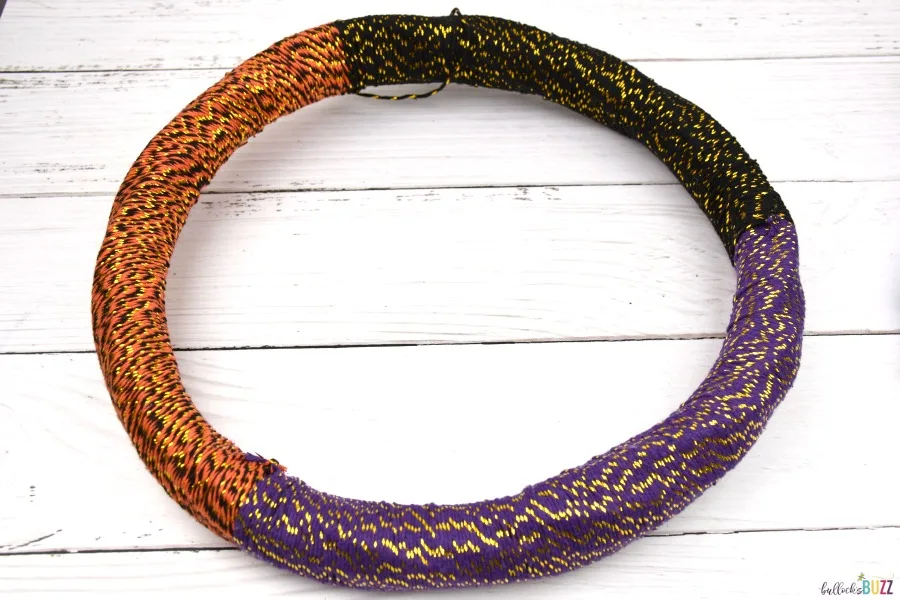
1. Step One: Wrap Wreath Form in String
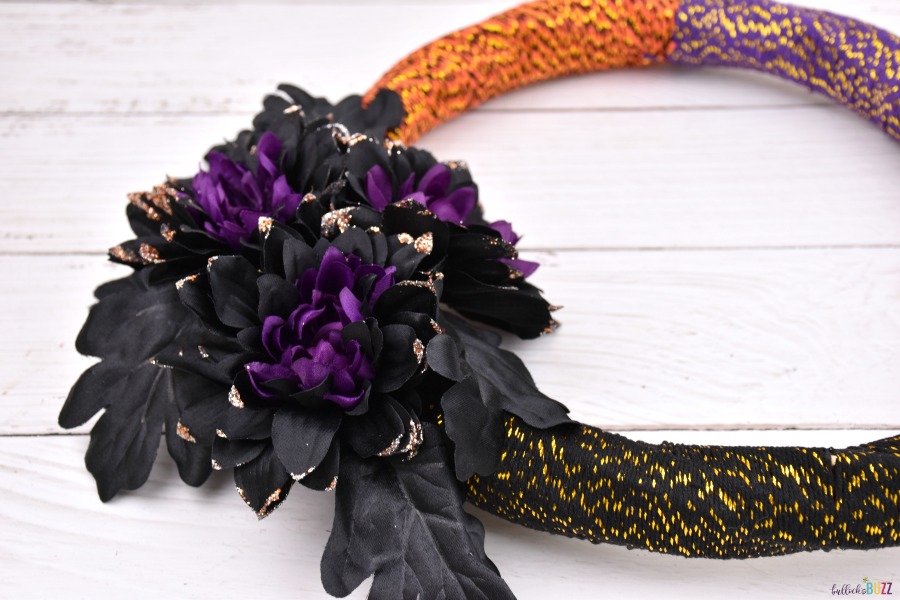
First, begin by tightly wrapping the wicker wreath form in the baker’s twine. Since I used black, orange, and purple string, I wrapped about 1/3 of the wreath in each color.


Tie off the first color as you begin to wrap the wreath form. Then, when you are finished with it, tie it off once again making sure that the knots are on the backside of the wreath so nobody will see them. Repeat with the other colors.
Also, as you wrap, be sure that each loop of string is tightly up against the one before it so there are no blank spaces.
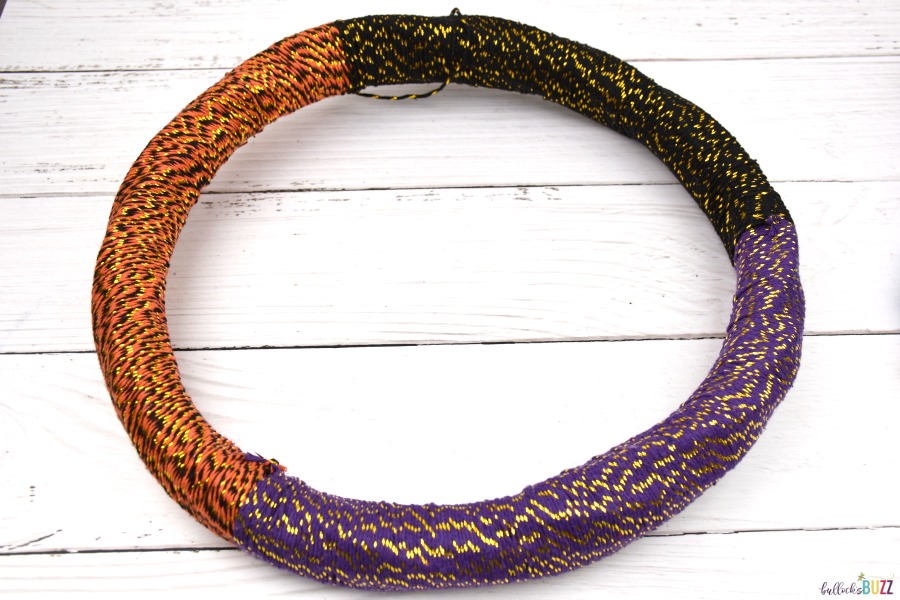
Don’t forget to leave a bit of excess string to form a loop with to use to hang your wreath.
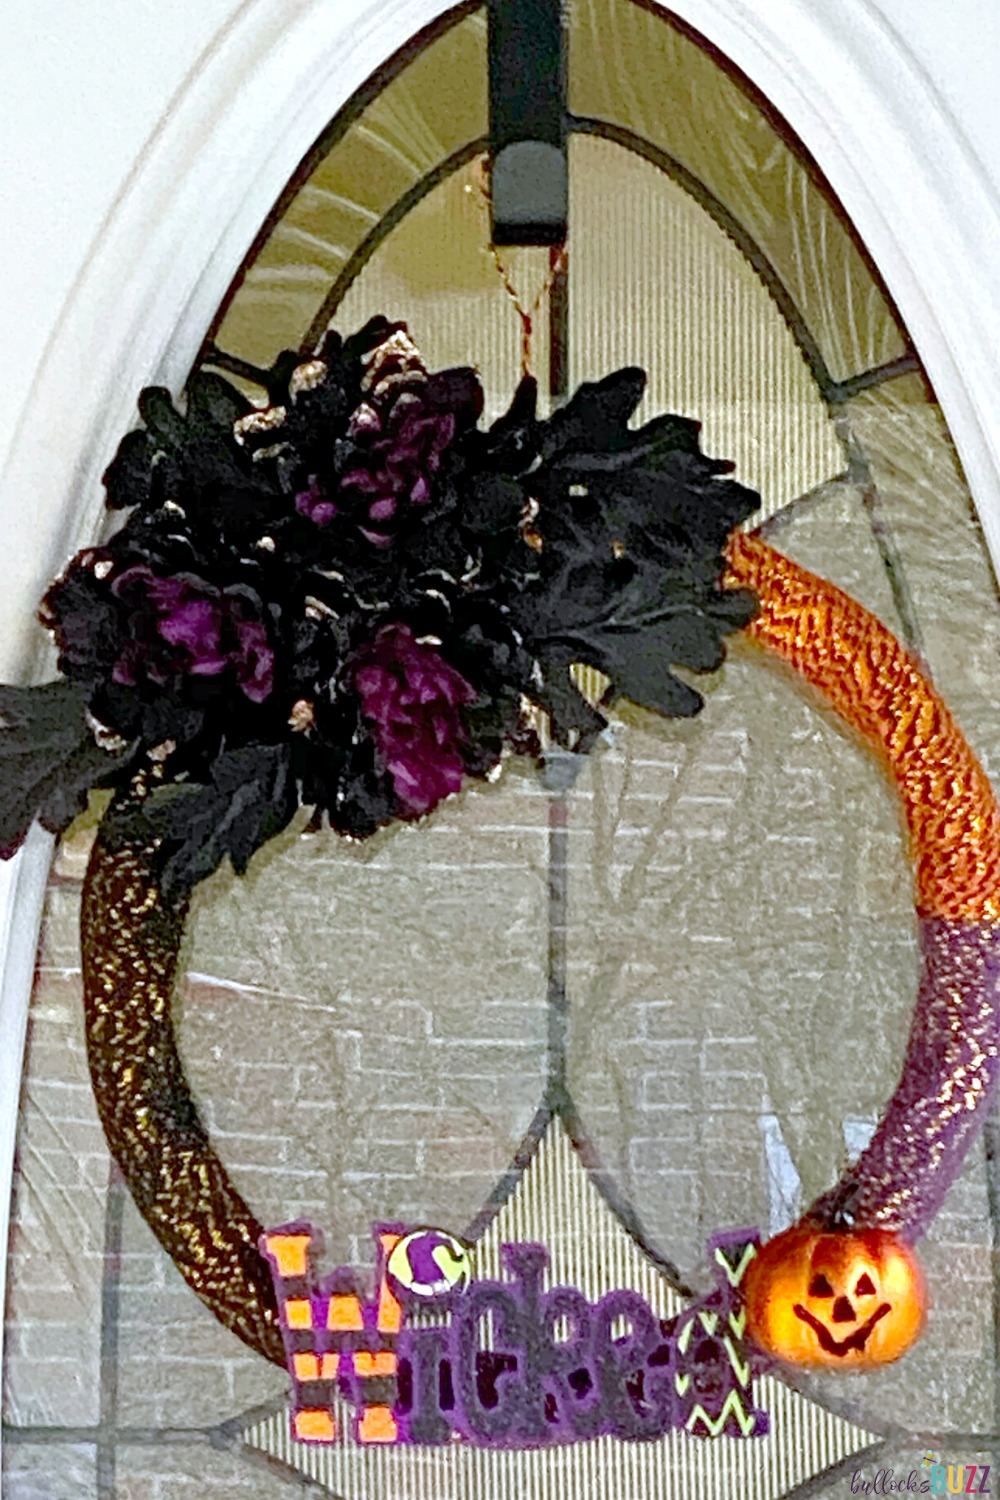
2. Step Two: Add the Halloween Flowers
Next, using hot glue, carefully attach the artificial flowers to the top left of the wreath, allowing the glue to dry completely before moving on to step 3.

3. Step Three: Add the Halloween Sign
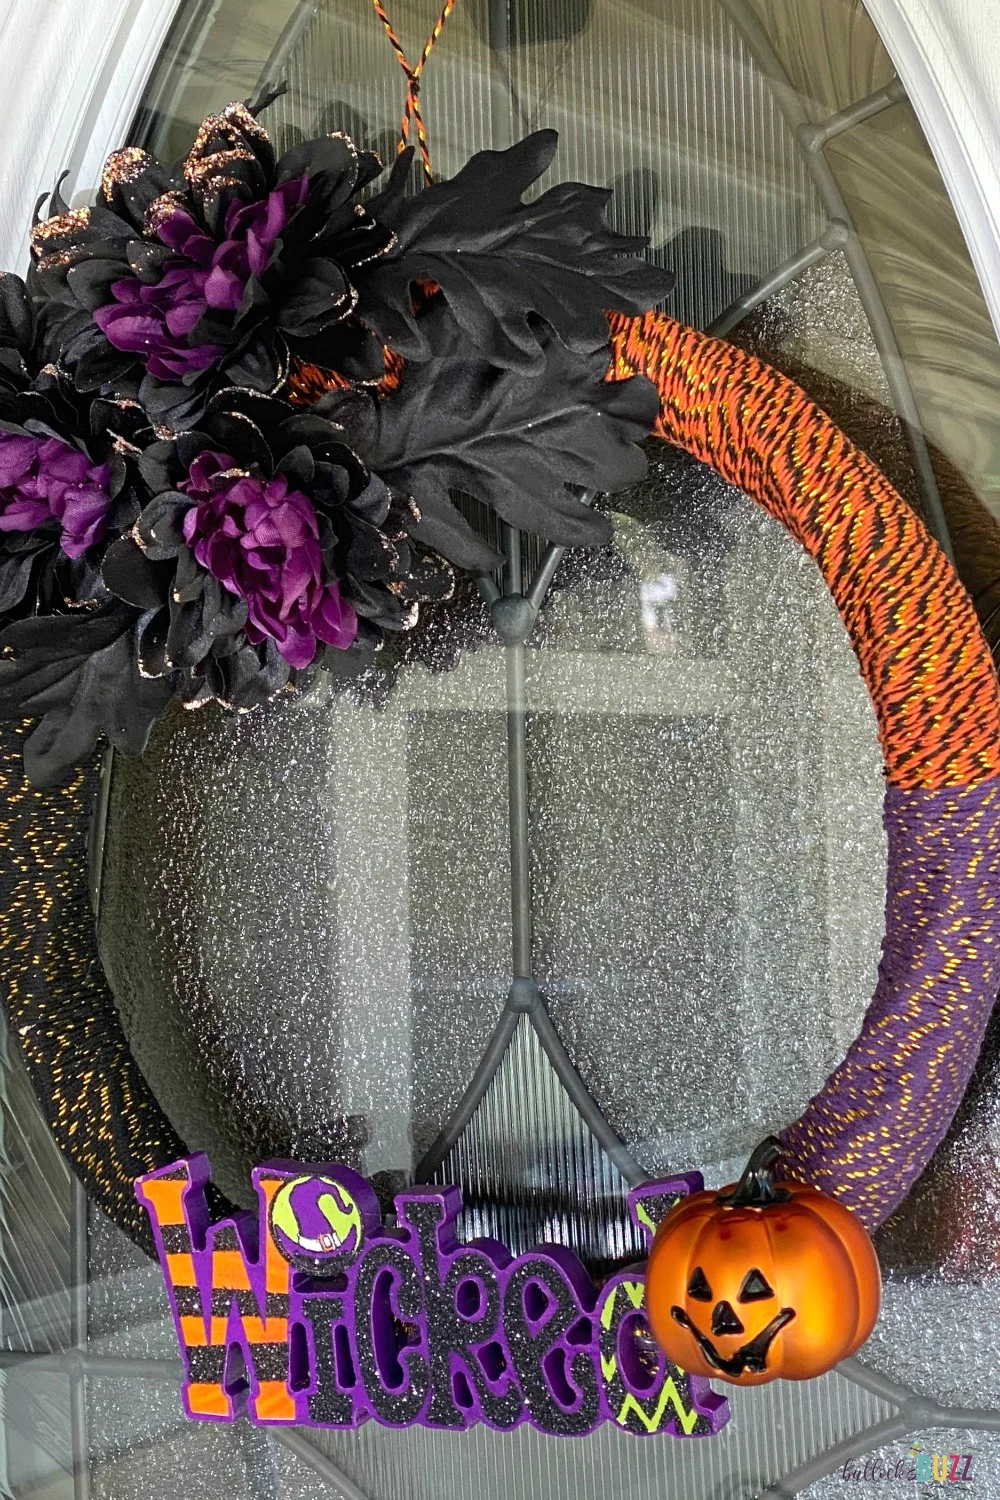
Now, use hot glue to securely attach the sign to the bottom of the wreath. Allow the glue to dry completely before moving on.
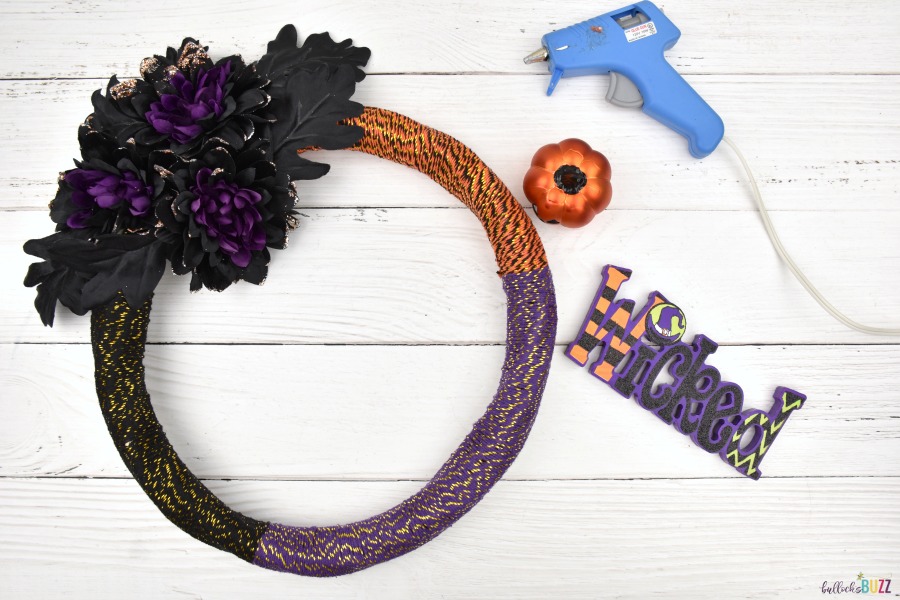

4. Step Four: Add Halloween Pumpkin Pick
Lastly, remove the pumpkin from the pick, then attach it next to the sign with hot glue. Again, wait for the glue to dry completely.
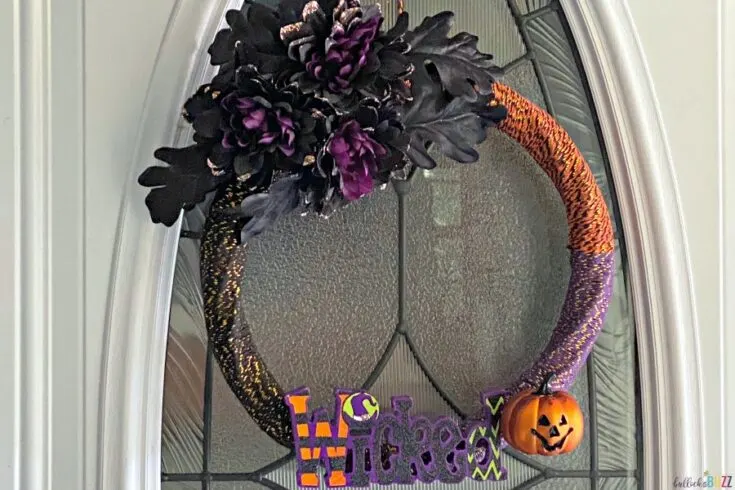
And that’s it! How simple was that?
Now all that’s left to do is hang your Dollar Tree DIY Halloween Wreath for everyone to enjoy!

More DIY Halloween Wreath Ideas
Remember how I said that I have made a lot of Halloween wreaths? Well, here they are! I think you’ll find that these DIY Halloween wreath ideas are dreadfully delightful!
Printable DIY Dollar Tree Halloween Wreath Instructions
DIY Halloween Wreath Idea

This easy and inexpensive DIY Halloween Wreath idea is a spooktacularly simple Dollar Tree decor project! It's so pretty and cute, your friends will be dying to know where you bought it!
Materials
- 1 12-inch wicker wreath form
- 3 stems Artificial flowers, Black and purple
- 1 small Halloween sign (made for wreaths)
- 1 Halloween pick
- 3 rolls Baker's Twine, Halloween colors
Tools
- Hot glue gun
- Hot glue sticks
Instructions
- Begin by tightly wrapping the wicker wreath form in each color of the baker's twine, making sure that each color has an equal section. Remember to tie off each color as you start and finish it, leaving enough string from the final color to form a loop for hanging.
- Next, use hot glue to attach the Halloween flowers on the top left of the wreath. Allow the glue to dry completely.
- Now add the Halloween sign to the bottom middle, again letting the glue dry completely before moving on to step 4.
- Lastly, remove the stick from the pumpkin pick, and then hot glue the pumpkin next to the sign. Once the glue is completely dry, hang the wreath and enjoy!