This post may contain affiliate links. I only recommend products I use and love. Read the full disclosure here
Last Updated on January 15, 2022 by Alaina

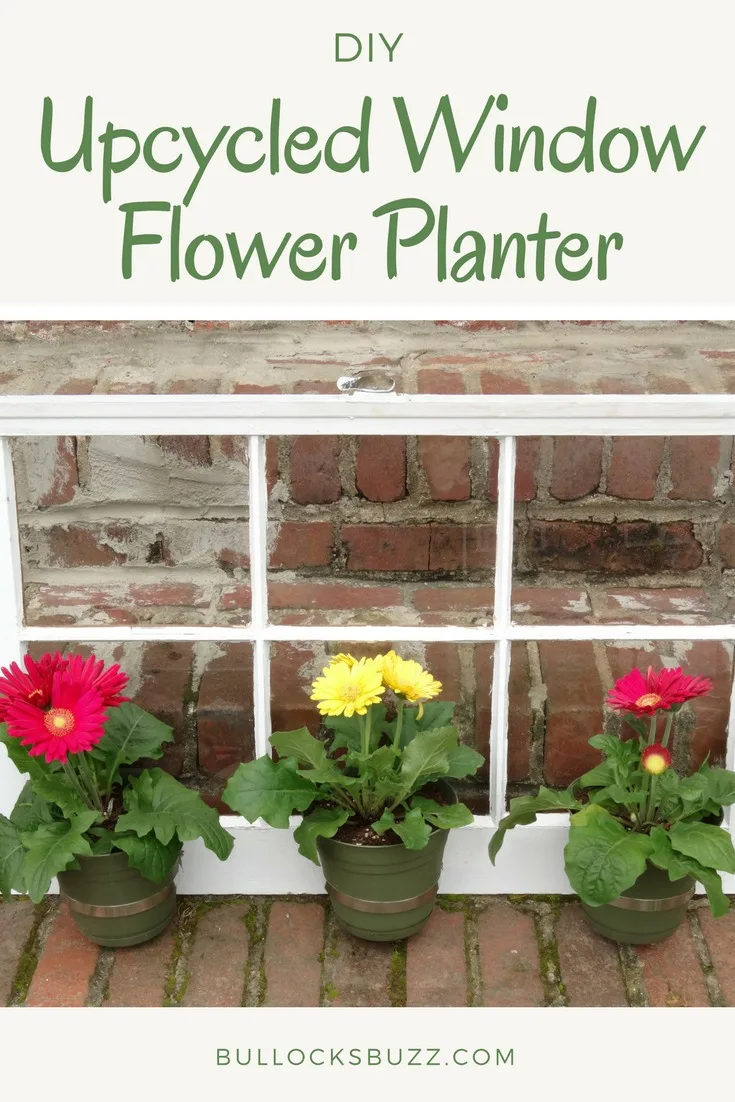
Spring has finally sprung! Warm weather, colorful flowers, longer sunny days – there is so much I love about spring! It makes me feel refreshed, happy – and in the mood to create! And speaking of creating, I am so excited to share this spectacular spring craft I made – a DIY Upcycled Window Flower Planter! But first…
Windex® Foaming Glass Cleaner Makes Spring Cleaning a Breeze!
When I think of spring you know what else comes to mind? Spring cleaning. Okay, I’ll be the first to admit that cleaning is not my favorite thing regardless of the season. But once spring rolls around, I go to town cleaning everything in our home. And one of the first things I tackle are the windows. I want them to be crystal clear and sparkling clean.
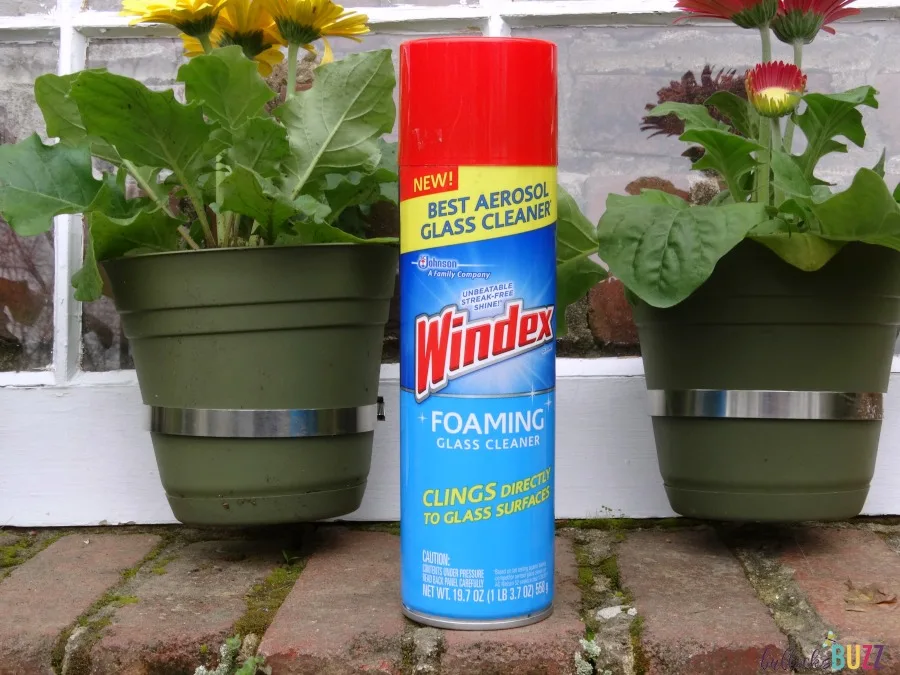
My husband and I recently replaced all of the old wood windows in our house. And while I love my brand-new windows, keeping them clean with a house full of children, pets, family, and friends isn’t very easy. Luckily, spring cleaning glass surfaces just got a whole lot easier thanks to Windex® Foaming Glass Cleaner.
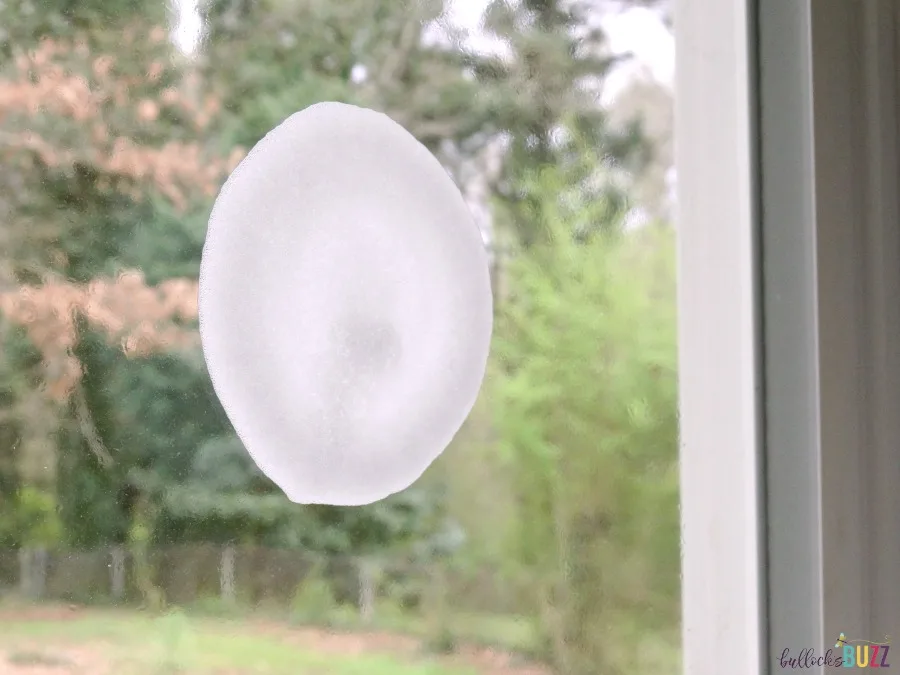
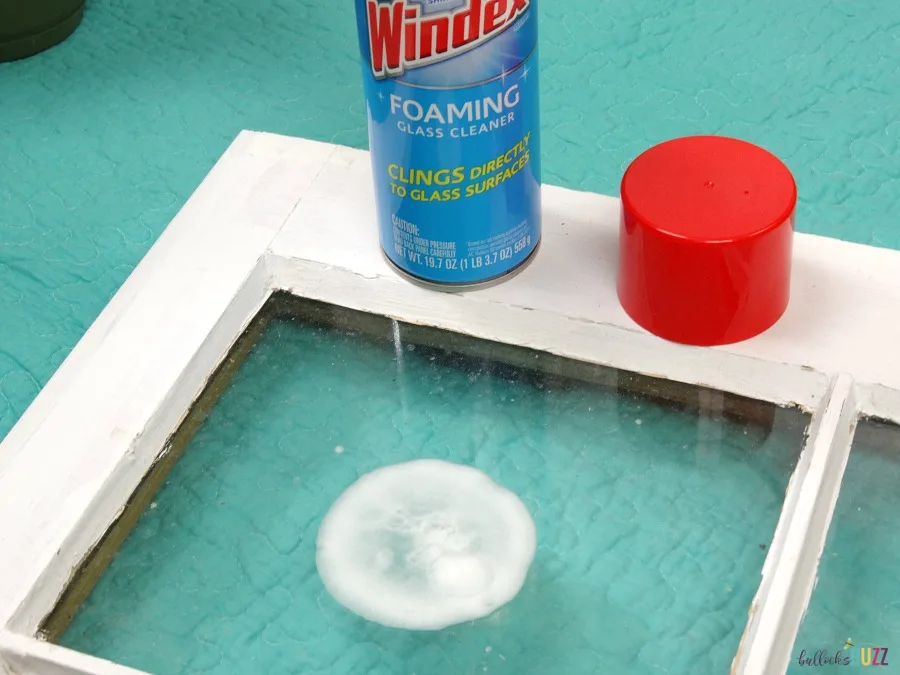
Just like the name implies, Windex® Foaming Glass Cleaner is an aerosol cleaner that actually foams when you spray it on. The foaming formula clings directly to the glass surface, without dripping down. No more having to rush to wipe the cleaner before it runs down the surface.
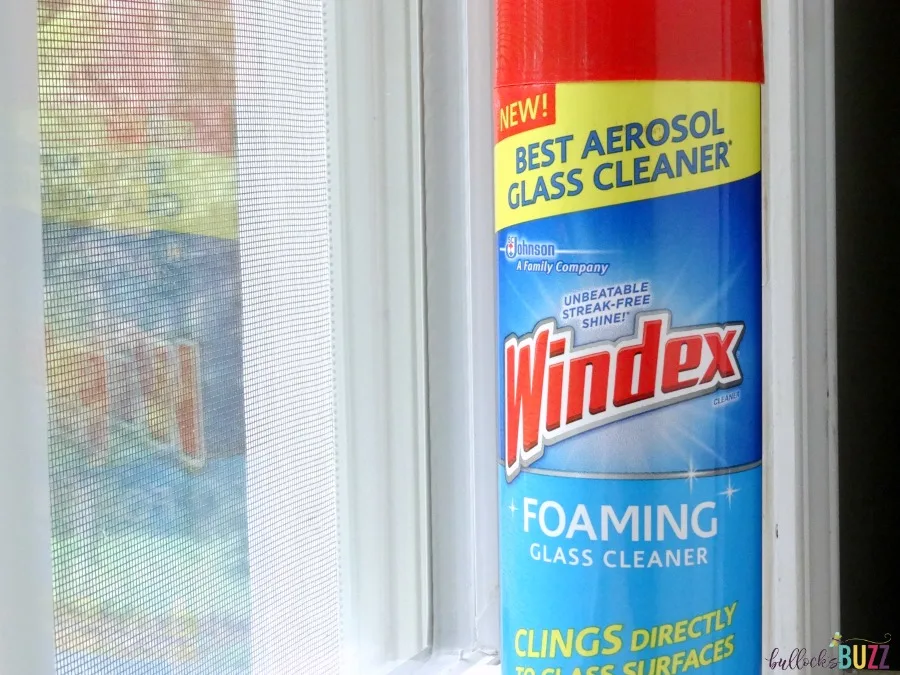
And it’s so easy to use! Simply spray it on, and then wipe it off (a paper towel or lint-free cloth works just fine). It easily cuts through dirt, grease, and grime, so there’s no need to scrub. And it leaves a wonderful streak-free shine! It took me about 15 minutes to clean all of our windows, and they all look just like they did the day they were installed.
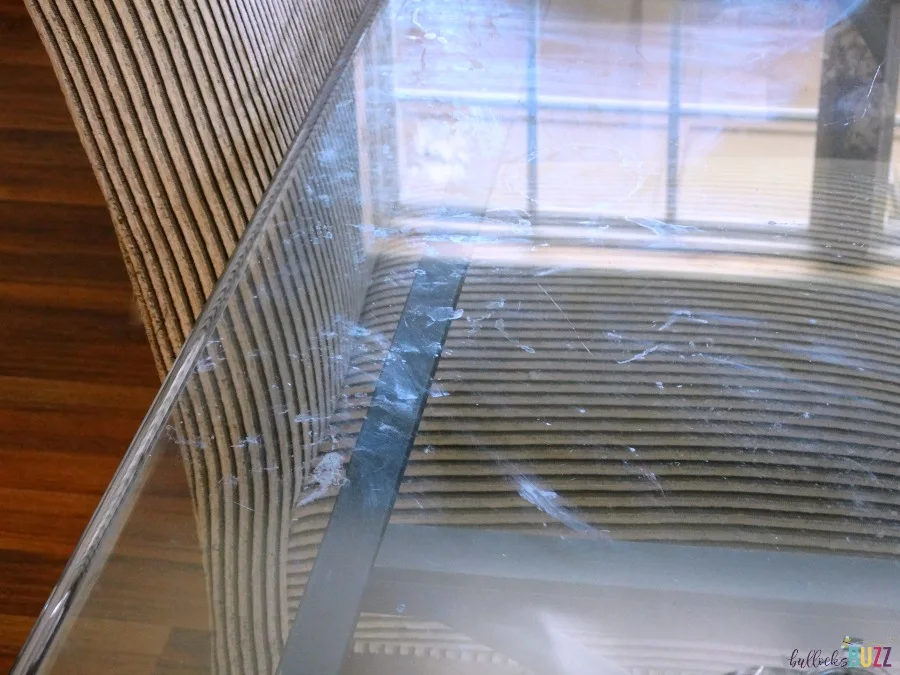
And just look at what it did for my glass topped table! I was hesitant about showing this picture (embarrassing!) – my table was so dirty. But it is such a great example of how well Windex® Foaming Glass Cleaner works.
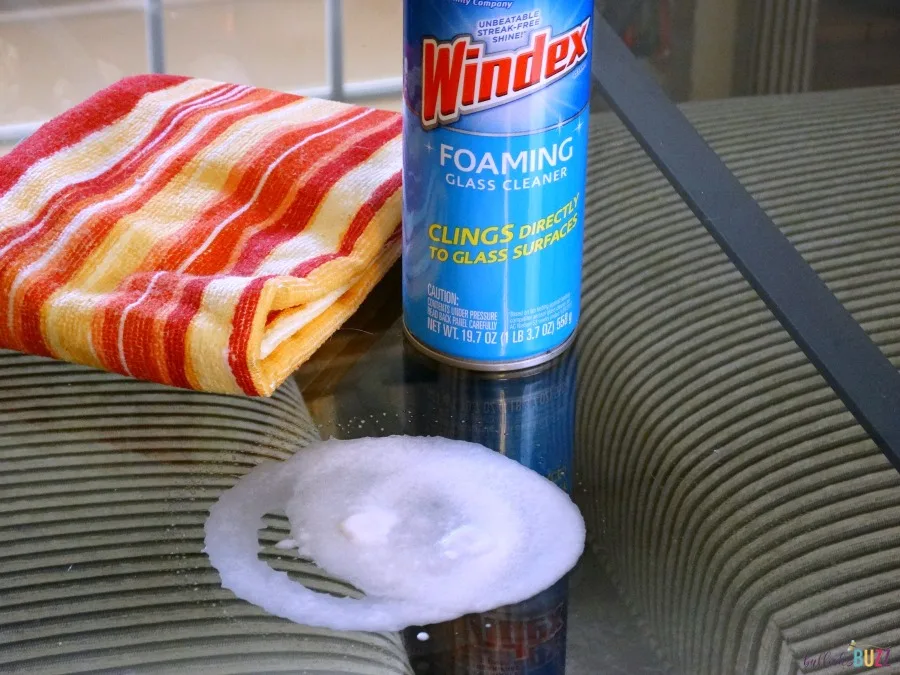
Just look at the difference!
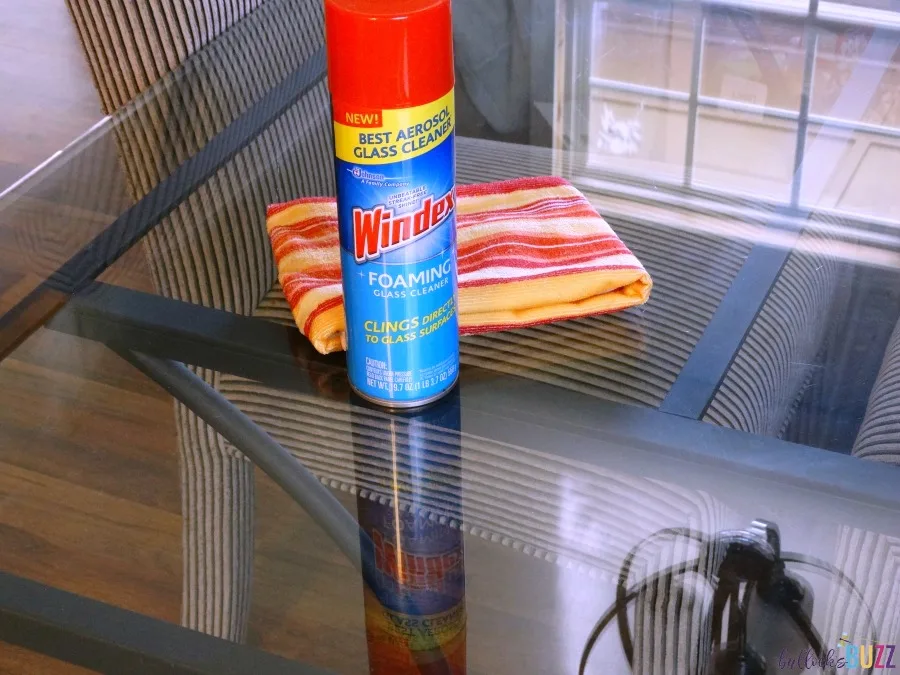
Windex® Foaming Glass Cleaner works on all sorts of surfaces including mirrors, windows, glass tile, counters, appliances, sealed granite and more. Want to try it for yourself? You can find Windex® Foaming Glass Cleaner in the cleaning aisle at your local Walmart.
DIY Upcycled Window Flower Planter Tutorial
Speaking of windows… those old wood windows we replaced? Well, they are all sitting in my basement just begging to be upcycled. And since it’s spring, I figured what better use for an old window than to upcycle it into a gorgeous garden piece?!
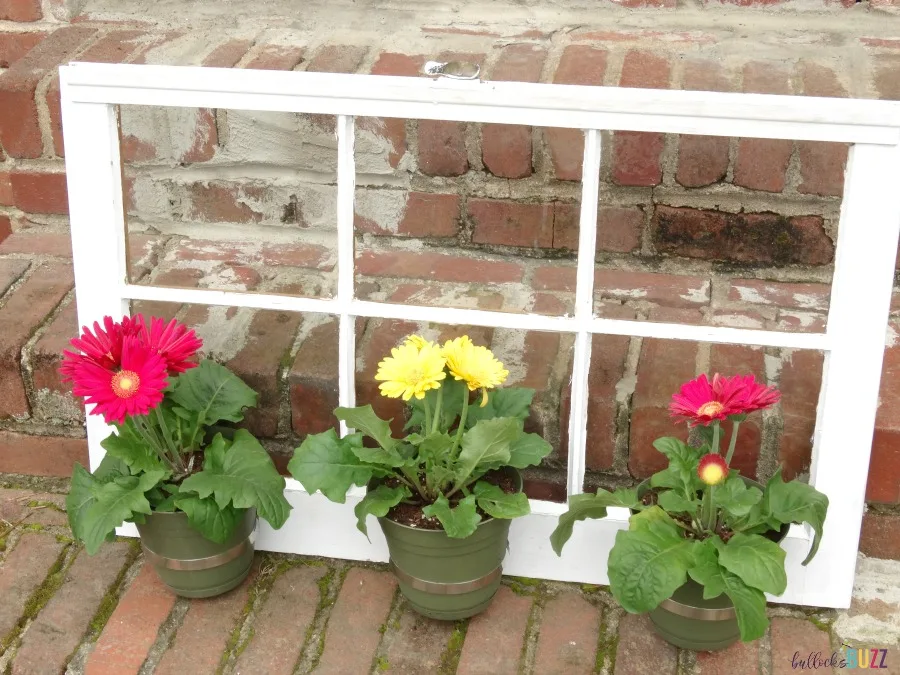
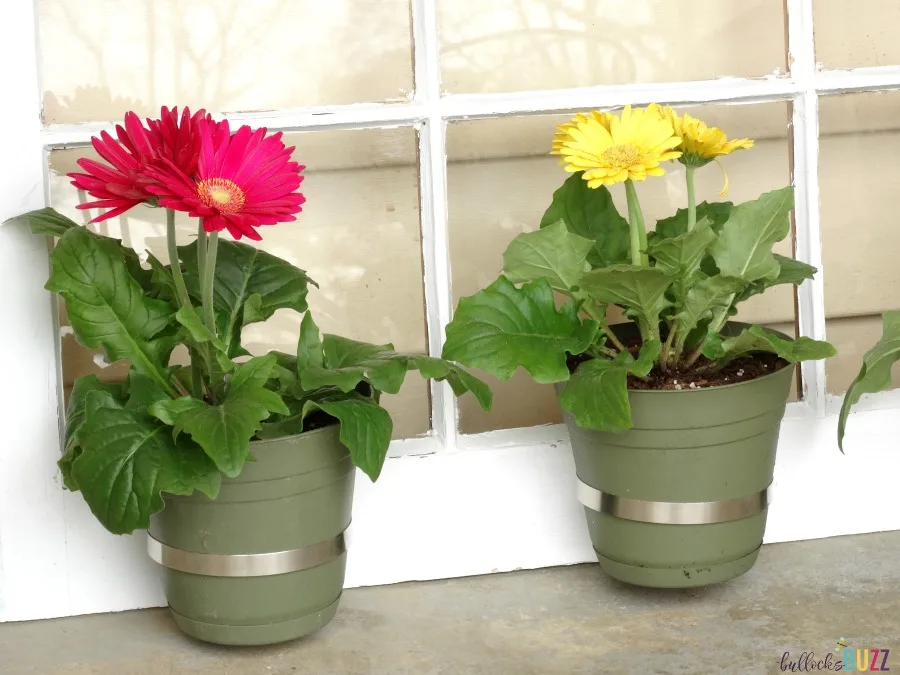
This simple flower planter made from an old window not only looks amazing, but it’s also incredibly easy to make. And since the flowers are in removable flower pots, they can be easily switched out for more flowers or even herbs as the seasons change. Ready to see how to make this adorable Upcycled Window Flower Planter?
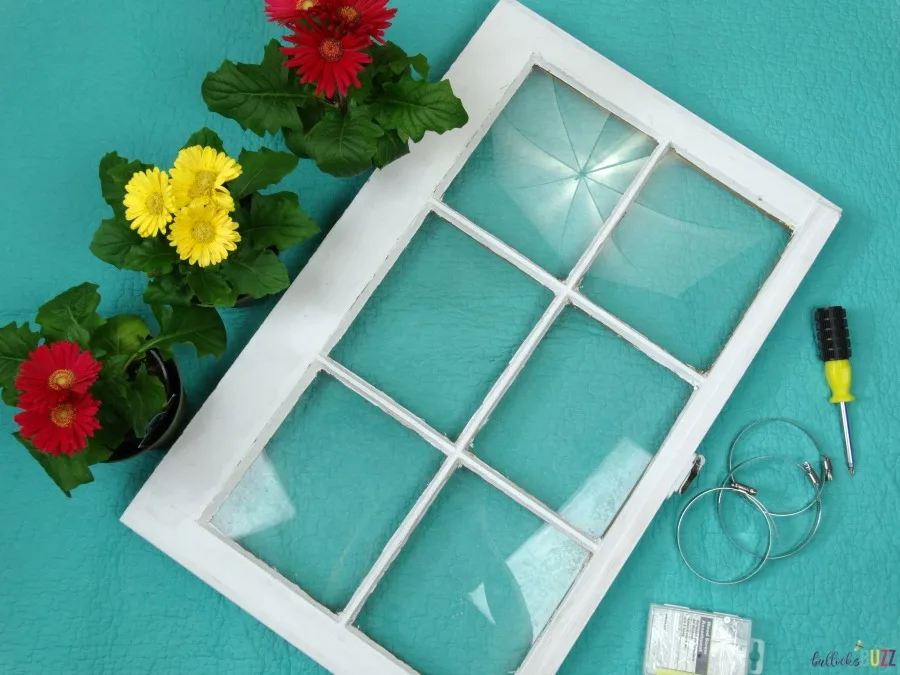
What You Need To Make An DIY Upcycled Window Flower Planter
- Windex® Foaming Glass Cleaner
- Any old wooden window (look at garage sales, flea markets, Craigslist, etc)
- Flower pots – I used three 6-inch pots for my window flower planter
- 3 small plumbing hose clamps (size will depend on your flower pot size, mine were 5-6″)
- Wood Screws (3 to 6 depending on the weight of flower pot)
- Drill or screwdriver
- Measuring tape or ruler
- Pencil
How To Make An DIY Upcycled Window Flower Planter
The first thing when making this DIY Upcycled Window Flower Planter was to sand off any flaking paint, then I wiped down the entire frame. I then cleaned both sides of the window panes. Windex® Foaming Glass Cleaner made this a cinch!
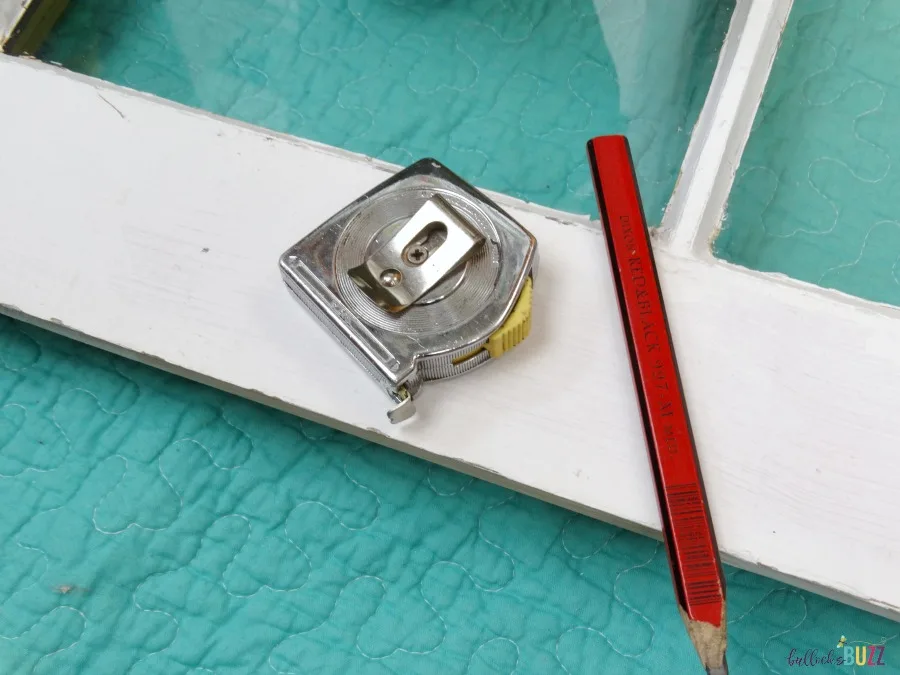
Next, using a tape measure and pencil, I divided the window into thirds and marked off where I wanted each planter to hang. Be sure to consider how far up from the bottom edge of the frame you want the clamps, as well as how far down your flower pots are going to sit inside the clamps. This way, if you are not going to hang your Upcycled Window Flower Planter, you can be sure the flower pots do not hang down too far below the bottom of the frame preventing it from sitting flat on the ground.
I then attached the hose clamps to the window frame using wood screws. If you have a drill, this will be a cinch. Simply place a hose clamp on the pallet with the holes touching the wood. Hold the screw in the place where you marked the wood and use your drill to firmly but carefully screw each hose clamp to the window.
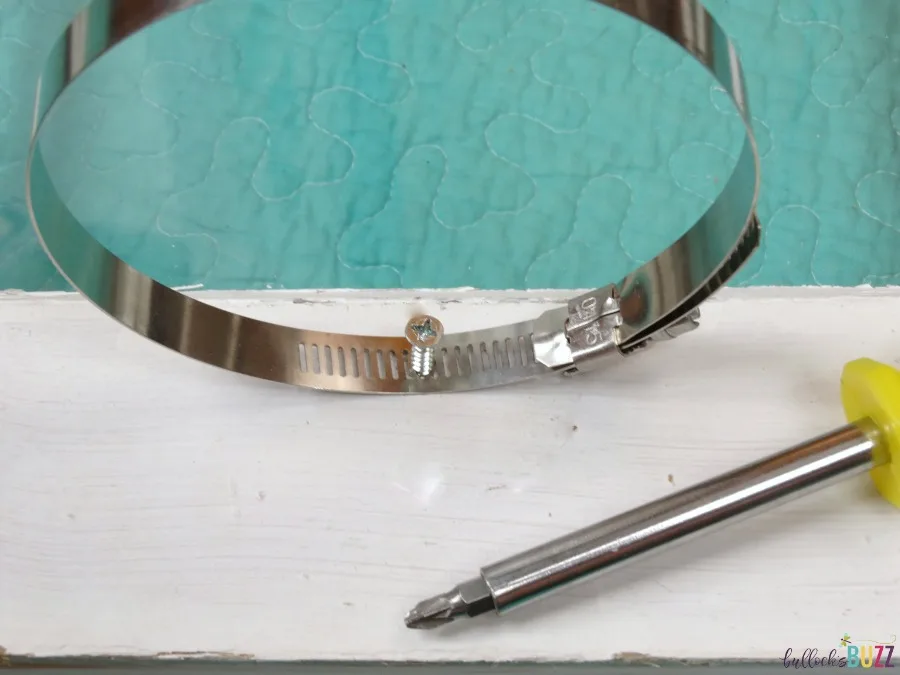
If you do not have a drill, you can take a large nail and hammer it through one of the holes in the hose clamp until it is bent open wide enough for the screw to fit through.
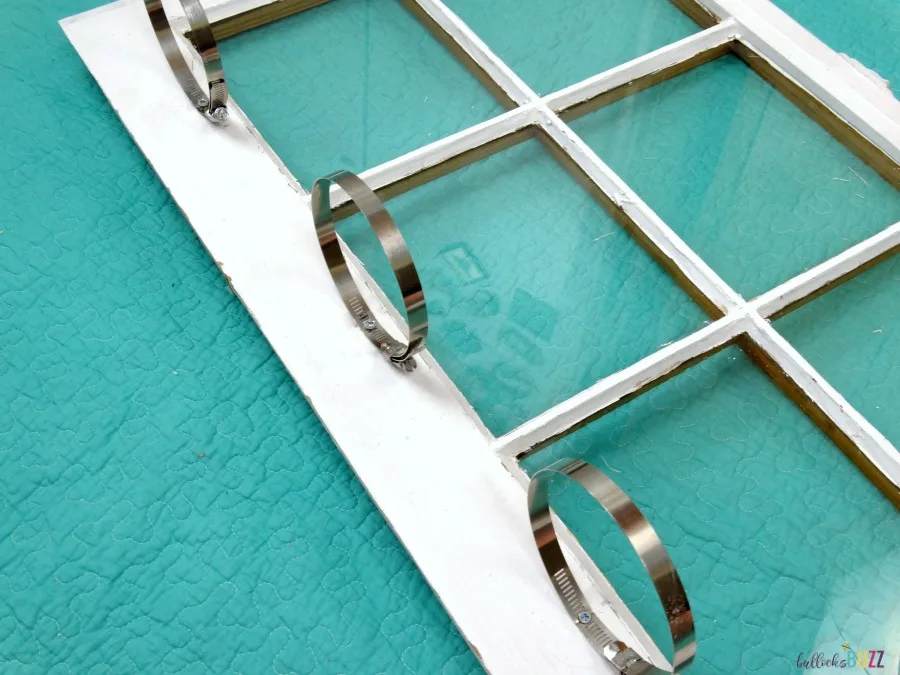
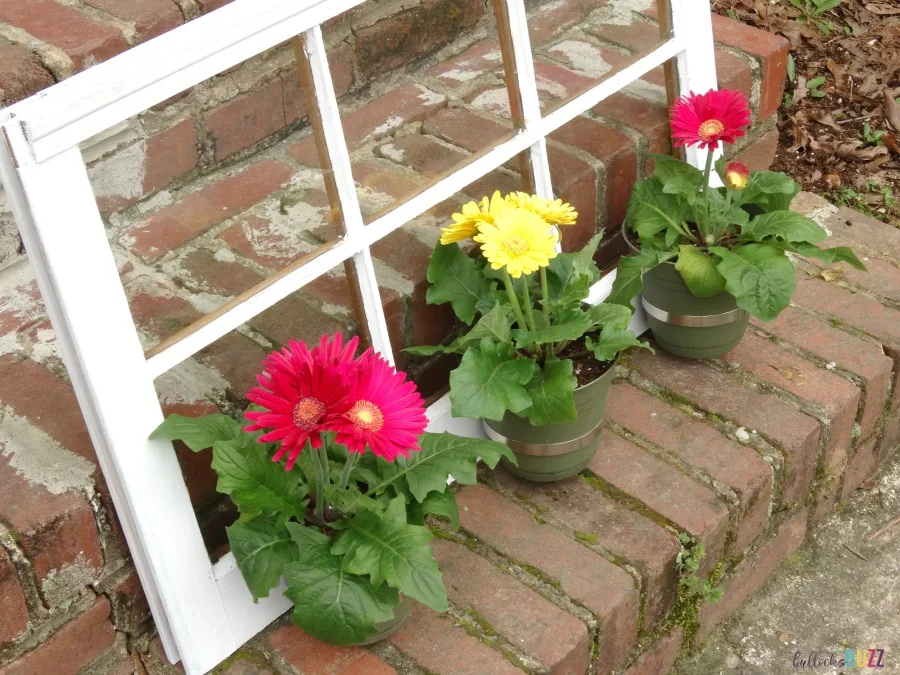
Once all of the clamps were attached to the window, all that was left was to insert the flower pots. And it’s done! Doesn’t it look great?!
More Easy DIY Planters
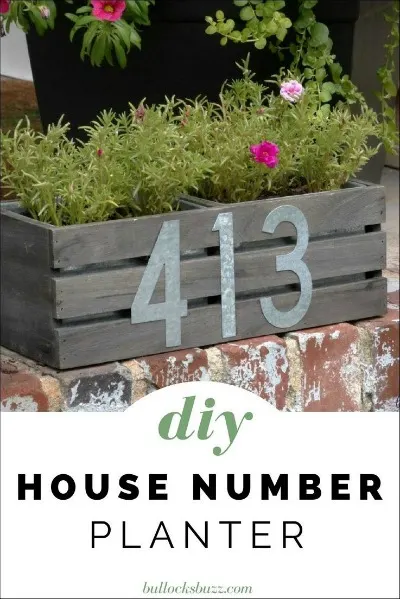
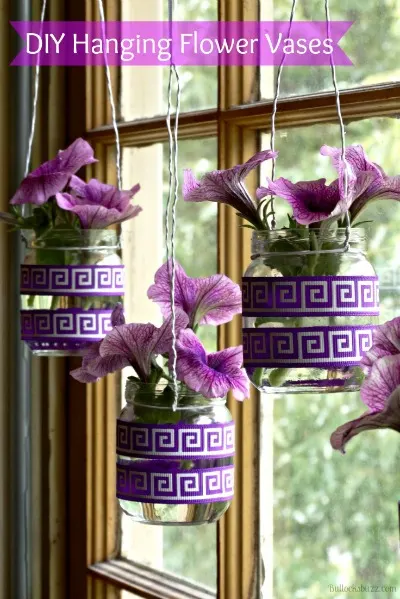
If you liked this Upcycled Window Flower Planter, then I bet you will love these other cute planters!
Do you have any upcycled craft ideas like this Upcycled Window Flower Planter? Share with us in the comments below! 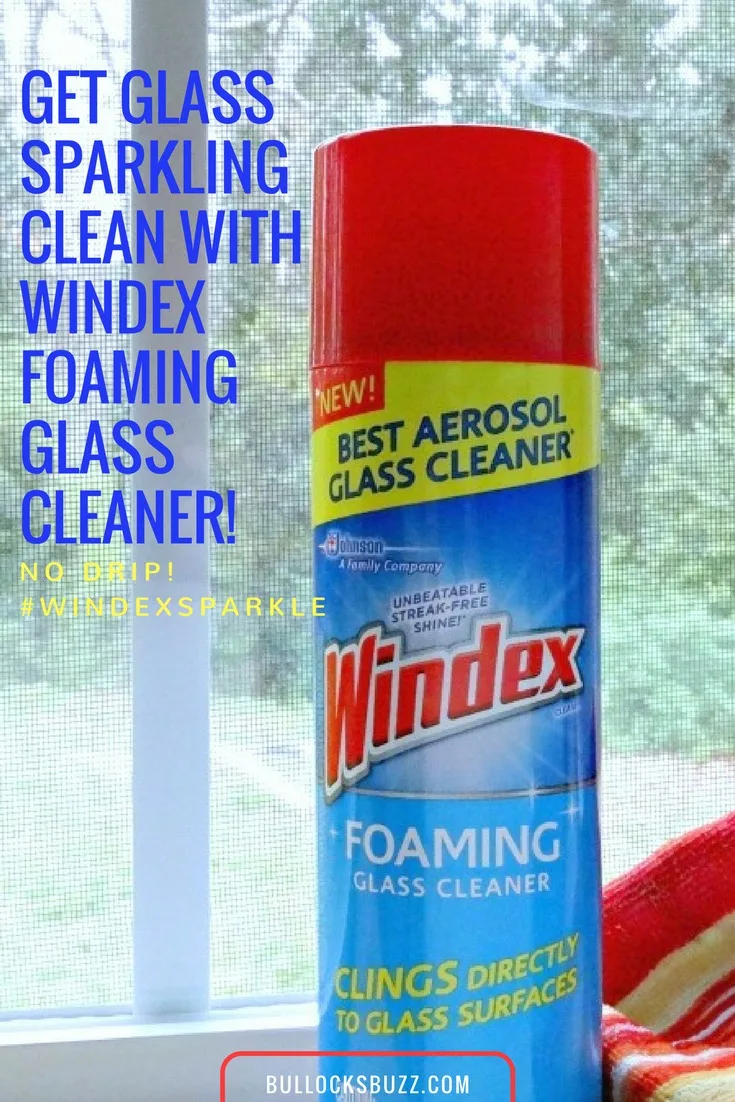

swathi
Friday 11th of May 2018
Yes I like windex foaming glass cleaner, I like your diy idea of upcycling the windows as flower planter, I considered them as good props for my photography.
Meegan Fast
Saturday 5th of May 2018
Such a great idea! AND, the Windex doesn't drip and spread all over! Love it. Thanks so much for everything. Have a great weekend.
Alaina Bullock
Monday 7th of May 2018
Thank you Meegan! It's a very fun craft! And I am loving this Windex - no drips, yay!
Lois Christensen
Saturday 5th of May 2018
What a fun idea! We have a couple of old windows lying around that would look great as planters. I like how the cleaner just foams up and doesn't drip all over too!
Alaina Bullock
Saturday 5th of May 2018
Thank you! I'd love to see if you use one of your windows to make it! And yes! This new Windex is awesome!