

This post may contain affiliate links. I only recommend products I use and love. Read the full disclosure here
Updated on: December 10, 2023
Originally published on: December 5, 2023
Yule love this DIY Christmas Cloche idea that will have your home twinkling with holiday magic! This charming Christmas decoration effortlessly brings a hint of Winter Wonderland ambiance to your home.
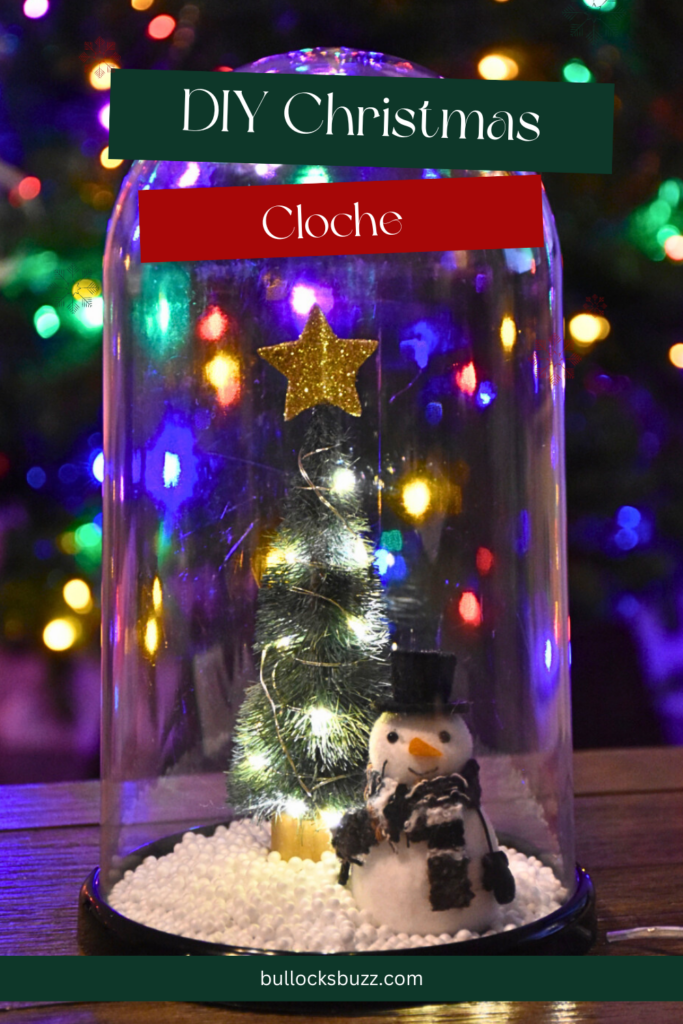
‘Tis the season for crafting joy, and what better way to spread holiday cheer than with a delightful DIY Christmas cloche? In this step-by-step guide, I’ll show you how to transform a simple cloche from Target into a winter wonderland featuring a twinkling Christmas tree and a friendly snowman.
As someone who relishes in the joy of crafting, the second I laid eyes on these plastic cloches at Target, I knew they could become fantastic DIY decorations. I couldn’t wait to get started crafting my DIY holiday decor!
First I made this creepy DIY Halloween Cloche, and now, I’m turning my creative spirit towards a Christmas twist with this whimsical winter wonderland-themed DIY Christmas Cloche.

Make Your Home Merry and Bright!
Deck the halls with a delightful Christmas Cloche, fa la la la la la la la la!
Cloches are such a great way to decorate. They are incredibly versatile, easily serving as festive centerpieces, mantel displays, or even windowsill decorations, allowing you to sprinkle holiday charm throughout your whole home.
This adorable little Christmas cloche could be used as decor in a window, on the mantel, on a side table, or even as a table centerpiece this Holiday season.
It’s not only a fun and festive way to get into the holiday spirit but also makes for a wonderful handmade gift. Plus, making one is so easy, it’s the perfect craft to make with kids!
Affordable Christmas Craft
Whether you’re a Santa’s little helper in the crafting world or a seasoned DIY enthusiast, this DIY Christmas Cloche is sure to bring joy to your crafting heart without making a dent in your holiday budget.
You can easily use items from your Christmas decor stash, the Dollar Tree crafts section, yard sales, or even items from your local thrift store to make them.
If you can’t find the perfect festive elements locally, you can sleigh your craft shopping on Amazon, Etsy, or eBay. Just search for “Christmas cloche decorations” or “holiday miniatures.”


How to Make a DIY Christmas Decoration – DIY Christmas Cloche
No sugarplum fairies are needed for this Christmas decoration craft. In just thirty minutes or less, you’ll have a charming DIY Christmas decoration that will make you the jolliest host or hostess in town! Below you will find the step-by-step instructions for creating this beautiful Christmas decoration.
I’ve even put together a video to guide (see above) you through the whimsical process of creating this DIY cloche. Plus, for your crafting convenience, I’ve compiled the full tutorial on a printable craft card, so you can save it for later or share the festive joy with friends and family.
Disclaimer: This blog post contains affiliate links for products that’ll sleigh your holiday decor game. If you make a purchase through these links, I might earn a small commission at no extra cost to you. As always, I only endorse products that I have (or have had), use, and love.


Supplies You Will Need to Make DIY Christmas Cloche
Trimming the halls with seasonal decor doesn’t have to be pricey, and this DIY Christmas Cloche proves it. It’s holly, jolly, and one of the best Christmas decor ideas that’s not only simple and fun but also light on the wallet—I crafted mine for right around $15!
Most of my items came from Target, Walmart, and Dollar Tree, but you can find similar supplies on Amazon as well.
Here’s what you’ll need for this festive DIY Christmas Cloche:
- Cloche – I got mine at Target, but Amazon has some Cloches with predrilled holes
- Mini Snowman – mine came from Walmart’s ornaments section, Amazon has a great selection
- Mini Christmas Tree (or bottle brush trees) – from Target or Amazon
- A mini star for the top of the tree – I used a wooden mini star from Amazon and covered it with glitter
- Small bag of fake snow
- Battery-operated mini LED string fairy lights
- ModPodge or other craft glue
- Hot glue gun and glue sticks
- Small paintbrush
- Drill with a small drill bit – I used a small wood drill bit (3/16″) and it went through the plastic smoothly and made the perfect size hole for the fairy lights.
DIY Christmas Cloche Instructions
Making this merry cloche for Christmas is as easy as spreading holiday cheer. Seriously, if you can wield a hot glue gun, you’ll be dashing through this DIY Christmas decoration in no time! So, gather your supplies, and let’s step into the magical world of crafting!
Step One: Top Off the Tree with a Star
Glue the mini star to the top of the Christmas tree using hot glue.


Pro Tip
Before drilling, lay out the cloche decor the way you want it. Use tape, if needed, to mark where you want to place the tree and the snowman. Then drill your hole. Make sure the hole will be hidden behind the tree.
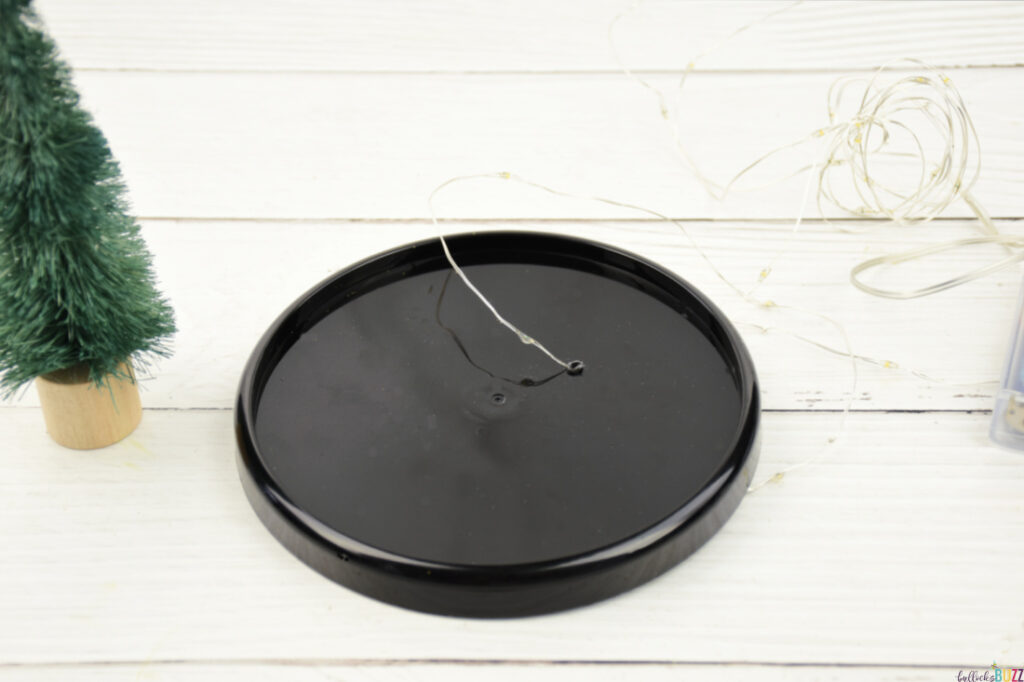
Step Two: Drill a Hole for the Lights
Begin by drilling a hole in the base of the cloche, just large enough for the string lights to fit through.


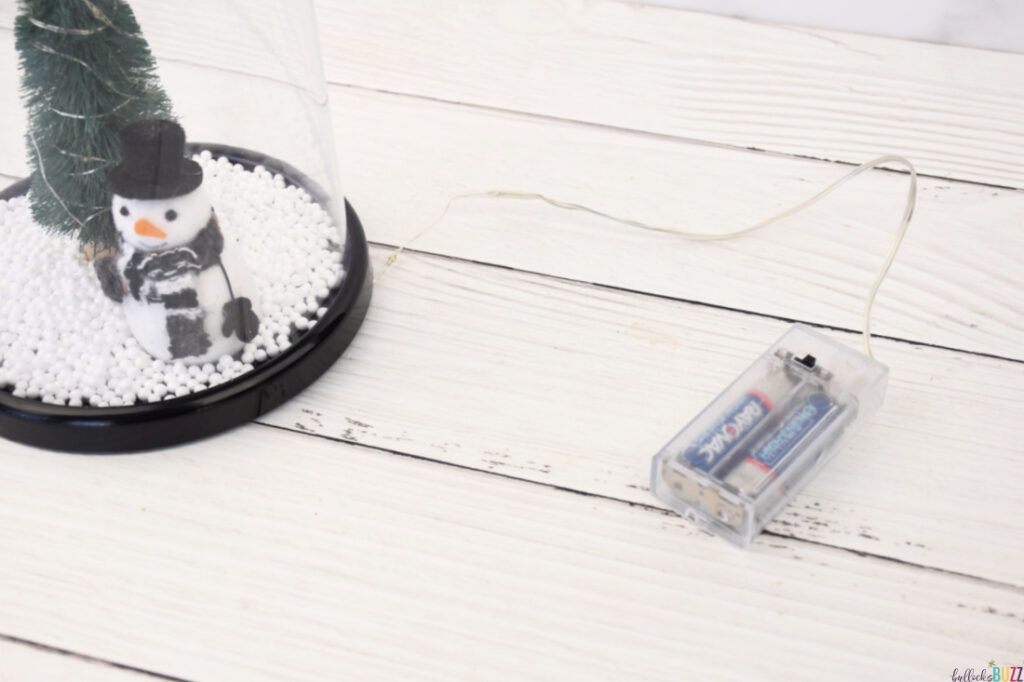
Step Three: Thread Lights Through the Hole
Thread the lights through the hole in the cloche base, pulling enough through to wrap around the mini tree.

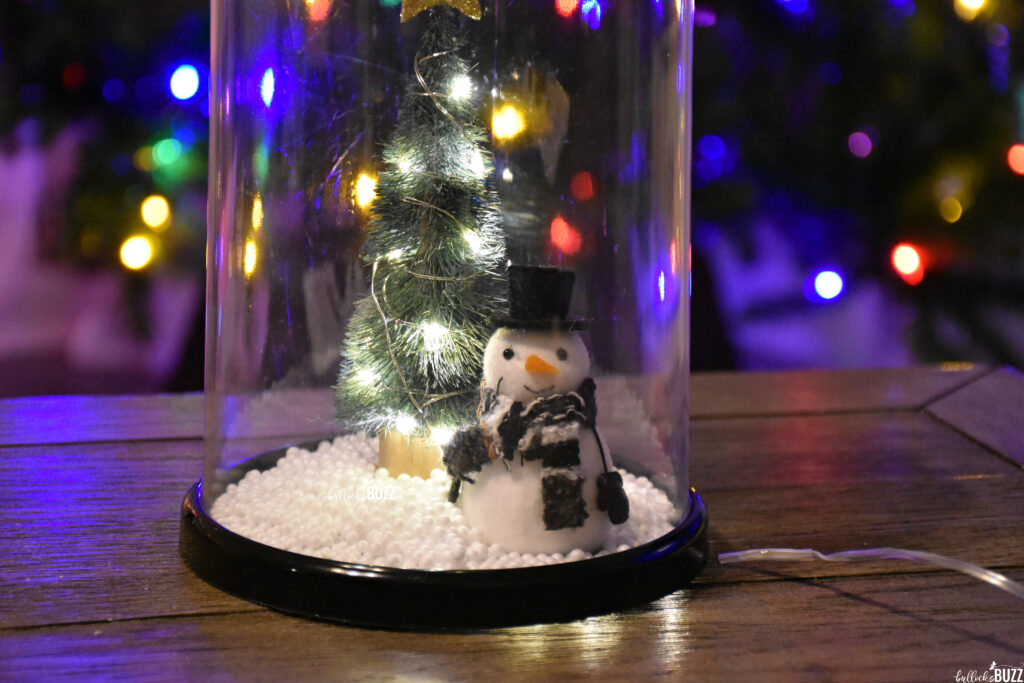
Step Four: Position the Christmas Tree and Snowman
Place the Christmas tree on the cloche bottom, ensuring it’s in front of the hole where the lights are threaded. Then wrap the lights around the tree, making sure the end of the string is tucked in on the back side of the mini tree.
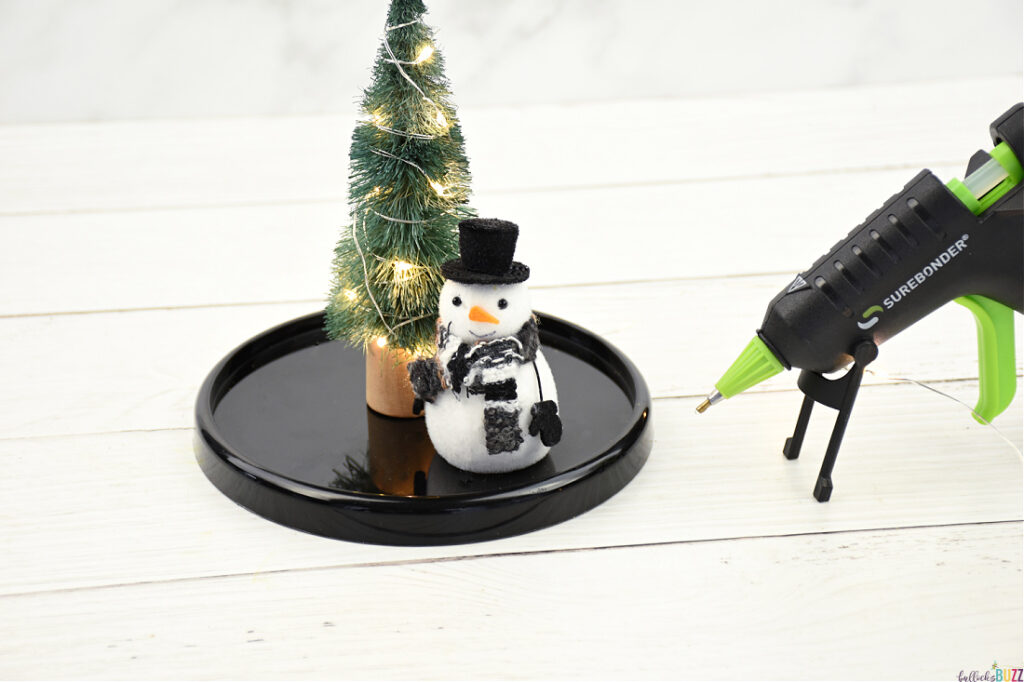

Step Five: Secure the Scene with Hot Glue
It’s time to give your Christmas tree and snowman a cozy home! Using your hot glue gun, carefully adhere the tree to the bottom of the dome base. Again, make sure it is in front of the hole to hide it. Repeat the process for the snowman, ensuring both are securely attached to the cloche bottom.


Step Six: Add ModPodge or Craft Glue to Prepare Your Frosty Finish
Using the paintbrush or your fingers, apply a thin layer of ModPodge or craft glue all over the cloche base making sure to get all around the Christmas tree and snowman. Be sure to avoid the area where the dome rests when closed. Make sure there are no empty spots.
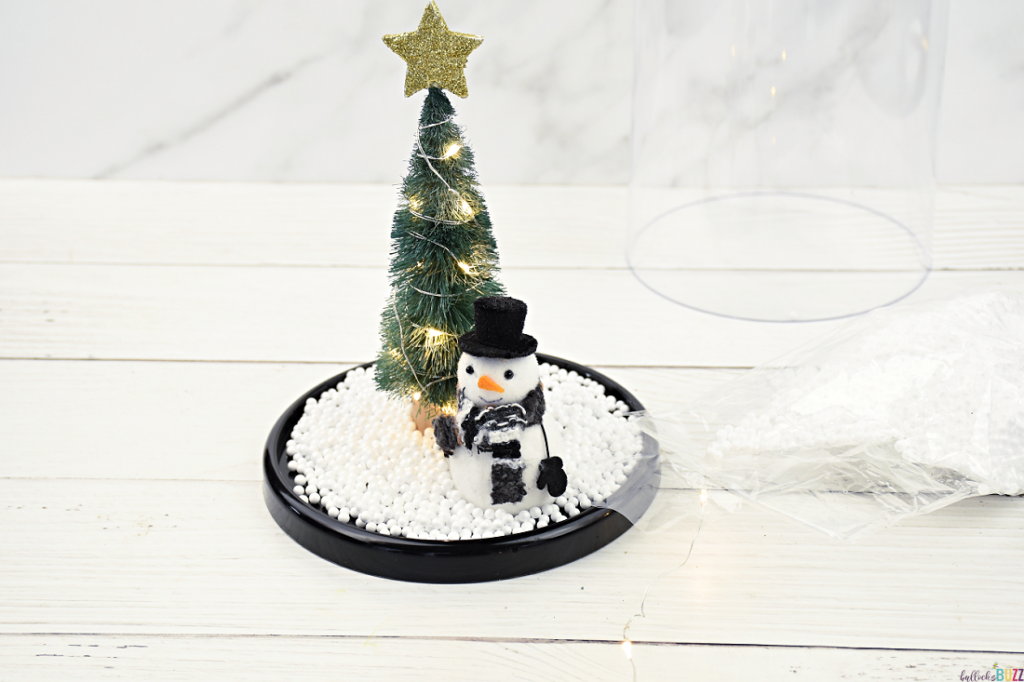
Step Seven: Make it ‘Snow’
Now, let’s sprinkle a touch of holiday magic! Quickly add the snow on top of the ModPodged bottom before the glue dries. Again, make sure no faux snow gets where the edge of the dome sits once closed.
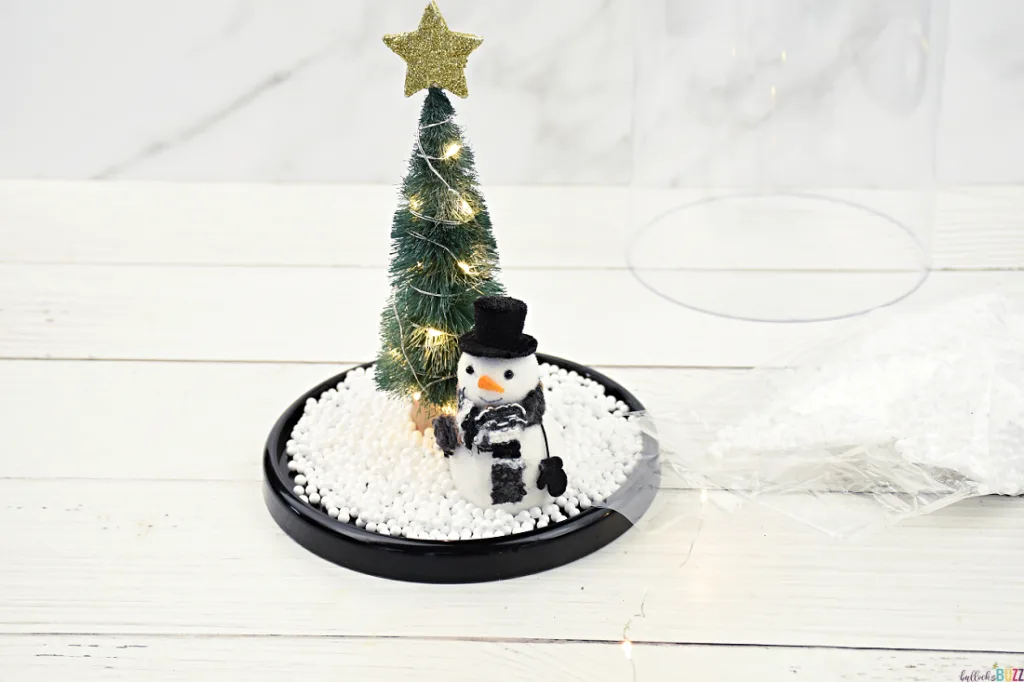
Step Eight: Allow to Dry
Let your Winter Wonderland Scene dry completely before adding the dome.
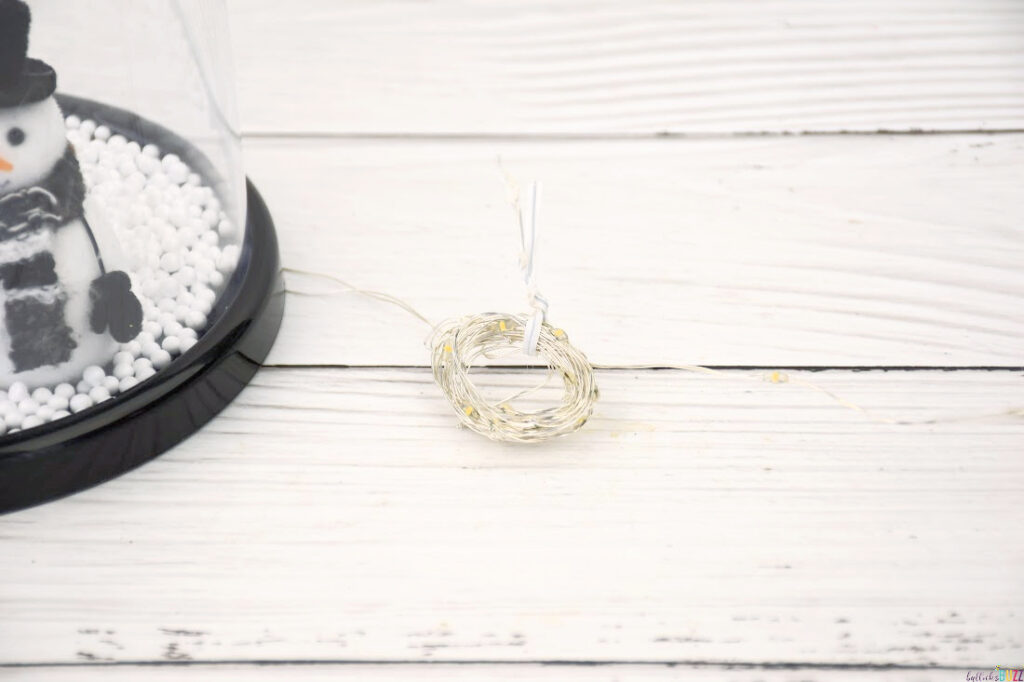
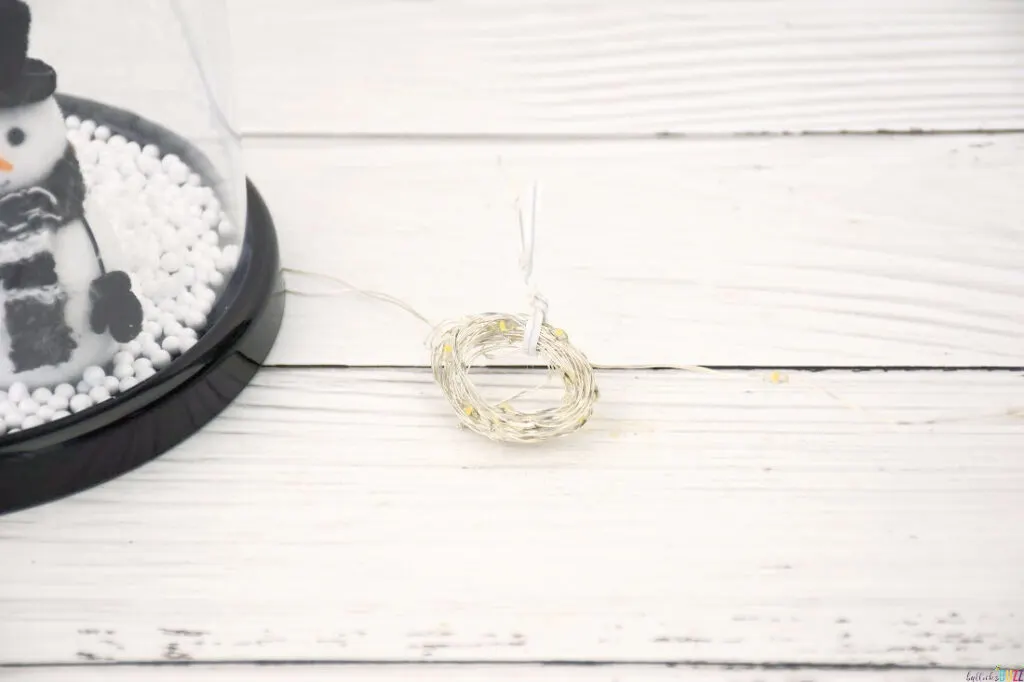
Step Nine: Hide the Lights
Wrap the excess string lights around two fingers into a loop and then use a twist tie to secure the loop. Place the loop beneath the bottom of the cloche to hide it.

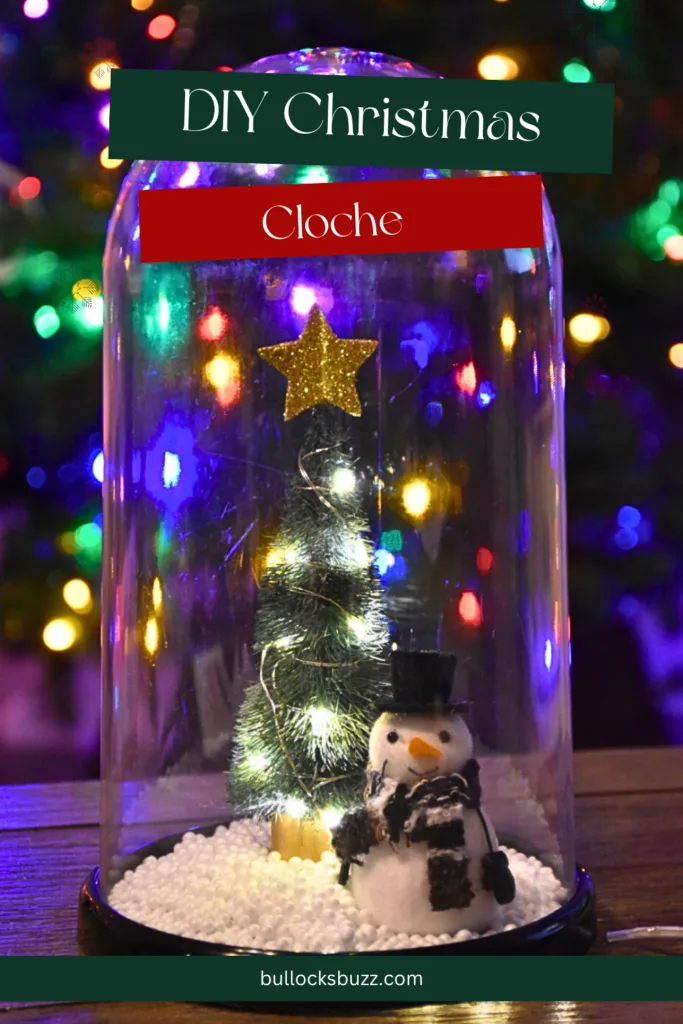
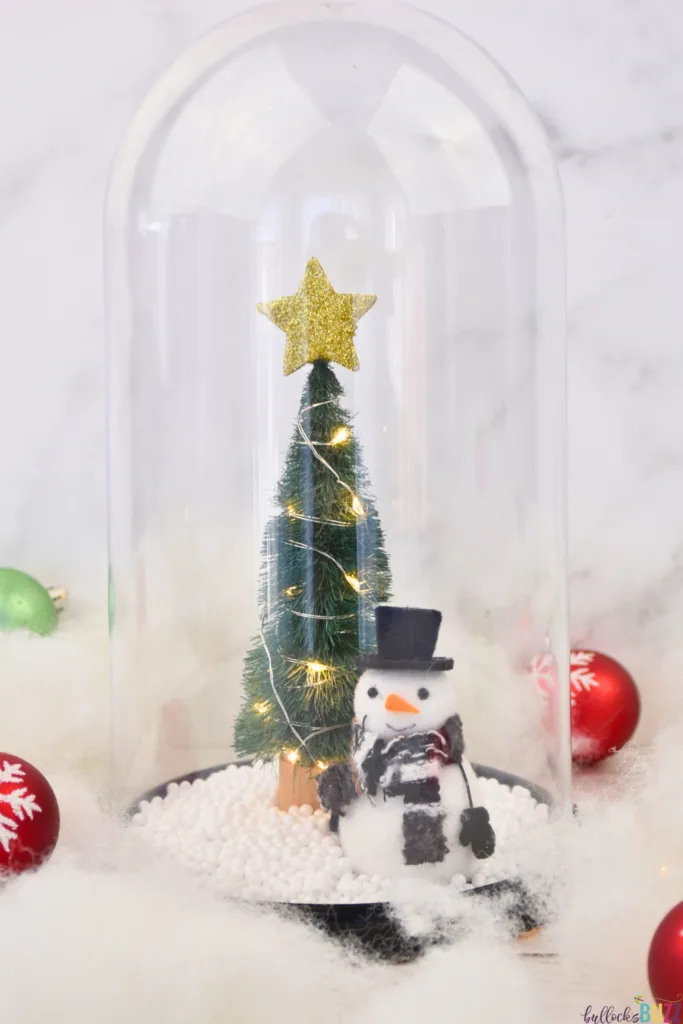
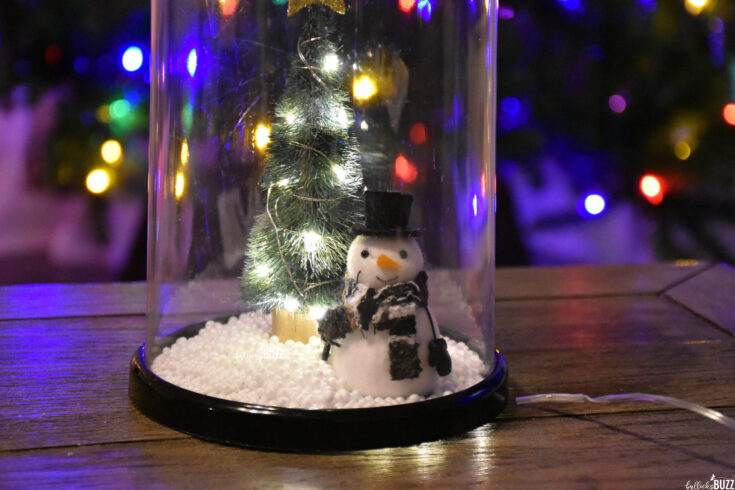
And there you have it – your DIY Christmas Cloche is all set for a season full of merry moments! Remember to illuminate it at night for an extra touch of holiday enchantment. 🎄✨
This DIY cloche has become one of my favorite Christmas crafts. The twinkling lights on the tree are enchanting, and the way the light shines perfectly on the snowman makes this DIY Christmas Cloche incredibly magical!

Where Should You Display Your Christmas Cloche?
Find a cozy spot to showcase your pretty DIY Christmas cloche—it can be a festive centerpiece, a part of a holiday tablescape, or nestled among other seasonal decor. Cloches are incredibly versatile; use them to adorn mantles, and windowsills, or even as festive bookends to infuse every corner of your home with holiday magic.
To elevate the festive ambiance, consider surrounding the cloche with dried florals or other small decorations, adding a touch of natural beauty to your winter wonderland.
However you decide to display it, just don’t forget that the battery pack of the short string of fairy lights will be on the outside of the cloche, so find a clever way to camouflage it or discreetly tuck it behind the cloche for a seamless display.


Christmas Cloche Variations
While you can make your exactly like mine, you could also consider incorporating various festive elements to tailor the winter scene to your taste. You can easily adapt this decorative cloche to match your holiday decor theme or explore creative combinations that capture the spirit of the season in a novel and delightful way. The possibilities are as vast as your festive imagination.
Here are a few suggestions:
- Swap out the traditional snowman with a mini reindeer ornament from your local Dollar Tree or even several tiny deer to make a woodland retreat with a reindeer scene.
- Add a small red truck ornament with another tree in the back and a bit of faux snow covering the hood, roof, and extra tree.
- Surround the tree with tiny wrapped presents.
- Swap out the green tree for another color such as a white bottle brush tree.
- Find some tiny ornaments like bells and balls and decorate the tree.
- Spray paint the bases so all of the cloches you make have gold bases.


More Christmas Crafts and Recipes
If the spirit of holiday crafting has captured your heart, check out these other Christmas DIY ideas that are sure to fill your home with yuletide joy!
- Two DIY Grinch Ornaments
- DIY Christmas Ornaments: Crinkle Paper Christmas Character Ornaments
- Easy Christmas Napkin Rings
LIKE IT? LOVE IT? PLS SHARE IT!
I hope you love this DIY Christmas Cloche craft as much as I do! It was so fun and easy to make! If you decide to make this DIY Christmas decoration, I’d love to see how it turned out!
Nothing makes me happier than seeing your take on my crafts. So, be sure to tag me at @bullocksbuzz (Instagram and Facebook) or @alainabullock (on Twitter) and share what you’ve made. And don’t forget to use #BullocksBuzz so I can see your creation and share it!
And finally, if you get a chance, please comment and leave me a ⭐⭐⭐⭐⭐ rating on the printable craft card below!
Ho-ho-ho, happy crafting! 🎄✨
Festive DIY Christmas Cloche

Craft a whimsical winter scene with my DIY Christmas Cloche tutorial. Follow simple steps to create an enchanting holiday centerpiece featuring a mini snowman, Christmas tree, and twinkling lights. Bring festive joy to your home this season!
Materials
- Plastic or Glass Cloche
- Mini Snowman
- Mini Christmas Tree (bottle brush trees)
- A mini star for the top of the tree
- Small bag of fake snow
- Battery-operated mini LED string fairy lights
- ModPodge or other craft glue
Tools
- Drill
- Small wood drill bit (3/16')
- Paintbrush
- Hot glue gun and glue sticks
Instructions
- Begin by gluing the mini star to the top of the Christmas tree using hot glue.
- Next, decide exactly where you want to place the tree and the snowman. Then, drill a hole in the base of the cloche, just large enough for the string lights to fit through. Make sure the hole will be behind the tree.
- Thread the lights through the hole in the cloche base, pulling enough through to wrap around the mini tree.
- Wrap the lights around the tree, making sure the end of the string is tucked in at the back of the tree.
- Using the hot glue gun, carefully adhere the tree to the bottom of the dome base. Repeat the process for the snowman, ensuring both are securely attached. Allow the glue to dry.
- Using the paintbrush or your fingers, apply ModPodge or craft glue all over the cloche base making sure to get all around the Christmas tree and snowman. Be sure to avoid the area where the dome rests when closed.
- Now, sprinkle the faux snow on top of the ModPodged bottom before the glue dries. Again, make sure no faux snow gets where the edge of the dome sits once closed. Let it dry completely before adding the dome.
- Now wrap the excess string lights around two fingers into a loop and then use a twist tie to secure the loop of excess lights. Place the excess beneath the bottom of the cloche to hide it.