This post may contain affiliate links. I only recommend products I use and love. Read the full disclosure here
Updated on: December 4, 2023
Originally published on: September 21, 2022
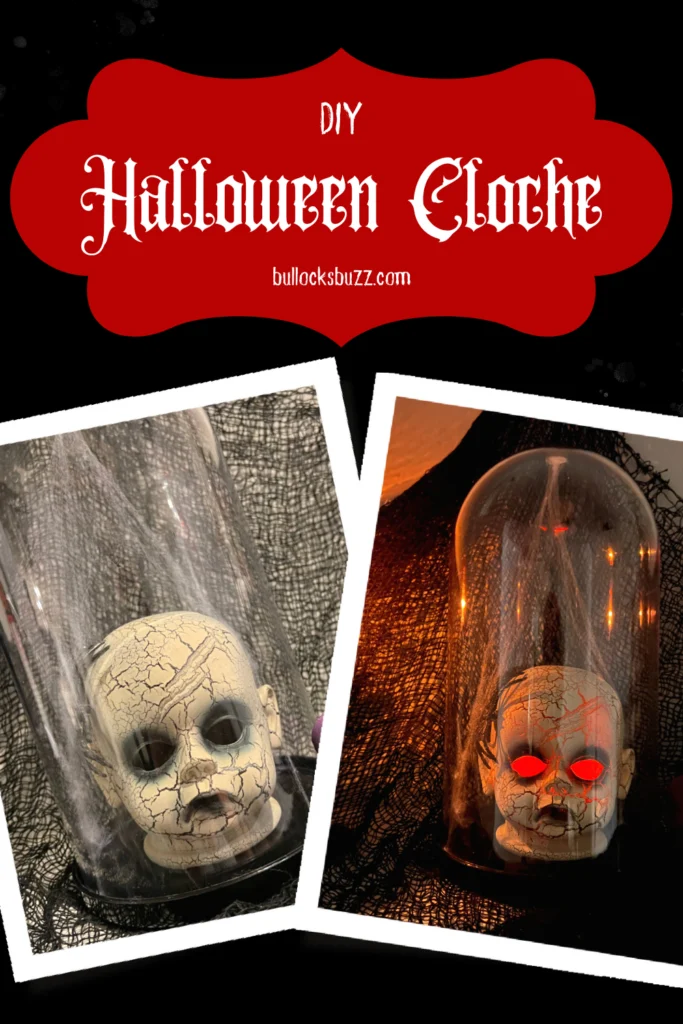
Get ready for the spooky season with this creepy DIY Halloween Cloche idea! This DIY Halloween decoration is so easy-to-make, it’s scary!

Y’all know how much I enjoy crafting my own DIY Halloween decorations! And while I’ve made plenty of Halloween wreaths, Halloween ornaments, and even Halloween signs, I wanted to try something different this year. Enter this extra creepy DIY Halloween Cloche!
Whether you’re a first-time crafter or an avid DIY-er, this creepy DIY Halloween Cloche idea will have you ready for the spooky season in no time at all.
And since it is made with low-cost items, this is one DIY Halloween decoration that won’t break the bank.

HOW TO MAKE A DIY HALLOWEEN DECORATION – DIY HALLOWEEN CLOCHE
Make no bones about it: this creepy Halloween Cloche makes for a spooktacular DIY Halloween decoration addition!
In fifteen minutes or less, you can have a creepy DIY Halloween decoration that will make you the ghostess with the mostest and the talk of the block!
I even put together a video to show you just how eerily easy this DIY Halloween Cloche is to make!
Disclosure: This blog post contains affiliate links for products I think you’ll love. If you make a purchase from one of these links, I will make a small commission at no additional cost to you. As always, I only recommend products that I have (or have had), use, and love.

SUPPLIES TO MAKE DIY HALLOWEEEN CLOCHE
Spending on seasonal decor can really add up—but giving your home a spooky atmosphere for the Halloween doesn’t have to cost a fortune or require a lot of effort with this DIY Halloween Cloche.
This spooky decoration is so simple, fun, and affordable it’s downright scary! In fact, I was able to make it for less than $15!
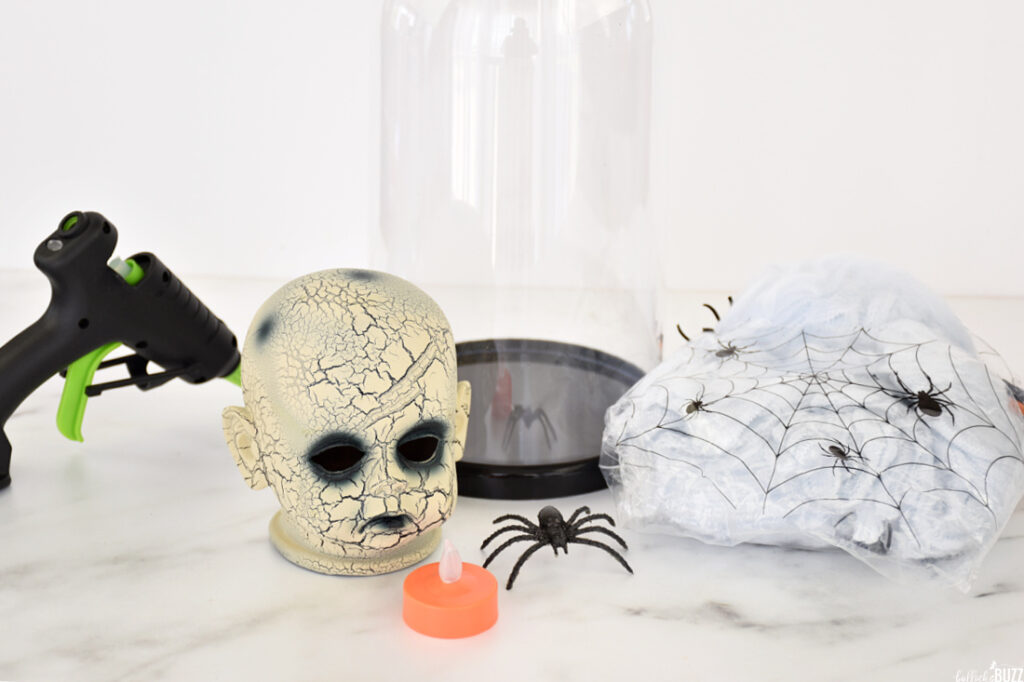
All you need to make this Halloween Cloche are:
- Plastic Cloche from Target Dollar Spot items
- Halloween baby doll head from Walmart (measures 4”x4.5”)
- spider web (Dollar Tree)
- faux spider (Dollar Tree)
- battery operated tea candle (Dollar Tree)
- hot glue gun and glue sticks
If you can’t find the baby doll head, you can use one from Amazon, Etsy, or Ebay, by searching for “Halloween baby doll head” or “zombie baby doll head”. Or you could use a skull. Just make sure whatever you use is hollow on the inside.
You could also make you own using this tutorial.
DIY HALLOWEEN CLOCHE INSTRUCTIONS
Making this creepy cloche for Halloween couldn’t be easier. Seriously. If you can use a hot glue gun, then making this DIY Halloween decoration will be a breeze!
Here’s how to make a DIY Halloween cloche:
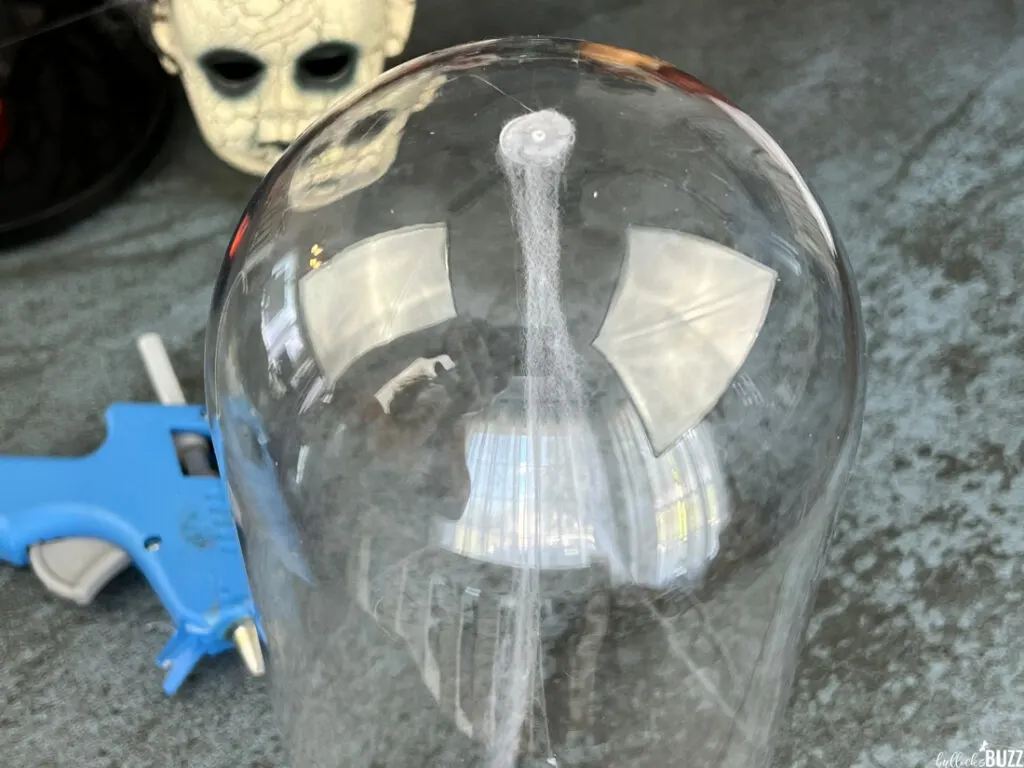
STEP ONE: ADD SPIDERWEB
- First you will need to add a drop of hot glue to the very top of the inside of the cloche lid.
- Next, add a small piece of spiderweb.
- Once the glue has dried, use your fingers to pull down on the spider web stretching it out until you get a look you are happy with. Use scissors to trim off any extra.

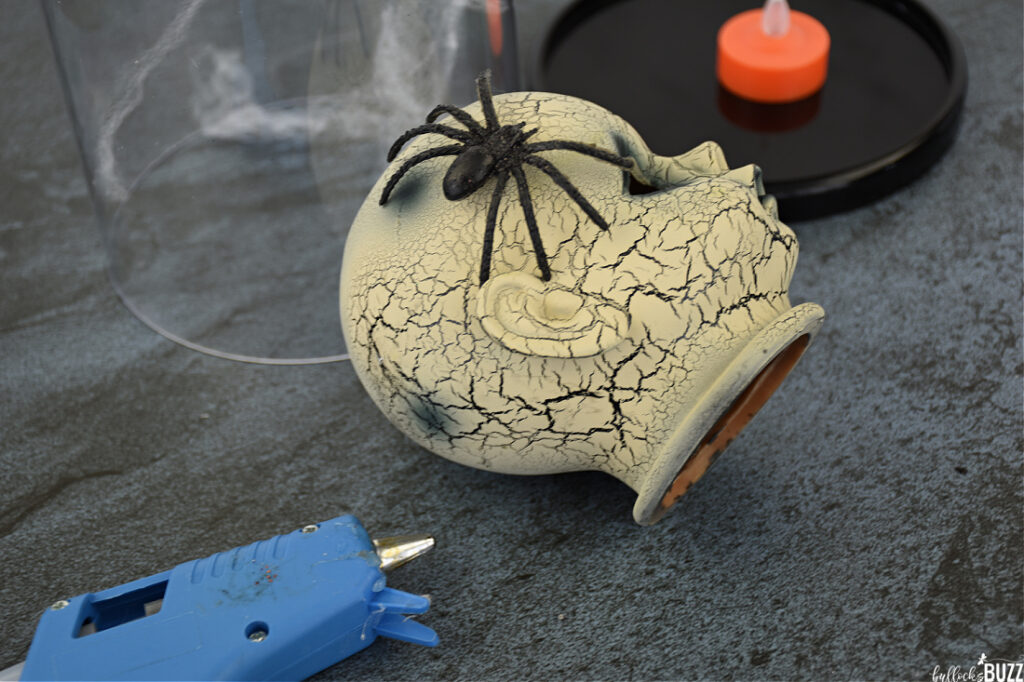
STEP TWO: ADD SPIDER
- Using a tiny drop of hot glue, glue the spider to the top side of the baby doll’s head.

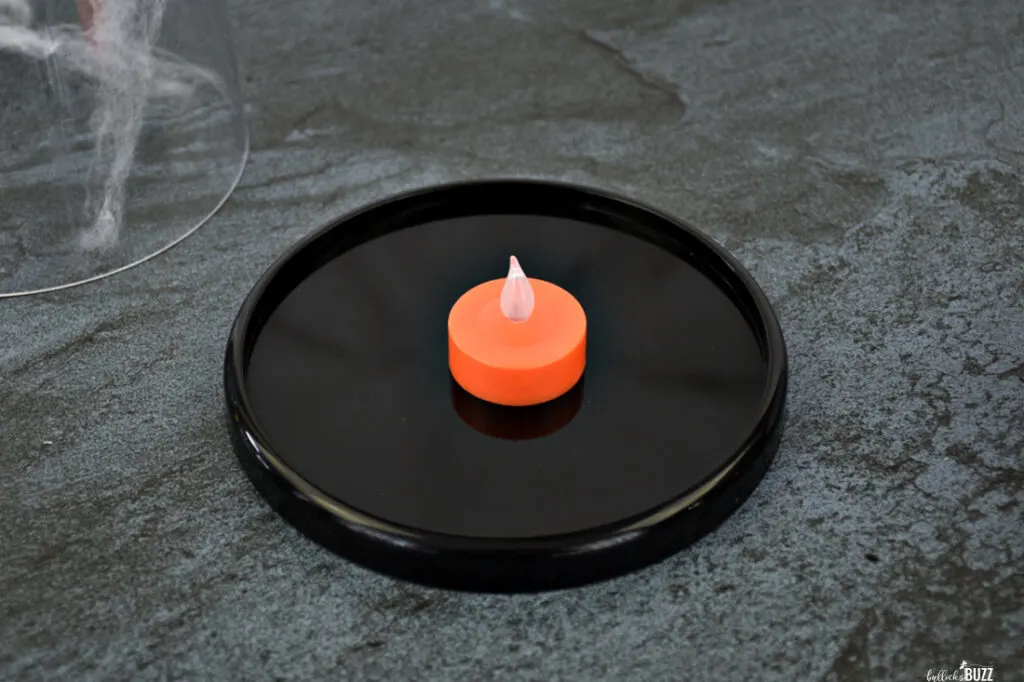
STEP THREE: PLACE TEALIGHT
- Next, place the battery-operated tea light right in the middle of the cloche’s bottom piece.

STEP FOUR: ADD DOLL
- Now place the doll head on top of the light.
- Arrange the spiderweb around the head.


STEP FIVE: ADD CLOCHE LID
- Carefully replace the lid of the cloche.


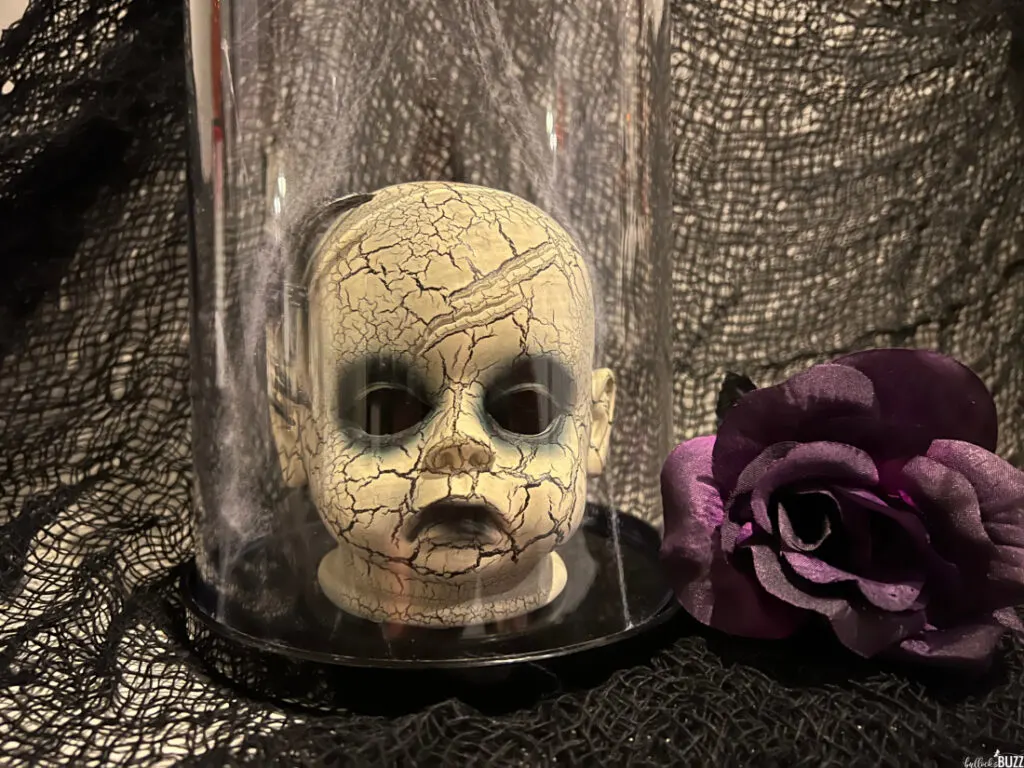
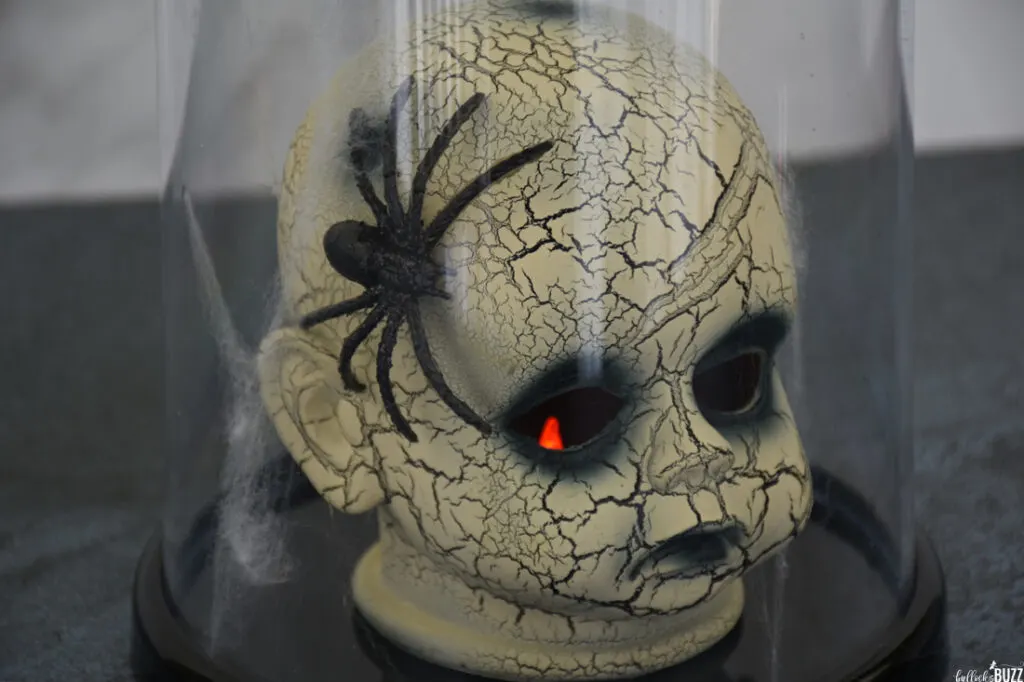
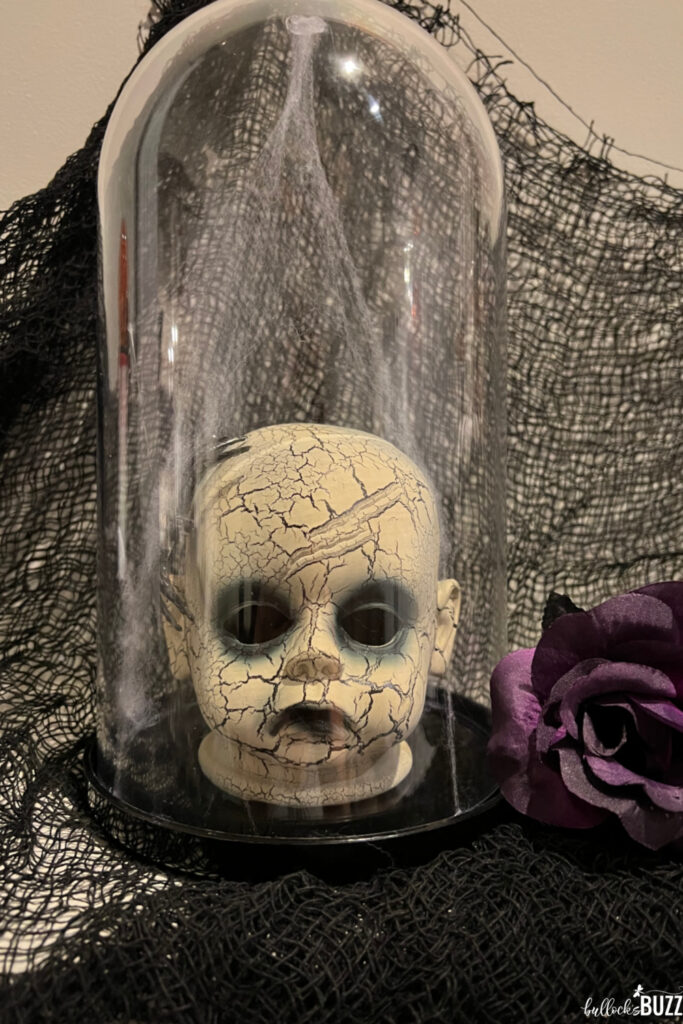
And that’s really all there is to it! Isn’t it delightfully creepy?!
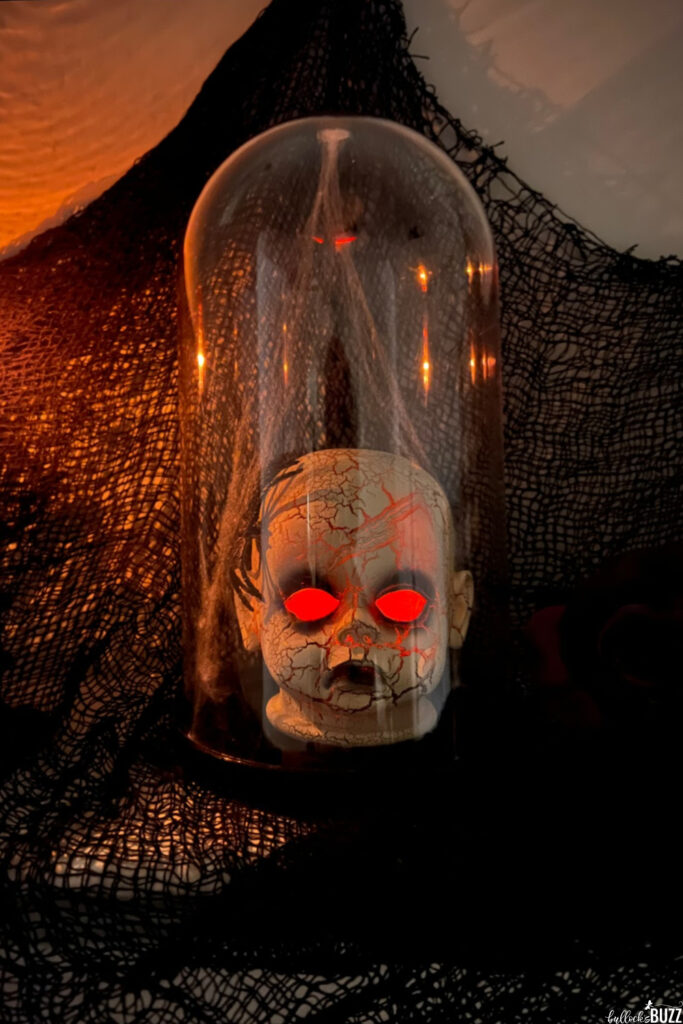
At night carefully remove the lid and turn the tealight on for an extra eerie DIY Halloween decoration.
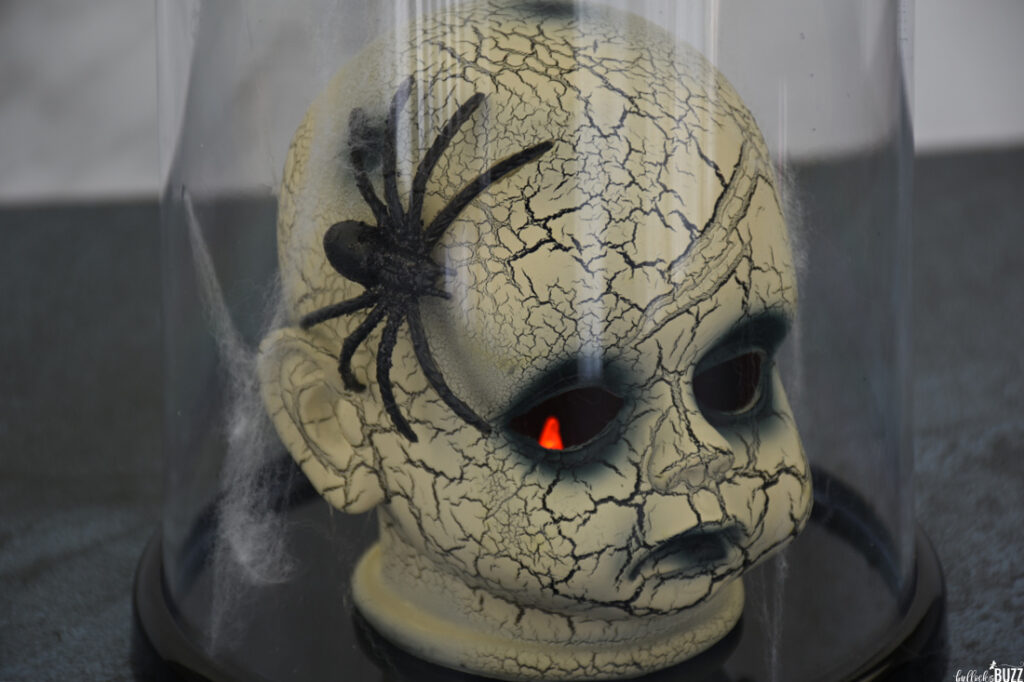
The glowing eyes are spooky enough, but the way the light shines through some of the “cracks” in the head makes this DIY Halloween Cloche incredibly c.r.e.e.p.y!

WHERE SHOULD I PUT MY HALLOWEEN CLOCHE?
Find a prominent place to display this creepy Halloween cloche on its own, or group it with other festive pieces of decor to complete a Halloween-inspired tablescape.
Cloches are also perfect for mantles, windows, or even bookends.
Best of all, this DIY Halloween decoration can be used year after year.

MORE HALLOWEEN CRAFTS AND RECIPES
If you like this DIY Halloween Cloche, then I bet you will love these other Halloween crafts!
- DIY Halloween Candy Jars
- Halloween Candy-Filled Ornaments
- Upcycled DIY Halloween Lanterns
- Dollar Tree Halloween Wreath


LIKE IT? LOVE IT? PLS SHARE IT!
I hope you love this DIY Halloween Cloche craft as much as I do! It was so easy and fun to make! If you decide to make this DIY Halloween decoration, I’d love to see how it turned out!
Nothing makes me happier than seeing your take on my crafts. So, be sure to tag me at @bullocksbuzz (Instagram and Facebook) or @alainabullock (on Twitter) and share what you’ve made. And don’t forget to use #BullocksBuzz so I can see your creation and share it!
And finally, if you get a chance, please comment and leave me a ⭐⭐⭐⭐⭐ rating on the printable craft card below!
Happy Haunting!
DIY HALLOWEEN DECORATION – CREEPY DIY HALLOWEEN CLOCHE PRINTABLE INSTRUCTIONS
DIY Halloween Cloche - DIY Halloween Decoration


Get ready for the spooky season with this creepy DIY Halloween Cloche idea! This DIY Halloween decoration is so easy-to-make, it's scary! At night, cut on the tea light candle and watch the evil eyes glow.
Materials
- plastic cloche from Target Dollar Spot items
- Halloween baby doll head from Walmart (measures 4”x4.5”)
- spider web (Dollar Tree)
- faux spider (Dollar Tree)
- battery operated tea light candle (Dollar Tree)
Tools
- Hot glue gun
- Glue sticks
Instructions
- Begin by adding a small drop of hot glue to the very top of the inside of the cloche lid.
- Next, stick a small piece of spiderweb to the drop of glue and allow to dry.
- Once the glue has dried, use your fingers to carefully pull down on the spider web stretching it and spreading it out until you get a look you are happy with. Use scissors to trim off any extra.
- Using another tiny drop of hot glue, glue the faux spider to the top side of the baby doll's head.
- Now place the battery-operated tea light in the very middle of the bottom part of the cloche. Do not glue it down or you won't be able to turn it on and off.
- Then place the doll head on top of the tea light and carefully arrange the spiderweb around the doll head
- Replace the cloche lid over the doll head.
- At night, cut the tea light candle on and watch the evil eyes glow!
Monica
Thursday 7th of December 2023
I love this project of yours. Please tell me how you were able to get the doll head created with all the cracks and such..... Thank you
Alaina Bullock
Monday 11th of December 2023
Hi Monica, Thank you! So the doll head actually came that way! I was thrilled to see that the light accentuated those cracks even more! The head was bought at Walmart, in-store. I have seen it online, too, around Halloween time on Walmart, and year-round on Amazon. And if you cannot find the exact one, Amazon has several creepy ones that would work.