This luxuriously smooth, rich, and creamy vanilla spice eggnog is like Christmas in a cup! After trying this Homemade Eggnog Recipe, I promise you will never buy store-bought eggnog again!
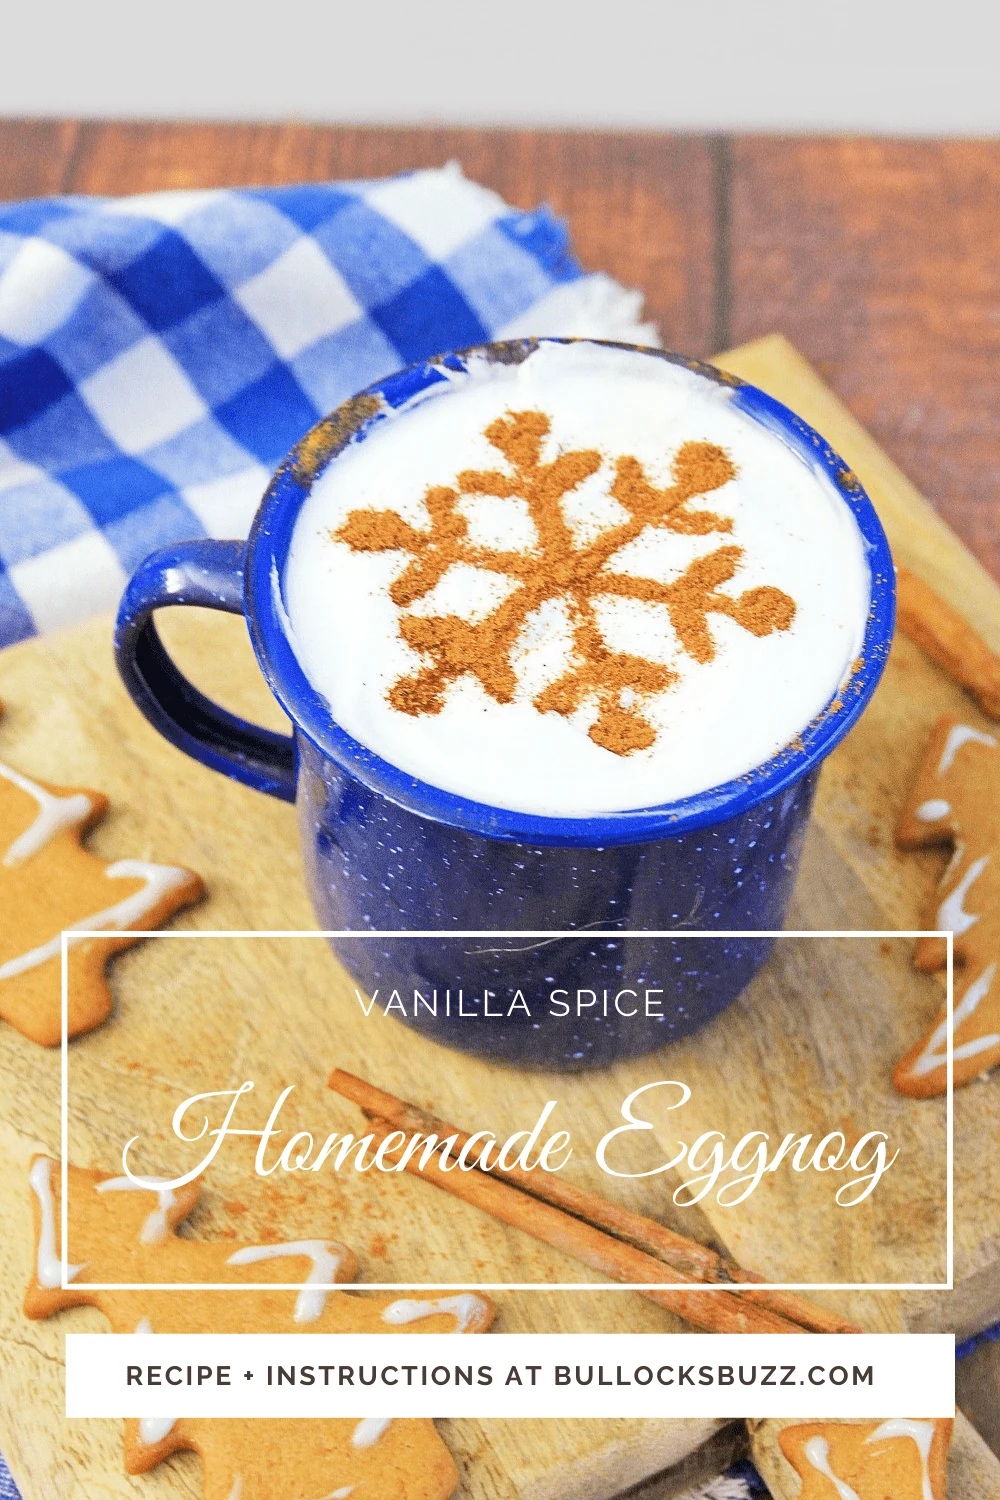
‘Tis the season to get your eggnog on! Eggnog is now filling up the dairy cases at your local grocery stores, but nothing beats the taste of this Homemade Eggnog recipe! Plus, making this vanilla spice eggnog yourself is really easy.
If you search “eggnog recipe” in Google, you’ll see approximately a gajillion recipes (okay so that might be a small exaggeration)… but seriously, y’all, there are tons of them. And there are almost as many ways to make it. Luckily, this homemade eggnog recipe is so delicious, you’ll never have to search for another again!
This luxuriously smooth, rich, and creamy eggnog is nothing like that store-bought stuff in a carton. You don’t have to cut it with milk to be able to drink it, nor is it so overwhelmingly sweet you get the sugar sweats.
Instead, it’s light and frothy, fresh-tasting, and yummy. It’s like Christmas in a cup! And it’s so good, even the Grinch would like it!
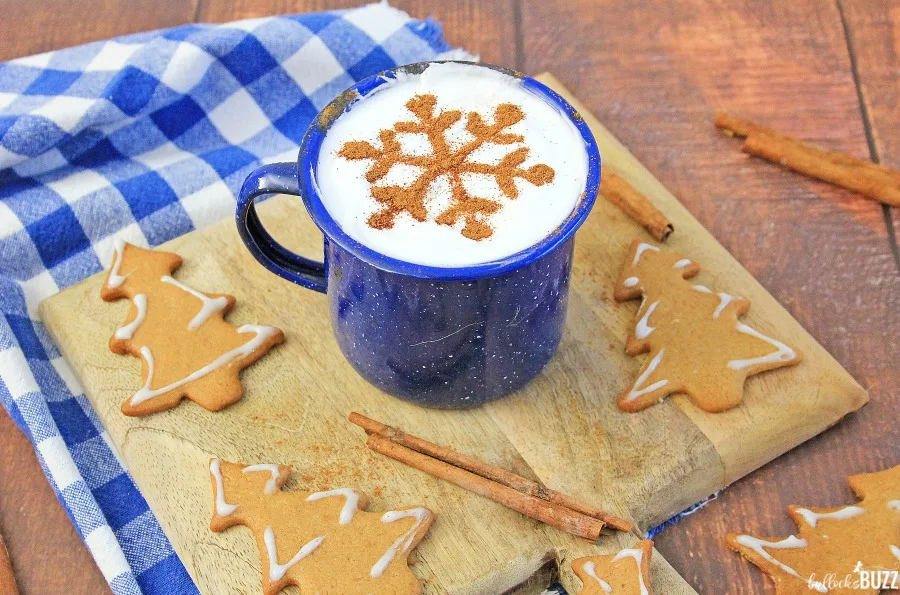
WHAT IS EGGNOG
Eggnog is a traditional holiday drink that dates back hundreds of years. It’s made with eggs (hence the name), cream, milk, and common holiday spices like nutmeg and vanilla. While it’s delicious as is, many like it better when it’s fortified with rum, brandy, cognac, and/or brandy.
I grew up loving eggnog, you know, the kind you buy in a carton, and every Christmas holiday my sister and I would drink up as much of it as we could.
It wasn’t until I decided to make it myself that I realized exactly what I had been missing! In fact, looking back I can’t believe it took me as long as it did to make my own. I promise after you make this homemade eggnog recipe, you’ll never want to buy store-bought eggnog again!
HOW TO MAKE HOMEMADE EGGNOG
Disclosure: This blog post contains affiliate links for products or services I think you’ll like. This means if you make a purchase from one of these links, Bullock’s Buzz will make a small commission at no additional cost to you. I only recommend products that I use and love.
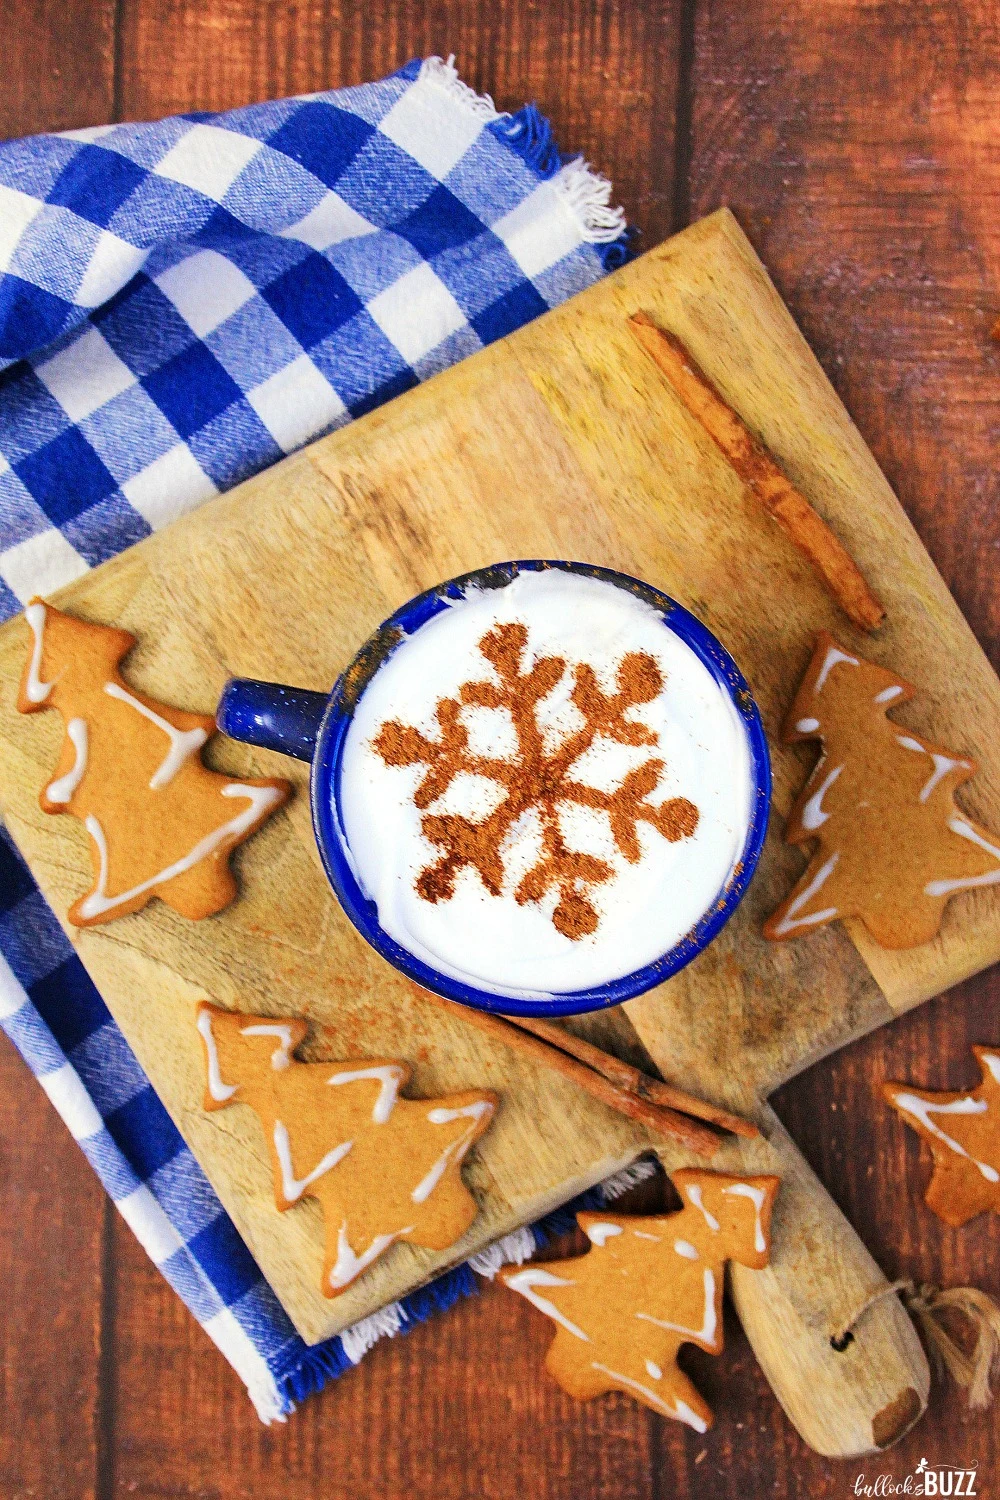
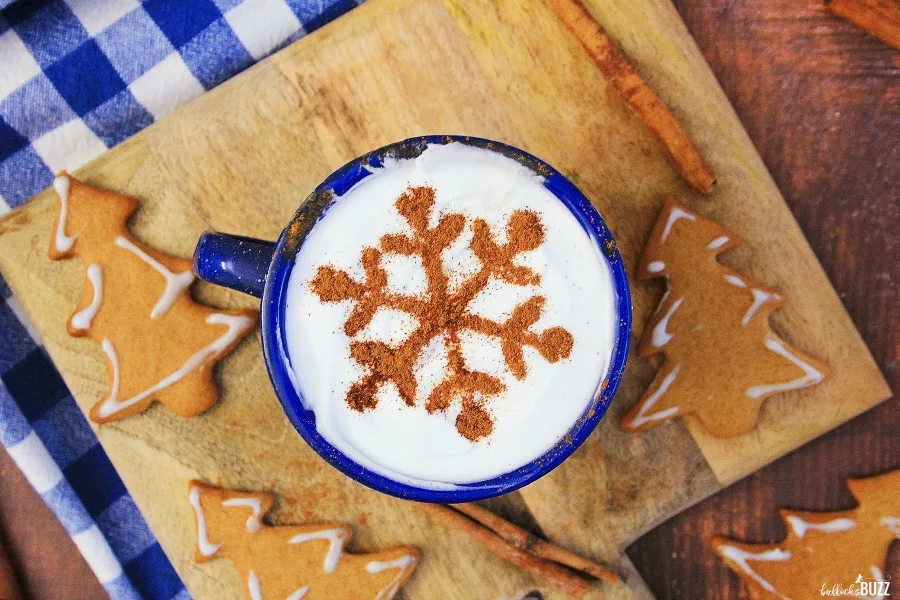
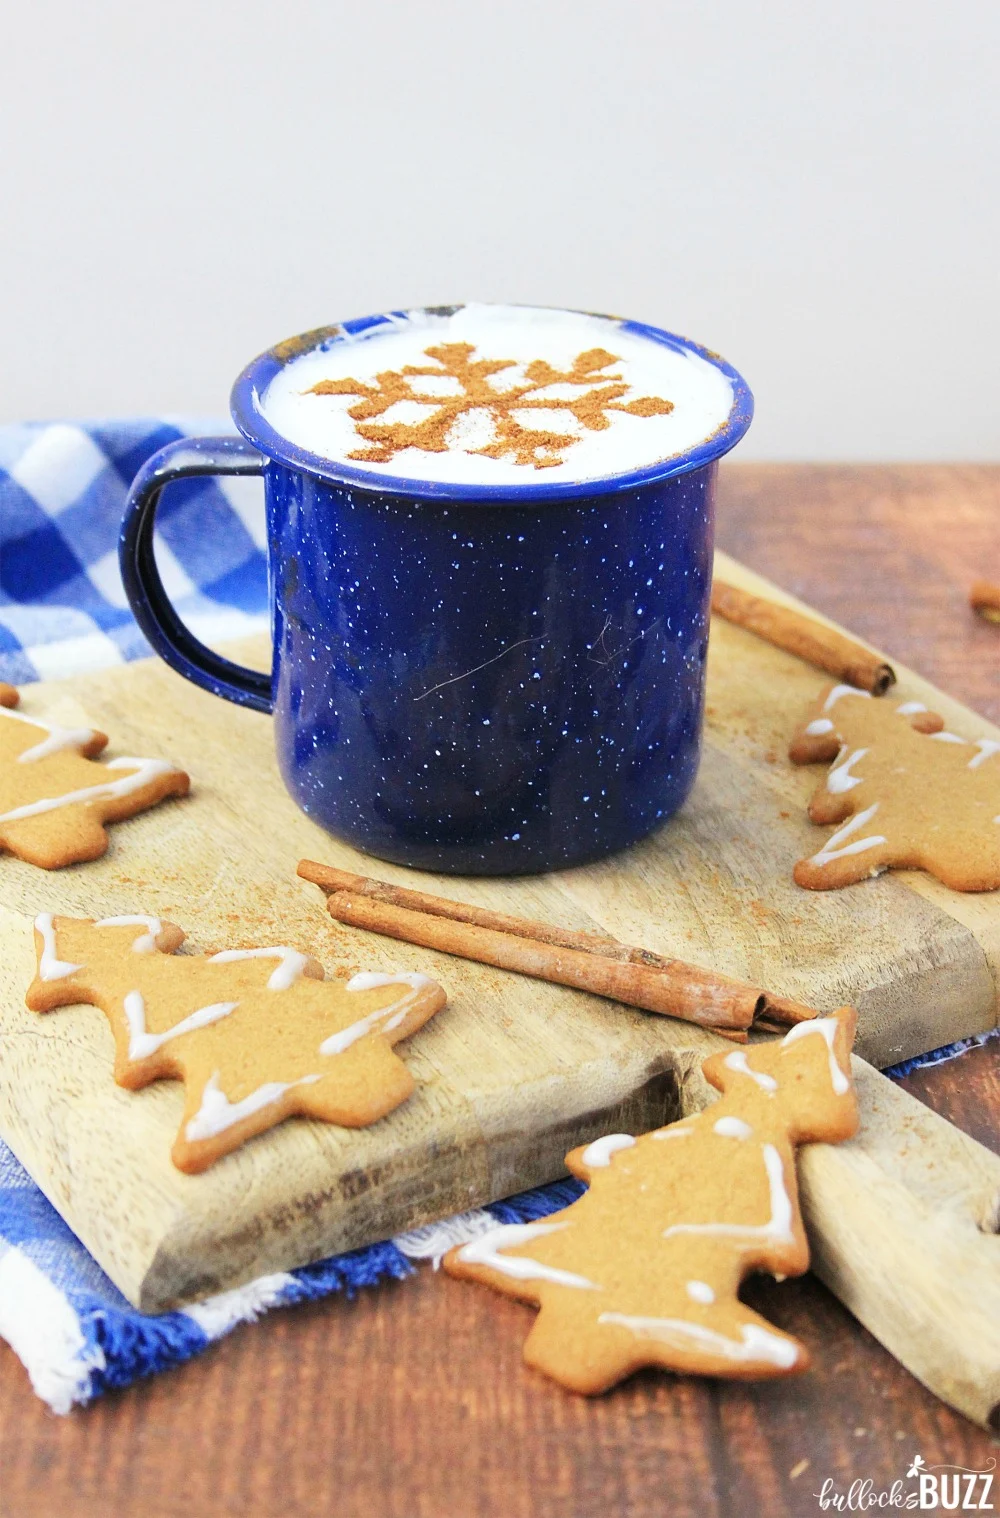
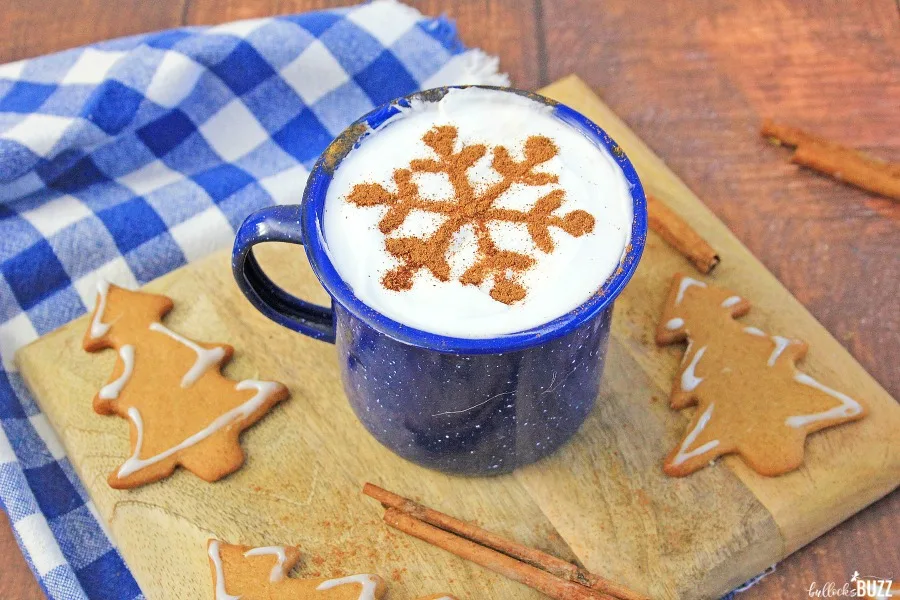
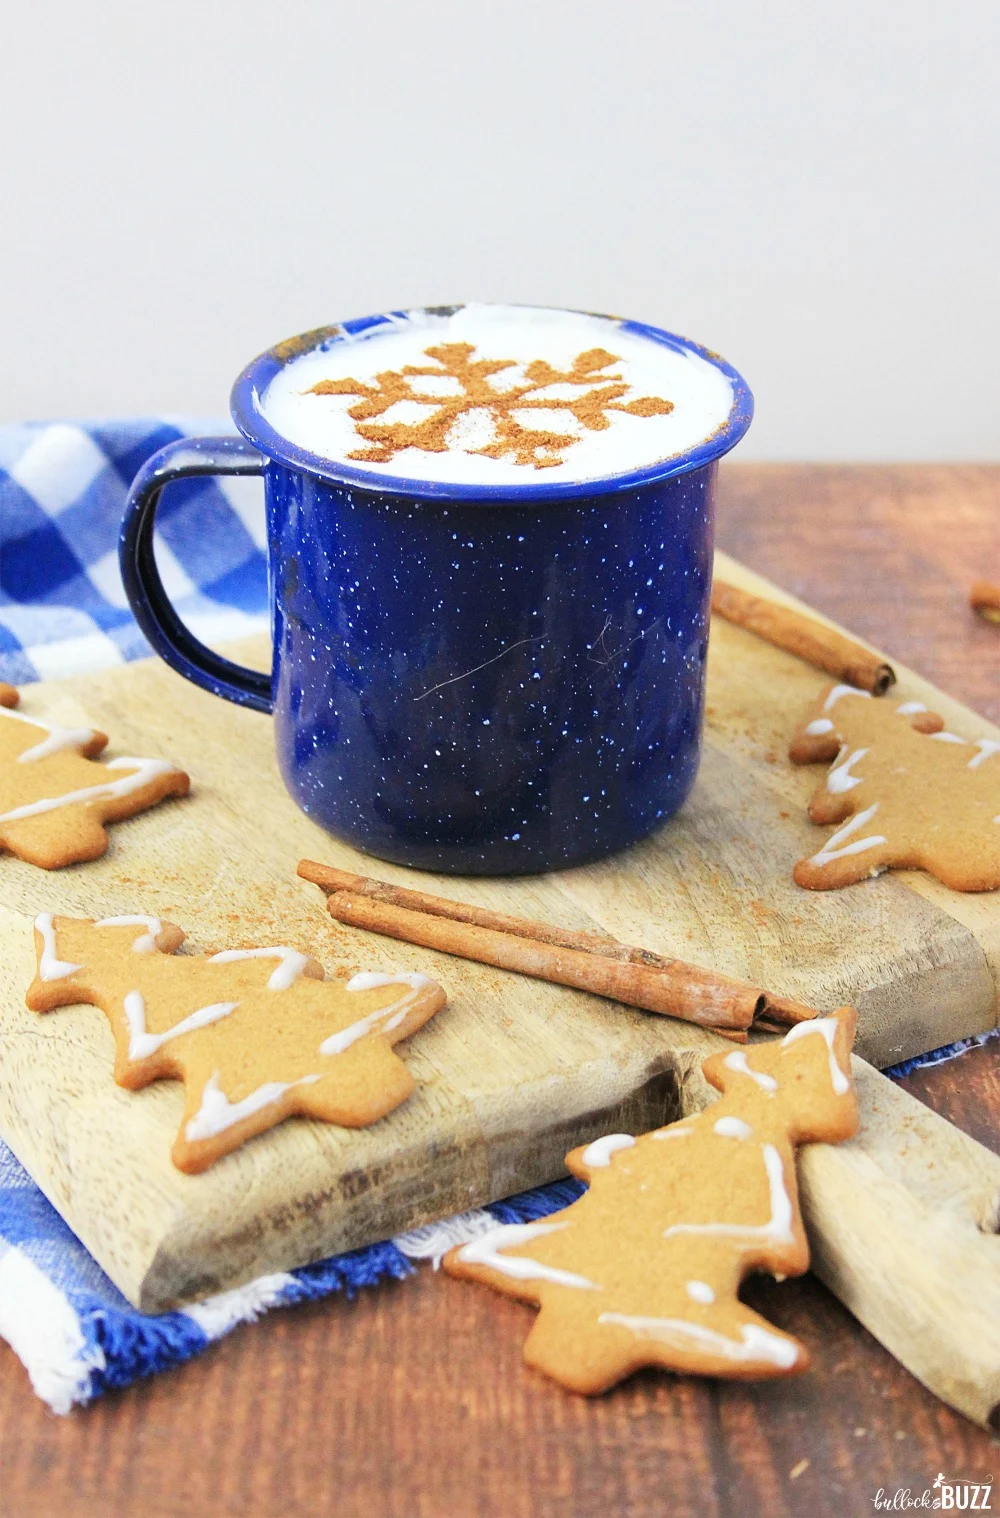
This sinfully scrumptious seasonal treat takes a little effort, but it’s well worth it. And the snowflake design on top makes it a real show-stopper; not to mention a pretty presentation when served with Christmas cookies for a festive holiday and winter dessert.
You’ll find the complete ingredient list and very detailed instructions in the printable recipe card near the end of this homemade eggnog recipe post.
KITCHEN TOOLS I USED
- Heavy saucepan
- Stand Mixer (although a hand mixer will work, too)
- 6 – mugs or glasses
- Stencils – for topping designs
- Mixing bowls
- Strainer/sieve
WHAT’S IN THIS HOMEMADE EGGNOG RECIPE?
This eggcellent eggnog is cheerfully easy to make and everyone will love it – even your little elves. It also uses only a few common ingredients, too.
The ingredients in this Christmas-y concoction include:
- egg yolks
- sugar
- nutmeg
- cinnamon
- Vanilla extract
- vanilla bean seeds
- salt
- heavy cream
- milk
And for the topping, you’ll need:
- whipping cream
- cream cheese
- powdered sugar
The final ingredient you will need is a bit of extra cinnamon which you will sprinkle to make the design on the topping and give this holiday drink its festive appearance.
HOMEMADE EGGNOG RECIPE INSTRUCTIONS
I recommend making this a day or two in advance of serving. While it’s incredibly tempting to drink your homemade eggnog right after you’ve finished, it tastes even better when it’s had a chance to chill in the fridge. I promise it’ll be well worth the wait!
TO MAKE THE EGGNOG
Before you begin, allow the eggs to come to room temperature. This will make the eggs easier to temper than if they are still cold.
WHISK – the egg yolks, sugar, pinch of salt, cinnamon, and nutmeg together in a large mixing bowl until well combined (about 5mins). Set aside.
GENTLY BOIL – the heavy cream, milk, vanilla, and vanilla bean seeds over medium to medium-high heat, while stirring constantly until the mixture is steaming and comes to a bare boil.
TEMPER – the eggs by using a ladle to slowly add small amounts of the hot mixture to the egg mixture, whisking while adding. Do this slowly, so as not to “cook” the eggs to a scrambled consistency. Repeat until all milk mixture has been added to the egg mixture.
COOK – pour the combined mixtures into a saucepan and cook for around 4 minutes, stirring constantly until it thickens. Do not let it come to a boil.
REFRIGERATE – let cool, then put in the fridge overnight or for up to 3 days. For perfectly smooth eggnog, pour it through a sieve before chilling.
I usually pour mine through a sieve into an airtight container or jug covered with wrap, then put it in the refrigerator and let it chill completely. Refrigerate it overnight for best results. I just try not to look at it when I open the refrigerator door so I’m not tempted! 😉
TO MAKE THE TOPPING:
This should be done in the bowl of a stand mixer or using a handheld mixer and large bowl.
BLEND: the cream cheese and 2 tbsp of heavy cream until smooth and creamy
WHISK: add the remaining heavy cream and the powdered sugar, and using the whisk attachment, mix on low until all ingredients are blended. Scrape down the sides of the mixing bowl, and blend again on low to mix thoroughly.
BEAT: turn the mixer to high, and beat the whipping cream until stiff peaks form, and hold their shape, usually about 1 minute, or so.
REFRIGERATE: set the whipped cream, mixing bowl and all, in the refrigerator until ready to serve.
FOR THE EGGNOG ART TOPPING
For the longest time, I was afraid to give this a try. I figured I’d mess it up. Surprisingly, once I did do it, it was easy!
FILL MUGS: coffee mugs or glasses almost full with eggnog.
ADD WHIPPED CREAM: on top of each glass, and smooth it so it’s level with the top of the mug or glass.
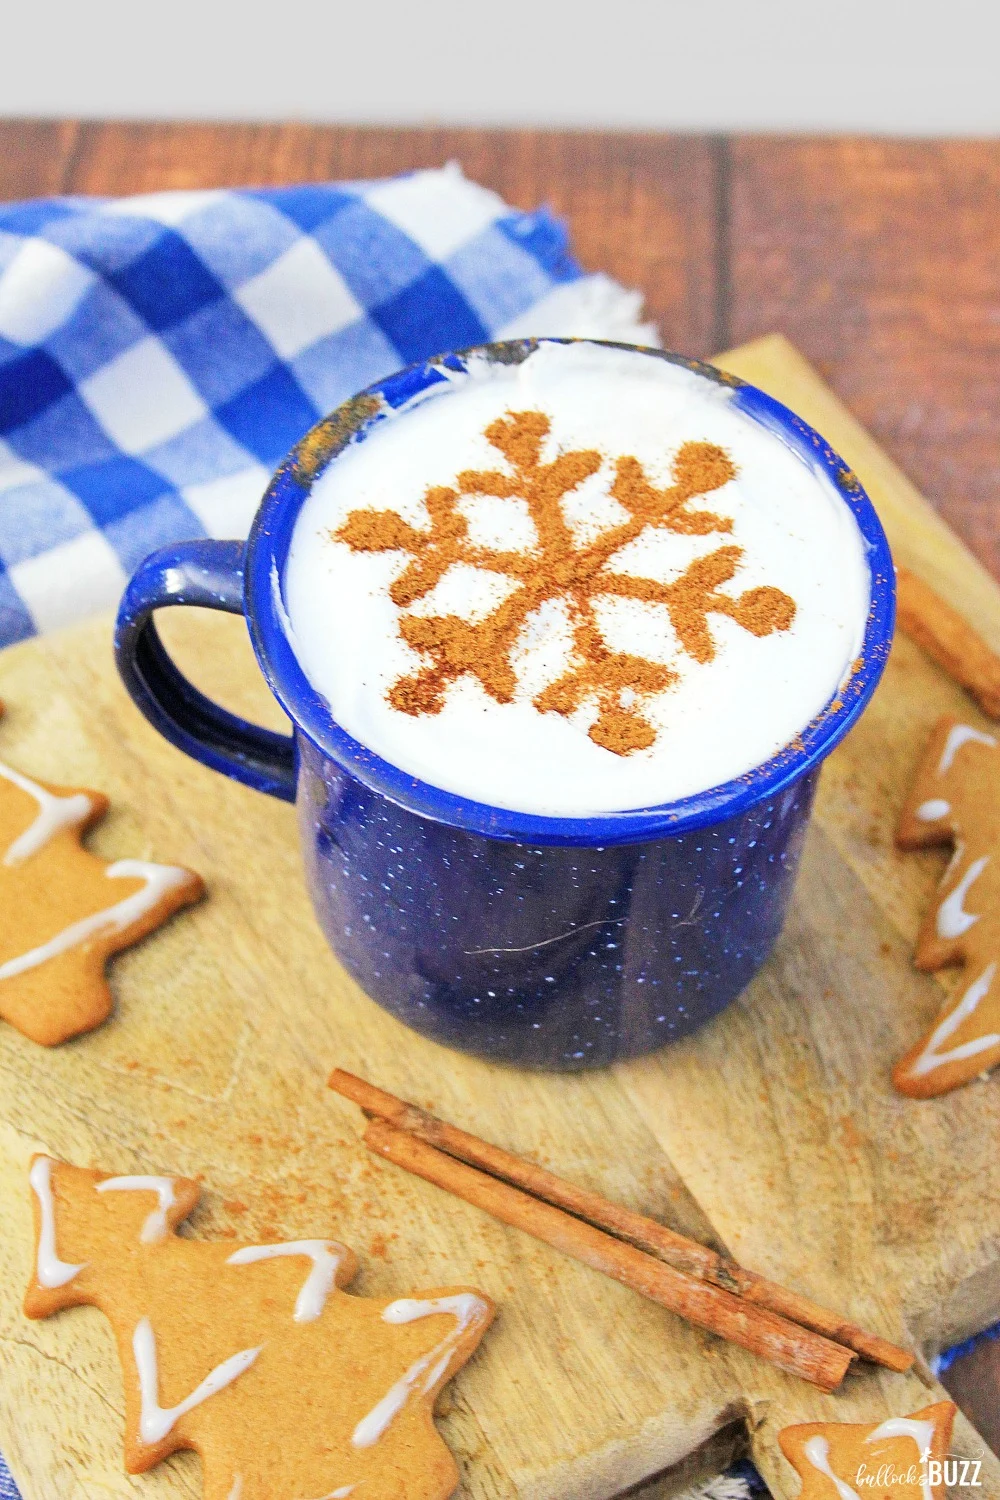
SPRINKLE USING STENCIL: hold the stencil right above the whipped cream, and then sprinkle the cinnamon (or nutmeg or cocoa) over the stencil to form the design.
Now all that’s left to do is enjoy!
TIPS ON MAKING THE PERFECT HOMEMADE EGGNOG
It’s best to plan ahead with making Eggnog, as it really should be refrigerated overnight and served completely chilled. You can make the whipped cream ahead of time and keep it in the refrigerator, or you can make it just before serving. I personally prefer to have this all done ahead of time, and then all you have to do is assemble the Eggnog.
You can use canned whipped cream if you choose, but it won’t hold up as well as this recipe. This is because this whipped cream recipe is for stabilized whipped cream which won’t fall flat like regular or traditional whipped cream will.
TRY IT AND SHARE IT!
Be sure to let me know how you like this Homemade Eggnog recipe! If you try it, I’d love to hear about it! Let me know on Pinterest or Instagram and tag me with #BullocksBuzz on your Instagram photo! Or leave a comment below.
And if you want to try it, be sure to save this Homemade Eggnog recipe on Pinterest so you’ll remember where to find it.
Speaking of Pinterest, you may also enjoy my Hanukkah board and my Christmas board!
OTHER CHRISTMAS RECIPES YOU MAY LOVE
Be sure to check out my other festive Christmas recipes!
- Christmas Wreath Doughnuts
- Christmas White Chocolate Covered Pretzels
- Eggnog Gooey Butter Cookies Recipe
GRAB A FREE PRINTABLE RECIPE FOR THIS HOMEMADE EGGNOG RECIPE!
If you like this recipe, please rate it! I’d also love to hear your thoughts in the comments below!
Homemade Eggnog - Vanilla Spice Eggnog Recipe

This luxuriously smooth, rich, and creamy vanilla spice eggnog is like Christmas in a cup! After trying this Homemade Eggnog Recipe, I promise you will never buy store-bought eggnog again!
Ingredients
FOR THE EGGNOG
- 6 large egg yolks
- 1 cup sugar
- ½ tsp nutmeg
- ½ tsp cinnamon
- 1 tbsp vanilla extract
- 1 vanilla bean - seeds from the bean
- 2 cups heavy cream
- 3½ cups milk
- pinch salt
FOR THE TOPPING
- 2 cups whipping cream
- 2 tbsp cream cheese
- ½ cup powdered sugar
- extra cinnamon, to sprinkle for the topping design
Instructions
FOR THE EGGNOG
- Remove eggs from refrigerator and allow them to sit at room temperature for about 30 minutes. This will make the eggs easier to temper than if they're cold.
- In a mixing bowl, whisk the egg yolks, sugar, pinch of salt, cinnamon, and nutmeg together until well combined, and set aside.
- In a heavy saucepan, heat the heavy cream, milk, vanilla, and vanilla bean seeds over medium to medium-high heat - STIRRING CONSTANTLY - until the mixture is steamy hot and at a bare boil. Reduce heat to low.
- Temper the eggs by using a ladle to very slowly pour a ladle-full of the hot milk mixture into the egg mixture, while whisking constantly. Then add another ladle of the milk mixture to the egg mixture while whisking constantly again. Repeat until all of the hot milk mixture has been added to the egg mixture. *Pouring very slowly and constantly whisking while doing so are essential parts of this process.*
- Now pour the egg/hot milk mixture back into the saucepan, and stirring constantly, cook the eggnog over medium heat for around 4 minutes to thicken or until it reaches 160°F. It should coat the back of a spoon. Do not let it boil or it will curdle.
- Remove the eggnog from heat, and let cool.
- Pour the eggnog through a sieve or strainer into a container that can be sealed to be airtight. Refrigerate overnight for best results.
FOR THE TOPPING
- In the mixing bowl of a stand mixer or in a large bowl using a hand mixer, add the cream cheese, and two tablespoons of the heavy cream, and blend until smooth and creamy.
- Add the remaining heavy cream and the powdered sugar, and using the whisk attachment, mix on low until all ingredients are blended. Then scrape down the sides of the mixing bowl, and blend again on low to mix some more.
- Turn mixer to high, and beat the whipping cream until stiff peaks form and hold their shape, about 1 minute, or so.
- Turn off the mixer, and set the whipped cream, mixing bowl and all, in the refrigerator until you're ready to serve the eggnog.
MAKING THE DESIGN IN THE TOPPING
- Fill coffee mugs or glasses about 3/4 full of Eggnog. Then add whipped cream on top of each glass, and smooth so it is level with the top edge of the mug or glass.
- To make the design, hold the stencil over the whipped cream, and then sprinkle cinnamon on the stencil in order to form the design on the top of the whipped cream.
- Serve, and Enjoy!
Nutrition Information:
Yield:
6Serving Size:
1 mugAmount Per Serving: Calories: 442Unsaturated Fat: 0g

