This post may contain affiliate links. I only recommend products I use and love. Read the full disclosure here
Updated on: May 22, 2024
Originally published on: June 16, 2020
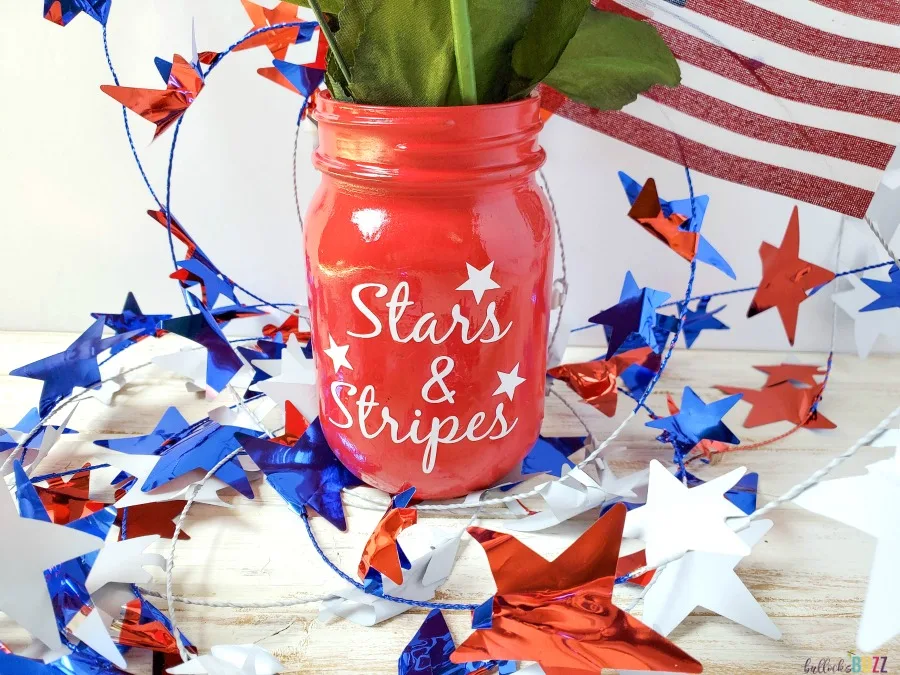
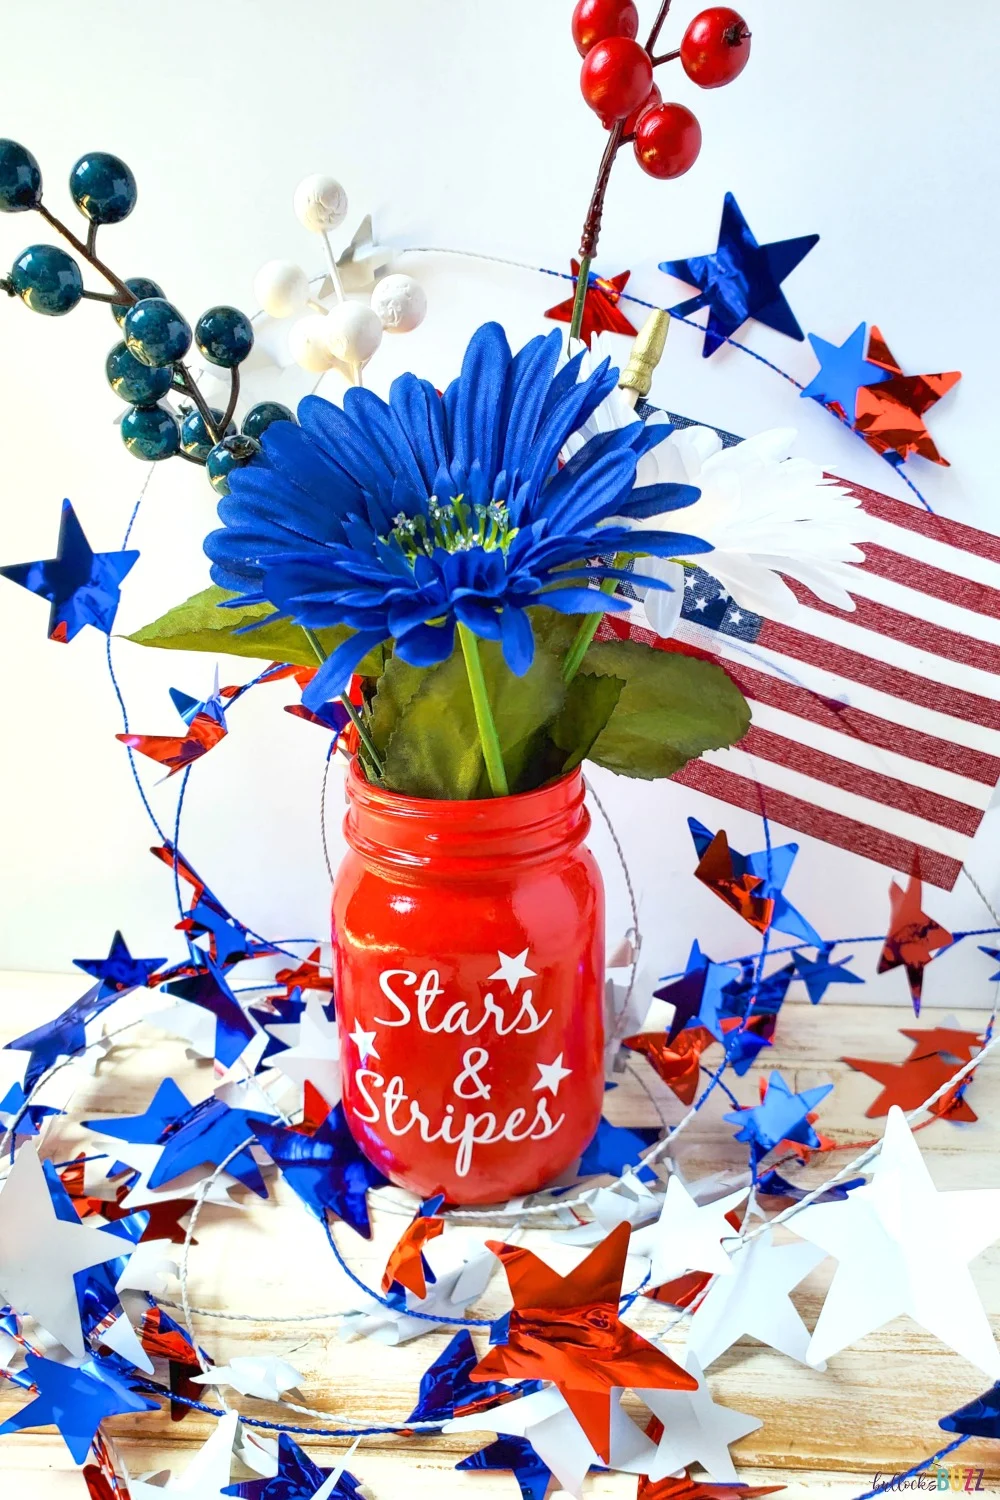
This easy DIY Patriotic Mason Jar Centerpiece gives you a fun and festive 4th of July decoration you can put on your table, around your deck, or in your windows. Filled with flowers or any other embellishment you prefer, this simple mason jar craft is perfect for any patriotic holiday!
The Fourth of July is right around the corner, so today I’m sharing a fabulous red, white, and blue mason jar craft for you! Your Fourth of July guests will ooh and aah over this creative patriotic craft, and wonder how in the world you ever came up with such a fun patriotic mason jar centerpiece!

And while no one is quite sure whether or not we’ll be able to celebrate with a crowd, this simple 4th of July craft doesn’t need a huge party for you to enjoy it and use it.
Easy DIY Patriotic Decorations
There is any number of ways to decorate for the 4th of July. Previously I made an adorable 4th of July wreath using nothing but cardboard and cupcake wrappers!

There are also all sorts of tasty treats that can do double-time as fourth of July decorations, too, like these bite-sized Brownie Bombs and this Patriotic Funfetti Cake Cheese Ball!
And while this 4th of July mason jar craft is a bit more detailed than my cupcake wrapper wreath, below you’ll find step by step instructions and even a free SVG file for you to use to make your mason jar decor!
How to Make a 4th Of July Mason Jar Centerpiece
This 4th of July mason jar craft is not only cute, but it’s also very easy to make!
Disclosure: This blog post contains affiliate links for products I think you’ll love. If you make a purchase from one of these links, Bullock’s Buzz will make a small commission at no additional cost to you. As always, I only recommend products that I have (or have had), use, and love.
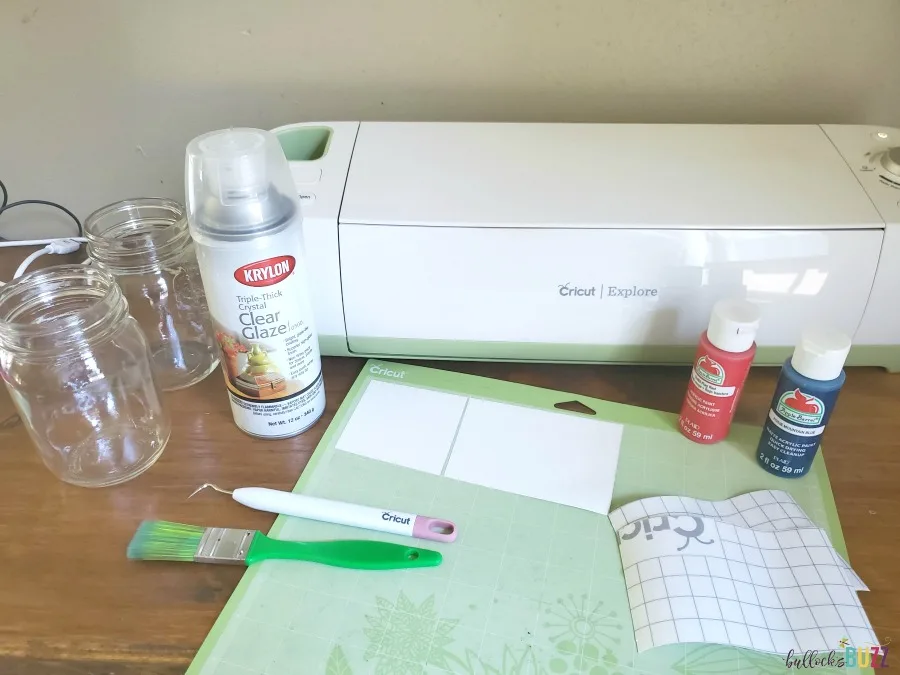
Patriotic Mason Jar Craft Supplies
Here are the supplies you’ll need to create your own Patriotic Mason Jar Centerpiece.
- Stars & Stripes SVG image
- Cricut machine with fine point blade
- Standard Grip Mat
- Premium Vinyl (white)
- Transfer Tape
- Weeding Tool
- Smoothing Spatula, or thick card
- Scissors
- 2 – pint-size mason jars – with at least one side smooth
- Red craft paint and blue craft paint
- Paintbrush
- Krylon Clear Glaze
- newspaper

Stars-and-Stripes Mason Jar Instructions
This simple patriotic mason jar craft is incredibly quick to make. The longest part is waiting for the paint to dry!
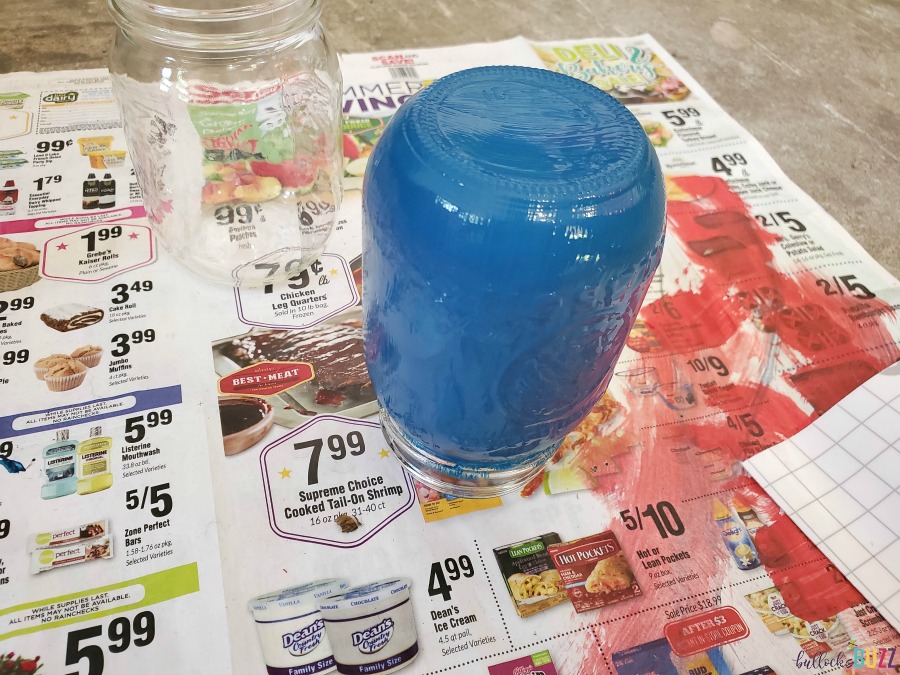
1. Step One: Paint and Prep the Mason Jars
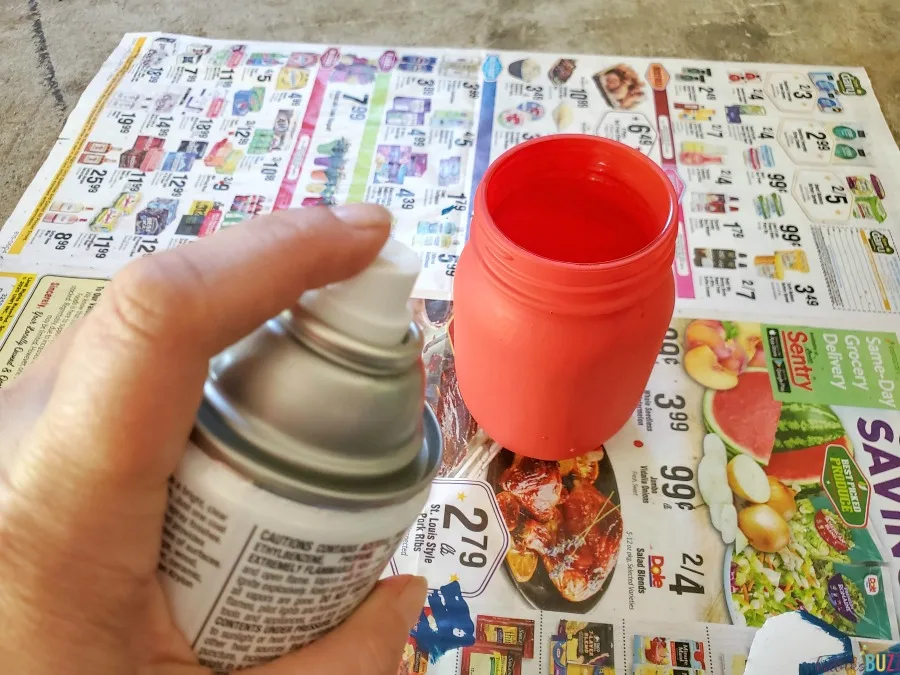
First, begin by laying out a newspaper and painting your jars either red or blue. I opted to do one of each color. You will most likely need to do two or three coats. Let each coat dry completely before adding the next.
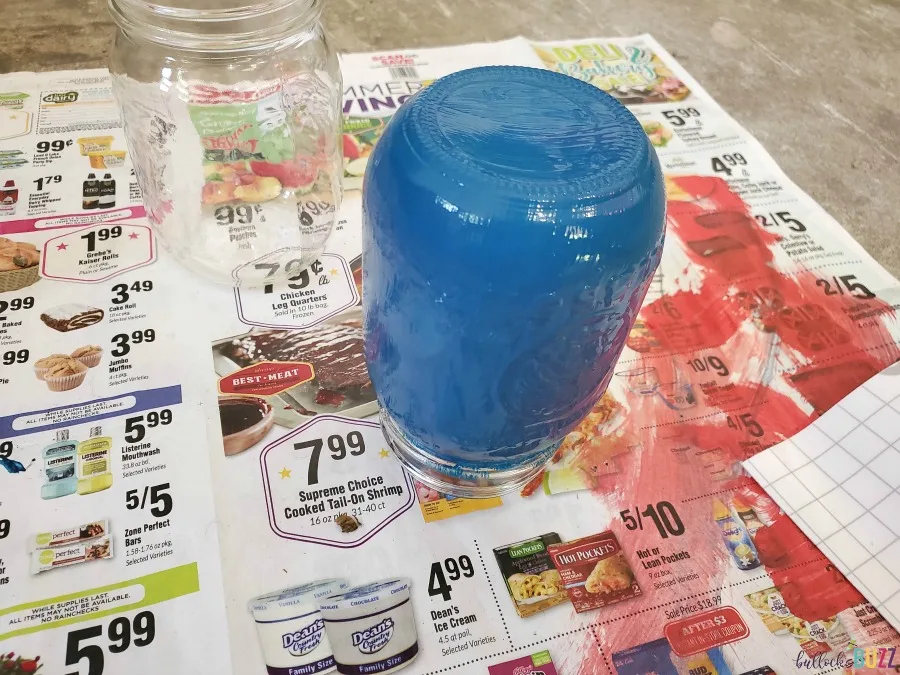
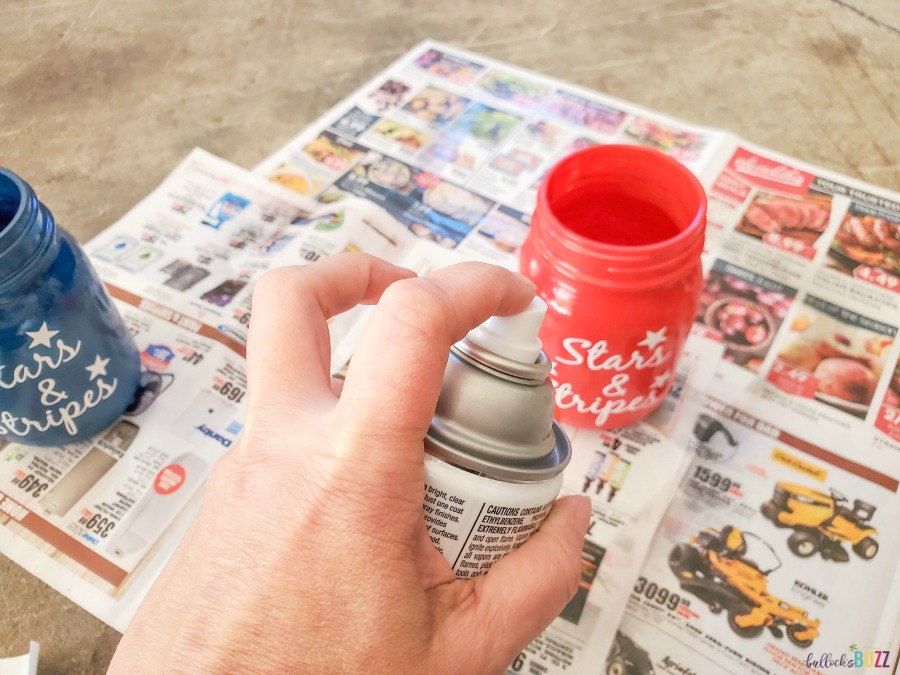
Once the paint has dried, spray each jar with the Krylon clear glaze, and then allow them to dry all the way.

2. Step Two: Create Patriotic Stars and Stripes Design on Your Cricut
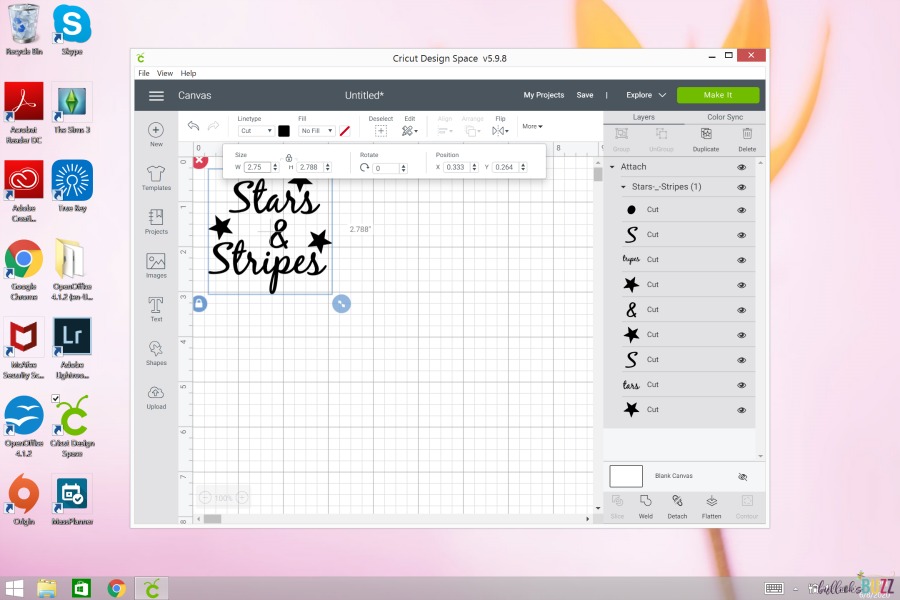
Next, open up a new project in Cricut Design Space. Then select Upload Image–> Browse File, and find your Stars and Stripes file. Make sure you resize the images to fit your specific sized mason jar. Using a pint-sized jar, I sized mine to 2.75″ in width and 2.788″ in height.
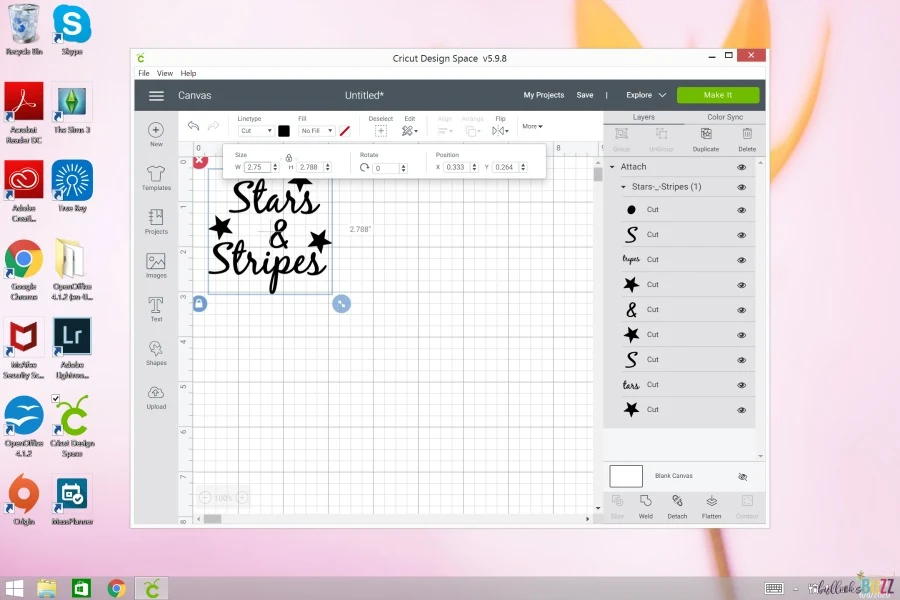
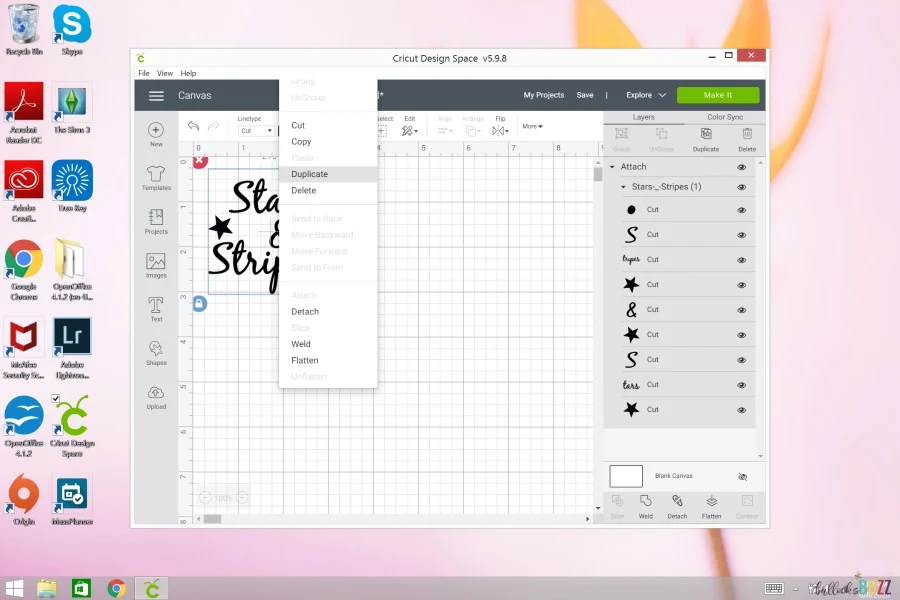
Next, click “Attach” to attach the file together for cutting. Then click “Duplicate” so you have an image for each jar.

If you arrange the second file next to the first, this will help save on vinyl and cutting time!
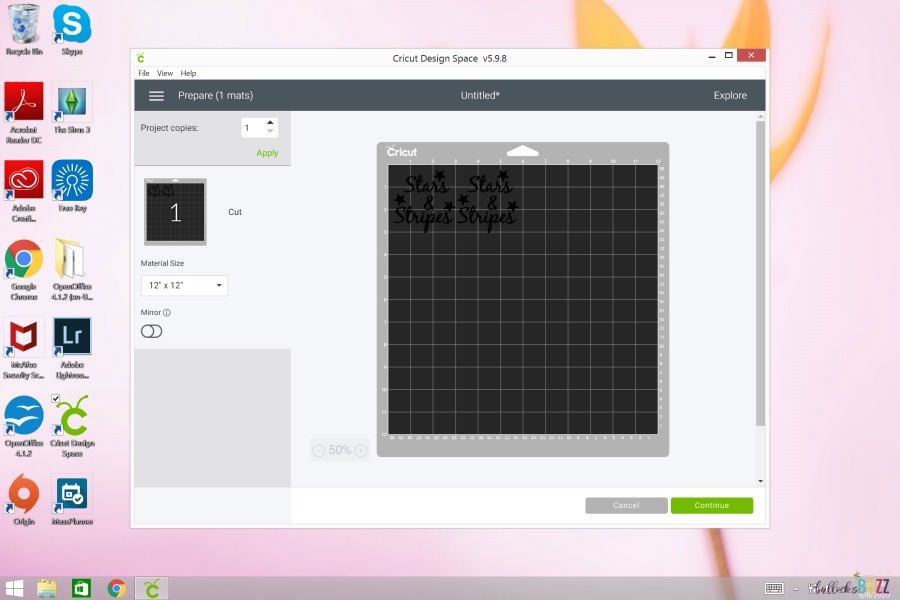

3. Step Three: Prepare Mats and Cut
Next, prepare your mats by cutting the vinyl to size, and then placing it on the cutting mat. Once you are ready to cut, set your machine to ‘Vinyl’, and hit ‘Make It’. Now sit back and relax while your machine does its thing.


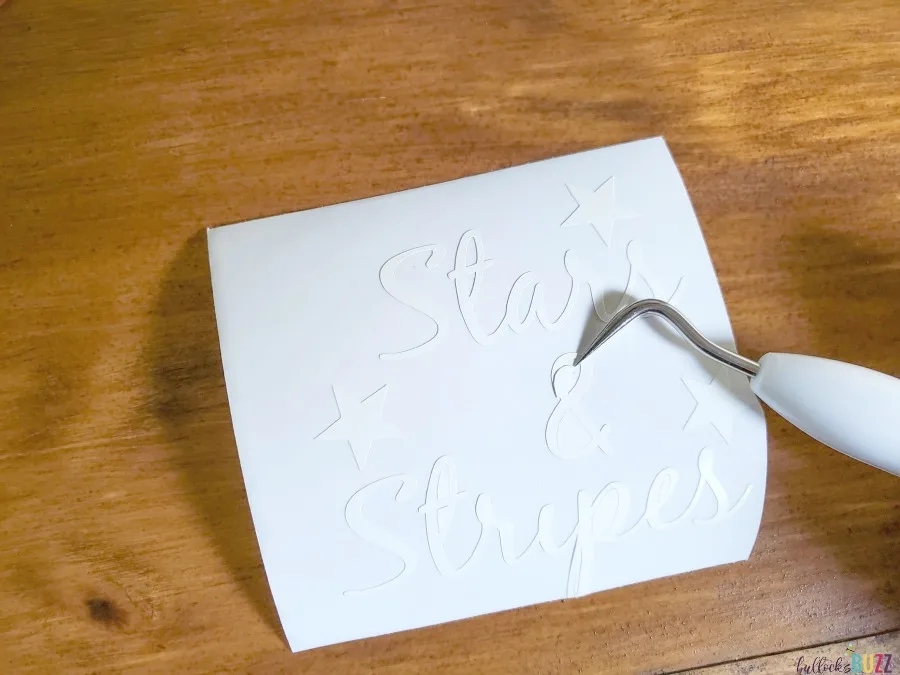
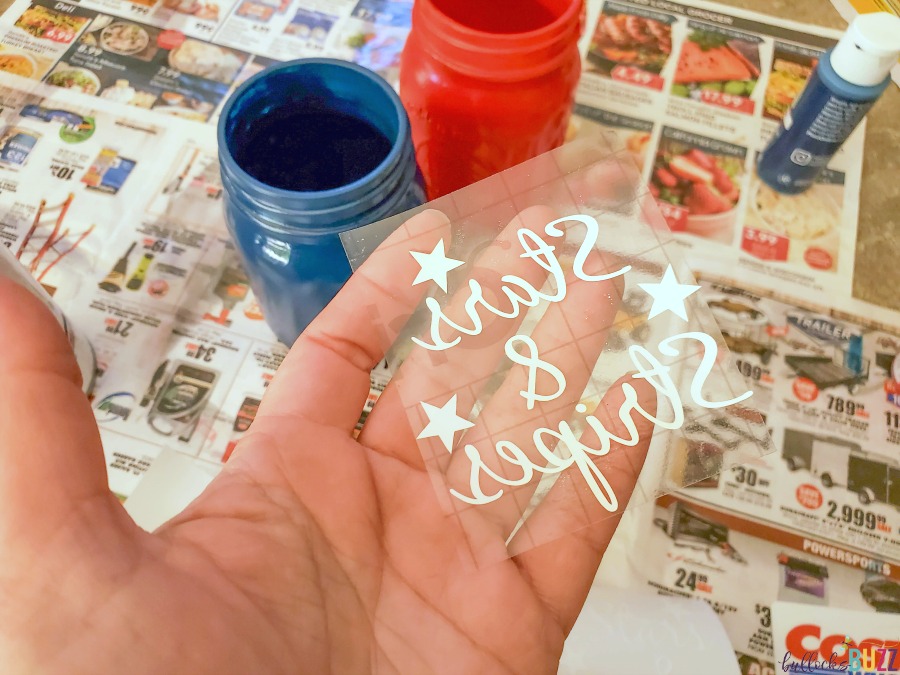
4. Step Four: Weed the Vinyl Design
Once everything is cut, remove the mat from the machine, and then carefully remove the vinyl from the mat. At this point, I cut the two designs apart to make the next steps easier.
Next, slowly remove all excess vinyl surrounding the design that you will not need. Then use the weeding tool to remove any smaller pieces.

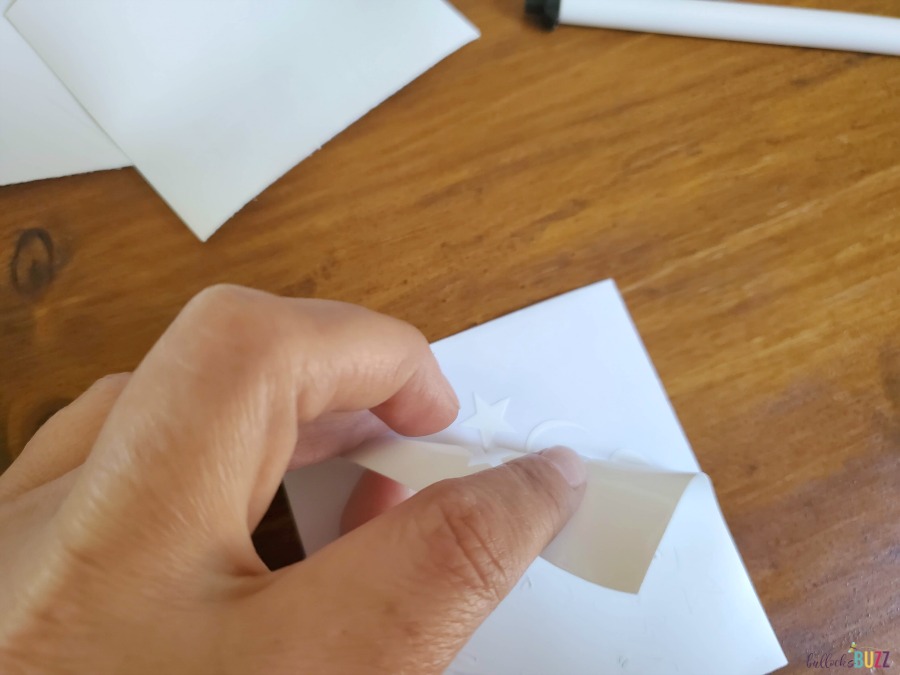
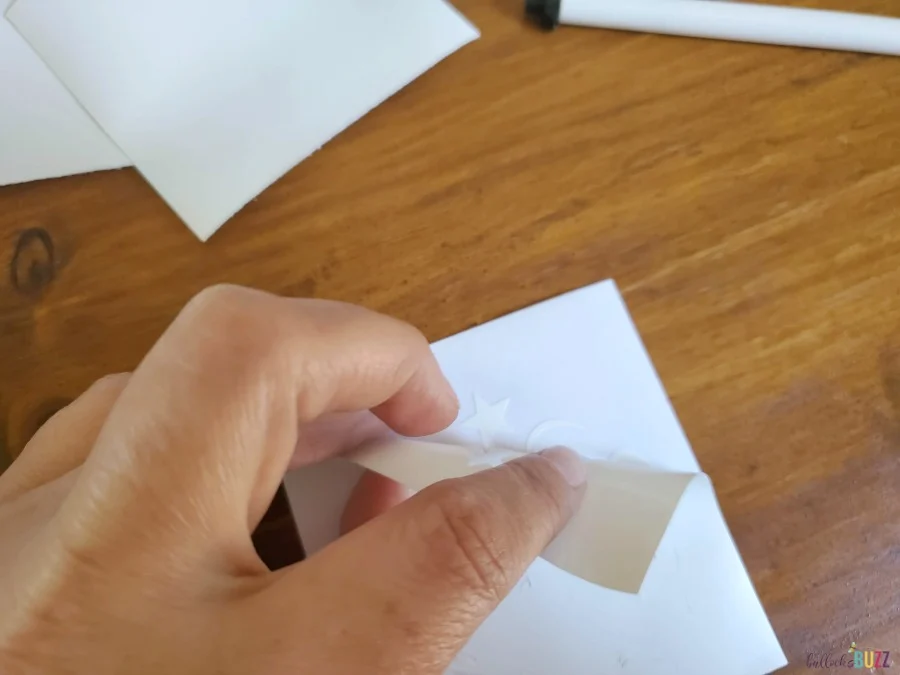
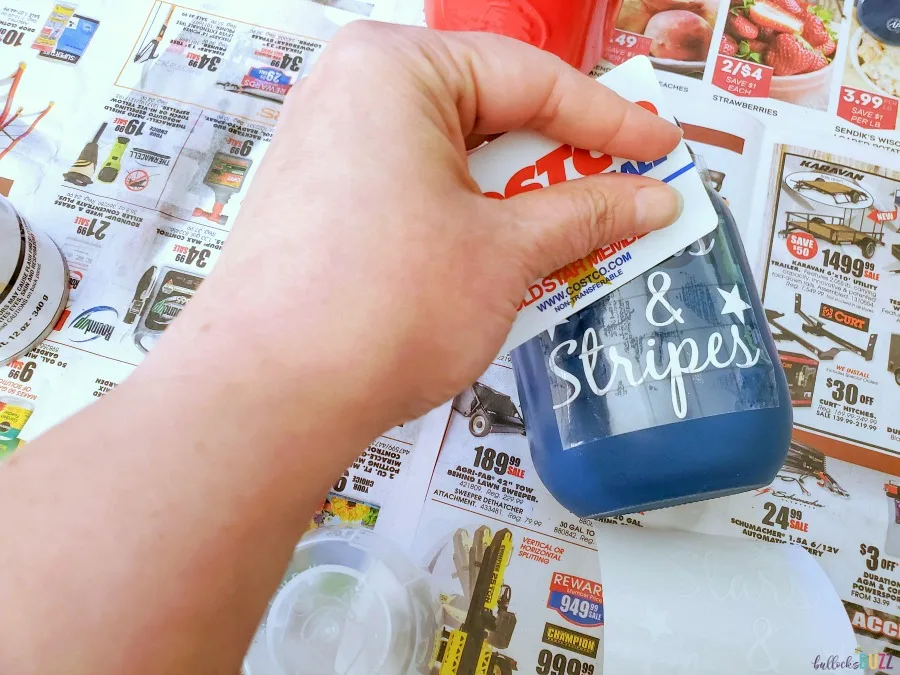
5. Step Five: Use Transfer Tape to Apply Design to Jars
Now, cut a piece of transfer tape to size, then place it over the design using the spatula tool to adhere the design to the transfer tape. Next, peel the original backing away from the vinyl leaving the design on the transfer tape.

Now place the design over your mason jar, and go over it with the spatula tool or a sturdy card to remove any air bubbles and to ensure the design has well adhered to the jar.
Then remove the transfer tape leaving the vinyl design on the jar.

6. Step Six: Seal
Once the design is on each jar, spray the entire jar with another coat of clear glaze. Let the sealant dry completely.

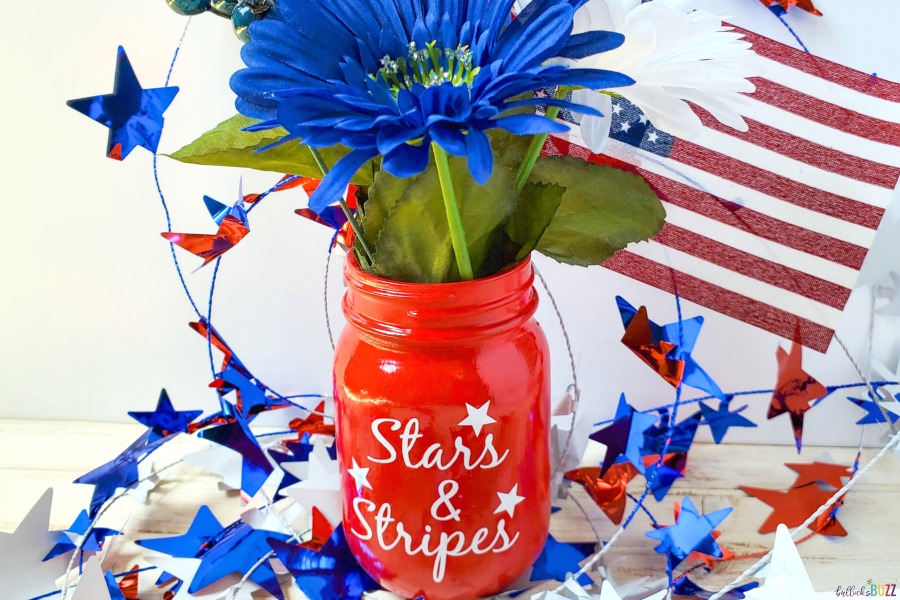
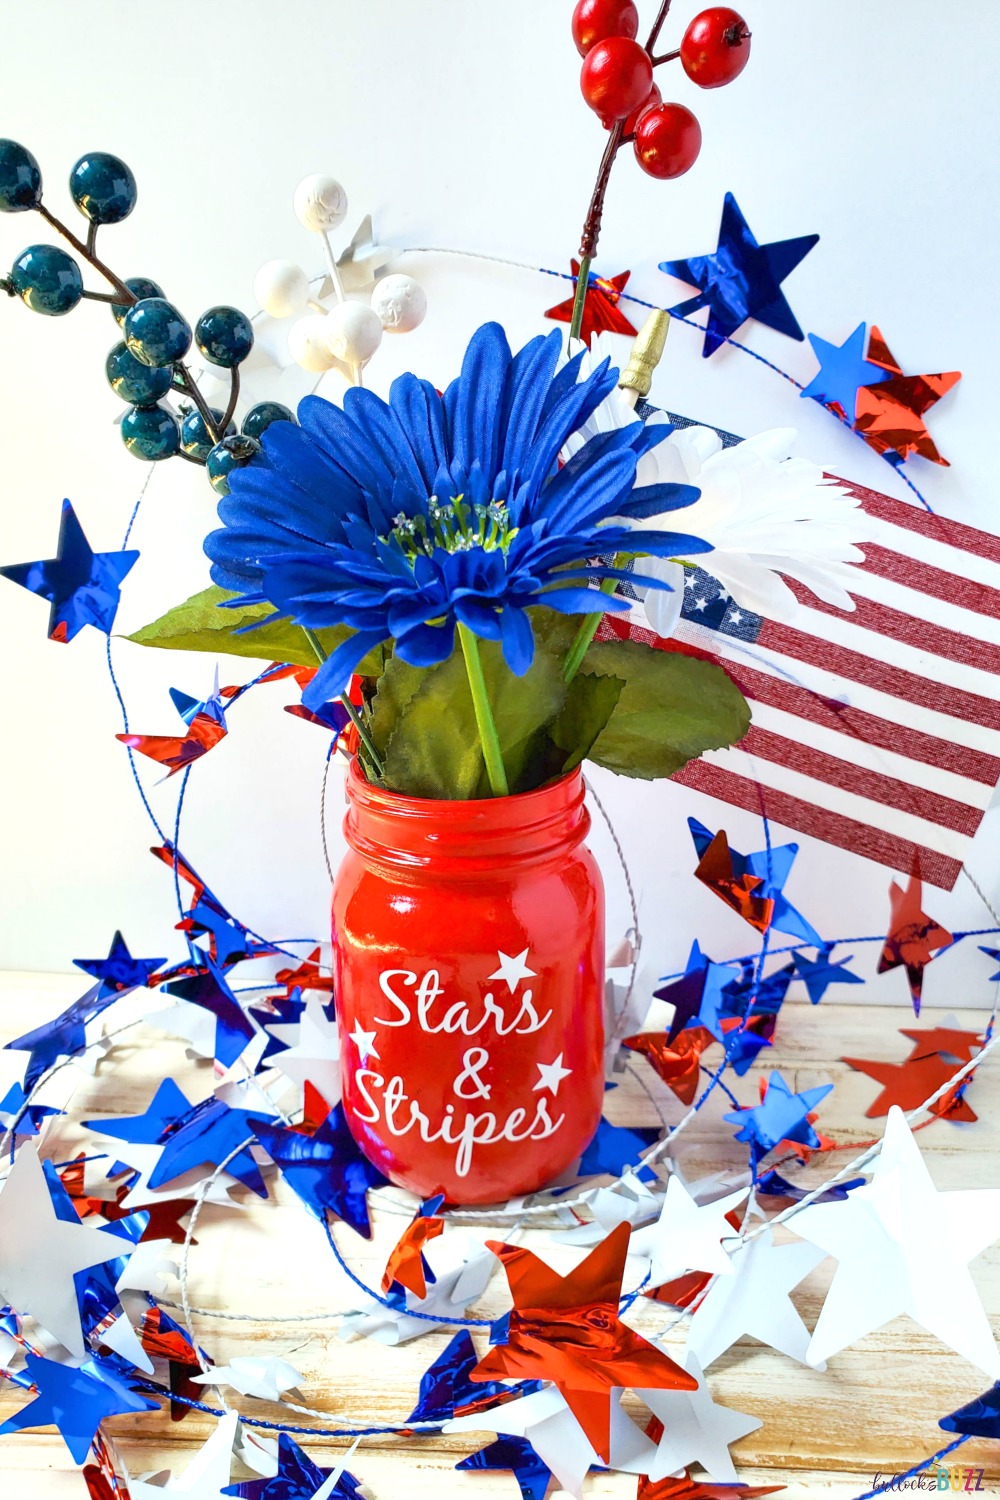
7. Step Seven: Fill Patriotic Mason Jars with Flowers and Other Embellishments
Now all that’s left to do is fill your patriotic mason jars with fresh or fake flowers as well as a flag or any other embellishments you want.

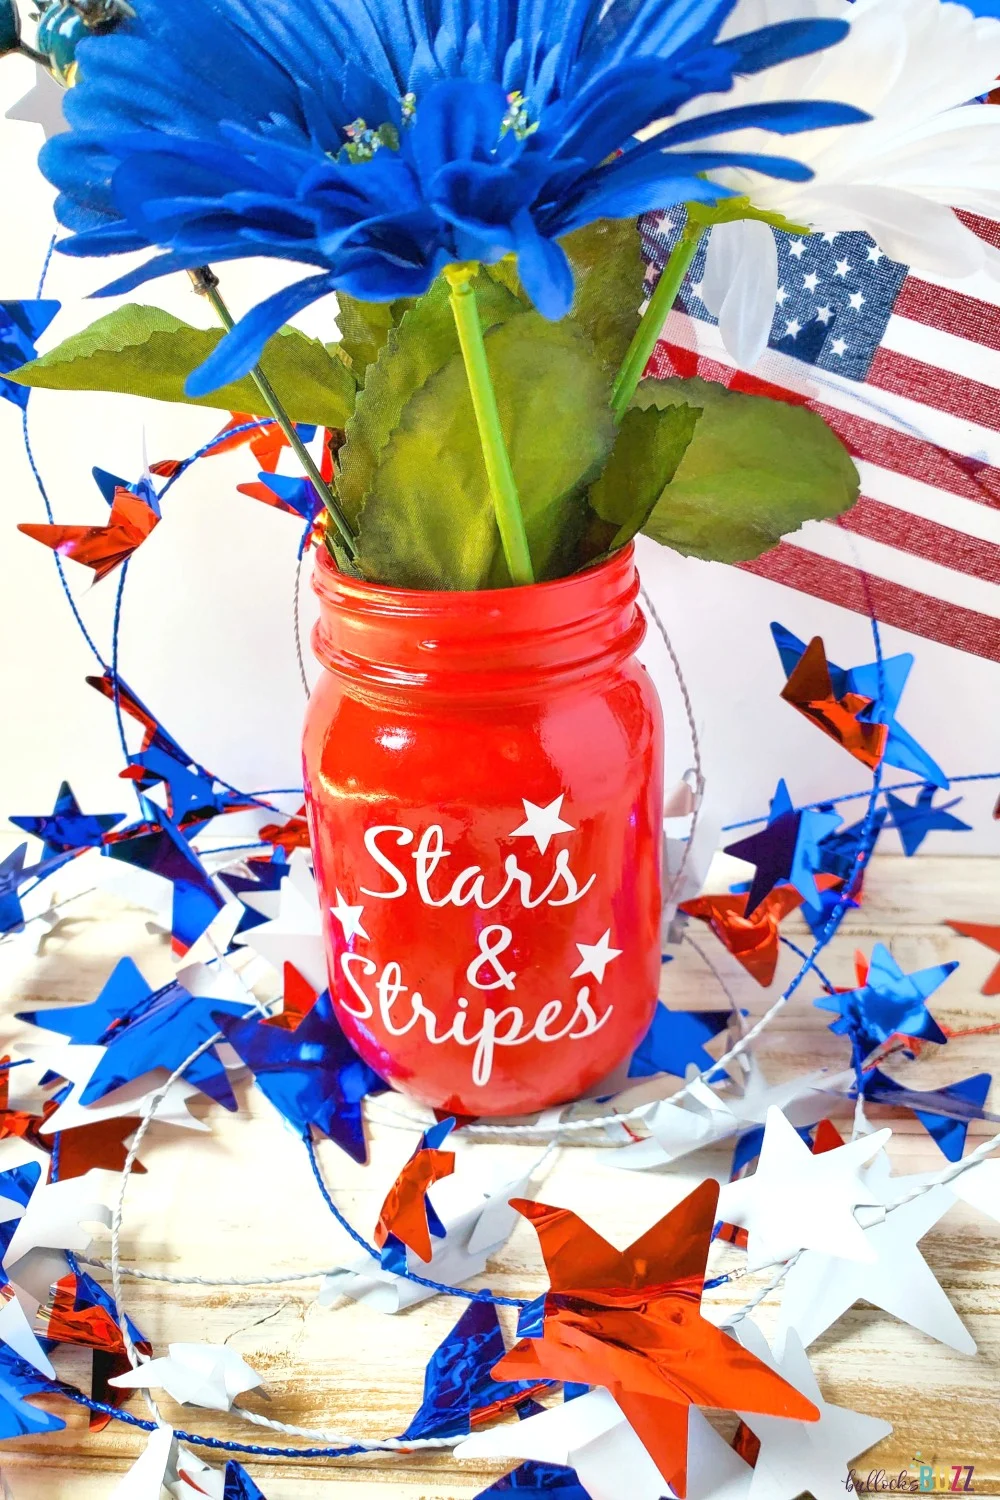
And there you have it! Your fourth of July mason jar craft is complete!
More Patriotic Ideas
Looking for more ideas for the 4th of July? Check out these patriotic crafts and red, white, and blue recipes!
- Patriotic Pretzel Hugs
- Patriotic Star Sugar Cookies
- Mini Blueberry Pies Recipe
- Patriotic Cupcake Liner Wreath
Printable Patriotic Craft
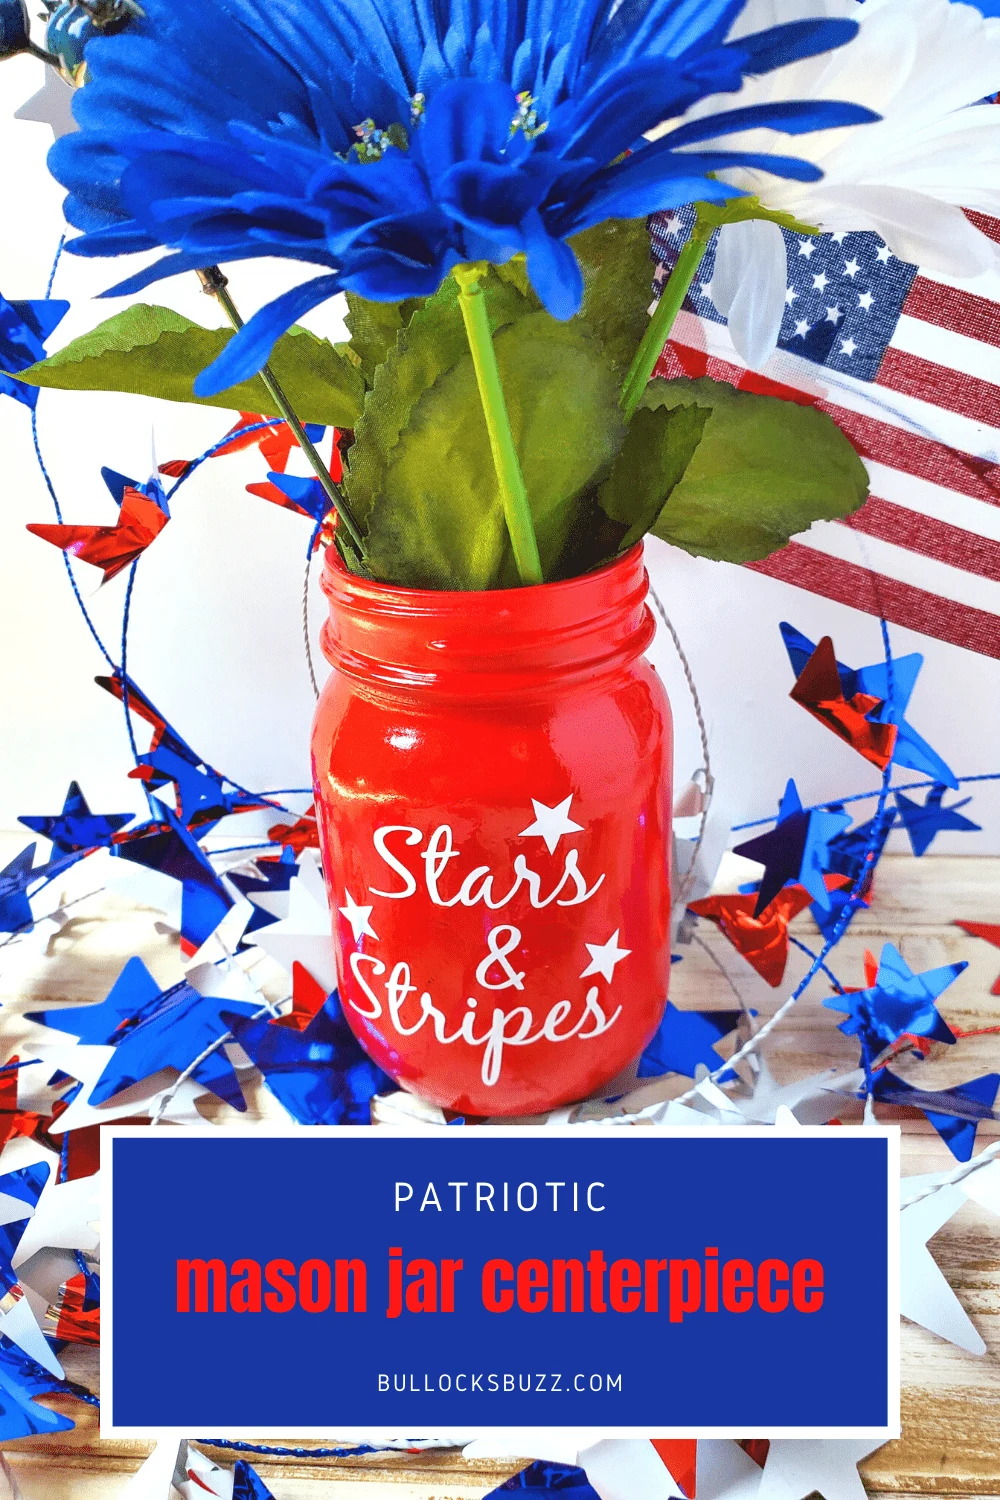
Patriotic Mason Jar Centerpiece
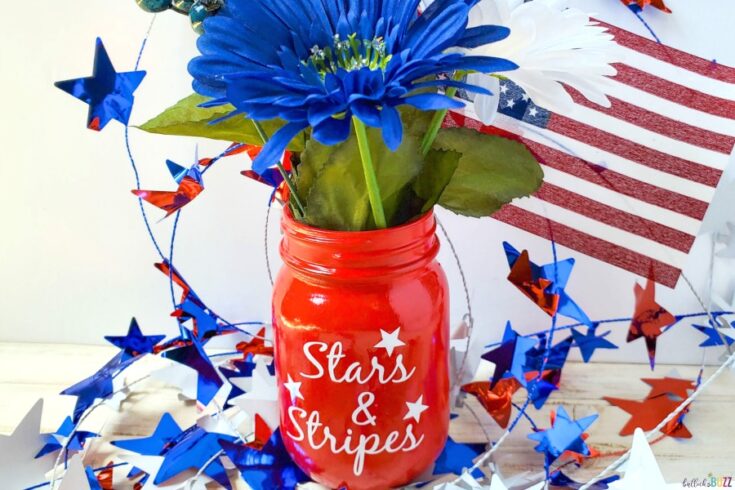

This unique and pretty DIY Patriotic Mason Jar Centerpiece gives you a fun and festive 4th of July decoration you can put on your table, around your deck, or in your windows. Filled with flowers or any other embellishment you prefer, this simple red, white, and blue mason jar craft is perfect for any patriotic holiday!
Materials
- Stars and Stripes SVG File (link in post)
- Cricut Premium Vinyl (white)
- Cricut Transfer Tape
- 2 pint size Mason jars (with at least 1 smooth side)
- Craft paint (red)
- Craft paint (blue)
- Krylon Clear Glaze
- newspaper
Tools
- Cricut Machine
- Cricut Fine Point Blade
- Cricut Standard Grip Mat
- Cricut Weeder Tool
- Cricut Spatula (or thick card)
- Scissors
- Paintbrush
Instructions
- Lay out the newspaper and paint the jars, one blue and the other red. You’ll need to do 2-3 coats, allowing the paint to completely dry between each coat.
- Once the jars are fully painted and dry, spray with clear Krylon glaze and allow it to fully dry.
- Meanwhile, open Cricut Design Space and select “New Project”, then “Upload Image”, “Browse File” and find the Stars & Stripes svg file.
- Click “Save File”, then click on the file and “Insert Image”.
- Resize the image to a width of 2.75” and height of 2.788” (if using pint-sized mason jars).
- Click “Attach” to attach the file together for cutting.
- Next, click “Duplicate” and arrange the second file next to the first.
- Cut your vinyl and transfer tape to size and then place the vinyl onto the Cricut mat.
- Turn the Cricut machine on, select ‘Vinyl’ on the material dial, and then click “Make It” in Design Space.
- Follow the prompts to load the mat and start cutting.
- Once it is finished cutting the design, remove the mat from machine, and then carefully remove the vinyl from the mat.
- Cut the vinyl to separate the two designs.
- Remove the excess vinyl, using the weeding tool to remove the smaller pieces.
- Next, place the transfer tape over the design and use the spatula to adhere the design to the transfer tape.
- Then place design over your mason jar and use the spatula to adhere the design to the jar.
- Carefully remove the transfer tape.
- Spray another coat of clear glaze and allow to dry completely.
- Fill the jars with fresh or fake flowers. You could also add a flag or any other patriotic embellishments of your choice.