This post may contain affiliate links. I only recommend products I use and love. Read the full disclosure here
Updated on: July 3, 2021
Originally published on: October 12, 2017
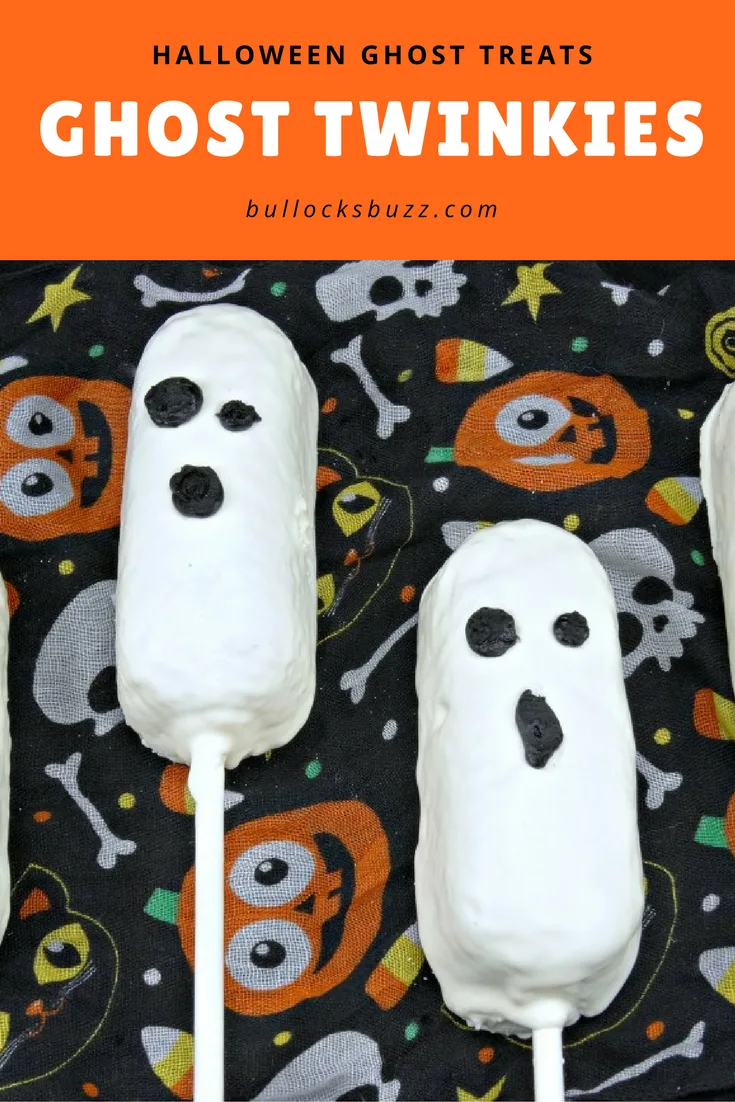
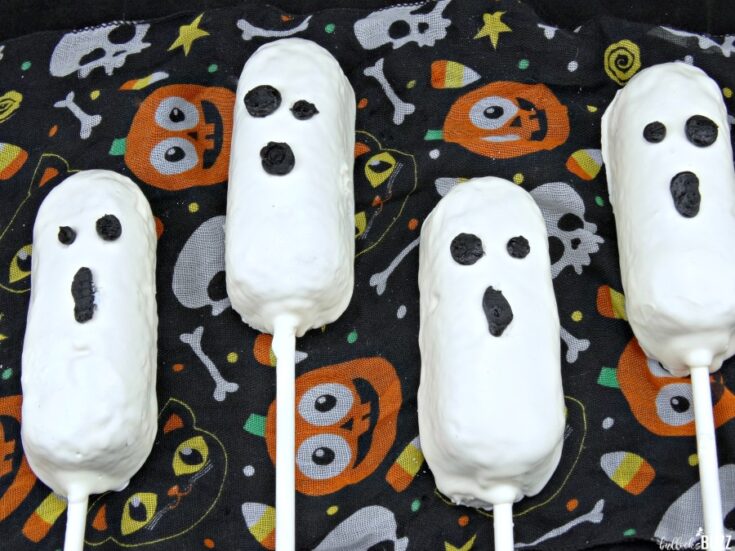
These spooky, no-bake Twinkie Ghosts are a frighteningly faBOOlous treat for everyone on Halloween! Best of all, they are eerily easy to make!
Last year, these Frankenstein Halloween Treats with twinkies were such a huge hit, I couldn’t resist making a new Halloween treat with Twinkies this year – Twinkie Ghosts! These Halloween Ghost treats turned out just as cute, and best of all, they couldn’t be simpler to make.
There is no baking involved, and you only need three ingredients. They are a frighteningly faBOOlous treat for everyone! Plus they pair perfectly with this Haunted Graveyard Halloween Cake and these One Eyed Purple People Eater Marshmallow Pops!

How to make Halloween Ghost Treats using Twinkies
Making these Halloween Ghost Treats is faBOOlously simple and quick. The Twinkie is dipped in white candy melts, and then black icing is used to draw the eyes and mouth. And while the prep time for these Spooky Ghost Twinkies is about one hour, that includes the 30 minutes you have them in the freezer.
Ready to see how to make these Halloween Ghost Treats using Twinkies?
Kitchen Tools You May Need
Disclosure: This blog post contains affiliate links for products or services I think you’ll like. This means if you make a purchase from one of these links, I may make a small commission at no additional cost to you. I only recommend items I use and love.
- candy melting pot, microwave, or double boiler to melt the candy melts
- Cookie Sticks — I prefer using cookie sticks to lollipop sticks because they’re thicker and sturdier.
- spatula
- Wilton Melting Pot — this is completely optional, but if you’ve ever had any trouble melting chocolate or candy melts, I highly recommend this candy melting pot. You simply toss the candy in, and walk away…just remember to give it a stir or two. It melts the candy perfectly every time!

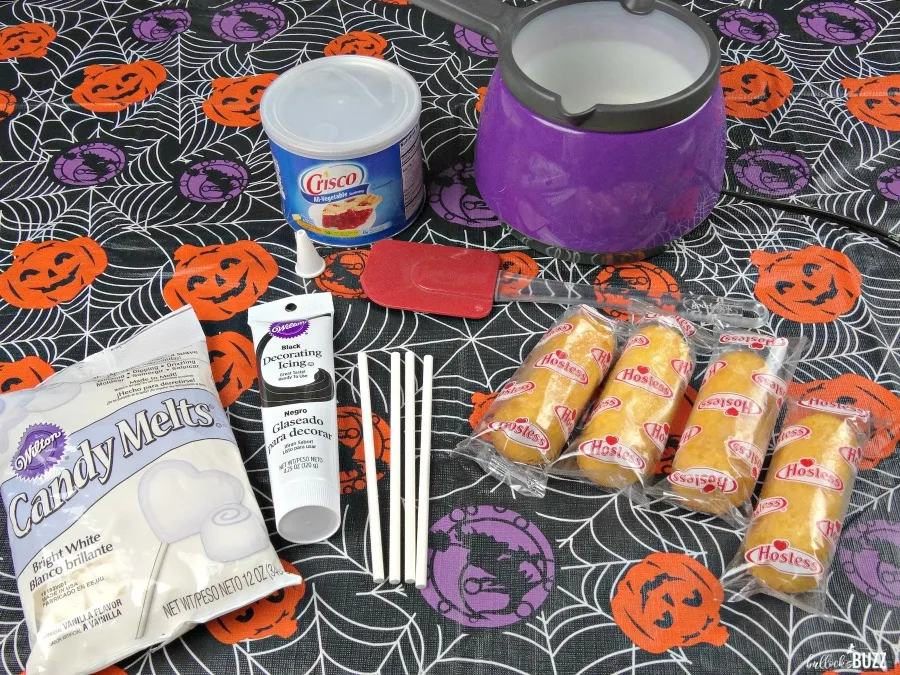
Twinkie Halloween Ghost Treats Ingredients
- Twinkies, frozen
- White Candy Melts
- Black Decorating Icing
- Shortening – to help thin the candy melts, if needed
(To purchase any of the necessary items, just click them in the above lists. The links are embedded in each one to make shopping easy).

Twinkie Halloween Ghost Treats Instructions
Step One: Freeze Twinkies
- Place the Twinkies in the freezer for about 30 minutes. This makes them much easier to work with.
- Prepare a baking sheet by covering it with wax or parchment paper.
Step Two: Melt Candy Melts
- Melt the white candy melts. If using a microwave, set it for 30 seconds, then stir and repeat until the candy is completely melted and runny. Pro Tip: if the melted candy is not thin enough, add a small amount of shortening and stir. This will help thin it out.
Step Three: Insert Cookie Stick
- Stick the top 1/3 of a cookie stick into the melted candy, then insert it in the bottom of the Twinkie. Make sure you insert the stick into the Twinkie at least halfway.
- Put the Twinkies on the baking sheet and place them in the freezer for about 10 minutes to allow the candy to harden. This will ensure the stick stays in place.
Step Four: Coat Twinkies in White Chocolate
- Coat each Twinkie in the melted candy, rolling to allow the excess candy to drip off.
- Place the Twinkies back on the wax paper lined baking sheet and return to the freezer for 10 to 15 more minutes, or until the candy has hardened.
- Once you remove them from the freezer, use a knife to carefully trim off any candy that ran off the sides.
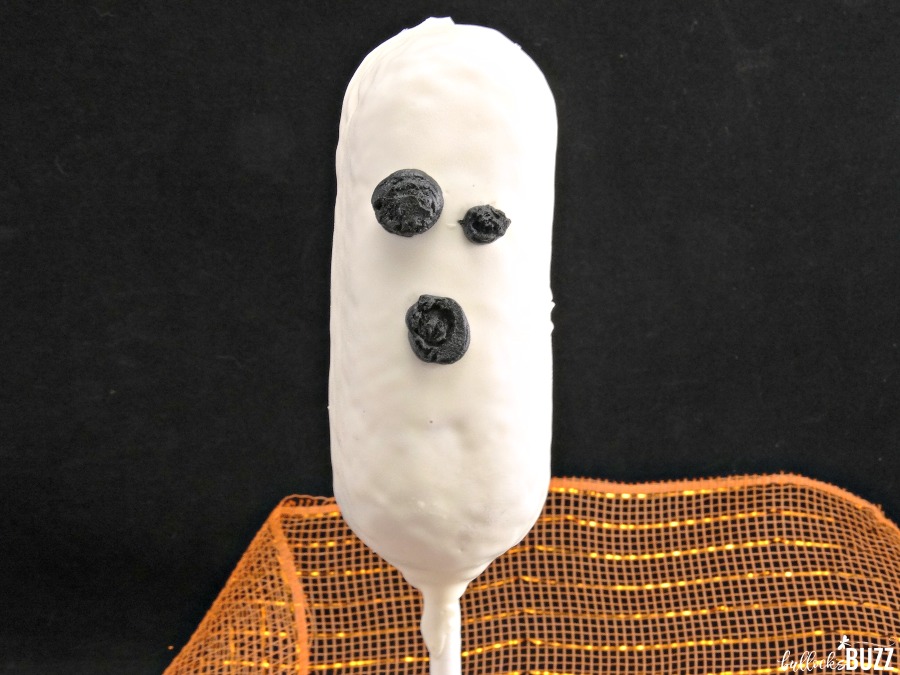
Step Five: Add Ghost Faces
- Add the eyes and the mouth using the black icing. Tip: if you don’t have a small enough icing tip, use a toothpick as a “pen”, dipping it in the icing and then ‘drawing’ the mouth and eyes.
Step Six: Allow Icing to Set
Place Ghosts to the side and allow the icing to set for about 15 minutes before serving.
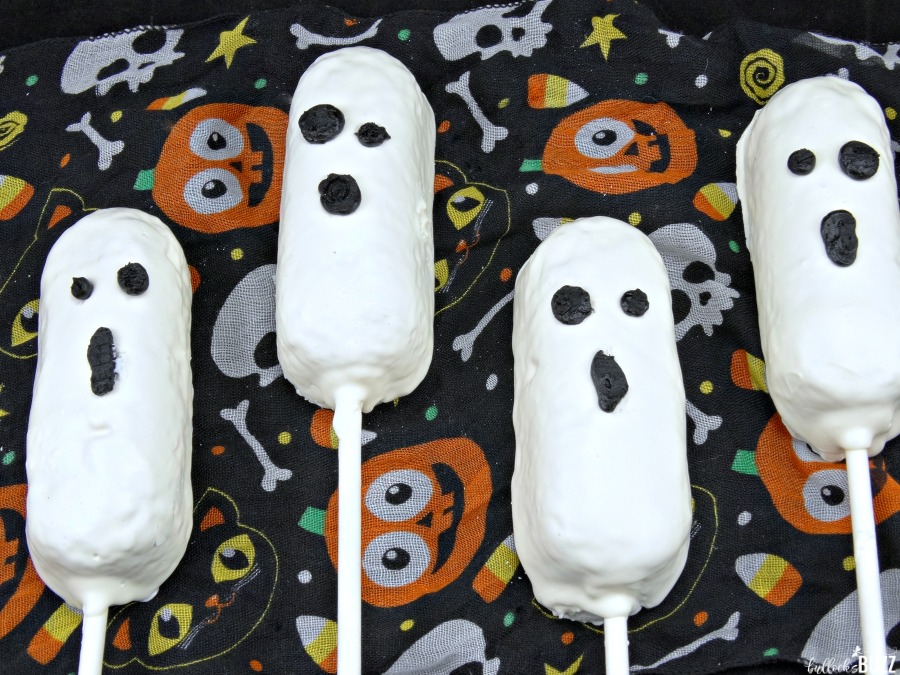
And there you have it. Halloween Ghost Twinkies that are sure to make everyone scream with delight!
Happy Haunting!

I hope you enjoy these Halloween Ghost Treat Twinkies as much as I loved making them! Please share with family and friends by using the social sharing buttons located at the top and bottom of this post!
STAY UP TO DATE ON ALL BULLOCK’S BUZZ FUN BY FOLLOWING ME ON:
FACEBOOK | TWITTER | PINTEREST | INSTAGRAM | GOOGLE+
Enjoy this post? Subscribe to our newsletter so you’ll never miss another!
Subscribe to Newsletter
Here are some more simple Halloween treats and crafts I think you’ll enjoy!

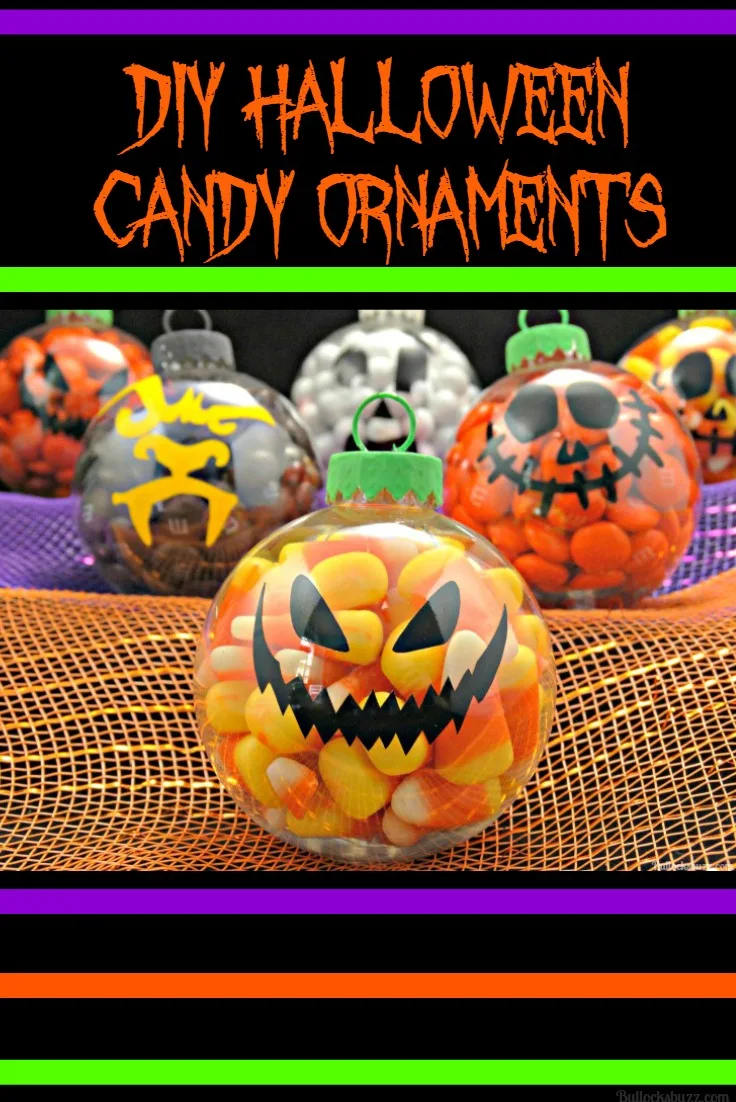
DIY Halloween Candy-Filled Ornaments
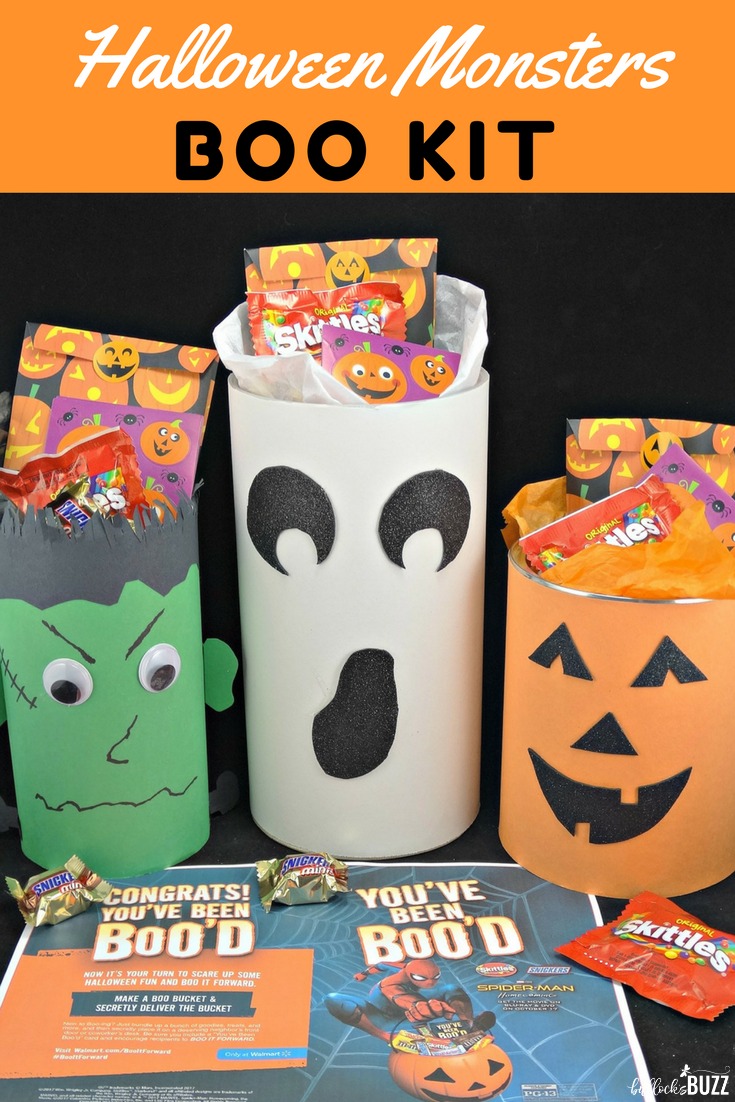
 Halloween Monster BOO Kit

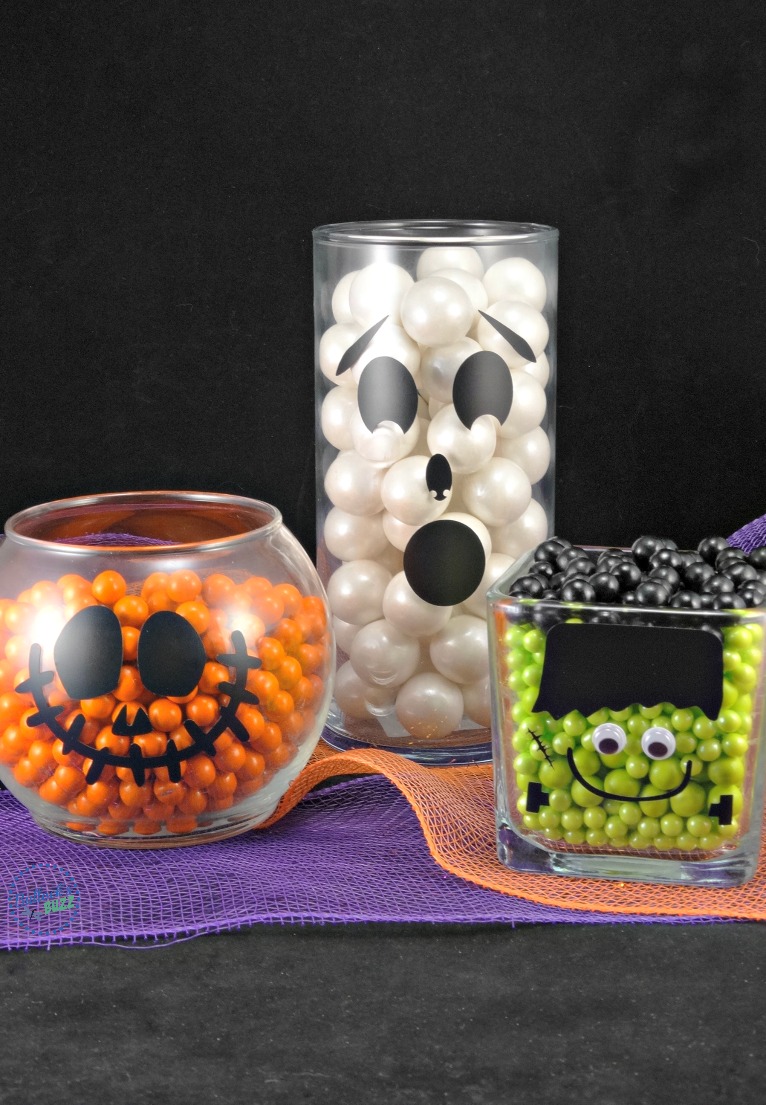 DIY Halloween Treat Jars

Twinkie Ghosts - Spooktacular Halloween Ghost Treats

These spooky, no-bake Twinkie Ghosts are a frighteningly faBOOlous treat for everyone on Halloween! Best of all, they are eerily easy to make!
Ingredients
- 6 Twinkies, frozen
- 1 bag White Candy Melts
- 1 tube Black Decorating Icing
- Shortening - to help thin the candy melts, if needed
Instructions
- Place the Twinkies in the freezer for about 30 minutes. This makes them much easier to work with.
- Prepare a baking sheet by covering it with wax or parchment paper.
- Melt the white candy melts. If using a microwave, set it for 30 seconds, then stir and repeat until the candy is completely melted and runny. Pro Tip: if the melted candy is not thin enough, add a small amount of shortening and stir. This will help thin it out.
- Stick the top 1/3 of a cookie stick into the melted candy, then insert it in the bottom of the Twinkie. Make sure you insert the stick into the Twinkie at least halfway.
- Put the Twinkies on the baking sheet and place them in the freezer for about 10 minutes to allow the candy to harden. This will ensure the stick stays in place.
- Coat each Twinkie in the melted candy, rolling to allow the excess candy to drip off.
- Place the Twinkies back on the wax paper lined baking sheet and return to the freezer for 10 to 15 more minutes, or until the candy has hardened.
- Once you remove them from the freezer, use a knife to carefully trim off any candy that ran off the sides.
- Next, add the eyes and the mouth using the black icing. Tip: if you don't have a small enough icing tip, use a toothpick as a "pen", dipping it in the icing and then 'drawing' the mouth and eyes.
- Allow icing to set before serving.
Nutrition Information:
Yield:
6 Twinkie GhostsServing Size:
1 Twinkie GhostAmount Per Serving: Calories: 211Total Fat: 8gSaturated Fat: 3gTrans Fat: 1gUnsaturated Fat: 5gCholesterol: 18mgSodium: 211mgCarbohydrates: 33gFiber: 0gSugar: 21gProtein: 2g
Nutritional information is automatically calculated with ingredients and serving size and may not be accurate. Please always double check with your own nutritional apps as well.
Do you have a favorite Halloween treat? I’d love to hear about it! Share with us in the comments below.
Bobbie Anne Munsey
Wednesday 18th of October 2017
Thank you for posting! I can always use cute ideas that are quick and easy! Twinkie Ghosts will make me look like a PRO!
Alaina Bullock
Wednesday 18th of October 2017
Of course! I'd love to see how yours turn out of you make them! :)