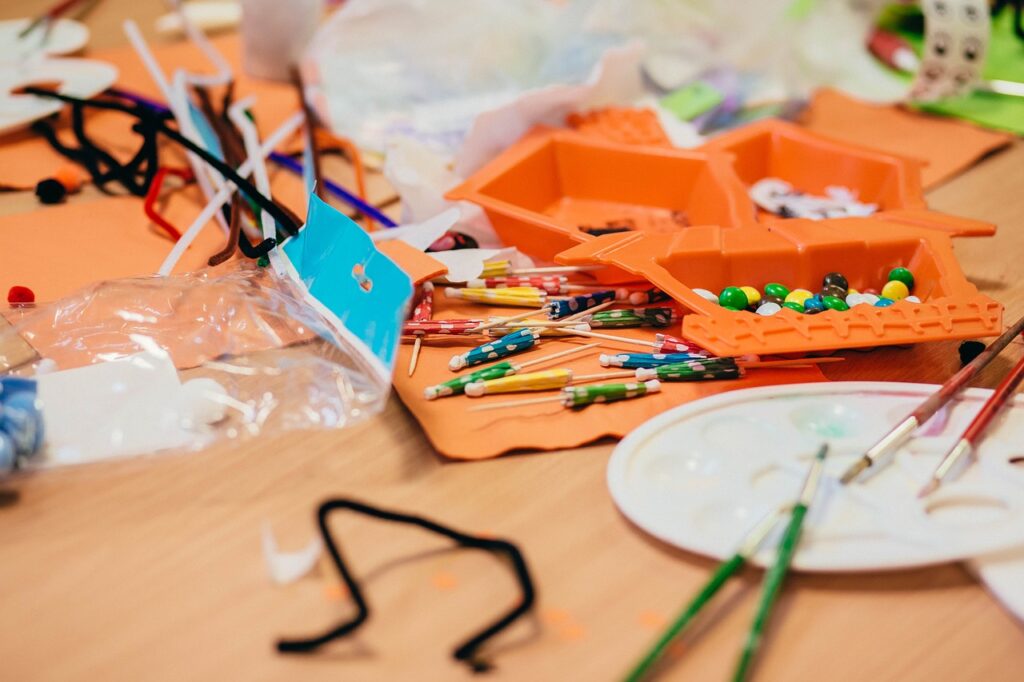
If you’re looking for craft ideas to try with your kid, you’ve come to the right place! Engaging in crafting with your child is the perfect chance for you to spend some quality time with your kids and, thus, strengthen the bond.
At the same time, it is a great free-time activity to keep youngsters busy and let them have some fun without staring at a screen for hours on end.
Even better – crafting is known to help children develop a wide range of vital traits and skills, including:
- Motor skills;
- Resilience;
- Critical thinking;
- Creativity;
- Patience, etc.
Knowing about all these benefits, encourage your children to engage in various DIY activities and join them on this exciting path. Even though some kids are busy in school, it’s a good idea to set aside some time for crafts.
For this purpose, you can choose the best paper writer at WritePaper and let your child do something meaningful and beneficial. The resulting gained free time can be devoted to fun DIYs without their grades having to suffer.
But, what exactly can you craft together with your child? Read on to find four exciting and simple crafts to try with your kid!
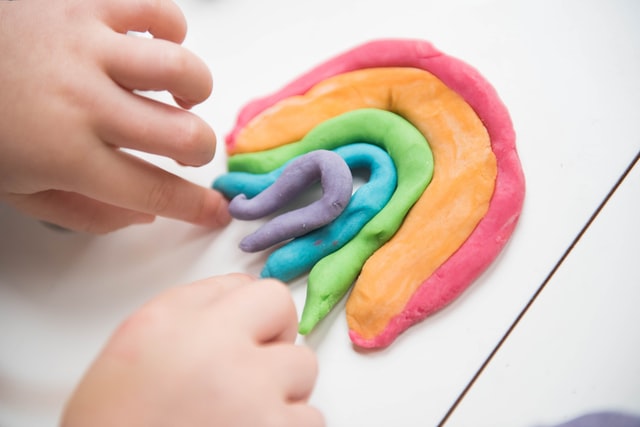
Playdough
Making homemade playdough is probably one of the best craft ideas to try with kids – especially younger children. It is very simple and quick to make, so your child won’t get bored in the process. And the ready-made play dough can be used over and over for months to come that will keep the kids busy for hours.
To make homemade playdough you will need:
- Large saucepan
- Spoon
- Food coloring
- Water (1 cup)
- Plain flour (1 cup)
- Salt (½ cup)
- Cream of tartar (2 tbsp)
- Vegetable oil (2 tbsp)
To prepare the dough, mix salt, flour, cream of tartar, and oil in your saucepan. Then, mix water with a few drops of food coloring and add the colored water to the rest of the ingredients in the saucepan. Put the pan on medium heat and stir until the substance turns into a sticky, combined dough. Finally, let it rest to cool and remove it from the saucepan. And voila, your dough is ready to be played with!


Tie-Dye T-Shirts
Another cool craft to try with your kid is tie-dye. With the instructions below, you can create colorful, one-of-a-kind t-shirts that your child can proudly wear. And the process is lots of fun too!
To create your tie-dye t-shirts, you will need:
- Large trays or dishes (that you don’t mind spoiling)
- Rubber gloves
- Plastic bottles
- Elastic bands (or string)
- Warm water
- Salt
- Fabric dyes
- T-shirts or other clothes (pre-washed and still damp)
To get started, take several trays or dishes (one per dye color) and mix water with your dyes and salt according to the instructions of the manufacturer. When the dye is ready, pour it into clean bottles and make holes in bottle caps to be able to squirt the dye through them.
Then, take your t-shirts (or other fabric) and make sure they’re still damp. At this stage, you will have to fold your t-shirts and use elastic bands or a string to hold them folded. On the web, you can find instructions on how to fold the fabric to get different tie-dye patterns.
When ready, take bottles with the dye and squirt (or spray) the dye onto your t-shirts however you want. Follow the dye manufacturer’s instructions to dye the fabric. Then, wash your t-shirts and enjoy colorful patterns!
Tip: Dyeing fabric can make lots of mess. Therefore, it is important that you cover all surfaces with some protective sheet or, even better, take this activity outside, where you won’t spoil anything with the dye.


Dream Catcher
Dream catchers look neat and can serve as a nice decor element for your child’s room. At the same time, they are believed to have the power to protect their owners from bad dreams. It’s also a real cool craft to make with your kid.
Here is what you will need for this DIY idea:
- Metal hoop (5’’ or another size of your choice)
- Suede lace (2.5 yards)
- Beads
- Feathers with loops for hanging
- 1 skein embroidery floss
Although it can look pretty complicated, dream catchers are actually quite easy to make. To get started, grab your metal hoop and start wrapping it with the suede lace, leaving about a 6-10-inch tail at the top of the hoop (you will need it to hang your dream catcher later).
Continue wrapping until you cover all metal parts and leave the second tail at the same place as the first one and tight two knots – at the base and at the ends of your tails.
Then, take the embroidery floss and tie its end to the knot at the top of the hoop. Now, you can create the pattern inside your dream catcher. You can find detailed instructions with pictures on the web.
Once you finish your pattern, tie a secure knot to strengthen your web.
Finally, grab more embroidery floss to hand the feathers on the bottom of your dream catcher. You can also add beads to these hanging strings. And you can continue customizing your dream catcher according to your wishes.

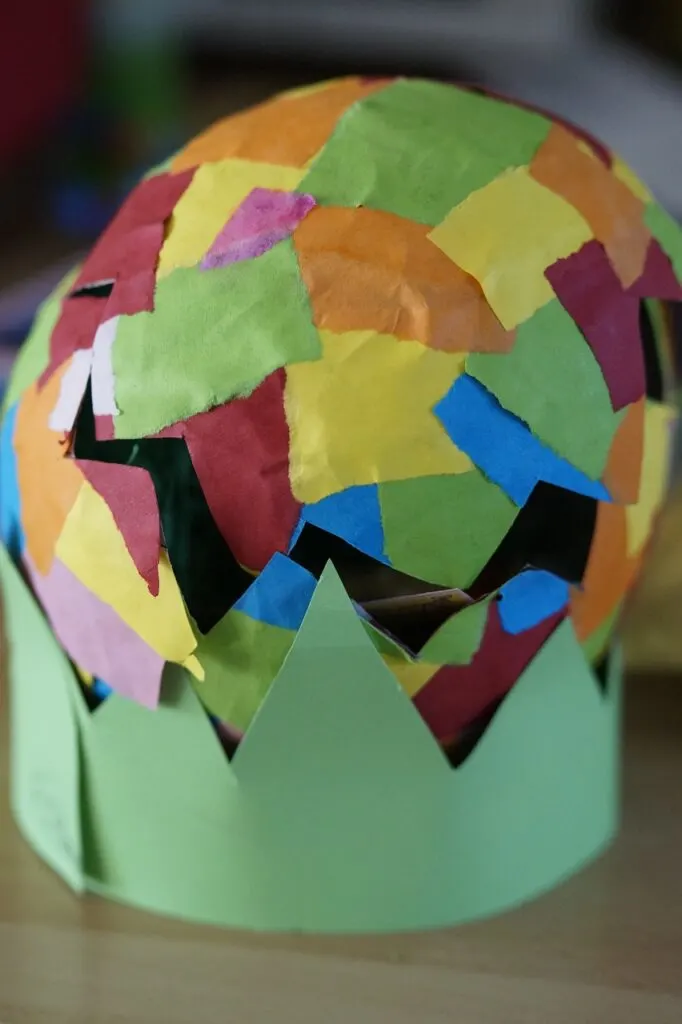
Paper Mache
If you want a more long-lasting activity, then paper mache might be just the right option. This kind of craft has been around for a long time. And many of us have tried this in our childhood/teenage years. Now, you can engage your children in this fun activity too!
Here is what you will need for paper mache:
- Table covering
- Paintbrush
- Newspaper
- Emulsion paint
- Vaseline
- Plain flour
- Salt
- Water
To get started, prepare your workspace and cover the desk with a table covering to prevent mess. Grab lots of newspaper and tear it into strips or small pieces of various shapes and put it in a single pile on the table.
Then, prepare the glue paste for your paper mache. Take a bowl and mix flour with water in 1:1 proportion and mix well until it gains an even, thick, and glue-like consistency. In the end, add several tablespoons of salt to avoid mold.
When the glue is ready, take a paintbrush and use it to cover the pieces of newspaper with your glue. After covering each piece, place it over the object you want to create a paper mache of. Put pieces over your object evenly to create complete layers.
Repeat this process as many times as you need to create enough layers.
When done, leave your paper mache to dry out completely. Depending on the size of the object and the number of layers, this process can take quite a bit of time – from several hours to a few days. When fully dried, cover with emulsion paint to seal it. Then, remove the object from the inside and color your paper mache according to your liking.
Takeaway
These are a few interesting crafts to try with your kids. There are lots more online. Be sure to give them a try and have lots of fun and spend some quality time with your children!