This post may contain affiliate links. I only recommend products I use and love. Read the full disclosure here
Updated on: July 18, 2024
Originally published on: December 10, 2023
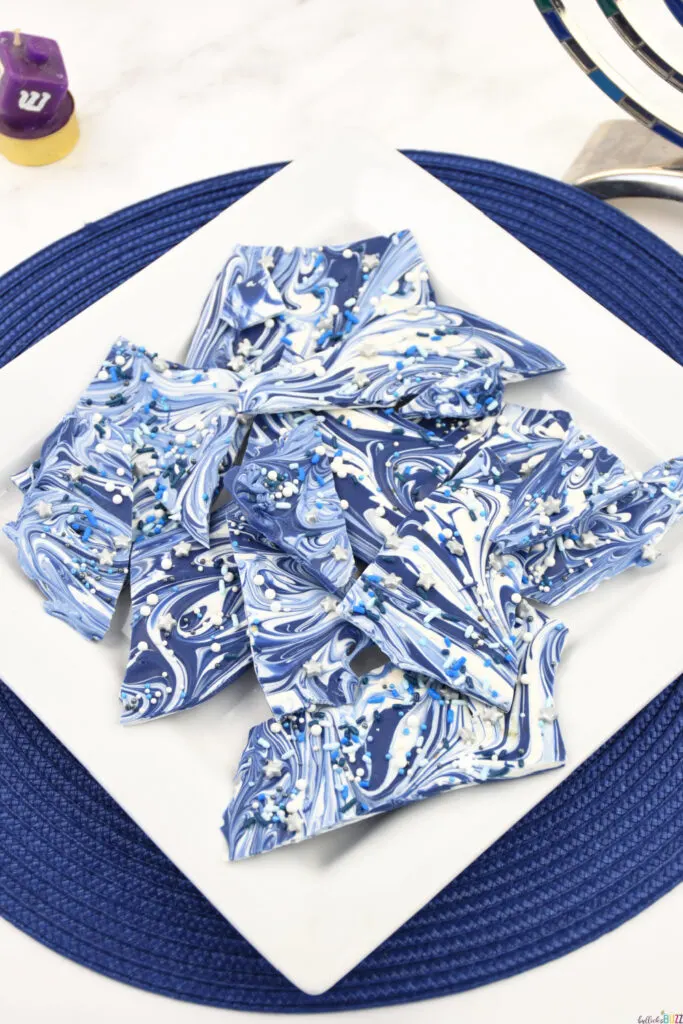
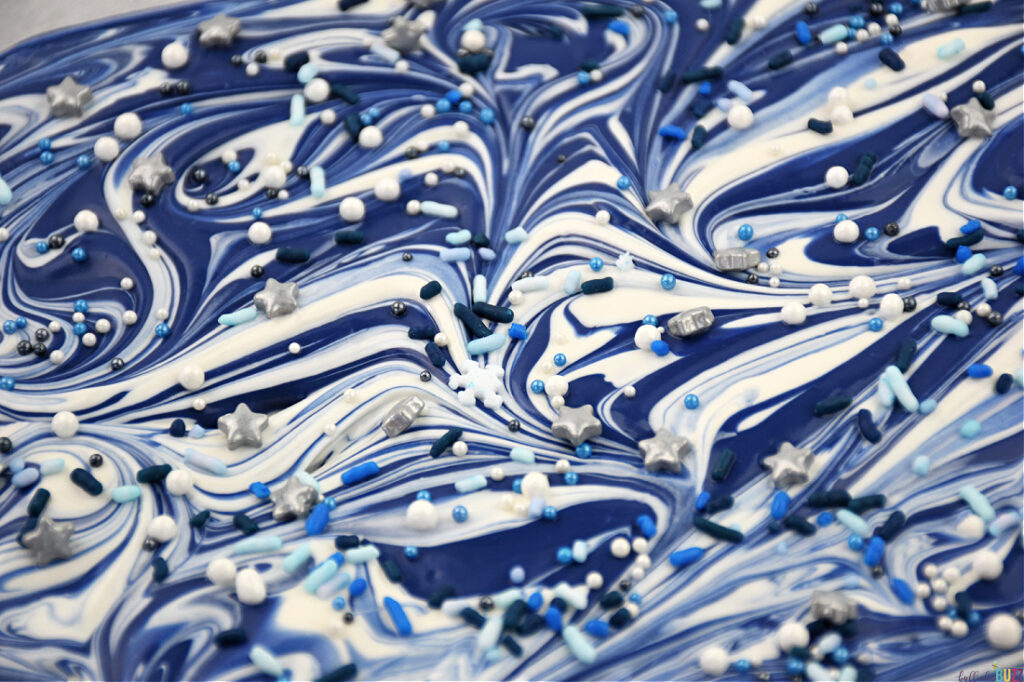
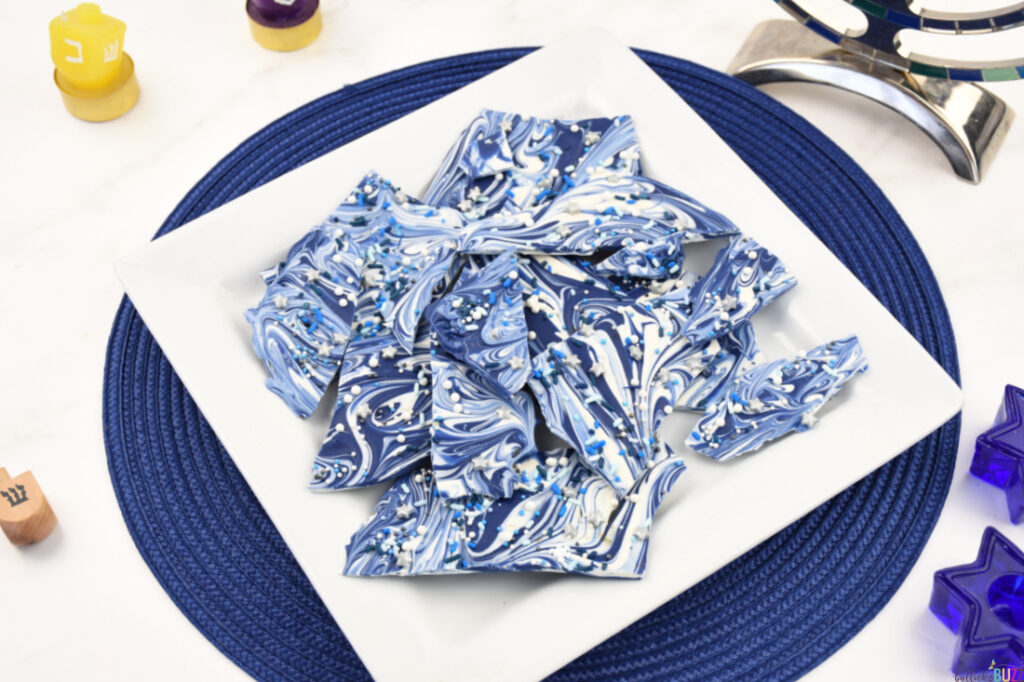
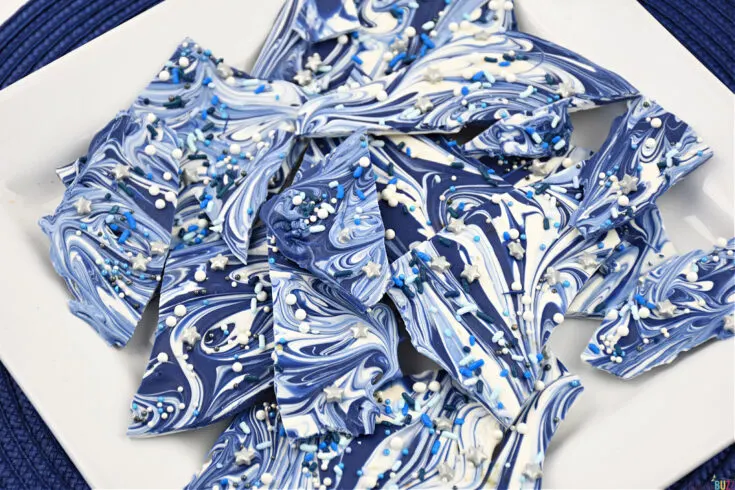
Hanukkah Bark is a delightful and festive no-bake holiday treat featuring mesmerizing swirls of blue and white chocolate adorned with Hanukkah-colored sprinkles.

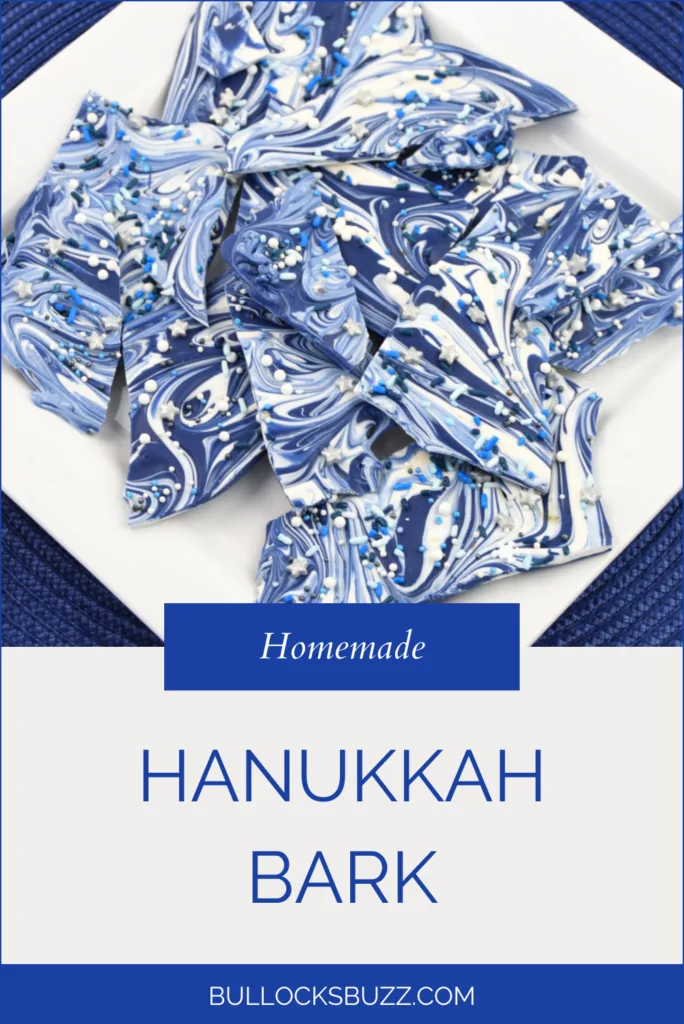
Add a burst of color and sweetness to your Festival of Lights celebration with my easy-to-make Hanukkah Bark recipe! With its captivating blue and white swirls and Hanukkah-colored sprinkles, this no-bake holiday recipe truly captures the essence of the season. It is sure to become a Chanukah tradition!
This sweet and visually stunning Hanukkah Bark is so delightful, that it’ll bring a smile to the faces of everyone from little dreidel-spinning tots to the wisest elders in your household. The best part? It’s a breeze to whip up, requiring just a handful of ingredients and less than 10 minutes of active time – perfect for those busy festival preparations!
Pair this Hanukkah Bark with your favorite holiday treats like my Star of David Hanukkah Piñata Cookies, Chocolate Peppermint Brownies, cupcakes, or Latkes for a mouthwatering celebration.
Pin for Later
Too busy to make this tasty recipe right away? Why not Pin it for later? Pin this easy recipe to your favorite board on Pinterest and it will be there waiting for you when you are ready!
If you’re in the mood for more festive delights, don’t miss my Grinchmas Bark recipe for another whimsical and delicious holiday experience!


HANUKKAH BARK CANDY RECIPE
While the Grinch may have a heart two sizes too small, our Hanukkah Bark is just the right size to spread joy during the Festival of Lights. This delectable candy is not only a treat for the taste buds but also a perfect addition to your Hanukkah festivities. It’s the ultimate holiday treat with a touch of Hanukkah magic!
And the good news? It makes for a fantastic addition to Hanukkah gift baskets!
HOW TO MAKE BLUE AND WHITE CANDY BARK FOR HANUKKAH
This delicious and beautiful treat will add a touch of festivity to any night of Hanukkah.
Whether you’re a seasoned baker or a novice in the kitchen, making Hanukkah Bark is a joyful experience that brings the spirit of the season into your home. Plus it’s a great family activity, so quick and easy that even the little ones can join in the fun.
You will find the complete measurements, ingredients, and instructions in the free printable recipe card at the end of this post.
However, below, I’ve added the step-by-step instructions along with images to guide you through creating this candy masterpiece!
So if you are ready to whip up some Hanukkah magic, grab the tools and ingredients listed below, and let’s get started creating a Hanukkah treat that’ll light up your taste buds!

KITCHEN TOOLS YOU MAY NEED
Here are the simple kitchen tools needed to transform your kitchen into a Hanukkah holiday haven. Let the joyous preparations begin!
Disclosure: This blog post contains affiliate links for products or services I think you’ll like. This means if you make a purchase from one of these links, I may make a small commission at no additional cost to you. By the way, I only recommend products that I use and love.
- candy melting pot, microwave, or double boiler to melt the candy melts
- toothpick, skewer, spoon, or fork for swirling
- cookie sheet
- parchment paper or non-stick baking mat

HANUKKAH CANDY BARK INGREDIENTS
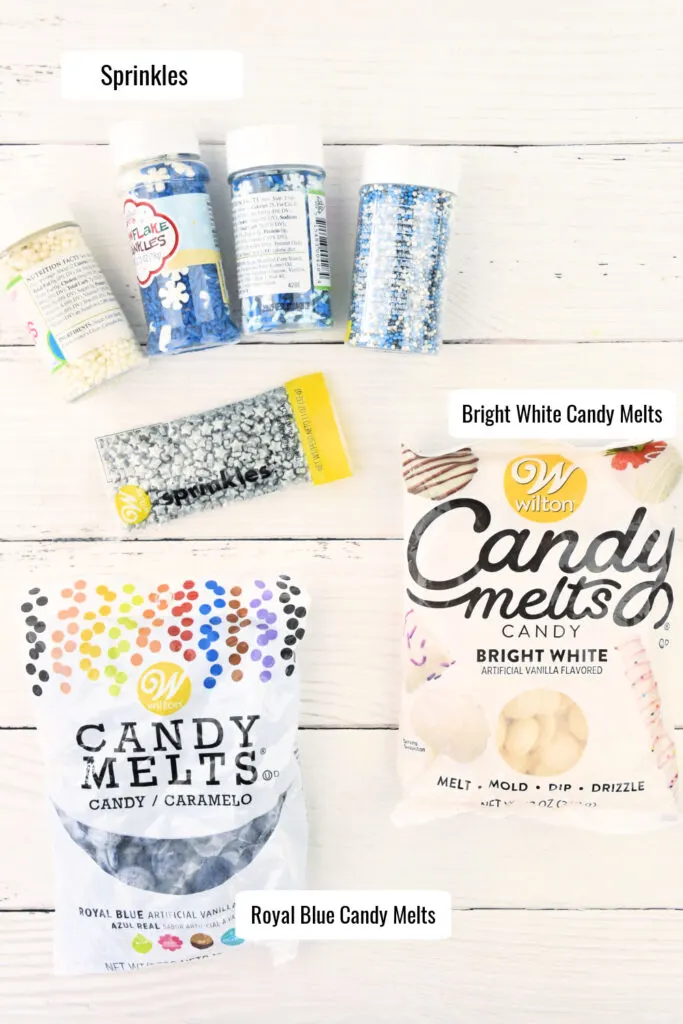
This swift and straightforward no-bake Hanukkah candy recipe requires just three simple ingredients!
- Bright White candy melts – make sure you get the bright white and not plain white to avoid a yellowish cast to your candy
- Royal Blue candy melts
- Blue and White sprinkles – I used Wilton Blue Nonpareils Sprinkles Mix, Blue and White Jimmies Sprinkles, White Sugar Pearls, and silver stars

SWIRLED HANUKKAK BARK INSTRUCTIONS
If you’ve never made homemade candy bark before, you are in for a treat! It is much simpler than it looks and it tastes wonderful! Here is how to make it:
STEP ONE: PREP
First, prepare a cookie sheet by lining it with either parchment paper or a Silpat mat.
STEP TWO: MELT CHOCOLATES
Next, melt the blue and white candy melts separately using either a candy melting pot, double boiler, or microwave. Be sure to follow the instructions on the packaging. You want to have a smooth and creamy consistency for both.

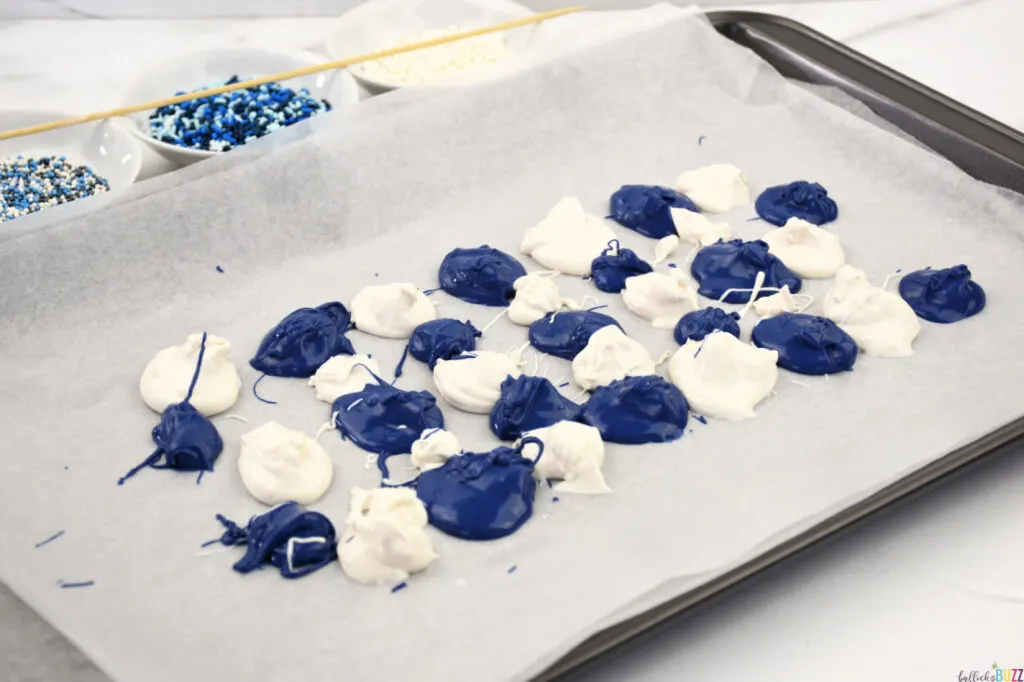
STEP THREE: SPOON THE MELTED CANDY
On the prepared baking sheet, alternately drop spoonfuls of the melted blue and white candy melts. Try to make a square or rectangular shape.

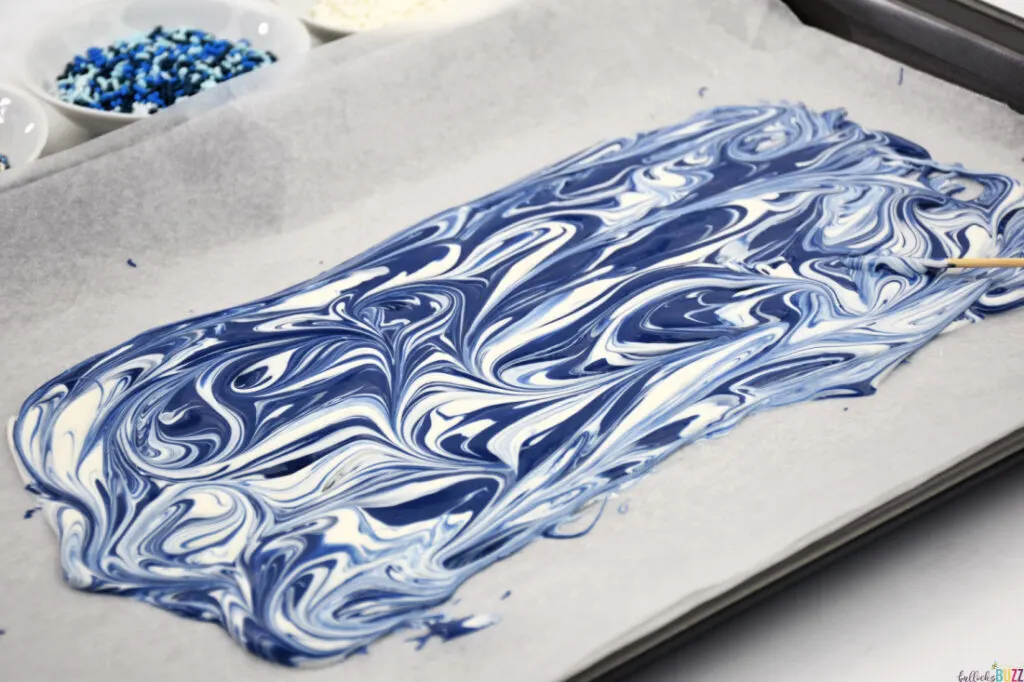
STEP FOUR: SWIRL
To get the cool swirled look for your Hannukah Bark Candy, lightly drag the tip of a skewer, fork, butter knife, or another utensil through the melted candy swirling the colors together. Be careful not to overdo it or the colors may become muddy looking.
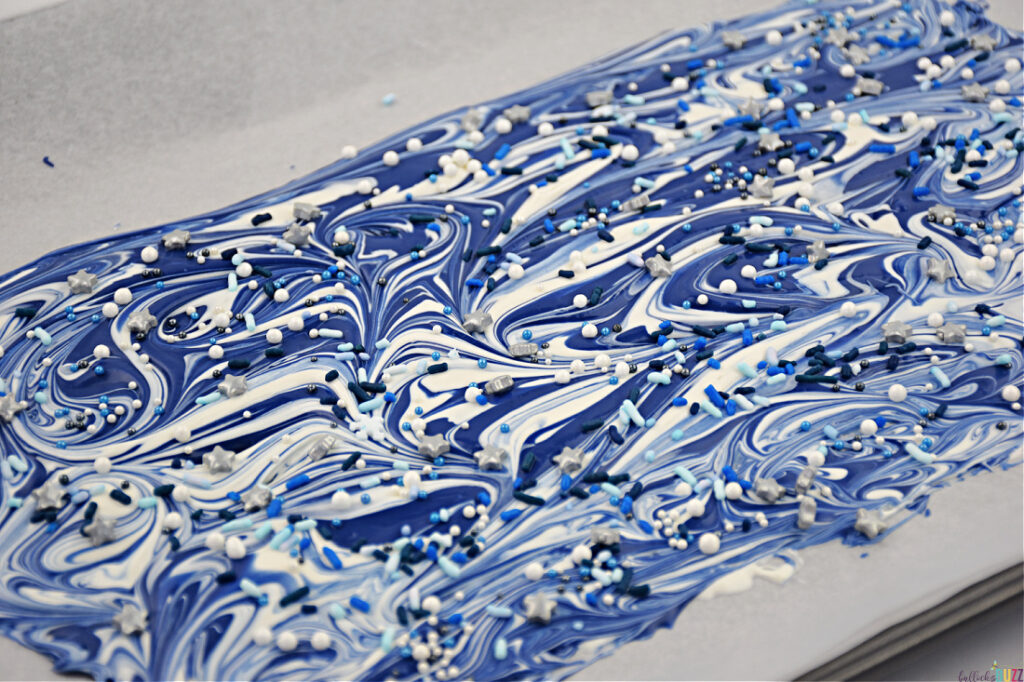
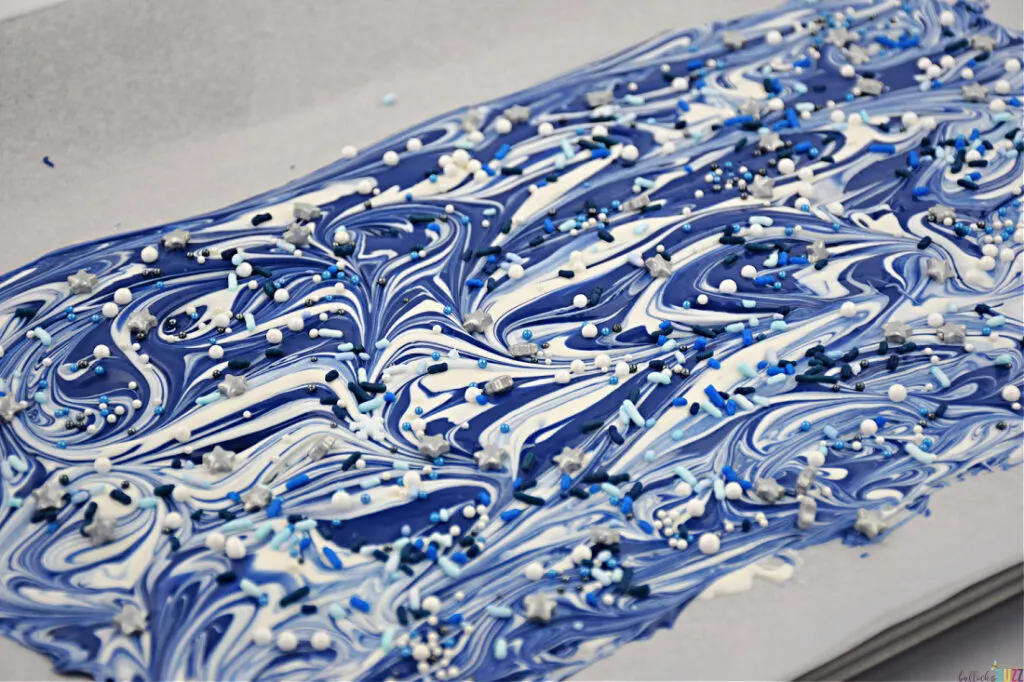
STEP FIVE: ADD SPRINKLES
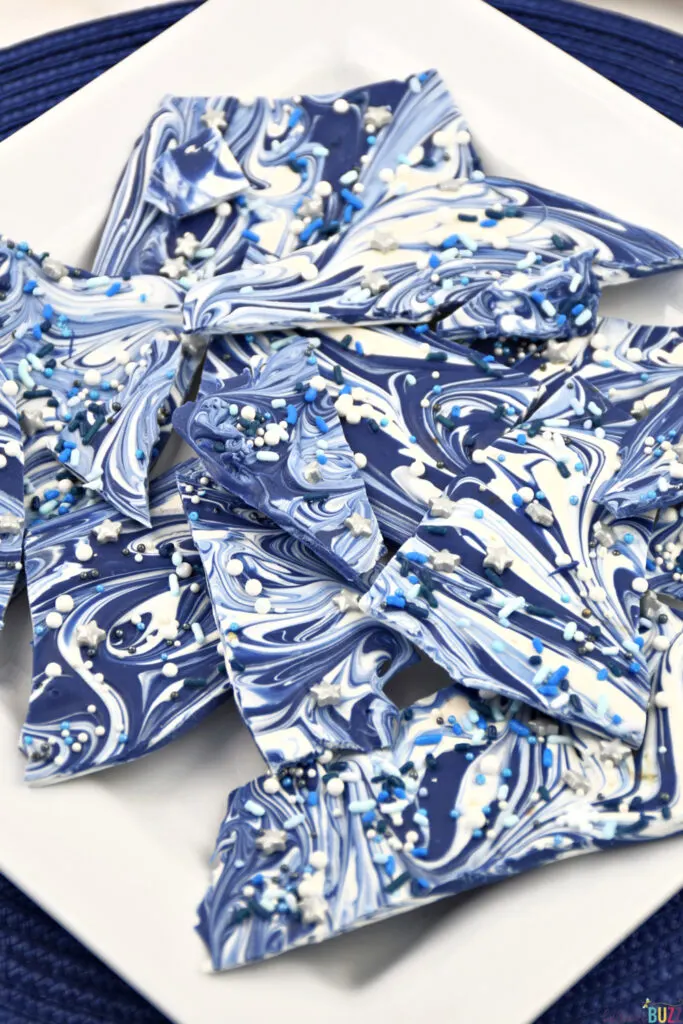
While the candy melts are still soft, generously sprinkle Hanukkah-colored sprinkles over the entire surface. This adds a festive and celebratory flair to your candy bark.

STEP SIX: ALLOW TO SET
Now comes the challenging part – let the Hanukkah Bark sit until it sets (hardens), typically taking about 45 minutes to an hour. It is ready when it solidifies and easily peels off the parchment paper. You can speed up the process by placing it in the refrigerator for about 30 minutes or the freezer for 20 or so minutes.

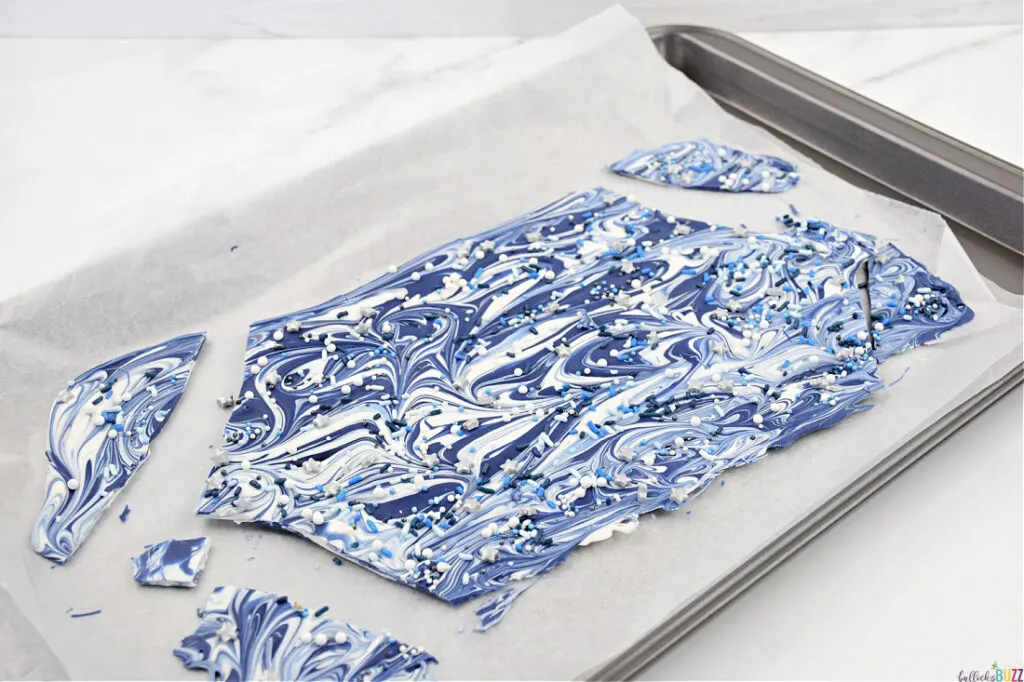
STEP SEVEN: BREAK AND SERVE
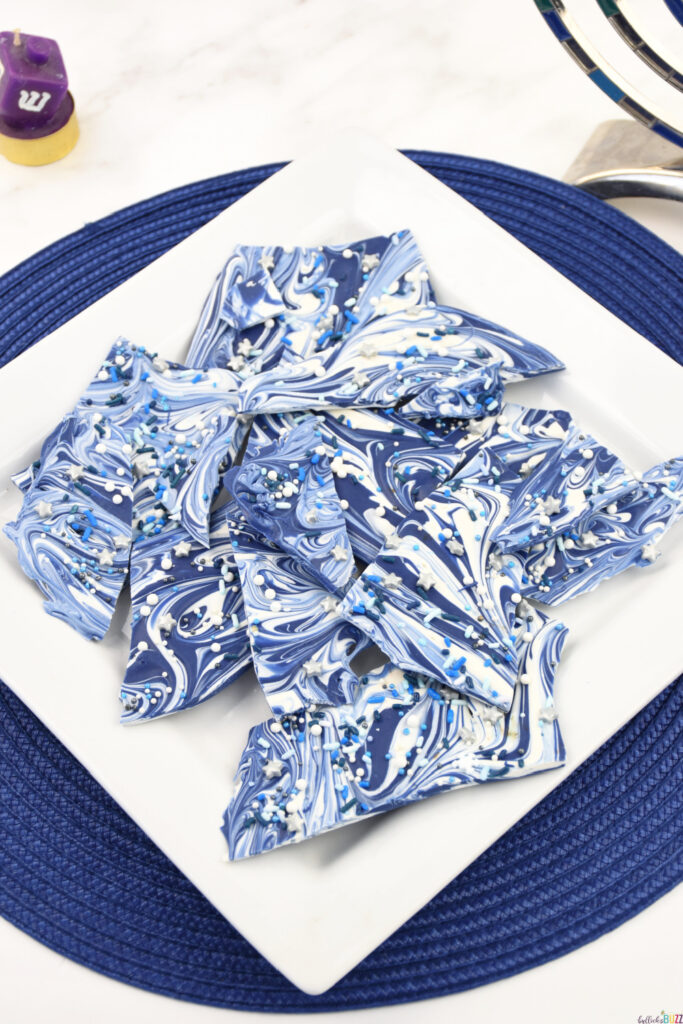
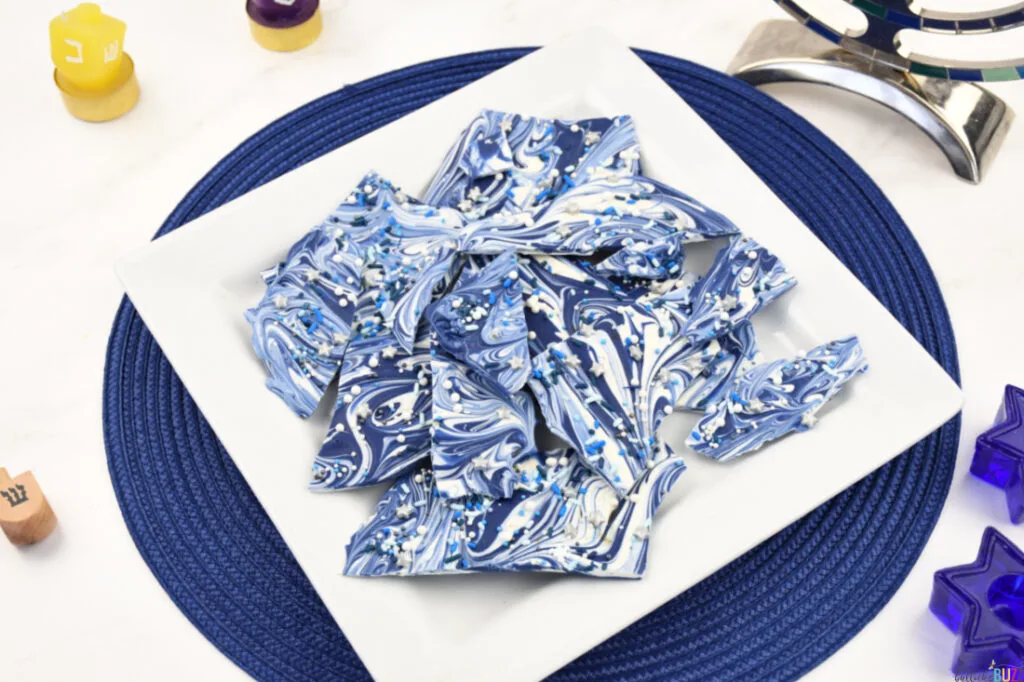
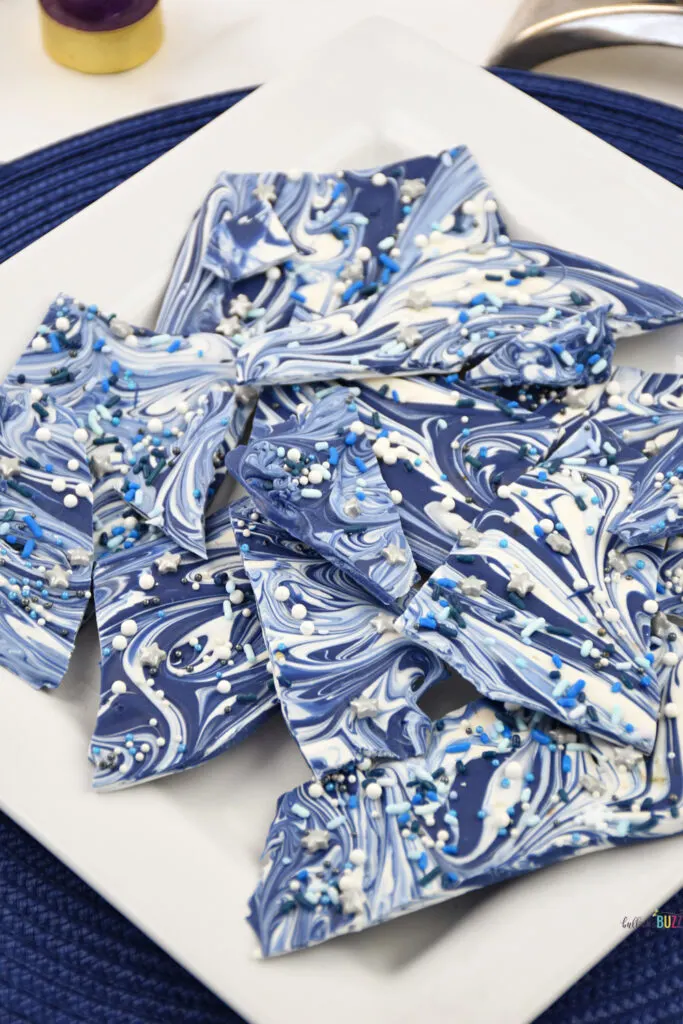
Once the candy has hardened, break it apart into irregular pieces.
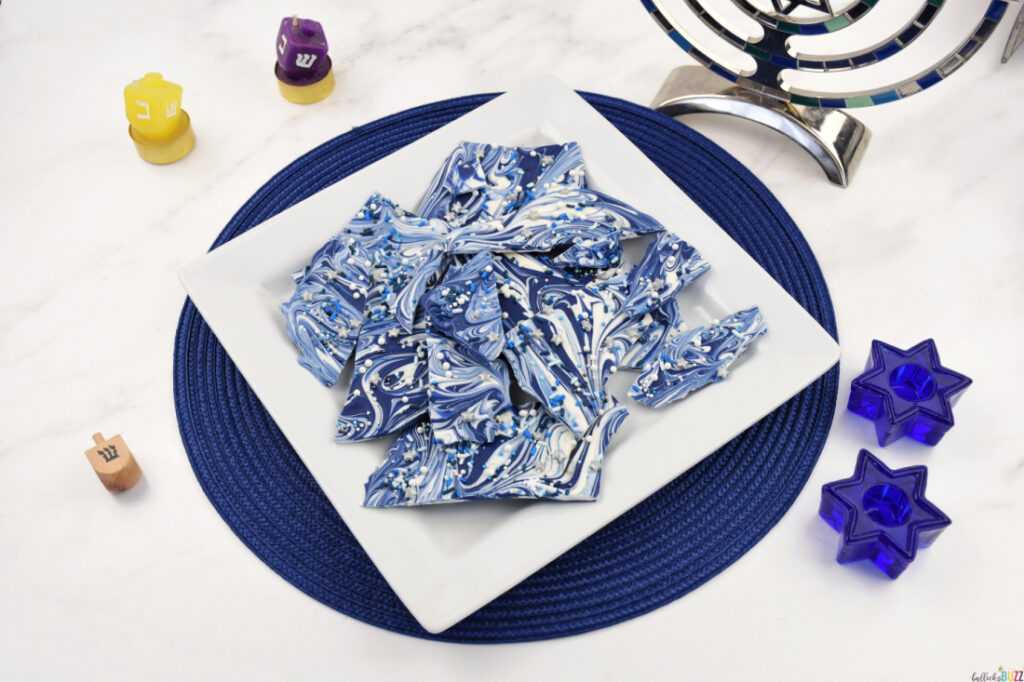
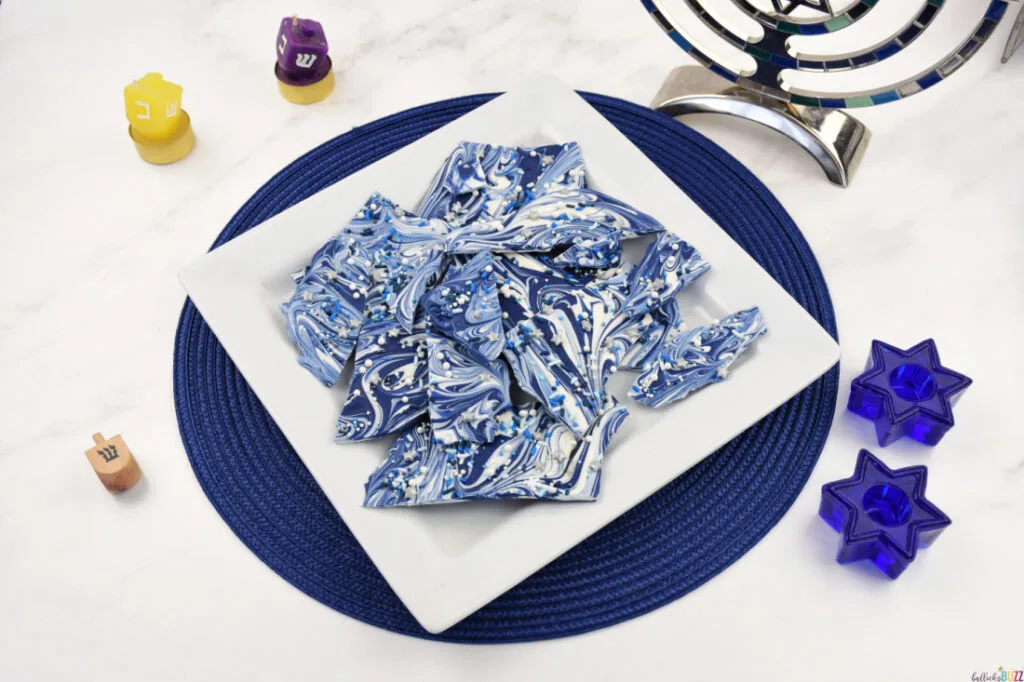
Voila! Your Hanukkah candy masterpiece is now ready to be savored and enjoyed. Serve it on a festive platter during your Hanukkah celebrations or package it in pretty tins or cellophane tied with a ribbon as delightful gifts for friends and family.
TIPS FOR SUCCESS
Below are some tips to guide you through a seamless candy-making experience and ensure your Hanukkah candy bark turns out as a delightfully delicious masterpiece:
Use Quality Candy Melts: Choose high-quality candy melts for a smooth texture and vibrant colors in your Hanukkah Candy Bark.
Quick Swirling: Work efficiently while swirling the colors to achieve a beautiful marbled effect before the candy melts set.
Even Thickness: Spread the melted candy evenly on the baking sheet to ensure consistent thickness throughout the bark. Mine is usually around ¼ inch thick.

HANUKKAH BARK VARIATIONS AND ADDITIONS
Unleash your creativity and make your Hanukkah Bark uniquely yours with some creative additions and variations.
Triple Swirl: Elevate the visual appeal by swirling three or four colors together, creating a captivating mosaic of color. Consider adding in different shades of blue, some silver or even yellow (gold).
Toppings Galore: Explore additional toppings like mini marshmallows, crushed nuts, dried fruit, or even edible glitter for an extra festive touch.
Different Base Ingredients: While I used blue and white candy melts to align with the Hanukkah theme, you can experiment by using almond bark and oil-based food coloring for custom colors. Opting for oil-based food coloring prevents the almond bark from seizing.

FREQUENTLY ASKED QUESTIONS (FAQs)
Below are some of the most common and frequently asked questions I get about this Hanukkah Bark recipe. If you have a question I did not answer below, leave it in the comments and I will answer it as soon as possible.
Q: Can I use chocolate instead of candy melts for this recipe?
A: While candy melts work best for vibrant colors and easy melting, you can use white chocolate and food coloring for the blue. However, the consistency and appearance may vary. Just be sure to use oil-based food coloring or powdered food coloring only. Do not use alcohol or water-based as they can cause the white chocolate to seize.
Q: How long does the Hanukkah Candy Bark stay fresh?
A: When stored in an airtight container, Hanukkah Candy Bark can stay fresh for up to two weeks. Refrigerate for extended shelf life.
Q. How Do I Store Hanukkah Bark?
A. Hanukkah Bark can be stored in an airtight container in the fridge for up to one week. For longer storage, freezing is an option.
Q: Can I make this recipe in advance?
A: Yes, you can prepare the Hanukkah Candy Bark a day or two in advance. Store it in a cool, dry place until ready to serve.
Q: What other toppings can I add besides sprinkles?
A: Get creative with crushed nuts, dried fruits, or even a drizzle of contrasting chocolate for added flavor and texture.

IN CONCLUSION
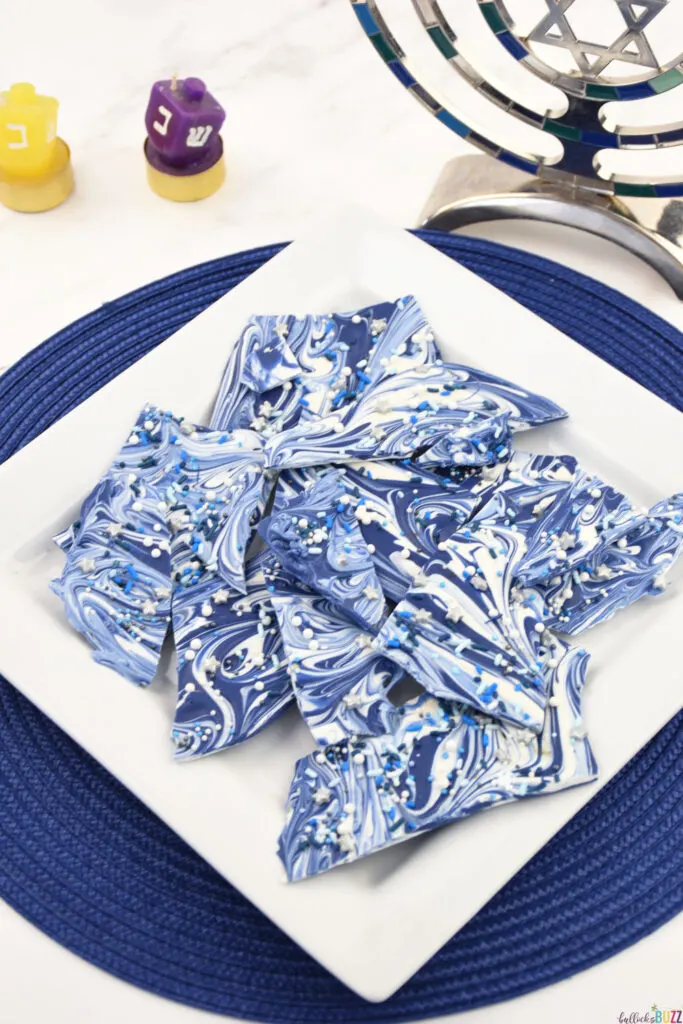
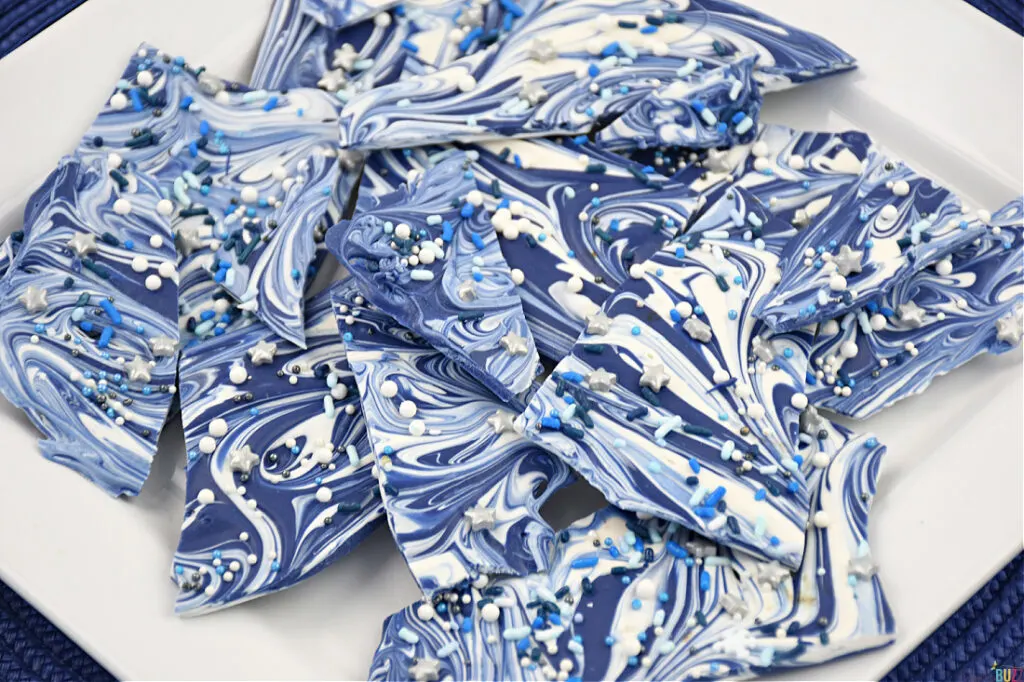
Creating your own Hanukkah Candy Bark is a fun and festive way to add a homemade touch to your celebrations. The mesmerizing blue and white swirls and vibrant sprinkles make it a visually stunning treat that perfectly complements the festive atmosphere of Hanukkah.
NEED A HOMEMADE FOOD GIFT?
This blue and white candy bark makes for a delightful Hanukkah gift. Wrap a few pieces of Hanukkah Bark in plastic wrap, then encase them in a vibrant blue or white cellophane wrap. Secure it with a beautiful ribbon and bow, adding a gift tag for a charming holiday gift.
MORE HANUKKAH RECIPES
Looking for more delicious Hanukkah recipes like this Hanukkah Bark? Explore some of my other favorite Hanukkah-themed treats that you won’t want to miss!

MORE CANDY BARK RECIPES
Interested in exploring more candy bark recipes? Check these out!


Like It? Love It? Share It!
Did you enjoy making and indulging in this Hanukkah Bark? I’d love to hear about your experience! Leave a comment below and share a photo on Instagram or Facebook by tagging @bullocksbuzz and #bullocksbuzz. Your Hanukkah creations are sure to bring even more joy to the Festival of Lights!
Be sure to save this post either by clicking on that little heart over there to your right or by pinning it on Pinterest. Then share with your friends and family by clicking the share buttons above the post title, too!
And, if you really liked this holiday recipe, comment and leave me a ⭐⭐⭐⭐⭐ rating on the printable recipe card below!
And finally, don’t forget to follow us on Pinterest, Facebook, and Instagram!
Delicious Hanukkah Bark Candy Recipe: Easy Hanukkah Treat

Irresistible Hanukkah Candy Bark recipe! Elevate your festivities with enchanting swirls and delightful flavors with this easy Hanukkah Treat recipe!
Ingredients
- 1 cup Bright White Candy melts
- 1 cup Royal Blue candy melts
- Selection of blue and white sprinkles
- Silver star sprinkles
Instructions
- Prepare a cookie sheet with parchment paper or not stick mat and set it aside.
- In separate bowls, melt the white and blue candy melts according to the package directions. You want a smooth, creamy result.
- Using a spoon, drop dollops of the melted chocolate into a square pattern on the prepared surface, making sure to alternate colors.
- Lightly drag the tip of a skewer, butter knife, or spoon through the colors, swirling them together. Do not over-swirl or colors could become muddy.
- Sprinkle with the blue and white sprinkles and silver stars.
- Allow the candy to set. for about 1 hour You can speed up the process by placing the baking sheet in the refrigerator or the freezer until set.
- Once the candy has hardened, remove it from the parchment paper and break it into pieces.
- Serve and enjoy!
Nutrition Information:
Yield:
12Serving Size:
1Amount Per Serving: Calories: 152Total Fat: 0gSaturated Fat: 0gTrans Fat: 0gUnsaturated Fat: 0gCholesterol: 0mgSodium: 14mgCarbohydrates: 38gFiber: 0gSugar: 24gProtein: 0g
Nutritional information is automatically calculated with ingredients and serving size and may not be accurate. Please always double check with your own nutritional apps as well.