This post may contain affiliate links. I only recommend products I use and love. Read the full disclosure here
Last Updated on December 2, 2022 by Alaina
Filled with a sweetened cream cheese mixture and tart cherry pie filling, then baked until flaky and golden brown, this Cherry Danish recipe is a must-make. Plus, with its red and green sugar sprinkles, it’s the perfect cherry cheese Danish recipe for Christmas morning!

This Cherry Danish recipe is one of my all-time favorite recipes. It’s pretty, it has mouthwatering depth of flavor, and it’s super simple to make.
Love pastries? Then this is one breakfast recipe that you will not want to miss out on! This pretty pastry is perfect for a relaxing weekend breakfast, brunch with friends or as an afternoon snack.
Yes, this easy Cherry Danish recipe could start the day or end it. It makes for a delicious breakfast, snack, or dessert.

CHERRY CREAM CHEESE DANISH
If you love cherries and cream cheese like me, then you are going to love this Cherry Cream Cheese Danish recipe. This beautiful pastry looks like it came straight from the bakery, and it tastes like it too!
And while you might expect this Danish recipe to take a lot of time and effort, in reality it is ready in mere minutes and with very little effort – gotta love easy recipes!
Plus, with its green and red sprinkles, this cream cheese cherry Danish recipe makes a great Christmas morning breakfast idea!
Try these other wonderful, fruity recipes too! Cinnamon Roll Apple Crumble, Blueberry Croisant Bread Pudding, or this Blueberry Cobbler.

CHERRY DANISH CHRISTMAS RECIPE
The reason why this cherry cheese Danish recipe is so quick and easy to make is because it starts with store-bought crescent roll dough sheet. It doesn’t call for any special ingredients or cooking methods, either.
You simply combine a few ingredients for the cream cheese filling, top it with cherry pie filling and then fold it up and put it in the oven to bake.
The Danish turns out a beautiful golden brown and is flaky and delightfully chewy in the center.
Ready to make it? Let’s get to it!

HOW TO MAKE CHERRY DANISH
Because this cherry Danish recipe uses a premade crescent roll dough pastry, it is super quick and easy to make. And it tastes amazing!
This classic Cherry Cheese Danish recipe makes enough melt-in-your-mouth Danish to serve 6 to 8 people, depending on how large you slice the pieces.
You’ll find the complete list of ingredients and instructions in the free printable recipe card at the bottom of this post.
Disclosure: This blog post contains affiliate links for products or services I think you’ll like. This means if you make a purchase from one of these links, I may make a small commission at no additional cost to you. As always, I only recommend products that I use and love.
KITCHEN TOOLS YOU MAY NEED

CHERRY CHEESE DANISH RECIPE INGREDIENTS
These cookies are made using a combination of the following simple ingredients:
- Crescent roll dough sheet
- Cream cheese
- Powdered sugar
- Vanilla extract
- Cherry pie filling
- Butter
- White sugar
- Red and green sanding sugars
TIPS FOR MAKING CHERRY DANISH RECIPE
This cherry cream cheese Danish is pretty simple to make, but I do have a few tips to share with you to ensure it comes out perfectly.
- Cream Cheese – make sure the cream cheese is softened. It makes it much easier to spread into the crescent roll dough.
- Powdered Sugar- don’t substitute the powdered sugar. If you do the texture of the Danish will be gritty and not smooth or creamy.

CHERRY CHEESE DANISH CHRISTMAS INSTRUCTIONS
This delicious Danish will come together in a just a few simple steps!
STEP ONE: PREPARE BAKING SHEET
- Preheat the oven to 375 degrees and line a baking sheet with either a Silpat mat or parchment paper.
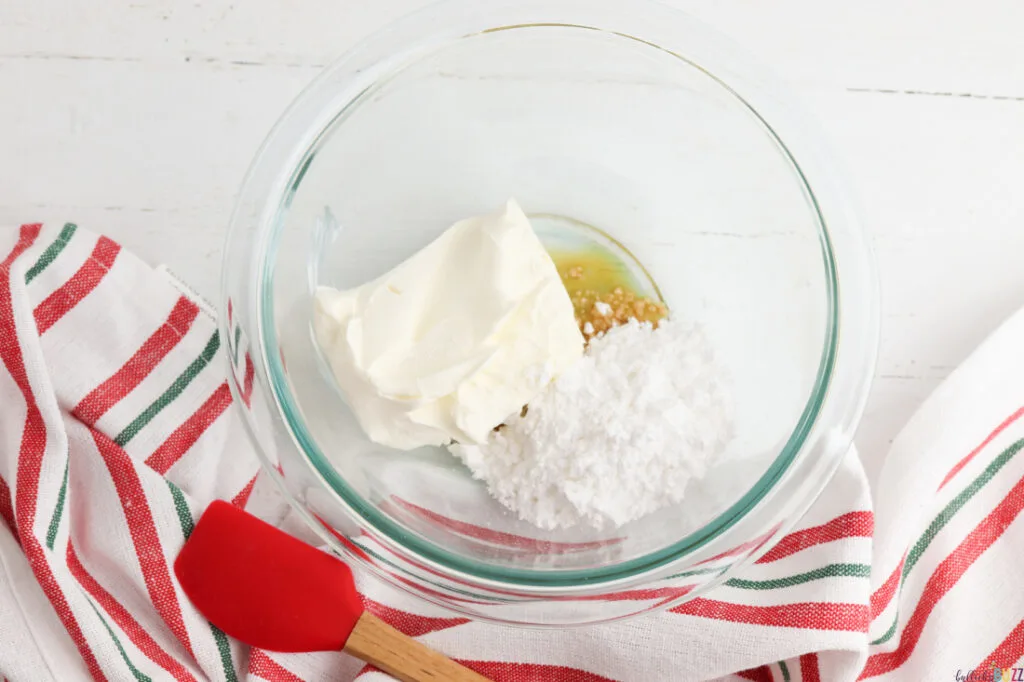
STEP TWO: MAKE CREAM CHEESE TOPPING
- In a small bowl, mix together the cream cheese, vanilla extract, and powdered sugar until smooth and creamy. Set to the side.
STEP THREE: PREPARE THE PASTRY
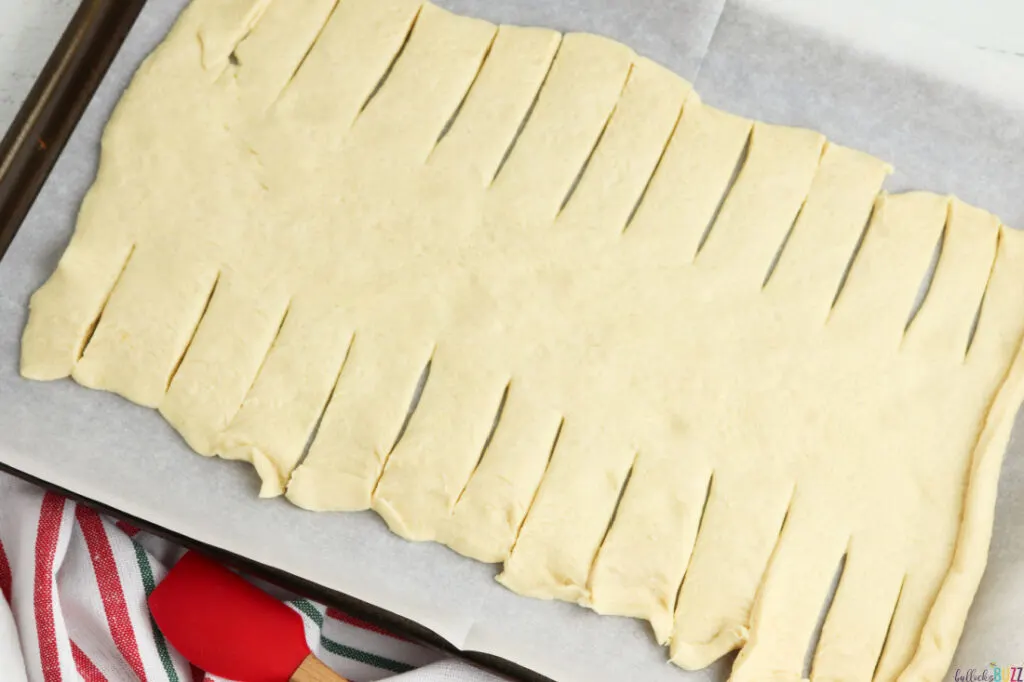
- Unroll the crescent roll dough on the lined baking sheet.
- Using a sharp knife, carefully cut 2-inch strips on each side of the pastry sheet, leaving the center of the sheet intact.
STEP FOUR: ADD TOPPINGS
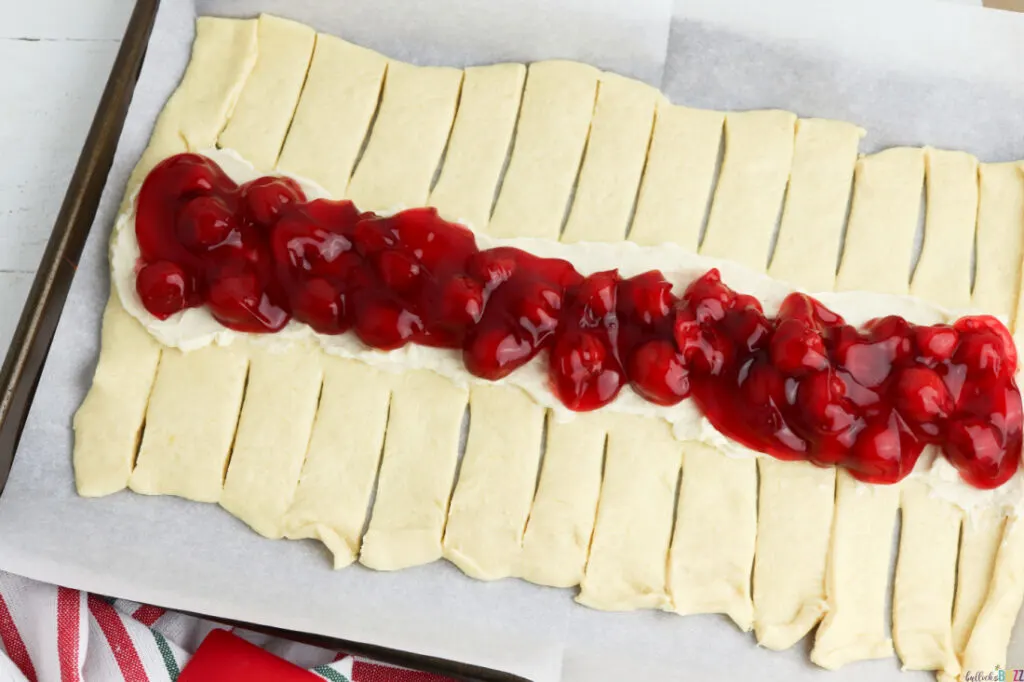
- Using a spatula, spread the cream cheese mixture down the center of the dough sheet.
- Then top the cream cheese with the cherry pie filling.
STEP FIVE: FOLD
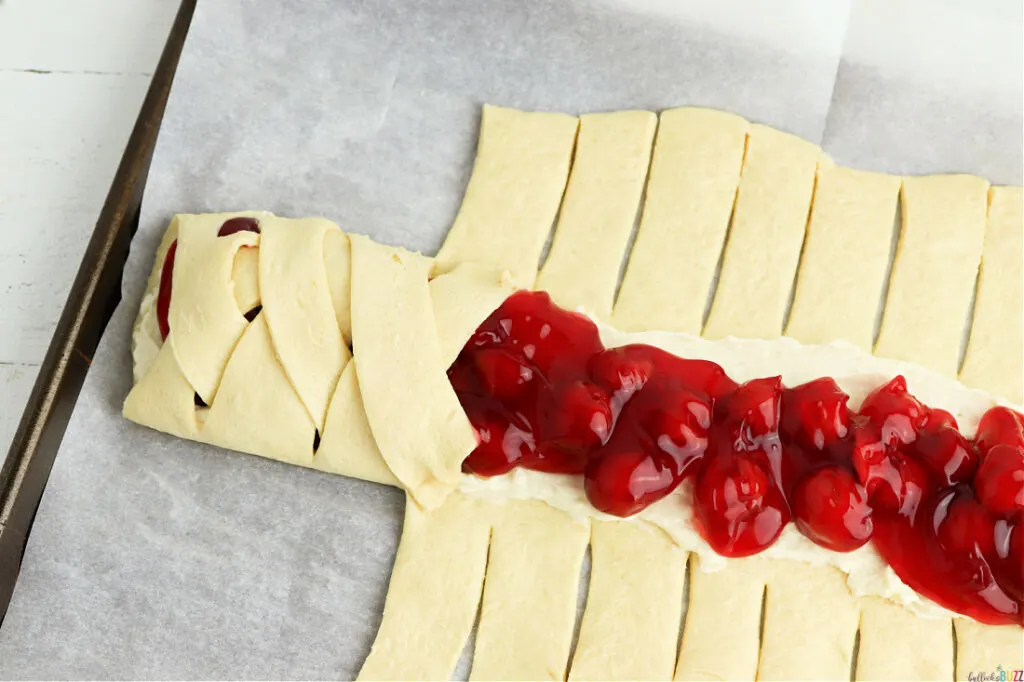
- Fold the strips over the top of the filling, crossing each side in the center to create a braided look.
STEP SIX: ADD SPRINKLES
- Brush the top of the dough with melted butter and sprinkle the white, red, and green sugar on top.
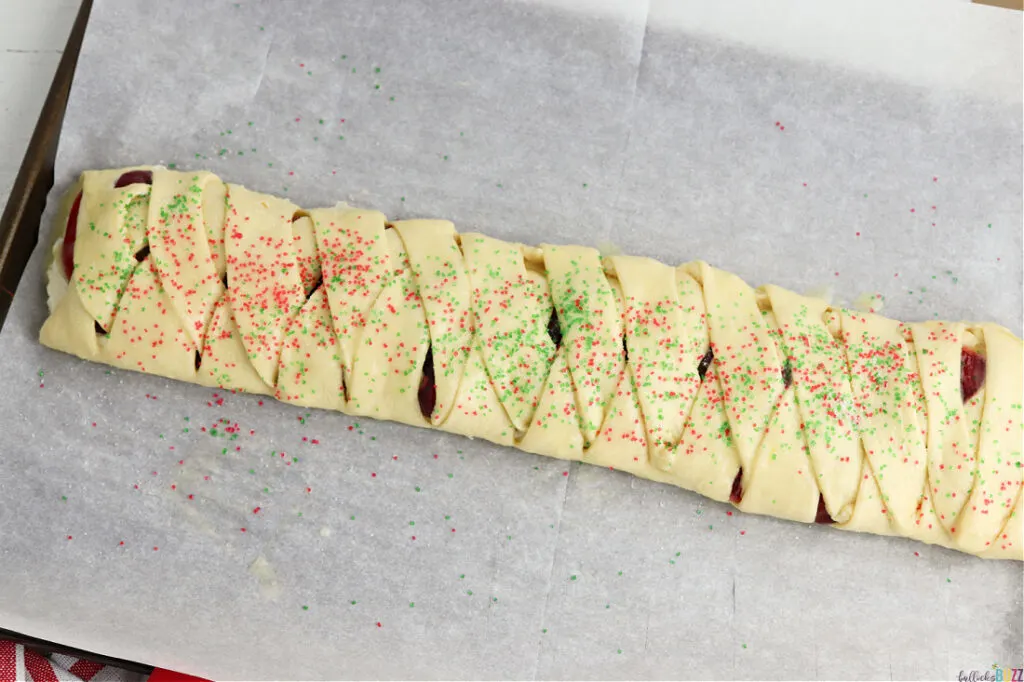
STEP SEVEN: BAKE
- Place it in the preheated oven and bake for 12 to 15 minutes, or until the dough is golden brown and cooked all of the way through.
STEP EIGHT: SERVE
- Allow Cherry Danish to cool completely before slicing and serving.

SUBSTITUTIONS AND ADDITIONS
PIE FILLING: You could easily try it with any of your favorite kinds of fruit pie fillings. I’ve made this Danish recipe with apple pie filling and strawberry, and both were so good! It would be just as tasty with raspberry, blueberry, or even a combination of your favorite fruit flavors!
TOPPINGS: Slivered almonds are a great addition to this tasty recipe. They add just the right amount of crunch to an otherwise soft and chewy pastry.
CAN I FREEZE CHERRY CHEESE DANISH?
Yes, you can freeze cherry cheese Danish. You just need to make sure you wrap it up nice and tight,
To freeze the Danish, first make sure it has completely cooled from baking. Then, wrap it tightly in either foil or freezer plastic wrap and place the wrapped Danish into a freezer-safe storage bag and put it in the freezer.
To eat, make sure to take it out with plenty of time to thaw before serving.

HOW TO STORE CHERRY DANISH
Because of the cream cheese filling, you most definitely want to keep your cherry Danish in the refrigerator between servings. They can keep fresh in the fridge for up to 4/5 days.
To store it, cover the cherry Danish with foil or plastic wrap, or place it in a plastic bag. Be sure it is sealed tightly to prevent it from drying out.
MORE HOLIDAY RECIPES
Looking for some more fun and easy Christmas and Hanukkah recipes? Check these out! Simply click on the link below that you like, and it will take you right to the post!

LIKE IT? LOVE IT? PLEASE SHARE THIS CHERRY DANISH RECIPE!
I hope you enjoy this Cherry Cheese Danish recipe much as I did! They are so quick and easy to make, and lots of fun to eat!
If you give these holiday snacks a try, I’d love to know! Leave a comment below and tag a photo @bullocksbuzz and #bullocksbuzz on Instagram or Facebook so I can see your holiday creations!
Be sure to Pin it to save it, and then share with your friends and family by clicking the share buttons above the post title!
And finally, if you get a chance, please comment and leave me a ⭐⭐⭐⭐⭐ rating on the printable recipe card below!
Cherry Danish Recipe - Best Cherry Cream Cheese Danish

Filled with a sweetened cream cheese mixture and tart cherry pie filling, then baked until flaky and golden brown, this Cherry Danish recipe is a must-make. Plus, with its red and green sugar sprinkles, it's the perfect cherry cheese Danish recipe for Christmas morning!
Ingredients
- 1 crescent roll dough sheet
- 4 ounces cream cheese, softened
- ¼ cup powdered sugar
- ½ teaspoon vanilla extract
- 1 cup cherry pie filling
- 1 tablespoon butter, melted
- 1 teaspoon white sugar
- Red and green sanding sugar for decorating
Instructions
- Preheat the oven to 375 degrees and line a baking sheet with a Silpat mat or parchment paper.
- In a small bowl, mix together the cream cheese, powdered sugar, and vanilla extract until smooth. Set aside.
- Carefully unroll the crescent roll dough on the lined baking sheet.
- Using a sharp knife, carefully cut 2-inch strips on each side of the pastry sheet, leaving the center of the sheet intact.
- Using a spatula, evenly spread the cream cheese mixture over the center of the dough sheet.
- Next. top the cream cheese with cherry pie filling.
- Fold the strips over the top of the filling, crossing each side in the center to create a braided look.
- Brush the top of the dough with melted butter.
- Then lightly sprinkle the white, red, and green sugar on top.
- Bake in the preheated oven for 12 to 15 minutes, until the dough is golden brown and cooked through.
- Allow to cool completely before slicing and serving.
Nutrition Information:
Yield:
8Serving Size:
1Amount Per Serving: Calories: 253Total Fat: 14gSaturated Fat: 7gTrans Fat: 0gUnsaturated Fat: 6gCholesterol: 20mgSodium: 193mgCarbohydrates: 29gFiber: 1gSugar: 5gProtein: 2g
Nutritional information is automatically calculated with ingredients and serving size and may not be accurate. Please always double check with your own nutritional apps as well.
