

This post may contain affiliate links. I only recommend products I use and love. Read the full disclosure here
Updated on: September 8, 2025
Originally published on: September 8, 2025
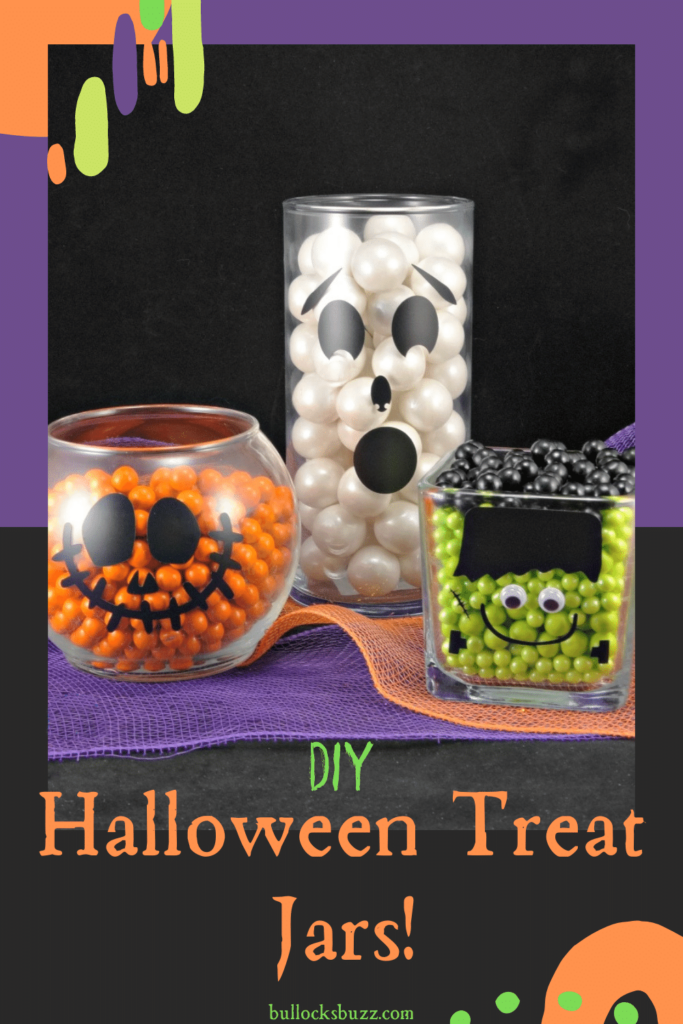
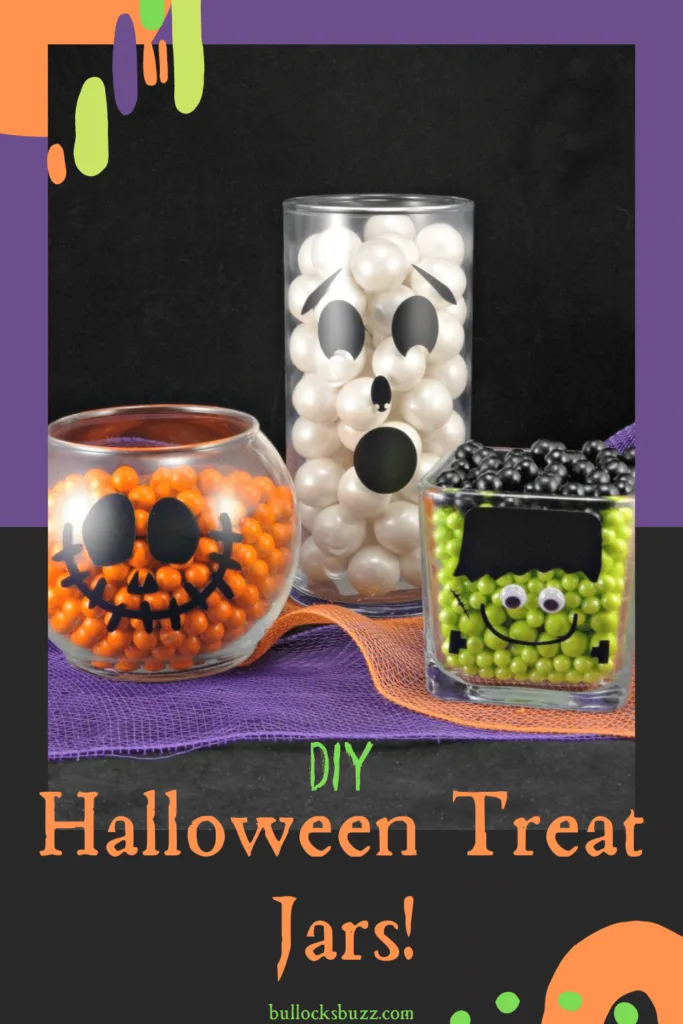
DIY Halloween Candy Jars are a fa-boo-lous, quick and easy Halloween craft that can be used as decor, placed on a candy buffet, or given as a sweet treat!
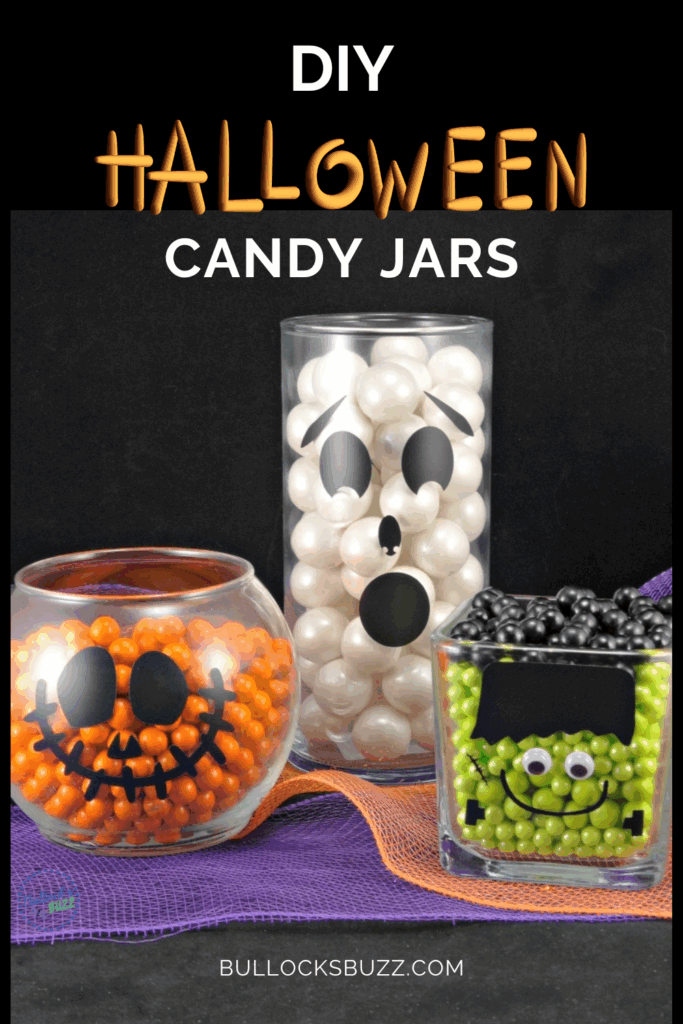

When you think of Halloween, what’s the first thing that comes to mind? For me (and my incurable sweet tooth), it’s candy! But instead of just eating it straight from the bag, I love finding playful ways to turn it into something creative. That’s exactly what these DIY Halloween Candy Jars do, they take everyday sweets and transform them into the cutest ghost, jack-o-lantern, and Frankenstein jars.
Packed with candy and a whole lot of Halloween spirit, these jars are more than just a treat; they double as party decor, neighbor gifts, or festive table accents. They’re the kind of project that make Halloween feel extra fun without taking up your whole weekend.
Why You’ll Love These DIY Halloween Candy Jars

DIY Halloween Candy Jars: Spook-tacular DIY Halloween Craft Tutorial
Below you’ll find a spooktacular Halloween craft tutorial on how to make this faboolous set of DIY Halloween Treat Jars, along with a list of supplies and directions for making each one. They are perfect for any party, and the best part is that they are quick and easy!
Ready to see how to make these DIY Halloween candy jars?
How to Make DIY Halloween Candy Jars
With just a few supplies and less than an hour, you can make a ghost, Frankenstein, and a jack-o-lantern, all ready to be filled with candy. They look fa-BOO-lous on display and are even more fun to give away.
Ready to get started?

Supplies You Will Need to Make DIY Halloween Candy Jars
Ready to whip up some spooky-cute candy jars? You don’t need much! A few simple supplies, a dash of creativity, and, of course, plenty of candy will bring your ghost, Frankenstein, and jack-o-lantern jars to life.
No Cricut? No Problem!
You can still make these DIY Halloween Candy Jars. Just grab a black permanent marker or craft paint and a brush to draw the faces by hand. Not a fan of freehand? You can print simple templates from places like Pinterest or Canva, or grab designs from Creative Fabrica to trace. It’s just as cute, costs even less, and adds a fun personal touch.
Finding Faces for Your Jars
When I first made these, I used SVGs from Etsy for the ghost, pumpkin, and Frankenstein. Some of those listings have since disappeared, but you can easily find similar ones. To save you the hunt, here are a few Etsy searches to start with:
- Halloween Jack ‘O Lantern Pumpkin Faces Digital SVG Files
- Frankenstein’s Monster SVG Digital File
- Ghost Face SVG files

If You’re Making the Faces by Hand
Skip the vinyl and cutting tools — you’ll just need the first four supplies listed below, as well as the candies for each jar, plus:
- Black craft paint and a small brush
- OR a black permanent marker
DIY Halloween Candy Jars Supplies
- Files or freehand faces
- 3 glass or plastic containers – your choice of size and shape. I got mine from a dollar store
- Rubbing alcohol – for cleaning the glass containers
- Googly eyes – 1 pair of small-sized eyes
- Cricut or another cutting machine
- Black waterproof vinyl, such as Oracle 651
- 12 x 12 Cutting mat
- Transfer tape
- Candy – including black, orange, and green Sixlets
- White gumballs by Sweetworks
If you are making the faces by hand, you will need the first five supplies listed above (everything except the vinyl and related tools) plus:

DIY Halloween Candy Jars Instructions
These DIY Halloween Candy Jars are proof that Halloween crafts don’t have to be complicated to look amazing. In fact, you can have all three jars ready to show off in less than an hour. Follow these step-by-step directions, and you’ll have a ghost, Frankenstein, and pumpkin ready to serve up sweets in no time.
Shortcut for Hand-Drawn Faces
Skip the cutting steps below and draw your pumpkin, ghost, or Frankenstein face directly onto the jar with a permanent marker or black craft paint. Using a printed template to trace can help if you don’t want to freehand it. Once done, fill your jar with candy, and you are done!
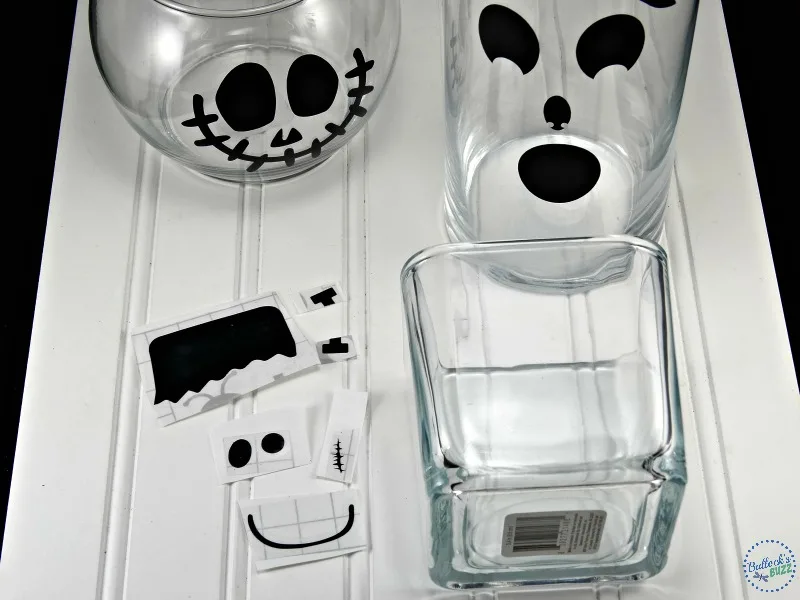
STEP ONE: CLEAN JARS
- Begin by cleaning your containers. Be sure to wipe down the outside with rubbing alcohol to remove any grease or dirt. Once it’s clean, try to avoid touching it anywhere other than the inside.
STEP TWO: OPEN A NEW PROJECT IN DESIGN SPACE
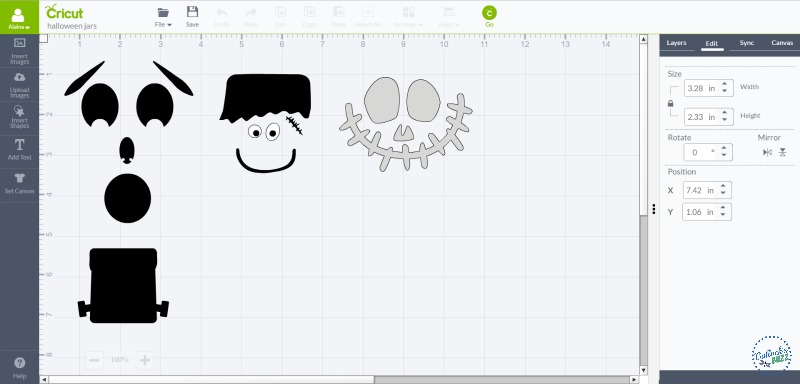
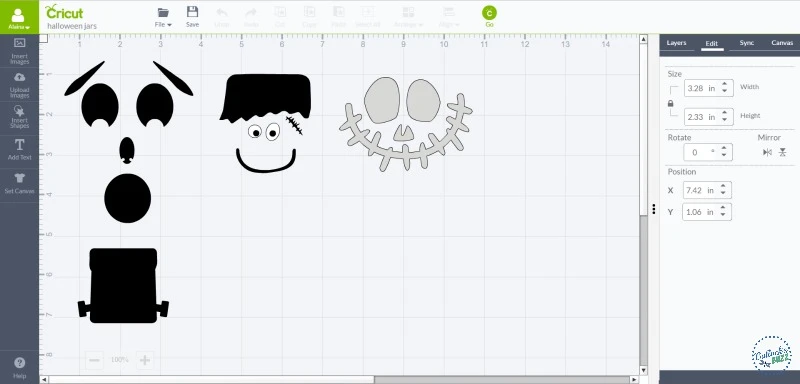
- Next, open up a new project in Cricut Design Space.
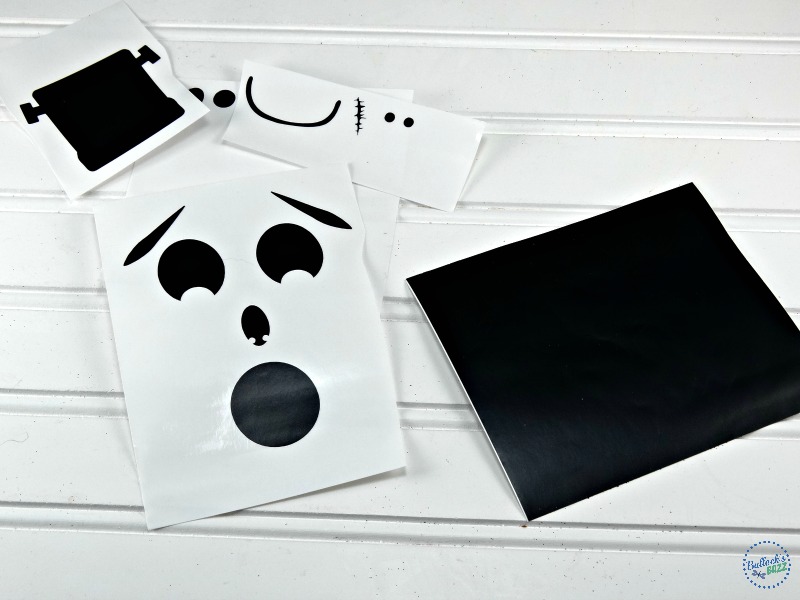
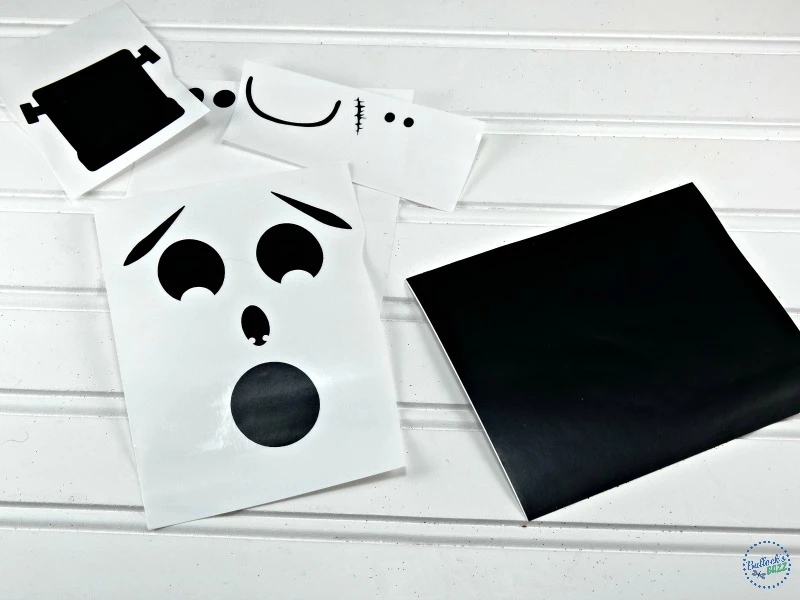
- Begin adding the images. I used the files listed above.
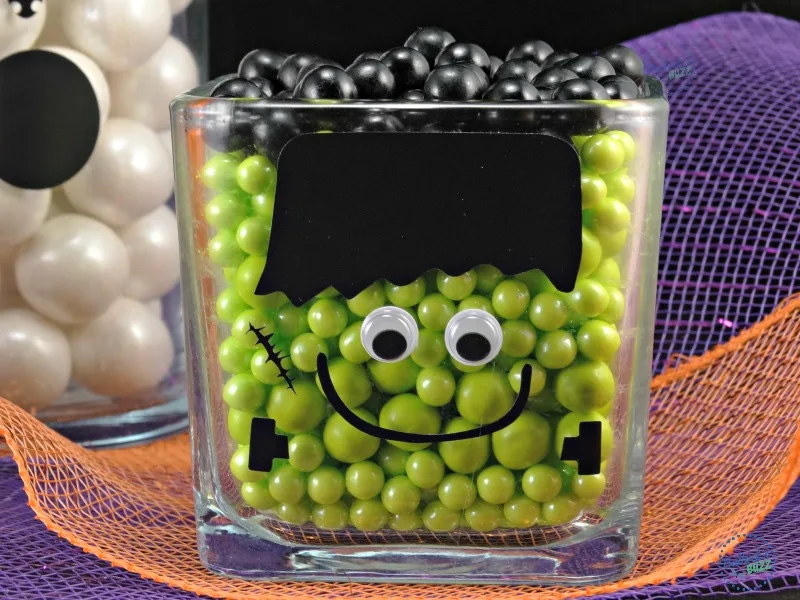
- For Frankenstein, I unattached the image and used his hair, scar, mouth, and eyes only.
*For Frankenstein, I ‘unattached’ the image and used only his hair, scar, mouth, and eyes.
STEP THREE: RESIZE IMAGES
- Resize the images to fit your specific containers. Most of mine were between 2″ and 3″ in width.
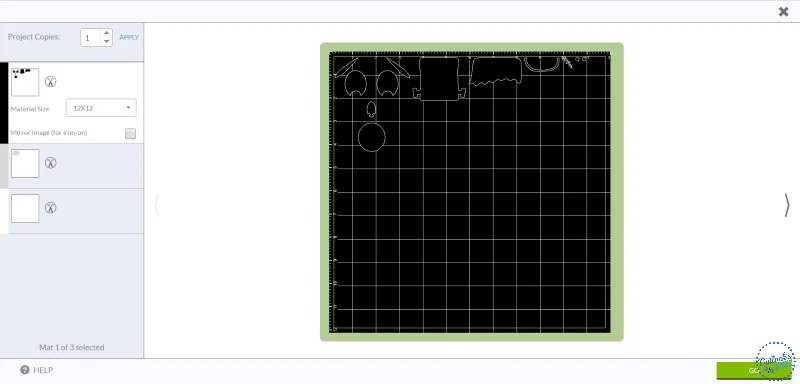
STEP FOUR: CUT VINYL FACES
- Once your design is ready to be cut, place your vinyl on the mat.
- Set your machine to Vinyl, and hit ‘Go’.
- Sit back and relax while it does its thing.

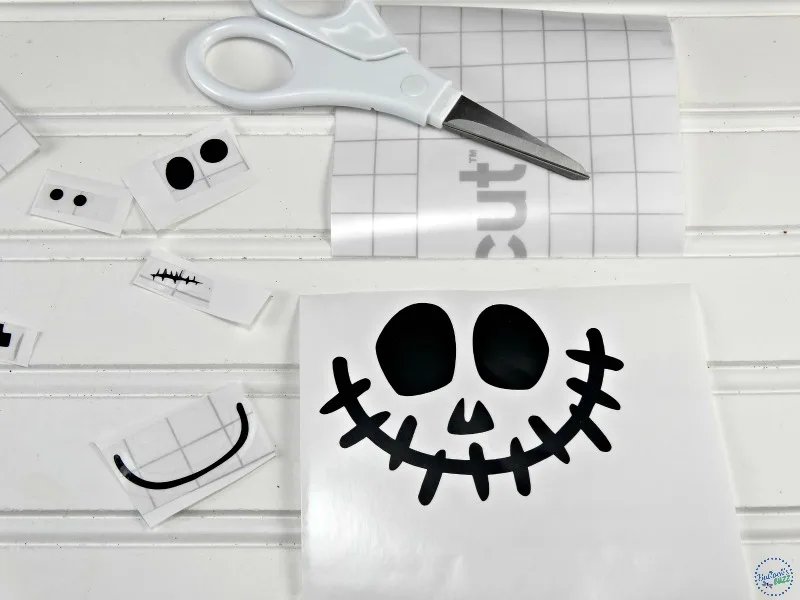
STEP FIVE: WEED THE DESIGN
- Once everything is cut, carefully remove the vinyl from the mat.
- Then, slowly peel off all excess vinyl surrounding the design you will not need. Use the weeding tool to remove any remaining vinyl you do not need.
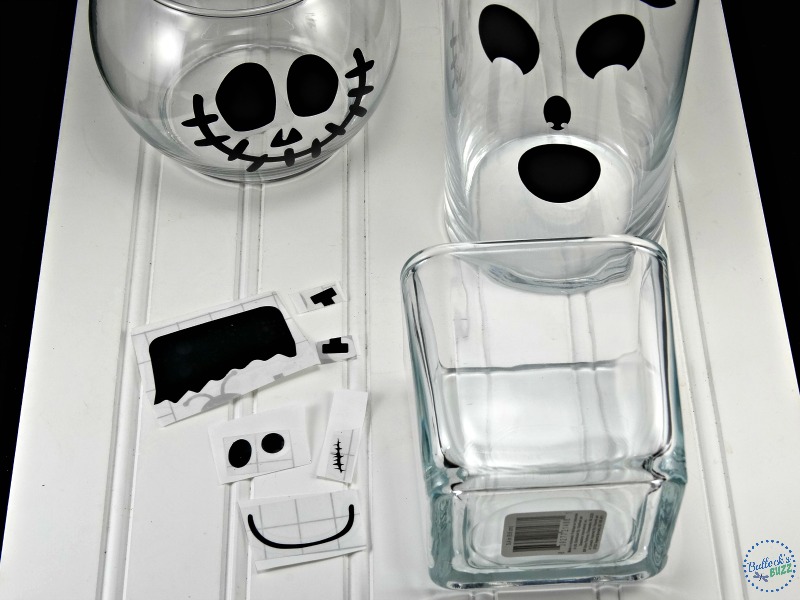
STEP SIX: TRANSFER FACES TO CONTAINERS
- Cut a piece of transfer tape to size.
- Peel the backing off of the transfer tape and apply the grid-side over each design.

- Next, peel the original backing away from the vinyl leaving the images imprinted onto the transfer tape.
- Add the images to the containers.
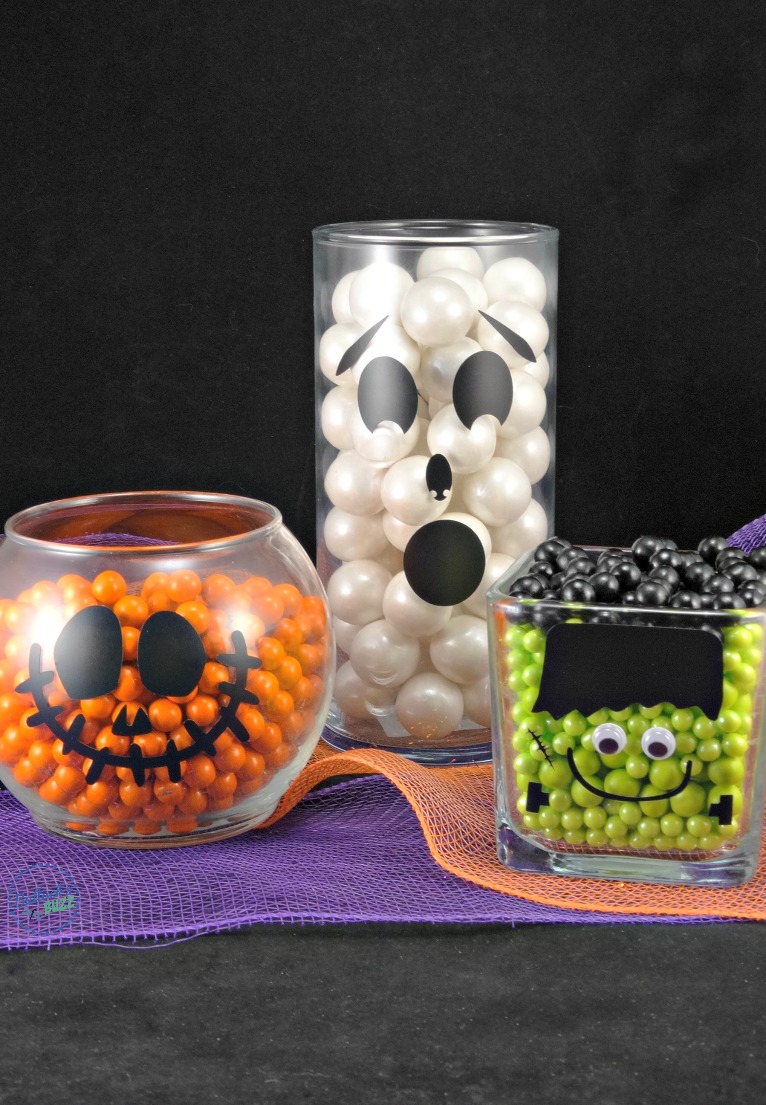
STEP SEVEN: FILL WITH CANDY
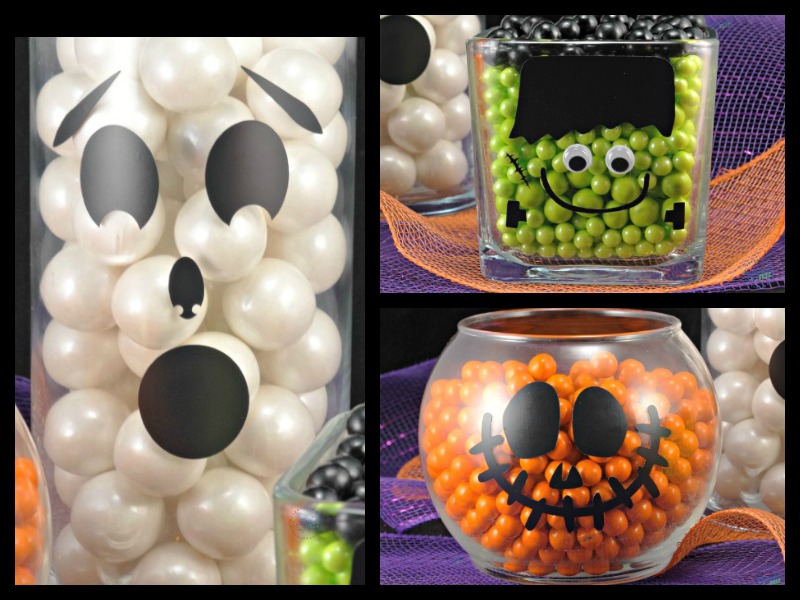
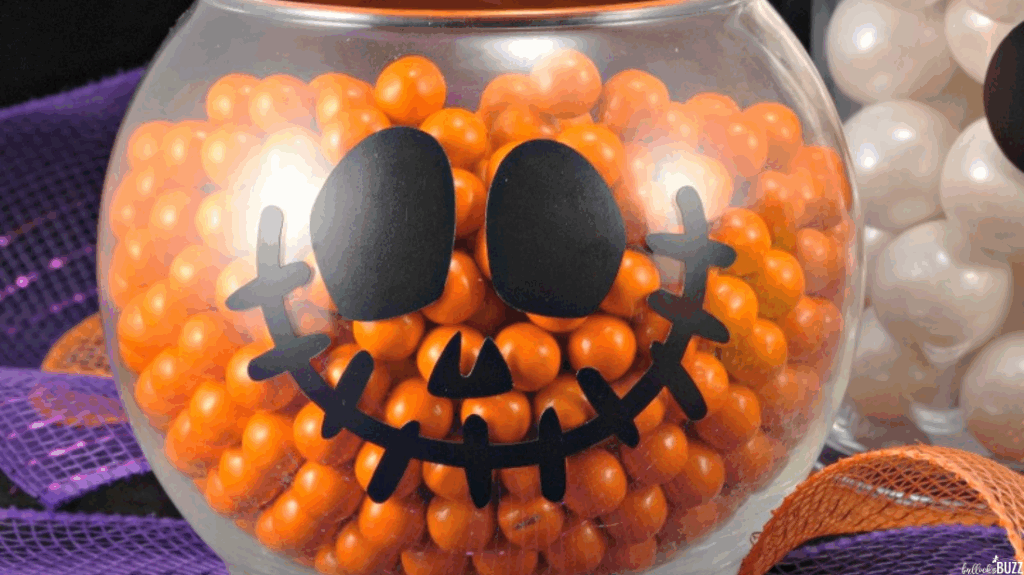
- Fill the Jack o’ Lantern candy jar with orange Sixlets
- Fill the Frankenstein candy jar with green Sixlets first, then top off with black Sixlets for the hair
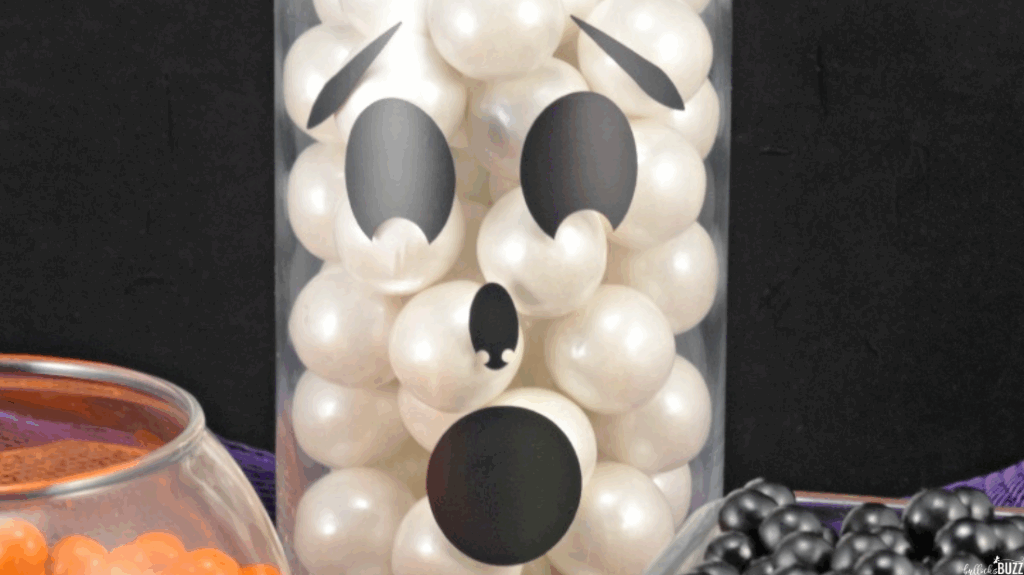
- Fill the ghost candy jar with white Gumballs.
Don’t these spooktacular Halloween candy jars look fa-boo-lous?!

Tips & Tricks for DIY Halloween Candy Jars
- Mix up the jars: Mason jars, plastic jars, or even recycled candle jars all work. Just clean them well and you’re good to go.
- Add a little flair: Tie ribbon or twine around the lids for extra Halloween spirit. Orange, black, purple, or even glow-in-the-dark ribbon makes them pop.
- Play with candy colors: Classic orange, green, and white are great, but you can also use purple gumballs for witches, red candies for vampires, or a mix for a candy “monster mash.”
- Make it kid-friendly: Let kids draw their own ghost or monster faces with paint pens or stickers. It won’t be perfect, but that’s half the fun.
- Budget hack: Check the party aisle for bulk candy instead of buying small packs — you’ll save money and have enough to fill all your jars.


Like It? Love It? Share It!
I hope you love this DIY Halloween Candy Jars craft as much as I do! They are so easy and fun to make! If you decide to make them, I’d love to see how they turned out!
Nothing makes me happier than seeing your take on my crafts. So, tag me at @bullocksbuzz (Instagram and Facebook) or @alainabullock (on Twitter). And be sure to use #BullocksBuzz so I can see your creation and so can everyone else!
If you get a chance, please comment and leave me a ⭐⭐⭐⭐⭐ rating on the printable craft card below!
And don’t forget to share this craft with friends and family by using the social share buttons right below the post title!

More Halloween Crafts
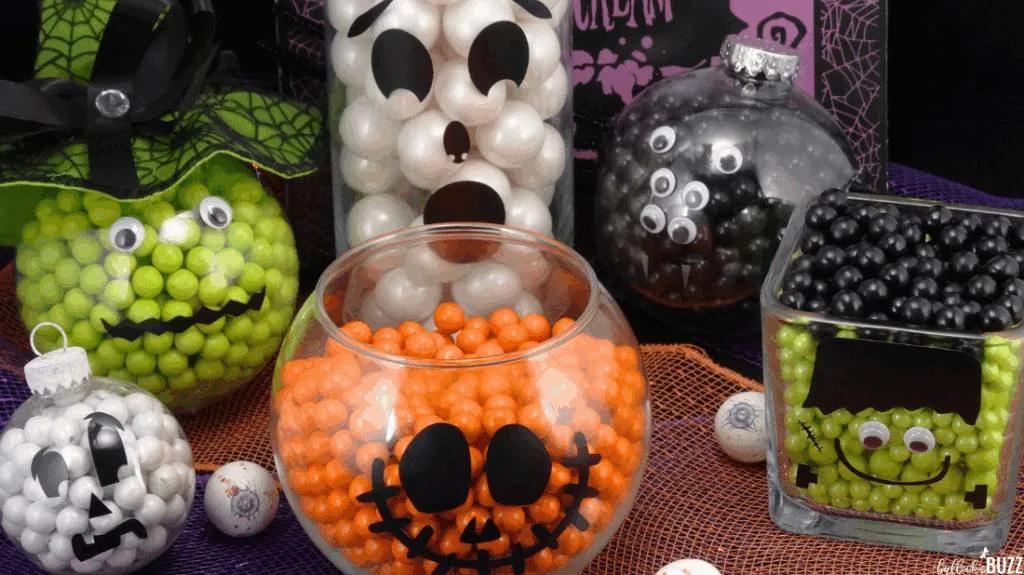
If you like these DIY Halloween Candy Jars, then I bet you will love these other Halloween crafts!
- DIY Halloween Ornaments (shown in the image above) – clear ornaments turned into candy-filled decor
- DIY Halloween Wreath – Black, purple, and orange wreath for Halloween
- FaBOOlous Boo Kit – BOO It Forward with These Halloween Monster BOO Kits
- DIY Halloween Sign – Friendly Ghost Sign
Printable DIY Halloween Candy Jars Instructions Card
DIY Halloween Candy Jars


DIY Halloween Candy Jars are a spook-tacular craft made with jars, candy, and simple faces. Use a Cricut with SVG files or just hand-draw/paint the faces. Perfect for parties, gifts, or Halloween decor!
Materials
- 3 glass or plastic jars (any shape or size)
- Black waterproof vinyl (e.g., Oracle 651)
- Googly eyes (for Frankenstein)
Candy
- Orange Sixlets (jack-o-lantern)
- White gumballs (ghost)
- Green Sixlets + black Sixlets (Frankenstein)
Tools
- Cricut or another cutting machine (optional)
- 12x12 cutting mat
- Transfer tape
- Weeding tool
- Rubbing alcohol (for cleaning jars)
- Small paintbrush or permanent marker (for hand-drawn option)
Instructions
Clean Jars
- Clean the sides and outside of jars with soapy water
- Wipe down the outsides with alcohol to remove any remaining grease, oils, or dirt.
Add Faces
- Cricut option: Upload pumpkin, ghost, or Frankenstein SVGs into Design Space, resize, cut from vinyl, weed, and transfer to jars.
- No Cricut: Use a template, permanent marker, or black craft paint to draw faces by hand.
Fill Jars with Candy
- Jack-o-lantern → orange Sixlets
- Frankenstein → green Sixlets topped with black for the hair
- Ghost → white gumballs
Notes
- Some of the original SVG files I used from Etsy are no longer active, but you can find similar designs by searching Etsy or Creative Fabrica for Halloween faces.
- No Cricut? No problem! Templates from Pinterest or Canva make it easy to trace, or just freehand the faces for a personal touch.
Aaron
Sunday 16th of October 2016
I would most like to give and get the Googlie Eyes Gumballs Peg Pouch because they look silly and probably taste delicious.
sarah k
Sunday 16th of October 2016
I like the Halloween Mix Sixlets Shaker Jar because I think it would make a pretty cupcake or cake topping .
Jessica To
Sunday 16th of October 2016
I would like the orange sixlets because that was the candy treat we got when we were kids.
Candace Galan
Sunday 16th of October 2016
I would like the orange shimmer sixlets, my boys would love these to decorate cakes for Halloween.
Angela Saver
Sunday 16th of October 2016
I would love to get the Googlie Eyes Gumballs Peg Pouch so my daughter & I can use them to decorate our Halloween cupcakes!