This post may contain affiliate links. I only recommend products I use and love. Read the full disclosure here
Last Updated on January 10, 2024 by Alaina
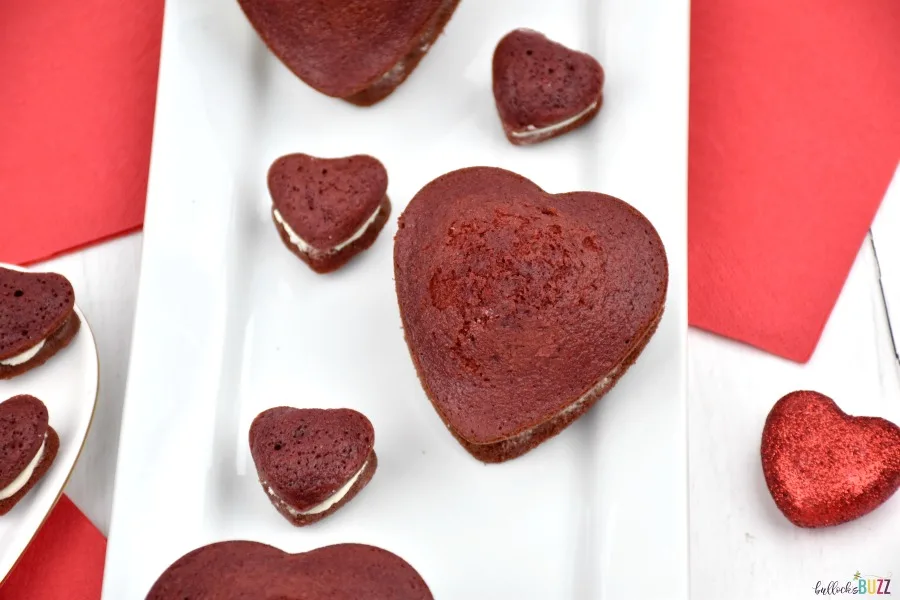
Red Velvet Whoopie Pies with Cream Cheese Filling are a Valentine’s delight! Bite into sweet, tangy cream cheese nestled between rich, chocolatey red velvet cookies. Pair these mini heart-shaped treats with my free printable treat bag topper for a charming Valentine!
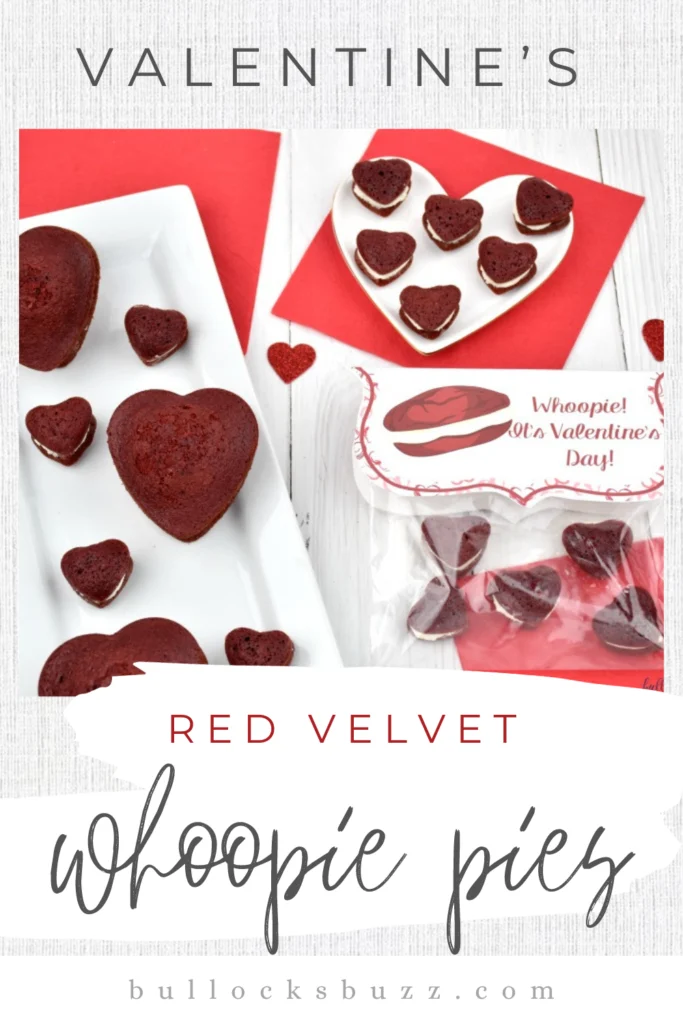
Red velvet is tasty at any time of the year, but it is particularly perfect for Valentine’s Day. The dark red color and sweet, chocolatey goodness is such a delicious way to say ‘I Love You’! It’s no wonder that the internet is packed with red velvet recipes, from red velvet donuts to red velvet cupcakes!
This year, I wanted to do something a bit different than the typical red velvet whoopie pies recipe, and that’s how the idea for these miniature heart-shaped red velvet whoopie pies with a super-cute free printable treat bag topper came about!
These miniature Red Velvet Whoopie Pies in a heart shape are so tasty, simple, and pretty, they’re sure to make everyone smile!
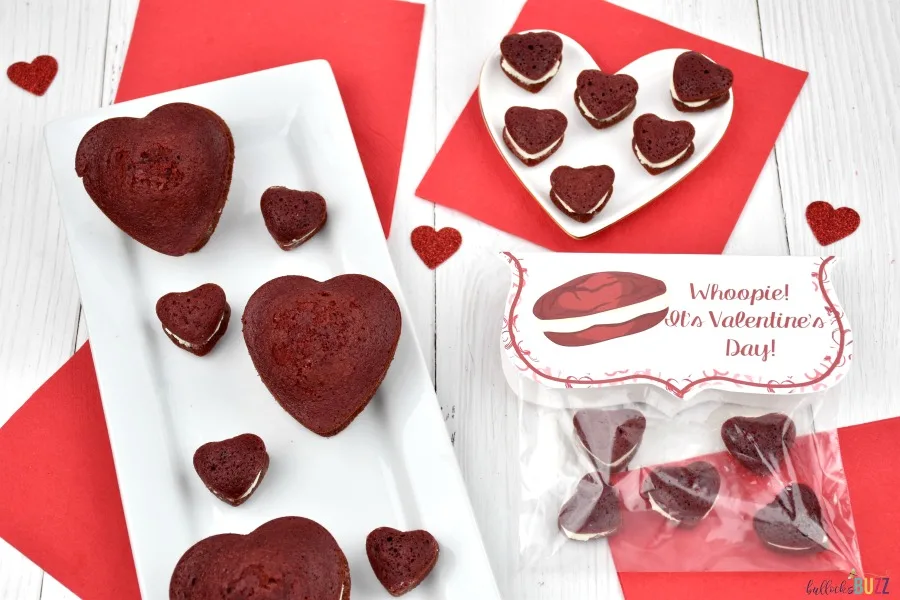
They’re fluffy, a little chocolaty, a deep, vibrant red, and filled with sweet and tangy cream cheese filling.
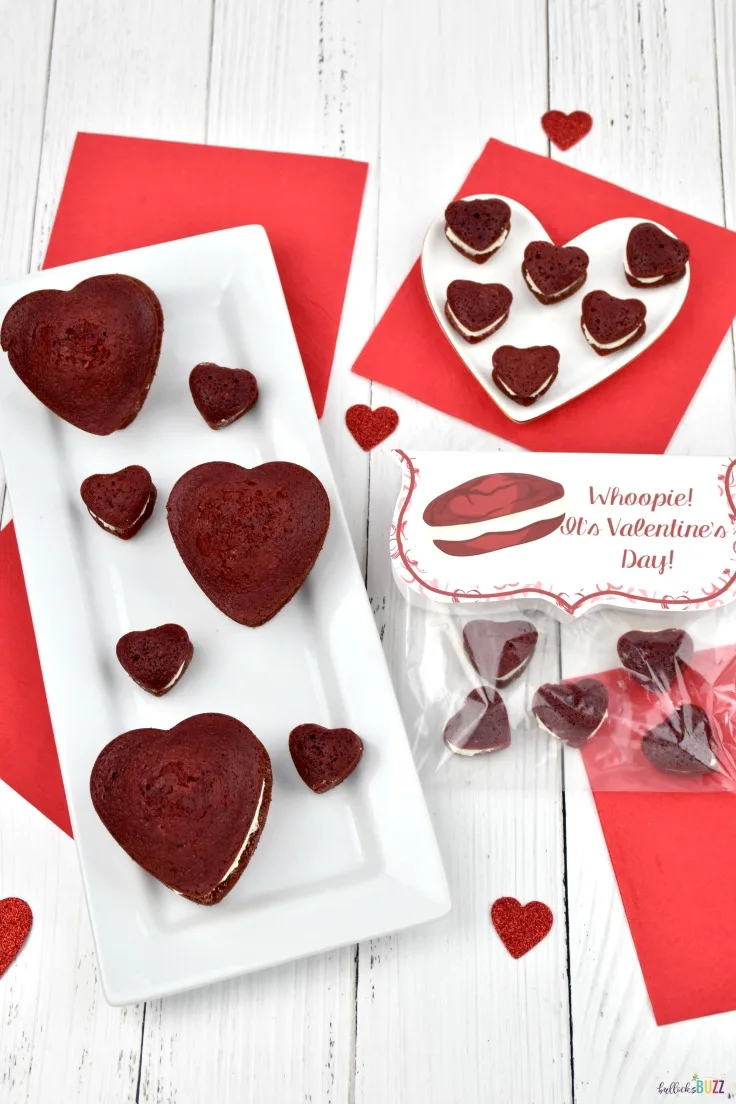
They are also absolutely perfect for Valentines Day. And when you pair them with my printable “Whoopie! It’s Valentine’s Day!” treat bag topper, you’ll have a Valentine’s Day treat that everyone will love!
Send them to school for a classroom party, give them to your favorite Galentine or Valentine, or include them in a themed Valentine’s Day lunch for kids. Whatever you choose to do, you are going to fall in love with these Red Velvet Whoopie Pies.
How to Make Mini Red Velvet Whoopie Pies
While I love making things from scratch, like these Cinnamon Raisin Whoopie Pies and this made-from-scratch Blueberry Cobbler, sometimes I prefer to take a simpler and faster way. These Red Velvet Whoopie Pies start with a boxed cake mix so they couldn’t be any quicker or easier.
They bake up moist and chewy with a gorgeous deep red color and amazing subtle cocoa flavor. I use Betty Crocker’s brand and I get fantastic results every time. It has become my favorite quick and easy boxed mix red velvet whoopie pie recipe!
The delicious cream cheese frosting, on the other hand, is made from scratch, but it calls for just 4 ingredients and a few simple steps. It’s such a delicious rich and creamy filling, it’s worth it!
This particular recipe makes around two dozen mini heart-shaped red velvet whoopie pies. You can find the full ingredients list and recipe in the printable recipe card below. And be sure to check out the free printable treat bag topper below, too!

Kitchen Tools Needed to Make Mini Heart-Shaped Red Velvet Whoopie Pies for Valentine’s Day
Disclosure: This blog post contains affiliate links for products or services I think you’ll like. This means if you make a purchase from one of these links, Bullock’s Buzz will make a small commission at no additional cost to you. I only recommend products that I use and love.
- small heart-shaped muffin baking pan – this is the one I used. If you don’t have the pan, you can always use a small heart-shaped cookie cutter.
- large bowl and medium bowl
- whisk
- stand mixer fitted with the paddle attachment OR hand-held mixer
- wire cooling rack
- pastry or piping bag(s)
- measuring cup
- measuring spoons
Ingredients to Make Red Velvet Whoopie Pies
While this particular recipe uses a box mix, you can always use your favorite homemade red velvet recipe instead.
- Box of Betty Crocker’s Red Velvet Cake Mix
- vegetable oil
- water
- eggs
Red Velvet Whoopie Pie Instructions
These red velvet whoopie pies only take about thirty minutes total to prepare and bake. The result is beautiful and delicious mini red velvet whoopie pies. These decadent desserts will have everyone asking for more!
Step One: Make Red Velvet Whoopie Pie Batter
To get started, you’ll simply follow the instructions on the back of the cake mix box. Once the red velvet cake batter is ready, cut a small hole in the tip of a pastry bag or a corner of a food-safe plastic bag, then fill it with the batter. Trust me, this will make it SO much easier to fill the tins.

Step Two: Fill Pans
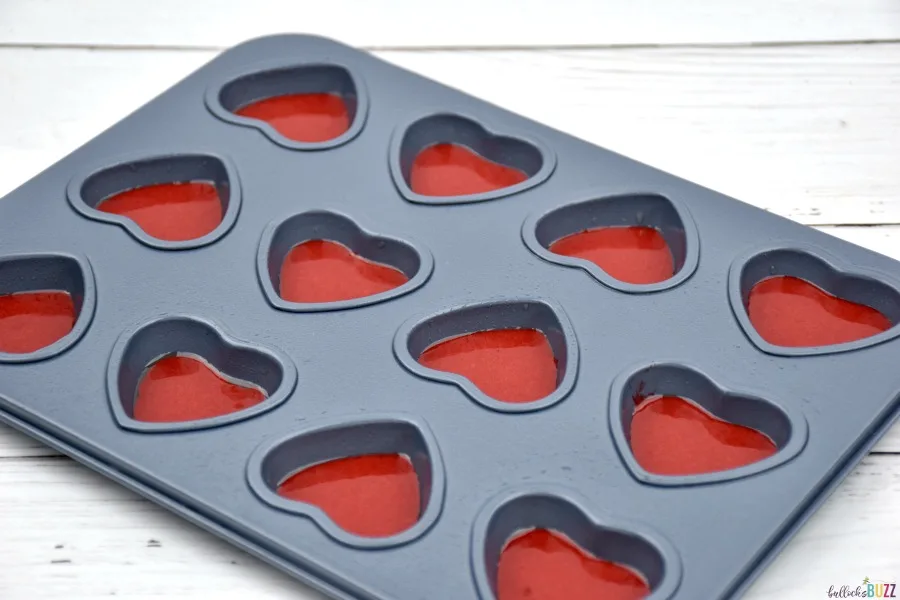
Use the bag to fill the tins. Make sure you only fill the heart-shaped wells about ¼ of the way full as you don’t want the cookies to bake up too thick.
Step Three: Bake and Cool
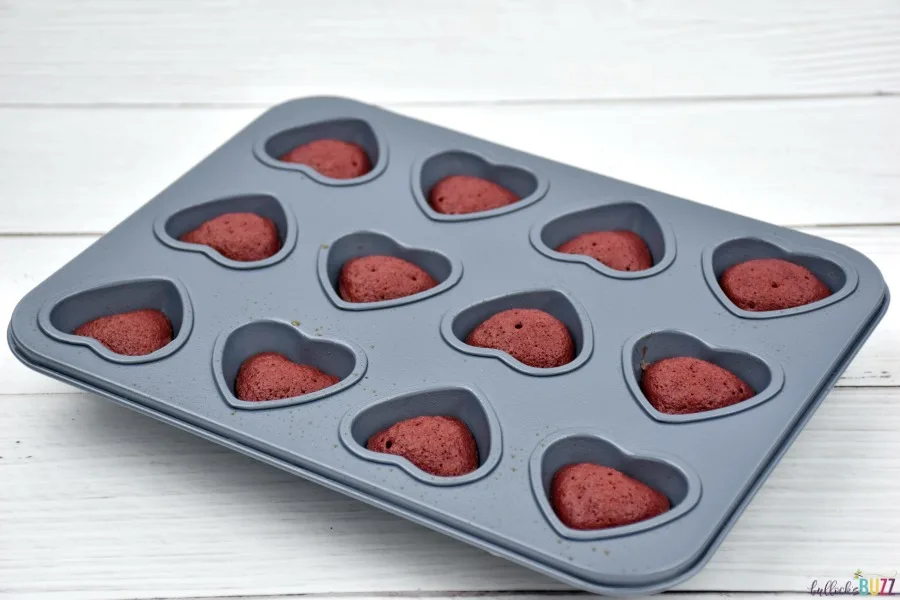
Now place the tins in the pre-heated oven for about 6 to 8 minutes or until a toothpick is inserted and comes out clean. Once finished, allow them to cool a bit before removing them from their pans and placing them on a wire rack to finish cooling.
Making Red Velvet Whoopie Pies with a Cookie Cutter
- If you are using a cookie cutter to get the heart shapes, you will want to pour the batter onto a prepared baking sheet and spread it out evenly with a spatula.
- Bake following the cake mix instructions or until a toothpick inserted into the center of the cake comes out clean.
- Let cool to room temperature (usually 10-12 minutes). Cut out an equal number of heart shapes with a cookie cutter and set them aside while you make the filling. Then you will assemble as explained below.
How to Make Homemade Cream Cheese Filling
While traditional whoopie pies are made with a marshmallow fluff filling, to me, red velvet just isn’t red velvet without that delicious tangy cream cheese icing. And this particular cream cheese filling recipe is the best! It calls for four simple ingredients and takes just minutes to make. It’s the perfect blend of sweet and tangy, and it’s also light, fluffy, and silky smooth. It’s delicious!
Cream Cheese Filling Ingredients
- unsalted butter, softened (at room temp)
- confectioner’s sugar
- vanilla extract
- heavy cream
Step One: Cream Butter and Cream Cheese
Begin by beating the softened cream cheese and butter together either in the bowl of a stand mixer or using an electric mixer and a large mixing bowl on medium-high speed until completely combined.
Step Two: Add in Vanilla and Sugar
With the mixer on low speed, add in the vanilla and confectioners’ sugar and continue mixing, occasionally scraping down the sides of the bowl, until the mixture becomes smooth and creamy.
Step Three: Add to Piping Bag
Once made, you will want to place the icing into another pastry bag or a large plastic snack bag with the corner snipped off. Again, this will make it much easier to fill these mini heart-shaped whoopie pies.
Step Four: Pipe and Assemble
You will then simply pipe the filling onto the backside of one cookie and then top it with another cookie part to make sandwich cookies. Make sure to spread the filling almost to the edge of the bottom cookie, as it will spread slightly when the top is gently pressed on.

How to Decorate Valentine’s Whoopie Pies
Once the mini heart-shaped red velvet whoopie pies are put together, you can either leave them as is or decorate them in one of several different ways to take them to a whole new level. For example, you could drizzle any extra frosting over the top of the whoopie pies and then sprinkle with finely chopped pecans. Or you could dip the edges in Valentine’s Day colored sprinkles or even colored sanding sugar for an extra dash of love! Another option is a light sprinkling of powdered sugar over the tops.
Valentine’s Day Whoopie Pies Treat Bag Topper + Tutorial
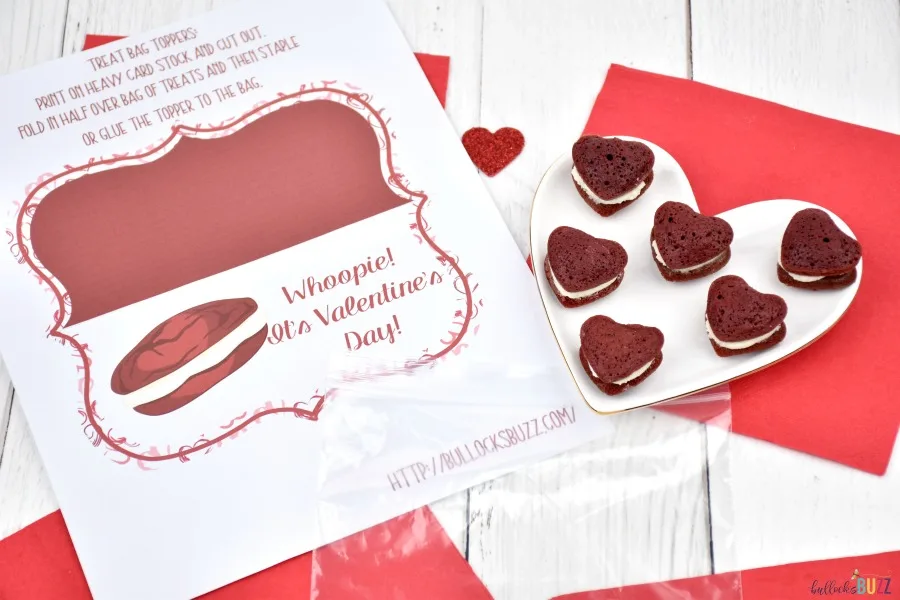
Pair these delectable Mini Heart-Shaped Red Velvet Whoopie Pies with my free printable treat bag topper for a fun Valentine’s Day snack! This Valentine’s Day treat bag topper is the perfect match for these Mini Heart-Shaped Red Velvet Whoopie Pies. It is easy to make and takes about 10 minutes to complete, depending on how many treat bags you need to create.

Supplies Needed to Make Valentine’s Day Whoopie Pie Treat Bag Toppers
To make these free printable treat bag toppers for Valentine’s Day, you will need a few common supplies including:
- 6.5″ by 4″ sandwich or snack bags
- laser or inkjet printer set to “fit to page”
- card stock or other heavy-weight paper
- scissors
- glue, tape, or a stapler
- Mini Heart-Shaped Red Velvet Whoopie Pies or regular-sized whoopie pies
How to Make Valentine’s Day Treat Bag Toppers
Step One: Download the Treat Bag Toppers PDF File
To get started, download my free printable Treat Bag Toppers by clicking the link in this sentence or by clicking the picture below.
Step Two: Print and Fold
Make sure your printer is set to “Fit to Page”, then print the toppers onto card stock or another heavy-weight paper. Print out as many toppers as you need, then cut them out and fold them in half.
Step Three: Add Treats and Toppers to Bags
Next, add four to six mini heart-shaped red velvet whoopie pies to a snack bag, seal the bag closed, then attach the treat bag topper to the top of the closed bag with tape, glue, or staples.
Pro Tip: If there is a lot of room at the top of your bag after filling it, just fold down the top, and then add the printable treat bag topper.

And that’s it! Aren’t they cute?! They make such a delicious treat for Valentine’s Day!
Frequently Asked Questions
After you make these heart-shaped red velvet whoopie pies, you may have some questions – especially about how to store them. I’ve tried to answer the most common ones below, but if you have one I don’t answer, feel free to ask in the comments, and I will do my best to reply as soon as I see it.
How Long Will Homemade Whoopie Pies Stay Fresh?
These whoopie pies are so darn good, you may not have any leftovers. But if you do, as long as you store the finished whoopie pies in an airtight container, they should last for several days. How long depends on how you choose to store them. I discuss each method below…
Do Red Velvet Whoopie Pies Need To Be Refrigerated?
Whoopie pies can be stored in the fridge. In fact, I prefer to keep them refrigerated. They will last longer this way, have the best flavor, and you won’t have to worry about the cream filling melting if your house gets too warm. Refrigerated whoopie pies can last up to ten days if sealed in an airtight container and kept in the fridge.
Pro Tip: Add a layer of plastic wrap or parchment paper between each layer of whoopie pies.
Can You Store Whoopie Pies on the Counter?
Yes, you can also store these red velvet whoopie pies in an airtight container on the countertop. They should last for several days, although I find that after 3 to 5 days they usually begin to dry out a bit. But they generally keep pretty well.
Can You Freeze Red Velvet Whoopie Pies?
Baked whoopie pies can be easily frozen for a longer-term storage solution. They will generally last up to two to three months. Just make sure you wrap them individually in plastic wrap and store them in an airtight container. Once you are ready to enjoy them, let them thaw out in the refrigerator overnight.

Like It? Love It? Please Share It
I hope you love this Valentine’s Day Red Velvet Whoopie Pie recipe with free printable treat bag toppers as much as I do! It was so much fun to make! Plus it is such a sweet way to share the love! If you decide to make this Valentine’s Day recipe, I’d love to see how it turns out!
Nothing makes me happier than seeing your take on my recipes So, be sure to tag me at @bullocksbuzz (Instagram and Facebook) or @alainabullock (on Twitter) and share what you’ve made. And don’t forget to use #BullocksBuzz so I can see your creation and share it!
Finally, if you get a chance, please comment and leave me a ⭐⭐⭐⭐⭐ rating on the printable recipe card or in the comments section below!
Mini Heart-Shaped Red Velvet Whoopie Pies Printable Recipe
Mini Heart-Shaped Red Velvet Whoopie Pies
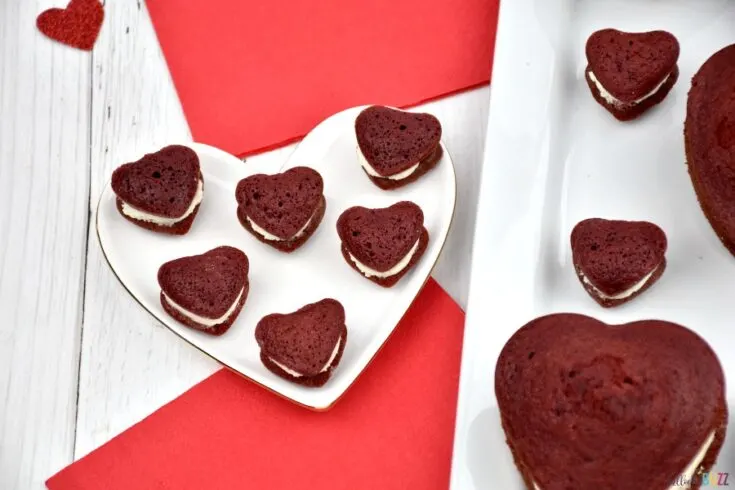
Fluffy, sweet and tangy cream cheese filling is sandwiched between two decadent, chocolatey red velvet cookies in this delectable mini heart-shaped Red Velvet Whoopie Pies recipe.
Ingredients
Red Velvet Whoopie Pies
- 1 box Betty Crocker Super Moist Red Velvet Mix, the one with 'pudding in the mix'
- 1 ¼ cups water, room temp
- ½ cup vegetable oil
- 3 eggs, room temperature
Cream Cheese Filling
- ½ cup salted butter, room temperature
- 1 8 oz cream cheese, room temperature
- 4 cups confectioners sugar, sifted
- 2 tsp vanilla extract
Instructions
Red Velvet Whoopie Pies
- Preheat oven to 350°F and thoroughly grease the heart-shaped muffin tins.
- Combine the cake mix, water, oil, and eggs the bowl of a stand mixer or large mixing bowl. Beat on low speed for 30 seconds, then an additional 2 minutes on medium.
- Transfer the batter into a pastry bag or large plastic snack bag with a corner snipped off.
- Carefully pipe the batter into the muffin tins making sure to only fill each tin about 1/4 of the way as you don't want the mini cookies to rise too thick.
- Bake for 6-8 minutes, or until a toothpick inserted in the middle of a cookie comes out clean.
- Allow to cool 2 minutes in the pan; then remove to cooling racks. Cool completely, about 15 minutes, before frosting.
Cream Cheese Frosting
- Beat the softened cream cheese and butter together until completely combined.
- Add in the vanilla and powdered sugar and continue mixing, occasionally scraping down the sides of the bowl, until the mixture becomes smooth and creamy.
- Transfer the frosting into another pastry bag or large plastic snack bag with the corner snipped off.
Assembling Heart-Shaped Whoopie Pies
- Carefully pipe a heap of cream cheese filling on the flat side of one red velvet cookie, then top with another cookie to form the mini heart-shaped red velvet whoopie pie.
Notes
- this recipe can also be used to make about 12 large heart-shaped Red Velvet Whoopie Pies.
Valentine's Day Treat with Printable Bag Toppers
Use my printable treat bag toppers to make an adorable Valentine's Day treat! Simply print the topper on card stock or heavy-weight paper, then cut them out and fold in half. Add four to six mini heart-shaped whoopie pies to a 6-inch snack bag, seal bag closed, then attach the treat bag topper with tape, glue, or staples.
Nutrition Information:
Yield:
24Serving Size:
1 whoopie pieAmount Per Serving: Calories: 194Total Fat: 12gSaturated Fat: 5gTrans Fat: 0gUnsaturated Fat: 7gCholesterol: 43mgSodium: 76mgCarbohydrates: 20gFiber: 0gSugar: 19gProtein: 1g
Nutritional information is automatically calculated with ingredients and serving size and may not be accurate. Please always double check with your own nutritional apps as well.
More Valentine’s Day Recipes
Looking for more delicious and easy Valentine’s Day recipes? Check these out!

Valentine’s Day Cupcakes

Homemade Jolly Rancher Rainbow Hearts (with printable treat bag topper)


