This post contains affiliate links. I only recommend products I use and love. Read the full disclosure here
Last Updated on January 24, 2024 by Alaina
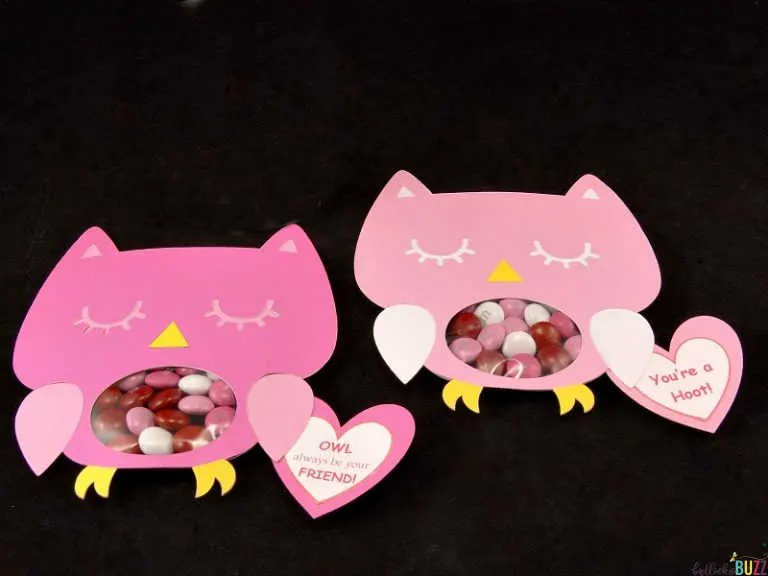
Make Valentine’s Day even sweeter with these unique and adorable DIY Owl Valentines Candy Cards! These owl-themed candy cards for Valentine’s Day are perfect for your child’s classroom party or to give to friends and family! Plus, a free printable!
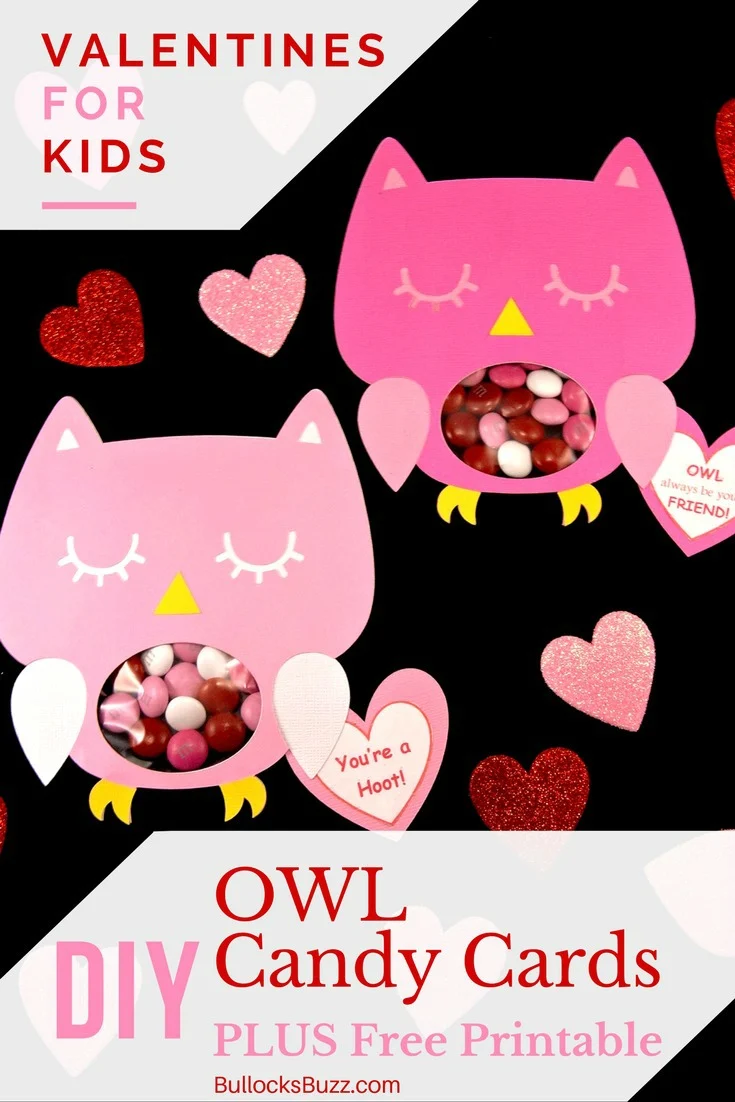
DIY Owl Valentines Candy Cards for Kids + Free Printable
Every year for Valentine’s Day, I have a blast coming up with fun and creative treats, cards, or crafts to hand out to my family and friends. I mean what better way to show your love than with a cute Valentine that you made, right?! This year I came up with these adorable DIY OWL Valentines Candy Cards.
Whether you’re looking for unique valentines to pass out to classmates or a simple card for your kids or your friends, these cute owl-themed Valentine’s Day cards for kids will make your heart melt.
They take roughly 20 minutes to make and are super easy. You can fill them with M&M’s or another Valentine’s candy, or you can put non-candy treats in them, too!
Free Printable Message Hearts
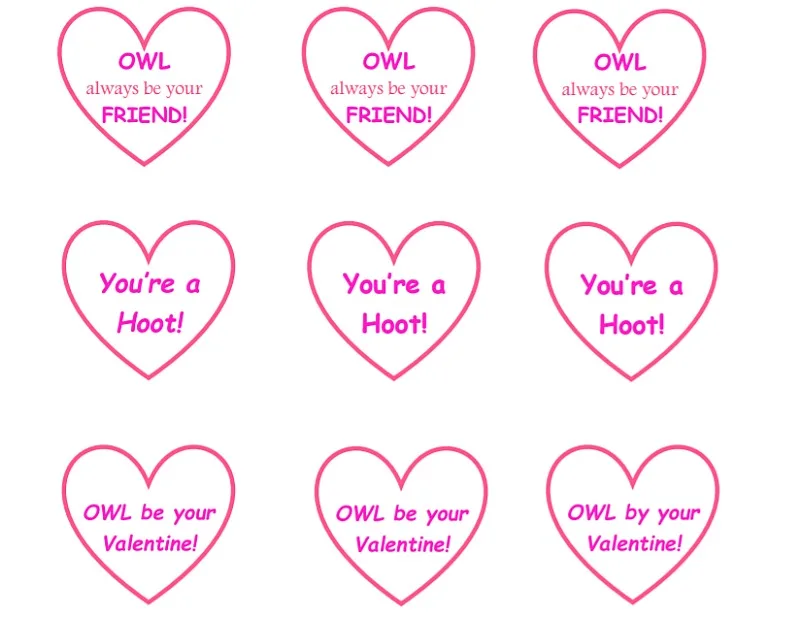
These DIY Owl Valentines Candy Cards also come with a free printable message heart. There are 3 different messages including:
- Owl Always Be Your Friend
- You’re a Hoot!
- Owl Be Your Valentine
Instructions for downloading and printing these hearts are below.
How to Make DIY Valentines Candy Cards
Whether you are planning to make a bunch for classroom valentines or just a few for your kids these owl-themed DIY Valentines Candy Cards are so easy to make with one of the Cricut Explore Air machines or a Cricut Maker.
You’ll find step-by-step instructions along with images below so you can see just how EASY these sweet little candy-filled Valentine’s Day candy cards are to make.
Remember, all printables by bullocksbuzz.com are for personal use only. You may not sell, share, or link directly to these files.
Disclosure: This blog post contains affiliate links for products or services I think you’ll like. This means if you make a purchase from one of these links, Bullock’s Buzz may make a small commission at no additional cost to you. As always, I only recommend items I use and love.
Tools You Will Need
- Card Stock in Valentine’s Colors
- Cricut Explore Air 2, Cricut Maker, or another die cutting machine (or scissors)
- Owl File if you have a Cricut
- color printer – this is the one I have and I love it!
- Message Hearts (download and print HERE)
- M&M’s® Cupids Mix Milk Chocolate Valentine’s colors or other small candy
- 3 x 4″ clear treat bags
- Scissors
- Glue
- Stapler with staples
- Tape
DIY Owl Valentines Candy Cards Instructions
Making these cute DIY Owl Valentines Candy Cards couldn’t be easier.
TIP: if you do not have a Cricut Explore Air™ or another machine, simply search Google for a fitting image, print it, cut it out and then trace it onto a heavy-weight piece of paper so you can use it as a template.
Step One: Create the Owls in Design Space
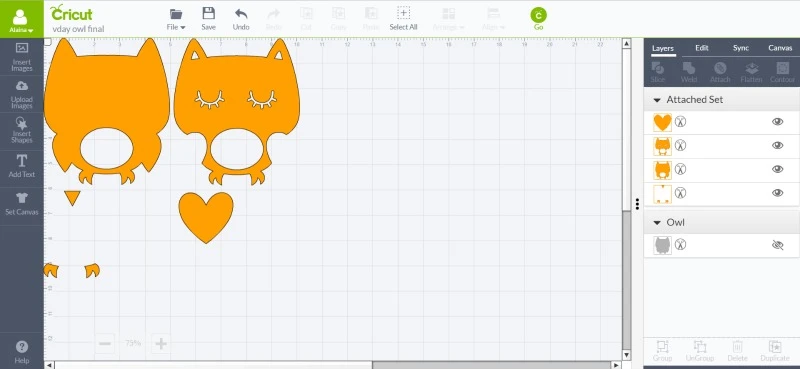
- To get started, open Design Space, then open a new project.
- Go to ‘insert images’ and do a search for ‘owl’. The one I used as a basis for these DIY Owl Valentines candy cards was mostly teal in color with brown ‘wings’. The image information is Owl #M3B9B5.
- Size the owl image to 4.98″ wide by 5.79″high.
- Next, ungroup the design, and keep only the bottom two layers along with the nose and claws.
- Now insert an oval shape measuring 2.1″ in width and in 1.61″ in height and splice it out of both layers.
- You are welcome to use my file HERE. Update 2022: I do not think you can access personal files anymore, but you are welcome to try!
Step Two: Add Hearts
- Do a search for “hearts” and insert a heart shape on the design.
- Resize each heart to measure 2.14 in width and 2.03 in height.
Step Three: Cut Out Owls and Hearts
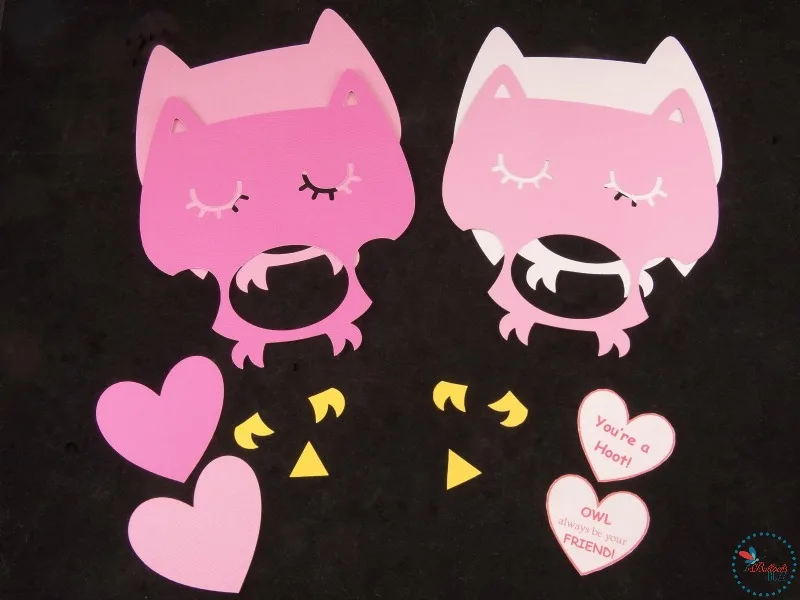
- Next, use your Cricut or another die-cutting machine to cut out the owls and the hearts for the DIY Owl Valentines Candy Cards.
- I used three shades of pink cardstock along with a piece of white cardstock for the owls and used yellow cardstock for the beaks and claws.
- You will have a top owl layer (the one with the eyes on it) and a bottom layer owl.
Step Three: Attach Beaks and Claws
- using a dab of glue, attach the beak and feet in place on the top layer (the one with the eyes) of the owl.
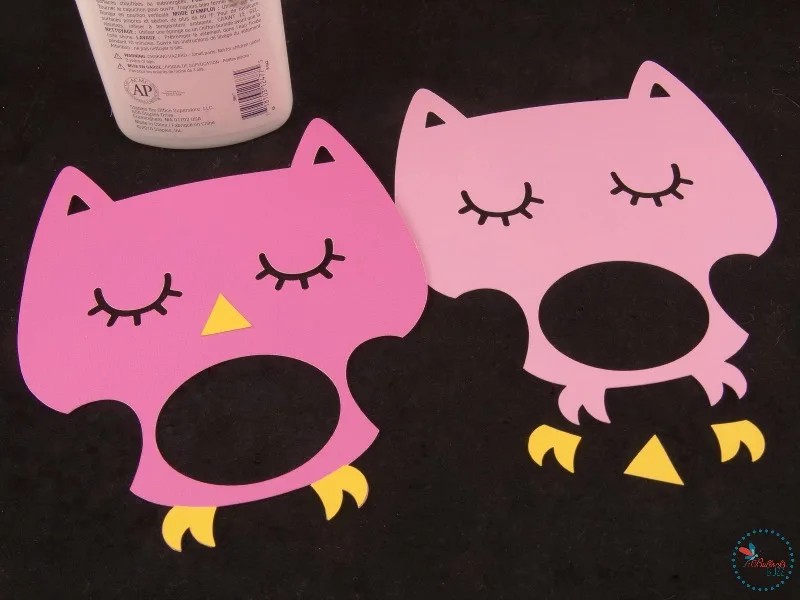
Step Four: Attach Treat Bag to Bottom Owl Layer
- Flip the bottom owl layer (the one without the eyes) over so that the backside is facing up and center the candy bag so that it fits directly behind the cut-out oval shape. You can see what this looks like in the picture below Step Six.
- Fold the bottom corners of the treat bag so they do not show from the front side.
- Staple the bag in place making sure you staple as close to the owl’s feet as possible so the staples will not show on the front side once you add the second layer in step five.
- Be sure to staple the sides of the bag, too, but do not staple the top side of the bag. Leave it open.
- Do not add candy to your DIY Owl Valentines Candy Cards yet.
Step Five: Attach Layers
- Now, flip the bottom owl layer back over and glue the top owl layer on top of it. This way the staples used to attach the bag will not be seen.
- Allow the glue to dry completely.
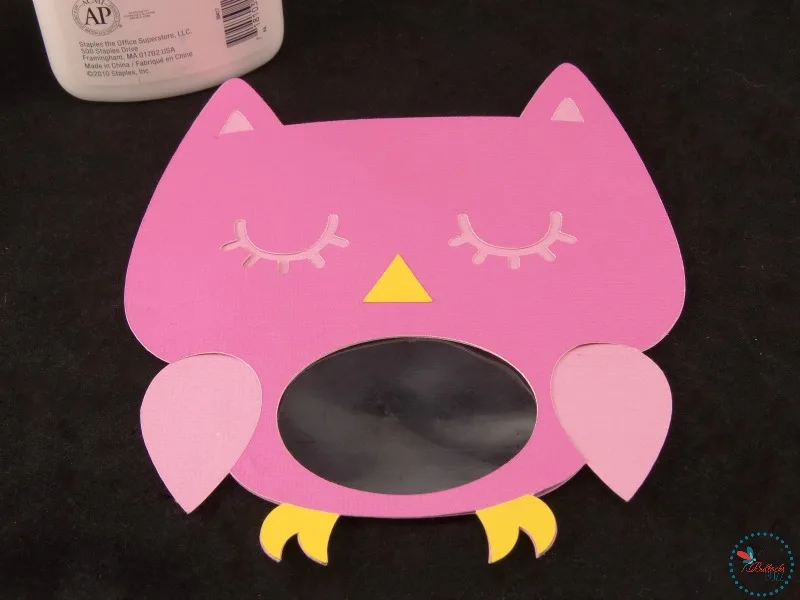
Step Six: Now Add Candy
- Once the glue is completely dry, flip the owl back over and add the M&Ms to the bag making sure the candies lay flat in a single layer.
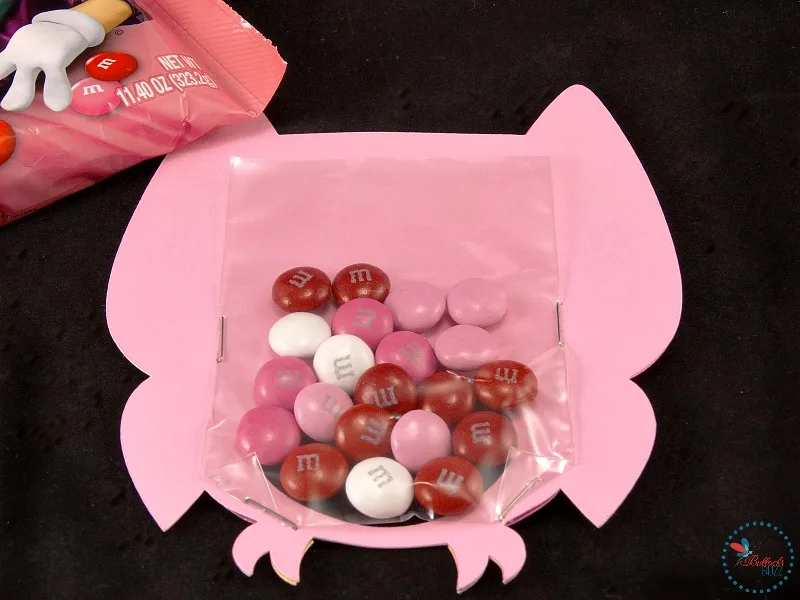
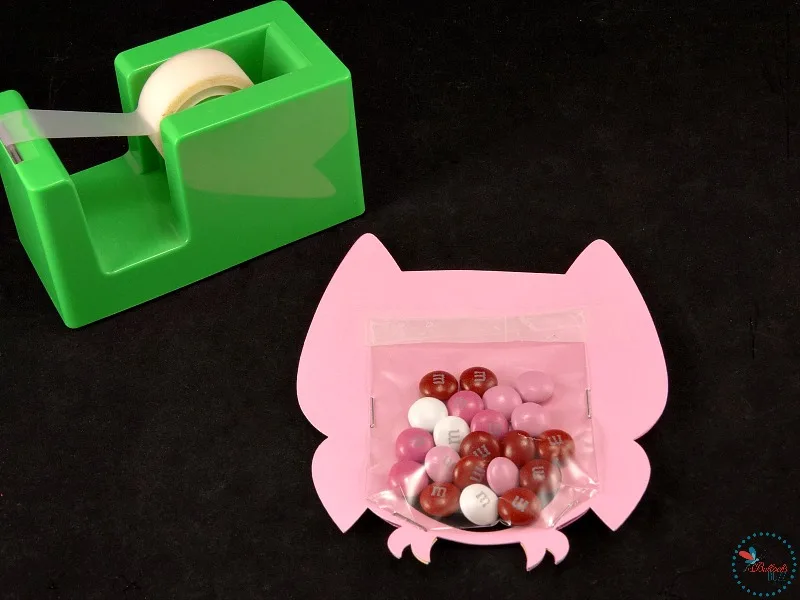
Step Seven: Seal Candy Bag
- Fold the top of the bag over, and tape it shut.
Step Eight: Print Message Hearts
- Download the PDF printable message hearts and locate and open the file on your computer.
- Now insert the cardstock into your printer, make sure you are printing in color, and then print the hearts.
PRINTING TIP: Make sure you use a semi-heavy weight paper as well as your printer’s best quality setting to print since you will be gluing into the cardstock hearts.
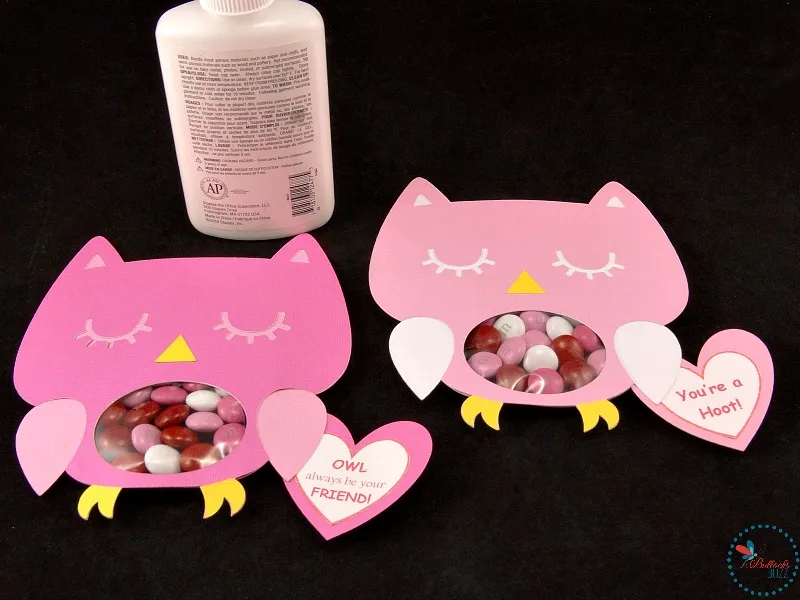
Step Nine: Cut and Glue
- Once the ink is dry, carefully cut out each individual message heart using scissors.
- Attach the heart message to the card stock hearts with a dab of glue and allow it to dry.
- Once dry, use glue to attach the message heart in place under one of the owl’s wings at an angle.
- Allow to dry.
And there you have it. A super cute candy-filled card for Valentine’s Day that is perfect for kids or friends!
I hope you love these DIY Owl Valentines Candy Cards for kids as much as I enjoyed making them! Make sure to pin it and share it with family and friends!
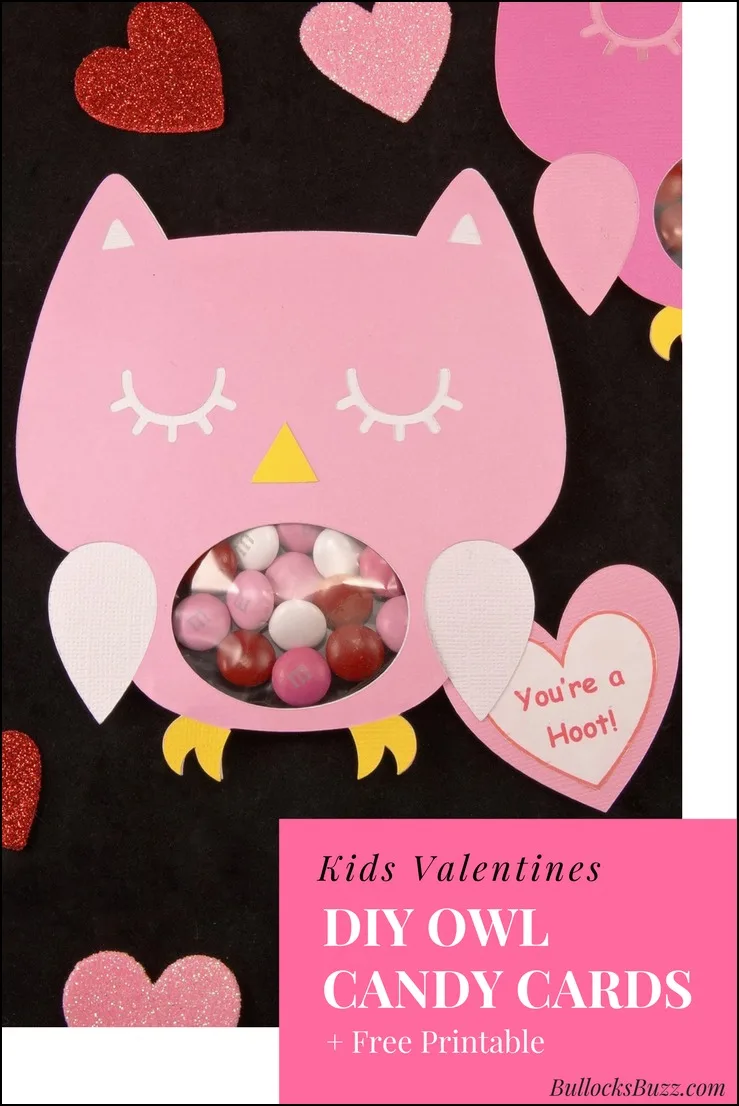
LIKE IT? LOVE IT? PLEASE SHARE THIS DIY OWL VALENTINES CANDY CARDS CRAFT!
I hope you enjoy these DIY Owl Valentines Candy Cards craft as much as I did! It’s so quick and easy to make, and even more, fun to give!
If you give this holiday craft a try, I’d love to know! Leave a comment below and tag a photo @bullocksbuzz and #bullocksbuzz on Instagram or Facebook so I can see your holiday creations!
Be sure to Pin it to save it, and then share it with your friends and family by clicking the share buttons above the post title!
MORE FREE VALENTINE’S DAY PRINTABLES
Looking for more printable Valentine’s ideas? Then you’ll love these:
- Printable Candy Bar Wrappers for Valentine’s Day
- Printable Valentine’s Day Stickers
- Valentine’s Charades Printable Game
- Heart-Shaped Red Velvet Whoopie Pies + Printable Treat Bag Topper – cute Valentine’s idea!



Danielle
Tuesday 5th of February 2019
I can’t seem to find this owl file when I look in DS. Any other ideas on where to find it? Thanks!
Alaina Bullock
Wednesday 6th of February 2019
Hi Danielle! If you want to use the owl I used from design space, do a search for 'Owl' and scroll way down thru the results. The one I used is mostly teal in color with brown 'wings'. Image info is: Owl #M3B9B5. However, I just used that as a basis to create my own design which I linked in the post. If you look in my instructions, under the heading 'How to Make Owl Valentines Candy Cards' in the post, I link to my file and explain all of the changes I made to the file to make it my own so it looks like my finished product. I'd love to see how yours turn out!